
Choosing between these two brands is straightforward because you’re actually comparing two lines from the same parent company, where the main difference is how you buy them. Most homeowners find that chamberlain vs liftmaster garage door openers offer identical performance, but LiftMaster is sold through professional dealers while Chamberlain is found in retail stores. If you want professional installation and a longer warranty, choose a LiftMaster model; if you prefer to install it yourself to save on labor, look for a Chamberlain unit.
Comparing garage opener features

Understanding the differences between these brands helps you decide if you need a professional installer or if you can handle the project on your own. While the internal hardware is often interchangeable, the service and support models are designed for different types of buyers.
| Method | How long | Effort | Cost | Best for |
|---|---|---|---|---|
| Chamberlain (Retail) | 4-6 hours | High | Low | DIY enthusiasts |
| LiftMaster (Dealer) | 2-3 hours | Low | High | Full-service seekers |
| Universal Retrofit | 1-2 hours | Medium | Low | Quick repairs |
The cost difference is mostly due to professional labor fees rather than the hardware itself. You’ll pay a premium for a dealer to manage the setup, whereas retail units require you to handle the wiring and alignment yourself.
If your garage door is older than fifteen years, assume your springs are fatigued. Don’t install a new motor on failing springs, as the imbalance will cause premature wear on the opener’s drive system. If the door doesn’t open smoothly by hand, replace the springs before upgrading the opener.
Most people make the mistake of buying the cheapest motor regardless of their door weight. If your door is solid wood or carriage-style, you need a belt-drive system with at least a 3/4 horsepower motor. For standard steel panels, a 1/2 horsepower chain-drive unit is sufficient.
Always check the official Chamberlain Group product specifications to ensure your garage door spring system matches the motor’s lifting capacity. If the door feels heavy, choose the higher horsepower rating to avoid premature gear stripping.
Installing a retail unit yourself
Installing a retail opener requires basic tools like a ladder, a power drill, and a socket wrench set. You’ll spend most of your time securing the rail to the header wall and ensuring the safety sensors are aligned.
Measure your garage door height to ensure the rail fits the standard 7-foot or 8-foot opening. If your door exceeds 8 feet, you must purchase an additional rail extension kit before starting. Using a standard rail on an oversized door prevents the door from opening fully and can damage the trolley or rail assembly.
Mount the header bracket to the wall above the door, making sure it’s perfectly centered. Use a stud finder to locate the structural header board. If you mount the bracket into drywall alone, the force of the door will rip the hardware out of the wall within a few dozen cycles.
Attach the motor unit to the ceiling brackets using the provided hardware and support straps. Connect the safety sensors to the bottom of the door tracks, facing each other across the floor. If the red and green LEDs on the sensors don’t glow solid, the door will refuse to close.
Program your remotes and test the auto-reverse feature by placing a solid object in the path of the door. If the door doesn’t reverse instantly upon contact, adjust the down-force sensitivity dial on the motor.
Hire a professional if you find the torsion spring above the door needs adjustment or if you lack experience with high-voltage wiring. Attempting to tension a spring yourself risks severe injury, as these components store enough energy to cause permanent damage if they slip.
Hiring a professional installer
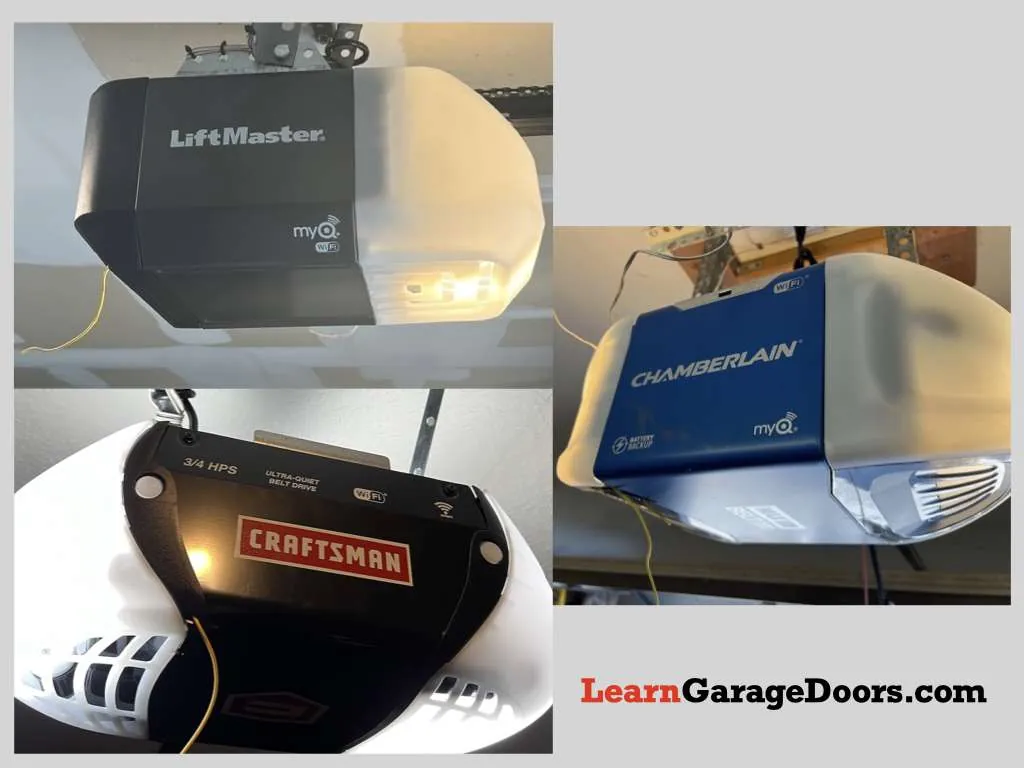
Professional installation is the standard for those who want a turnkey solution without handling heavy components. A dealer will arrive with all the necessary parts and perform the full assembly, calibration, and safety testing for you.
Contact a local garage door dealer to schedule a site visit and quote. Before signing, ask if the labor warranty covers the hardware or just the installation. A reputable installer will provide a written guarantee for at least one year.
The technician will verify your current door balance and spring tension before installation. If the door doesn’t stay in place when opened halfway, the springs are worn. Don’t allow a new motor to be installed on a poorly balanced door, as the extra strain will burn out the gear assembly within months.
They will remove your old unit and install the new motor, rail, and wall console. The dealer will program all your vehicles and teach you how to use the smartphone app. They must verify the safety reversal system to ensure it meets current industry standards.
This route is ideal for anyone who lacks the time or physical ability to mount a heavy motor on a ceiling ladder. The trade-off is the significant cost of labor, which often exceeds the price of the opener itself.
If your door is heavy or unbalanced, a professional can adjust the springs, which is a dangerous task for an amateur. If you hear a grinding noise during operation, stop using the door immediately and call for a professional inspection before the cables snap.
Using a universal retrofit kit
If your current motor is failing but the rail system is still in good shape, a retrofit kit might save you time. These kits replace the motor head without requiring you to tear down the existing tracks.
Disconnect the power and unhook the drive chain or belt from the old motor. Remove the existing motor head while leaving the rail attached to the ceiling. Mount the new motor head onto the existing rail using the provided universal adapter. Reconnect the drive mechanism and ensure the tension is set according to the manual. Run the door through a full cycle to ensure the limit switches are calibrated.
This method works well if you want to add modern features like Wi-Fi or battery backup to an older system. However, skip the kit if your tracks show signs of structural fatigue. If you see visible rust, metal flaking, or bends exceeding one-quarter inch, the increased friction will cause premature wear on the motor and drive system.
Test your tracks by disconnecting the door from the trolley and sliding it by hand. If the door catches or requires more than ten pounds of force to move, the friction will destroy the new unit’s drive sprocket. In these cases, installing a complete new rail system is cheaper than replacing a motor twice.
Always verify the rail profile before buying. While universal kits cover most standard T-rails, they rarely fit specialized low-headroom or custom-curved tracks. If your rail has a unique mounting bracket, you’re better off installing a full system from the start to avoid compatibility headaches.
Choosing between Chamberlain and LiftMaster garage door openers
When you’re in a hurry, the best choice is a retail unit from a local hardware store, as you can pick one up today and start immediately. If you’re doing this for the first time, hire a professional to ensure the safety sensors and spring balance are perfect, preventing future damage. If you want the best possible result regardless of cost, select a dealer-installed model because it often includes an extended warranty and priority service.
The main trade-off exists between your time and your budget. If you trade your labor for savings, you must accept the risk of a difficult installation. If you trade money for convenience, you gain the assurance that a certified technician has verified the safety of your door.
Check the horsepower rating on your current motor before buying a replacement. A half-horsepower motor is sufficient for standard residential doors, but carriage-style or solid wood doors require at least three-quarters horsepower to avoid premature gear failure. If your door weighs over 300 pounds, a standard retail unit will burn out within months.
Most DIY installers fail to properly tension the torsion springs, which is the most dangerous part of the job. If the door doesn’t stay open halfway on its own, your spring balance is off. Adjusting this incorrectly can snap a cable or cause the door to collapse. If you lack a winding bar and a steady grip, pay the professional fee to avoid a trip to the emergency room.
Ensuring safe garage door operation
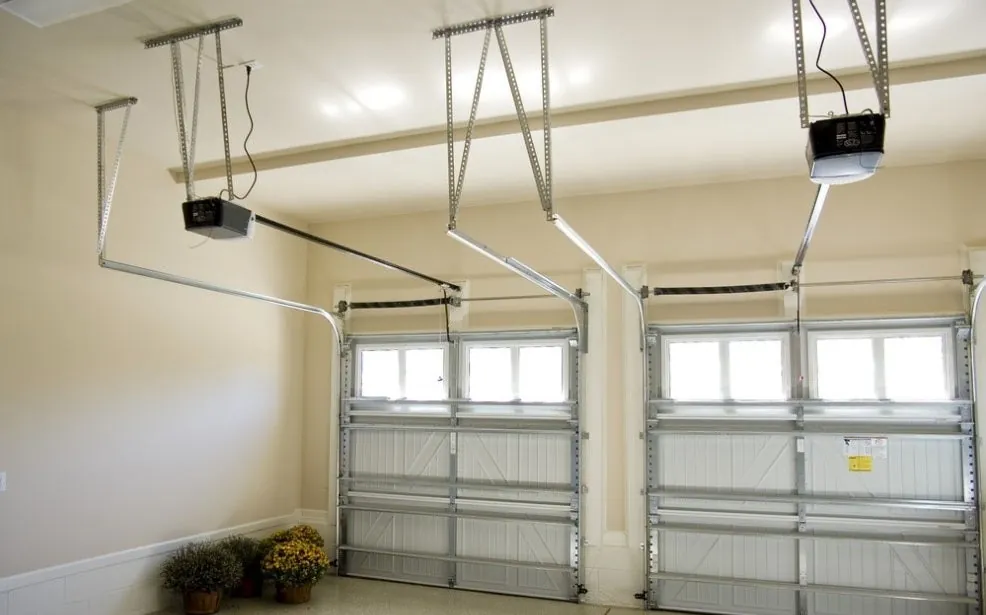
Regardless of which brand you choose, the safety reversal system is the most important part of your installation. This system must be tested monthly to ensure it detects objects in the door’s path.
- Always confirm your garage door is balanced by disconnecting the opener and lifting it halfway by hand; it should stay in place.
- Ensure all electrical connections are grounded and the power source is protected by a dedicated circuit breaker.
- Check the safety sensors every few months by waving an object in front of them while the door is closing.
- Never attempt to adjust the torsion springs yourself, as these carry enough force to cause severe injury.
If the door doesn’t reverse when it hits an obstacle, stop using the opener immediately and call a professional service company. Never try to bypass safety sensors or disable the auto-reverse function, as these are critical for preventing accidents.
Related guides
Frequently Asked Questions
How long do these openers last?
Most modern openers last for a significant duration, assuming you perform regular maintenance. The exact lifespan depends on how often you use the door and whether you keep the tracks lubricated.
Is it safe to install these myself?
Yes, it’s safe if you have basic mechanical skills and use a sturdy ladder. If you’re uncomfortable working with heavy overhead loads or electrical wiring, hire a professional.
Why does my door reverse when closing?
This usually happens because the safety sensors are misaligned or something is blocking the beam. Check that the small lights on both sensors are solid and that nothing is in the path.
How much do these units cost?
Retail units are generally inexpensive compared to professional packages including labor. You can check current pricing at major home improvement retailers or your local dealer.
What happens if the power goes out?
Most newer models include a battery backup that allows you to open the door several times without electricity. If your unit doesn’t have this, you must use the manual emergency release cord to open the door by hand.
How often should I test the sensors?
Test them at least once a month by placing a solid object on the ground in the door’s path. If the door doesn’t stop and reverse immediately, adjust the sensor alignment or contact a technician.
Conclusion
Ultimately, the best choice depends on your comfort level with tools and your budget. Once you’ve decided whether you’re tackling the project yourself or hiring a pro, head to a local hardware store or contact a technician to get started. You’ll be enjoying a smooth, quiet garage door in no time.
