
Yes, you can bake bread in a camping oven as long as you manage the heat carefully and use a thermometer to track the internal temperature. Most portable units lack precise thermal regulation, meaning you must adjust the heat source manually to keep the oven at a steady 375°F to 400°F. This assumes the use of a standard propane-fired camping oven; if you use a wood-fired or charcoal setup, the heat will fluctuate significantly, requiring frequent adjustments to your fuel levels to prevent burning.
Choosing the right portable baker
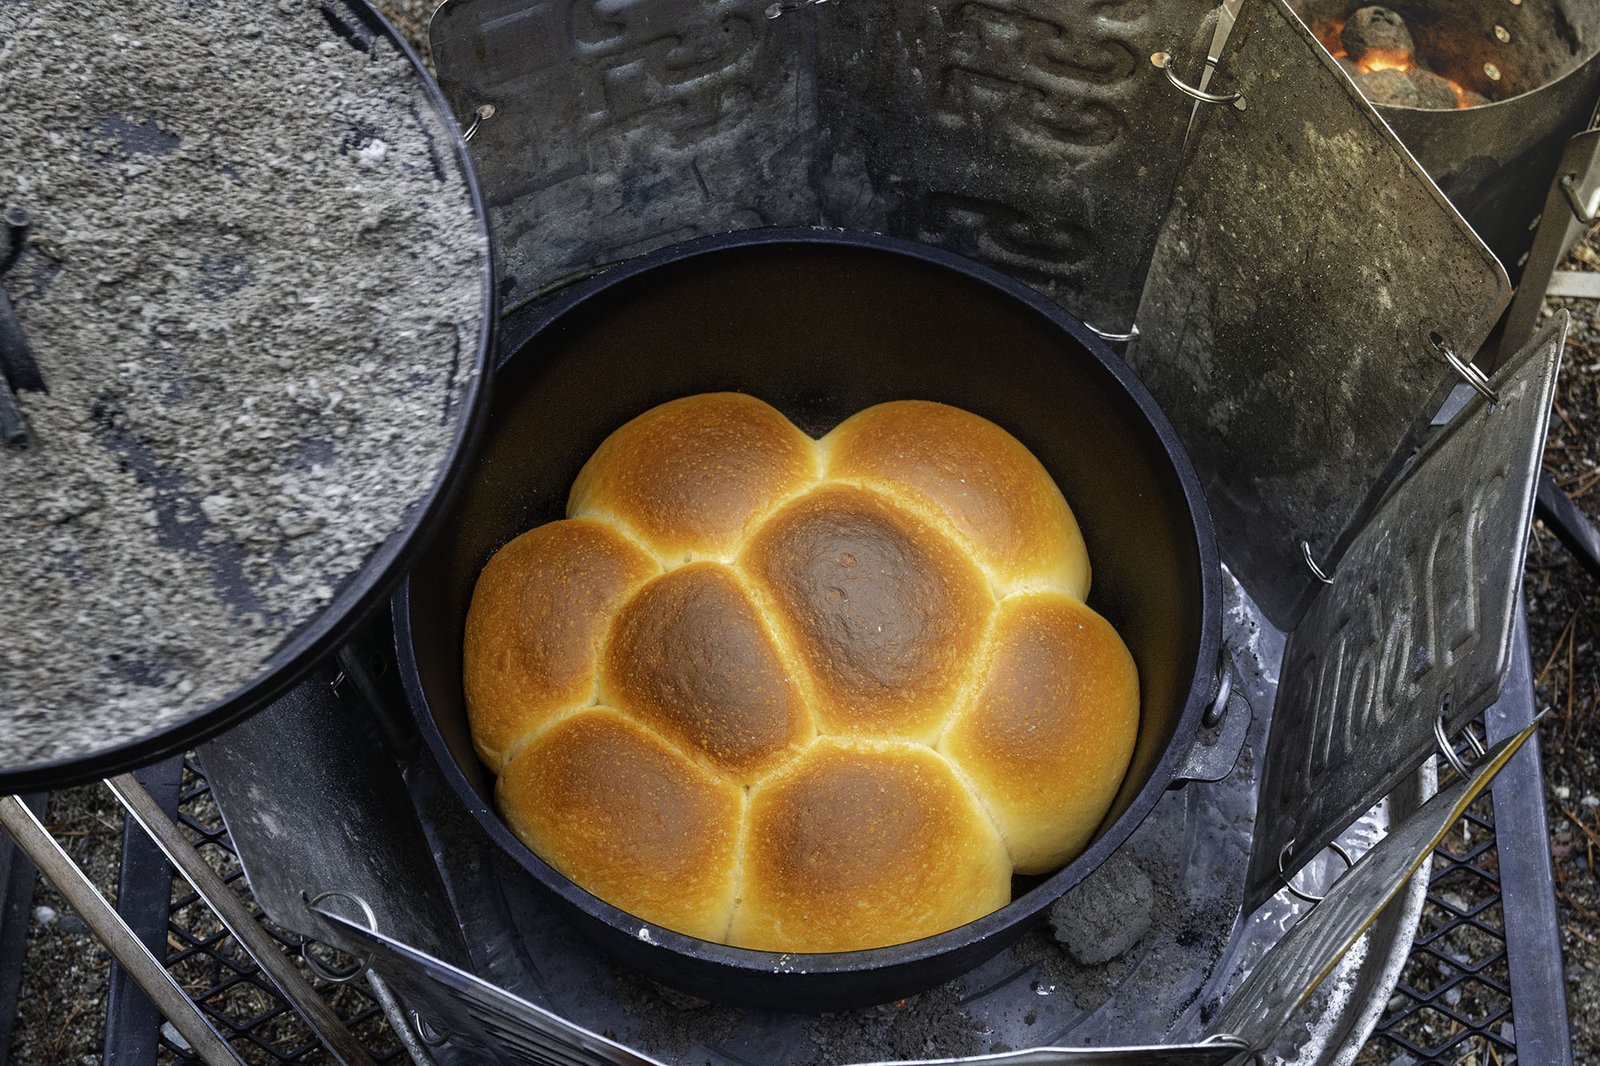
This activity serves people who enjoy wilderness cooking and want fresh bread without a standard kitchen. It suits those with a portable camp stove or a dedicated camping oven who have experience managing flame intensity.
If you’re a beginner who has never used a camp stove, you should practice boiling water or heating canned goods first to learn how your specific fuel source behaves. Adjusting the dial carefully is the difference between a golden crust and a charred brick.
This page assumes you’re using a commercially available propane camping oven designed for outdoor use. These units typically feature a built-in thermometer and a regulated burner. If you’re using a makeshift reflector oven or a Dutch oven, the principles of heat management differ significantly.
A common mistake is assuming that camp oven temperatures correlate exactly to home oven settings. Most portable units lack insulation, meaning they lose heat rapidly in wind. If the ambient temperature drops below 50 degrees Fahrenheit, you must increase your fuel flow by roughly 15 percent to maintain a steady 350-degree bake.
Use this decision rule to ensure success: If you’re baking in high-altitude or high-wind environments, always use a wind shield and preheat for at least 20 minutes. If the oven fails to reach 300 degrees after 10 minutes of preheating, check your regulator valve for a partial clog. Don’t attempt to bake delicate loaves until you have confirmed your oven can hold a steady temperature for at least 45 minutes without manual intervention.
Factors that change your success
The size of your loaf is the first thing that decides the outcome. A smaller, individual-sized roll cooks through before the outside burns, while a large, heavy loaf often ends up with a charred crust and a raw, doughy center. Aim for smaller loaves or muffins to ensure even heat penetration.
The wind speed at your campsite impacts your oven’s performance. A strong breeze pulls heat away from the thin metal walls of a camping oven, forcing you to turn the flame up high. This creates hot spots that ruin the bread. If the wind is blowing, use a wind guard or a natural barrier to shield your stove.
The type of fuel matters. Propane burns clean and steady, making it the most predictable choice for baking. If you’re using butane in cold weather, it loses pressure and the flame weakens. Always check your fuel canister level before starting; running out of gas halfway through a bake leaves you with a ruined, half-cooked mess.
The placement of the loaf inside the oven is crucial. Most camping ovens have a single burner at the bottom, creating a massive heat gradient. If you place your bread directly on the bottom rack, the base will burn while the top stays pale. Use a secondary tray or a metal trivet to lift the bread away from the direct heat source.
Can I bake bread in a camping oven? Essential techniques
- Place your camping oven on a stable, level surface away from flammable dry grass or brush.
- Light the burner and set it to the lowest possible flame to preheat the unit for 15 minutes.
- Place an oven-safe thermometer inside to verify the temperature; it should hold steady between 375°F and 400°F.
- Prepare your dough in a greased, small-sized loaf tin, filling it no more than halfway to allow for rising.
- Place the tin on the center rack, ensuring it isn’t touching the sides of the oven.
- Check the browning progress every 10 minutes, rotating the tin if one side is getting darker than the other.
- Monitor the color carefully, as the thin metal walls of camping ovens don’t provide the insulation needed for a deep, even crust.
- Remove the bread when the top is golden brown and the internal temperature reaches 190°F to 210°F, which is the range recommended by FoodSafety.gov’s chart for bread products.
- Let the bread cool on a wire rack for at least 20 minutes before slicing to let the crumb set.
The main judgement call is knowing when to move the bread. If the top looks done but the center feels soft, turn the flame to the absolute minimum and tent the top of the loaf with a piece of aluminum foil to slow the browning while the center finishes.
Baking results and methods
| Situation | What to do | What it takes | Watch for |
|---|---|---|---|
| Windy weather | Use a wind shield | High effort | Uneven browning |
| Cold air | Increase fuel flow | More gas | Flame flickering |
| Small loaves | Bake 20 minutes | Low effort | Burnt bottoms |
| Large loaves | Use low heat | 45 minutes | Raw center |
| High altitude | Adjust recipe | Extra time | Dough rising |
When baking outdoors, wind is your primary adversary. If your stove lacks a built-in barrier, construct a makeshift shield using heavy-duty foil or a dedicated metal screen. Without this, your heat source loses efficiency, forcing you to burn double the fuel just to maintain a steady internal temperature.
Cold air creates a different trap. If the ambient temperature drops below 50°F, your burner’s regulator may struggle to maintain pressure. If you see the flame flickering, don’t simply crank the dial to maximum. Instead, insulate the fuel canister with a wool sock or keep it inside your jacket until the moment you ignite.
Small loaves are prone to scorched bases because the heat source is often too close to the bottom of the pan. If you notice the crust darkening before the center sets, place a secondary metal plate or a small rack between the pan and the flame. This creates a buffer of hot air that prevents localized burning.
Large loaves require patience. If you rush the process by increasing the heat, the exterior will turn black while the core remains doughy. Use a toothpick to test the center; if it comes out sticky, reduce the flame by half and cover the top with foil. This traps steam and allows the heat to penetrate the dense center without charring the crust.
At altitudes above 5,000 feet, lower air pressure causes dough to rise too quickly. Reduce your yeast by 25% to prevent the structure from collapsing before it sets. If the bread fails to hold its shape, you have likely over-proofed it; shorten your next rise by 15 minutes.
Achieving a consistent bake
Managing heat distribution
The biggest mistake is ignoring the bottom burner. Because the heat source is concentrated in one small area, the metal floor of the oven acts like a radiator. Experienced campers place a heavy baking stone or an extra piece of sheet metal on the bottom rack to diffuse the heat. This prevents the bottom of your loaf from turning into charcoal while the top remains raw.
Monitoring the bake
Always keep a manual thermometer inside the box. Built-in gauges on camping ovens are often inaccurate or missing entirely. If you see the temperature spike above 400°F, turn the gas down immediately and open the door for five seconds to vent the excess heat. This prevents the sugars in the dough from burning before the yeast has finished its work.
Common problems and fixes
| What you notice | What it means | What to do first | How to prevent |
|---|---|---|---|
| Bottom is burnt | Heat is too direct | Use a trivet | Double layer pans |
| Top is pale | Heat is too low | Increase gas | Use foil cover |
| Bread is raw | Oven was too hot | Lower the flame | Use a thermometer |
| Crust is tough | Air is too dry | Add steam | Place water bowl |
| Bread collapsed | Over-proofed dough | Bake immediately | Watch the rise |
Safety and equipment rules
The use of portable propane appliances carries specific risks. According to the U.S. Consumer Product Safety Commission, you must always use these ovens in a well-ventilated outdoor area to prevent the buildup of carbon monoxide. Never use a camping oven inside a tent, a vehicle, or any enclosed space, regardless of how cold it’s outside.
Carbon monoxide is odorless and colorless, making it impossible to detect without a sensor. If you feel dizzy, nauseated, or develop a sudden headache while cooking, extinguish the flame and move to fresh air immediately. These symptoms are the primary warning signs of poisoning.
If you notice a smell of gas, shut off the cylinder immediately and move away from the unit. Don’t attempt to relight the burner until the leak is identified. Use a simple mixture of soap and water on your hose connections to find the source. If bubbles form, you have a leak.
If you’re uncertain about the condition of your hose or regulator, don’t light the appliance; have it inspected by a professional who handles gas equipment. A common mistake is over-tightening the regulator, which can strip the threads or damage the O-ring seal. This mistake often leads to slow, persistent leaks that are difficult to smell in windy conditions.
Follow this decision rule: if the connection feels loose or the hose shows any visible cracks, replace the parts entirely. Never use tape or sealant on gas threads. If the equipment is older, replace the hose and regulator as a set to ensure safety.
Real costs of outdoor baking
The cost of baking in a camping oven is measured primarily in fuel consumption. A standard one-pound propane canister typically lasts for four to six hours of cooking time depending on the flame setting. If you’re baking at a high heat, you’ll burn through fuel twice as fast as you would for simple water boiling.
You also pay in the effort required to monitor the flame; unlike a home oven, you can’t walk away. If you leave the bread unattended for more than 10 minutes, you risk losing the entire loaf to a flare-up.
The hidden cost is the wind chill factor. If the ambient temperature drops below 50 degrees Fahrenheit, your fuel efficiency plummets by nearly 40 percent. You must use a heat-reflective wind screen to prevent this loss. Without one, you’re essentially paying for the air around your oven rather than the dough inside it.
A common mistake is assuming that a “low” setting is uniform across different stove models. Always test your burner with a portable thermometer before committing to a recipe. If your oven temperature fluctuates more than 25 degrees, don’t attempt delicate pastries. Stick to dense items like sourdough or cornbread.
If you’re baking in high-altitude environments, increase your cook time by 20 percent. The thinner air reduces heat transfer, meaning your fuel burn will be higher for the same result. If you find your canister frosting over, it indicates the fuel is cooling rapidly; you may need to switch to a fresh canister or warm the current one.
Maintaining your gear
After you finish baking, wait for the oven to cool completely before cleaning. Use a damp cloth to wipe out any spilled flour or crumbs, as these become a fire hazard the next time you light the burner. If you notice rust on the interior racks, scrub them with a wire brush and apply a light coating of vegetable oil to protect the metal. Store the oven in a dry, covered bag to keep out moisture and debris. If the burner ports become clogged with grease, use a small needle to clear them, but never force the holes open or alter the gas jet.
When to avoid this method
Don’t attempt to bake in a camping oven if you’re in an area with high fire restrictions. Many parks prohibit open flames or portable stoves during dry seasons; always check the local ranger station’s website before starting your stove.
If you see a “Level 2” or “Stage 2” fire restriction posted, assume all portable stoves are banned, even those with an on-off valve. Ignoring these mandates can result in fines exceeding $500 or immediate eviction from the campsite.
If the wind is extreme, abandon the effort. A breeze over 15 miles per hour will cause the flame to flicker, leading to an uneven burn that leaves the center of your loaf raw while the crust burns. If you can’t block the wind with a dedicated metal windscreen, the heat loss will prevent the oven from reaching the necessary 350 degrees.
If you don’t have a reliable thermometer, don’t attempt to bake bread. Without a gauge, you’re guessing at the internal heat, which leads to “doughy centers.” Most campers make the mistake of relying on the stove’s dial, which is often calibrated for boiling water, not baking.
Use this decision rule: if you can’t maintain a steady temperature within a 25-degree window for at least 30 minutes, skip the baking. If you’re at an altitude above 7,000 feet, increase your baking time by 20% to account for lower air density. If the dough fails to rise after 45 minutes, the ambient temperature may be too low for the yeast to ferment effectively.
Frequently asked questions
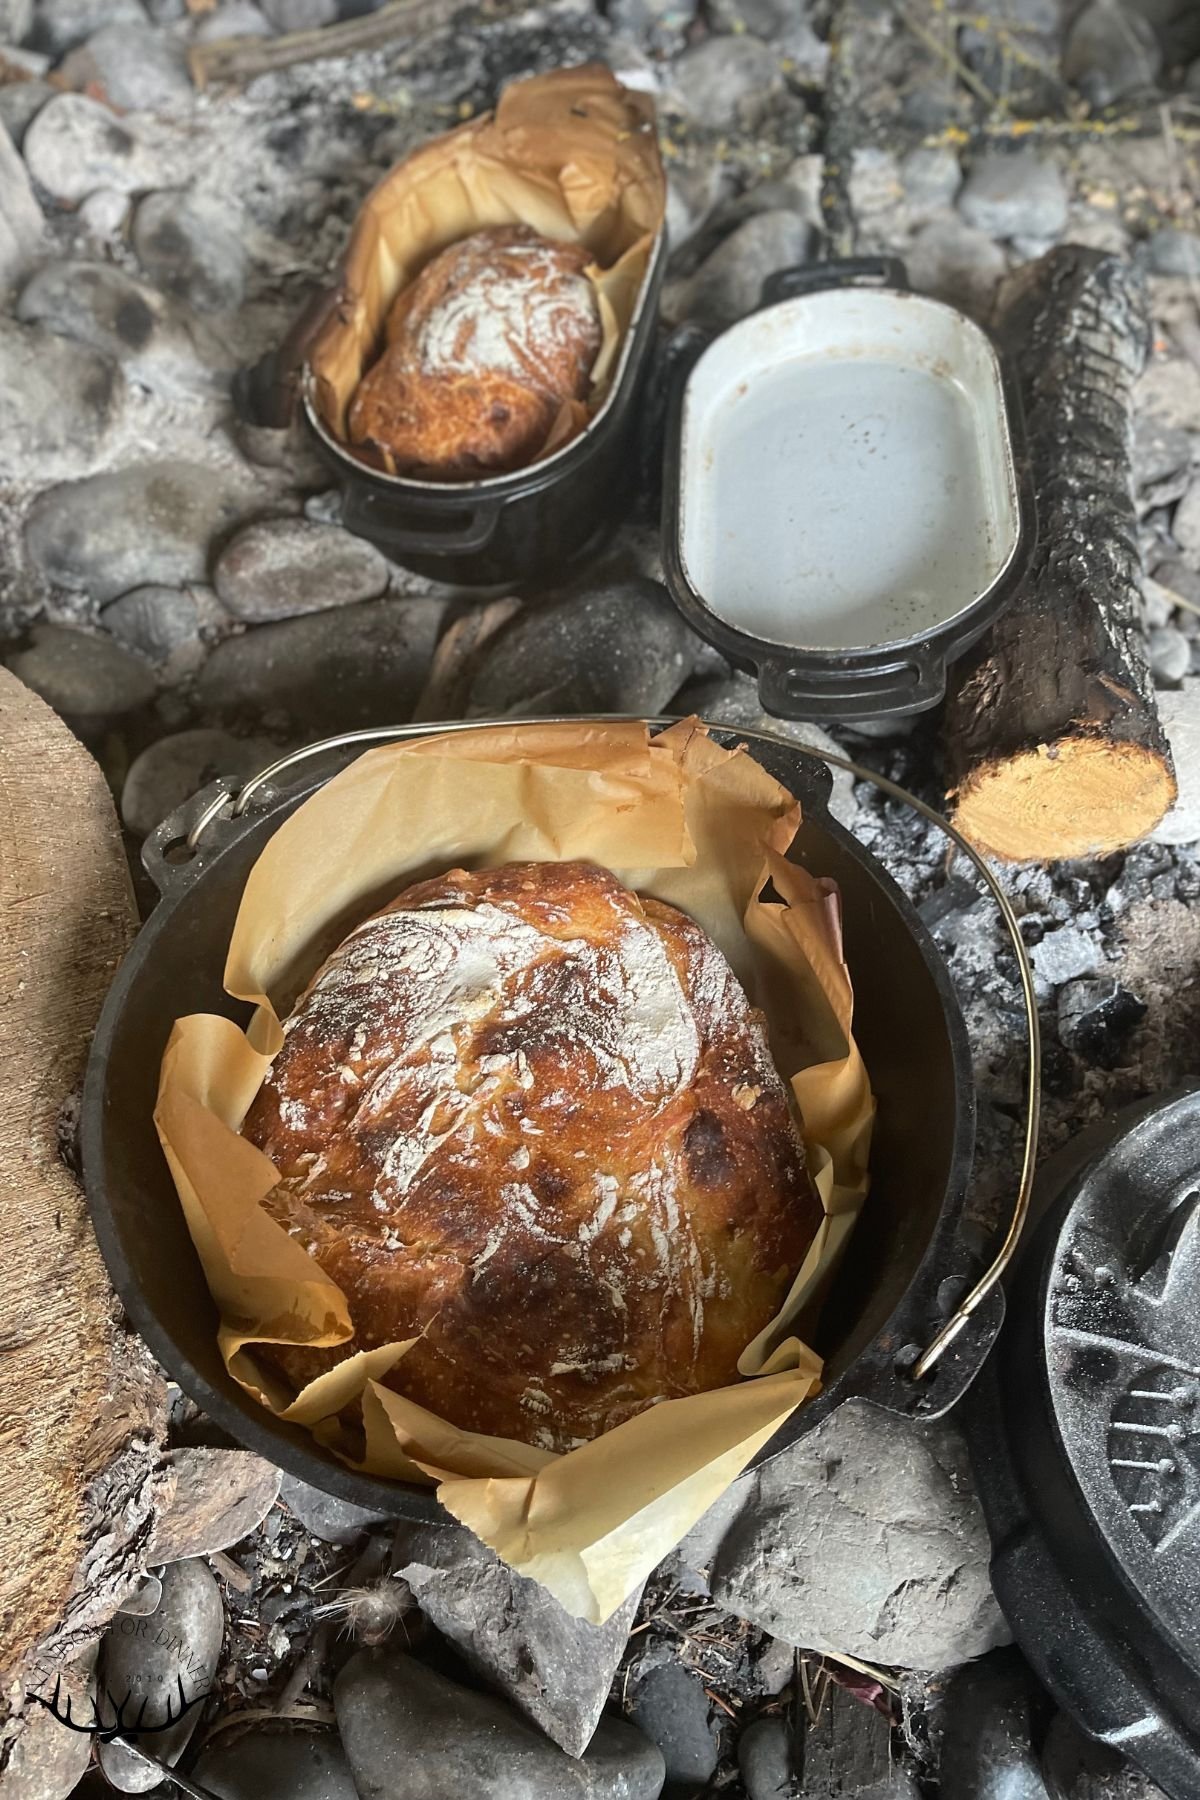
Can I use a Dutch oven instead?
Yes, a Dutch oven is often superior for baking bread outdoors because the cast iron retains heat and provides a consistent environment. Place the cast iron pot on a grate over your stove or nestled into the coals to create a professional-style bake that’s much harder to achieve in a thin-walled camping oven.
Is it safe to bake bread inside a tent?
No, it’s never safe to use a propane camping oven inside a tent or any enclosed structure. You must always place your oven in an open, well-ventilated area to ensure the exhaust gases can dissipate safely.
How long does bread take to bake?
Most small loaves take 20 to 30 minutes in a camping oven at 375°F. This depends heavily on the loaf size and the ambient temperature, so start checking the crust color at the 15-minute mark. Always use a thermometer to ensure the internal temperature has reached at least 190°F.
Why does my bread taste like gas?
This happens if you light the oven before the gas has a chance to dissipate or if your burner isn’t burning efficiently. Always open the oven door, turn the gas on, and light the pilot or burner immediately to prevent gas buildup. If the flame is yellow instead of blue, your burner needs cleaning.
Does the altitude affect my baking?
Yes, higher altitudes cause dough to rise faster and require lower baking temperatures. At elevations above 3,000 feet, you may need to adjust your recipe or baking time to account for faster rising and moisture loss. You may also need to use slightly less yeast in your dough recipe to prevent the loaf from collapsing during the rise.
Can I bake frozen dough?
Yes, you can bake frozen dough, but you must thaw it completely before placing it in the oven. If you put frozen dough into a hot camping oven, the outside will burn before the center thaws and cooks. Allow the dough to reach room temperature and complete its final rise before starting the heat.
Bake bread, in short
Start by preheating your oven with a thermometer inside to confirm the heat is steady. Place your dough in a small pan, monitor the color every 10 minutes, and remove the bread once it reaches an internal temperature of 190°F. If the flame flickers or the temperature drops below 350°F, turn off the burner and check your fuel supply before attempting to relight.