
To sync a remote with your system, you must press the learn button on the motor head and then hold the button on your remote within 30 seconds. Most homeowners can successfully program wayne dalton garage door opener units in about five minutes without needing special tools. This method works best for standard residential openers manufactured by the company. If you’re unsure about your specific model, you can check the official Wayne Dalton support documentation to identify your exact receiver type.
Items needed to program your Wayne Dalton garage door opener
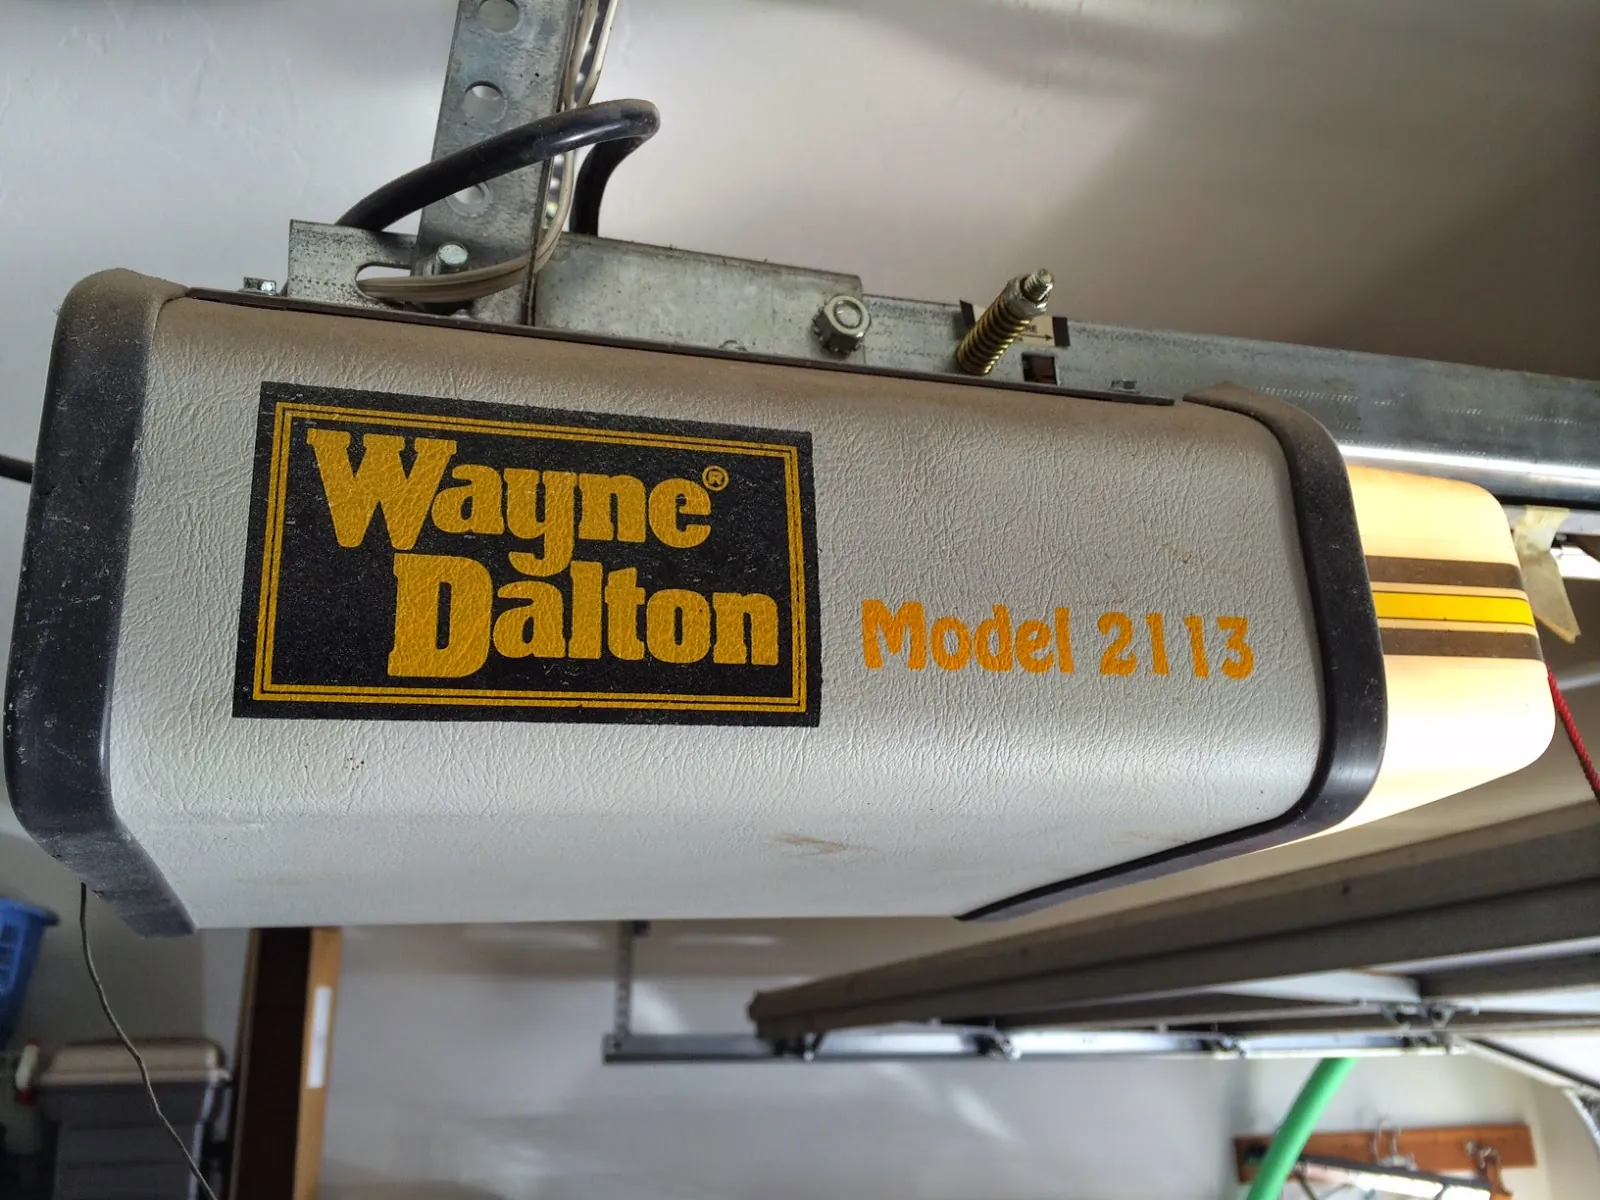
Before you start, gather these items to ensure the process goes smoothly. Having everything ready prevents you from needing to climb up and down the ladder multiple times while the system is in learn mode.
A sturdy A-frame ladder that reaches the motor housing safely is essential. Ensure the ladder is positioned on level ground to avoid any wobbling while you reach for the overhead controls.
Keep the original remote control you intend to connect to the system within arm’s reach. Always install a fresh battery before beginning. A battery with insufficient charge often causes intermittent signal drops, leading to a failed handshake between the remote and the receiver, which should be addressed by a technician.
Include a flat-head screwdriver or a small pin in your kit. You’ll need this to press recessed buttons on older control panels that lack a physical toggle switch. If the button feels springy, you’re likely hitting the right internal contact.
Recruit a helper to stand on the ground and verify if the door moves. While optional, this person acts as your eyes. They can confirm if the motor hums or the lights flash, which provides immediate feedback the system is responding to your input.
If you’re using a universal remote instead of the original, verify it supports the 372 MHz frequency common to these units. Using an incompatible frequency prevents the remote from ever pairing, regardless of how many times you press the button. Check the back of the remote casing for a sticker confirming the frequency range.
If your remote lacks a frequency label, check the manufacturer’s technical specifications in your owner’s manual. If you have a multi-button remote, confirm that you’re using the correct button assigned to the primary door. Many users mistakenly attempt to program the secondary button, which is often hard-wired to a different frequency or restricted to specific security protocols. In this case, you must switch to a manufacturer-approved transmitter.
Steps to Link Your Remote
Follow these steps carefully to connect your device. If you find yourself struggling to reach the motor head, don’t force the ladder into an unstable position; ask someone to spot you for safety.
- Locate the “Learn” button on the back or side panel of the garage door opener motor housing.
- Press and release the “Learn” button once; a small LED light will glow steadily or blink, depending on your model.
- Walk to your remote control within 30 seconds of pressing the learn button.
- Press and hold the button you want to use on the remote for two full seconds.
- Watch for the motor light to flash or for a clicking sound to confirm the code is stored in the memory.
- Test the remote by pressing the button again to see if the garage door opens or closes.
Tip: If the light doesn’t flash, the system has timed out, so start again from step one. Careful: Never stand directly under the garage door while testing, as a malfunction could cause it to close unexpectedly. If the motor fails to respond after three attempts, your internal receiver board may require professional inspection by a qualified garage door technician.
Variations by Opener Type
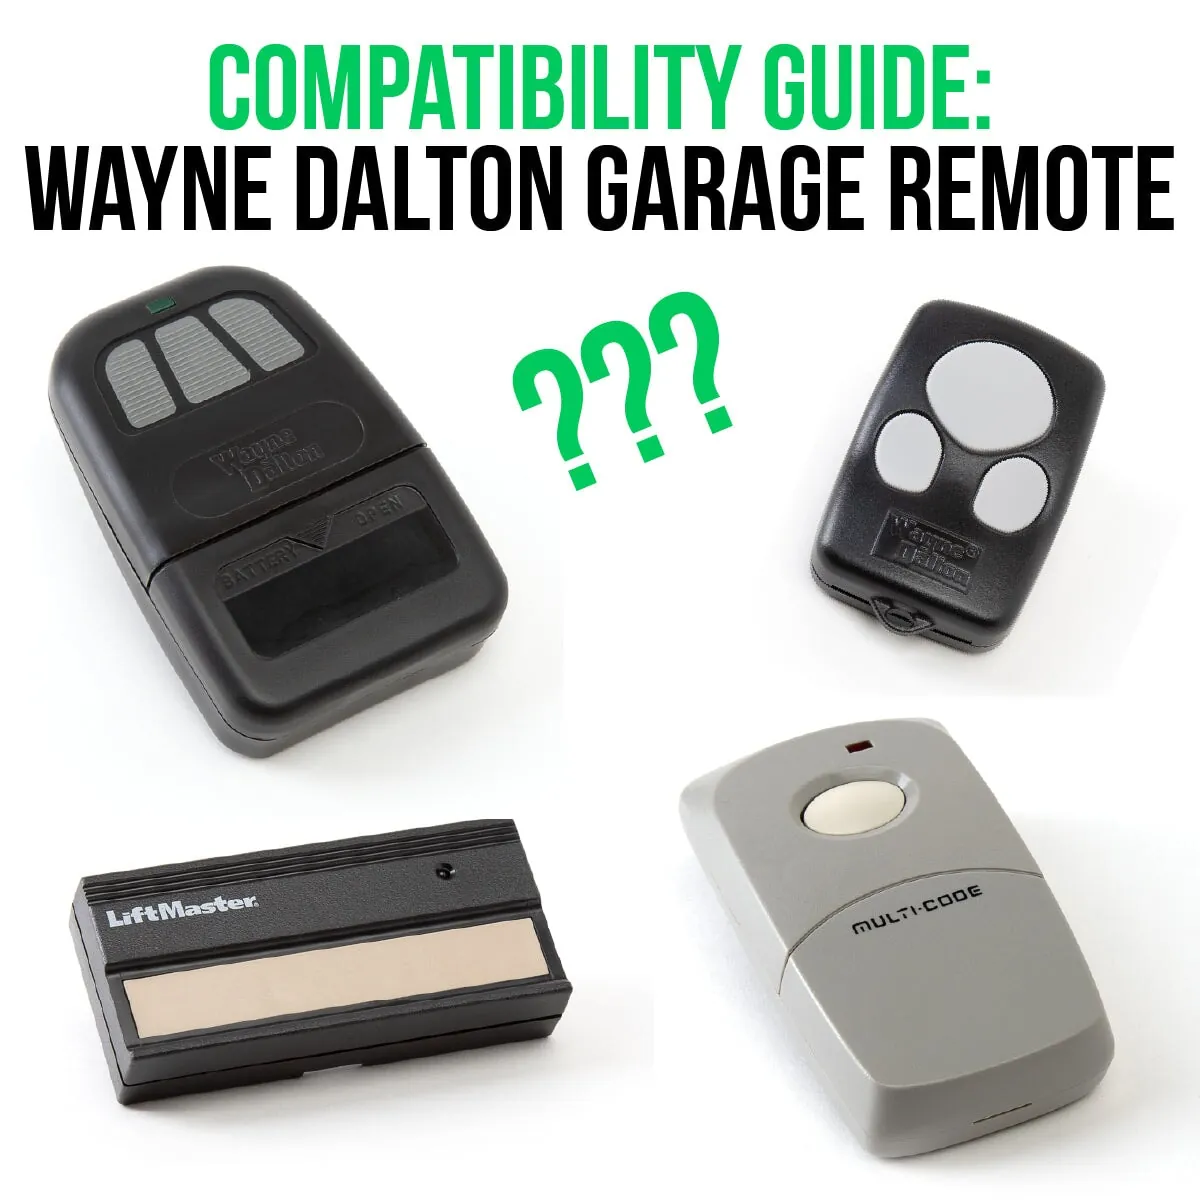
The time required and the specific button locations vary based on whether you have a newer wall-mounted unit or a traditional ceiling-mounted motor.
| System Type | Typical Setup Time | Key Difference | What to Watch |
|---|---|---|---|
| Ceiling Motor | 3-5 minutes | External learn button | LED flash status |
| Wall-Mounted | 2-4 minutes | Internal menu access | Screen prompts |
| Keypad Entry | 5-7 minutes | Requires PIN entry | Code confirmation |
Ceiling units usually feature a physical “Learn” button located near the antenna wire. If you press this button for longer than six seconds, you risk wiping the memory of all existing remotes. Stop the moment the indicator light blinks.
Wall-mounted units rely on digital menus rather than physical buttons. You must navigate to the “Program” or “Remote” sub-menu on the integrated LCD screen. If your screen remains blank, check that the unit isn’t in “Lock” mode, which disables all wireless signals for security.
Keypad entry systems require a valid PIN before the pairing mode activates. If you enter an incorrect code three times, the system will trigger a thirty-second lockout period.
Always pair one remote and test its function before syncing additional clickers. Adding multiple devices simultaneously often confuses the receiver, causing it to drop the signal for the first remote. If the door fails to move after the first attempt, clear the memory entirely and begin the sequence from the start.
Judging a Successful Connection
A successful connection results in immediate motor movement when you press the remote button. If the motor clicks but the door doesn’t move, the remote is paired, but you may have a mechanical obstruction or a locked wall console. Check the manual release cord first; if it hangs loose, the trolley has disconnected from the rail. Re-engage it before assuming the remote is at fault.
A poor result often manifests as the remote light blinking red or the opener failing to acknowledge the signal entirely. This usually happens because the remote is too far from the antenna during the initial handshake. You can prevent this by keeping the remote within five feet of the motor head during the programming phase.
If the opener light flashes but the door remains stationary, count the flashes. Most modern units use these blinks as an error code. A steady, rhythmic flash usually indicates a safety sensor misalignment, not a remote failure. If your sensors are blocked, the system will ignore all remote commands as a safety precaution. Clear the path between the sensors and try the button again before resetting your remote.
Standards and System Maintenance
The safety standards for residential garage door openers are set by the Consumer Product Safety Commission, which requires all units manufactured after 1993 to include a functional photo-eye sensor system. Before you finish, ensure that these sensors are clean and aligned, as they will stop the door from closing if they detect an obstruction.
Test your alignment by placing a solid object, such as a cardboard box, in the path of the beam while the door is closing. If the door continues to move downward, the safety reversal system is malfunctioning and the door must be taken out of service immediately. In this case, you must adjust the mounting brackets until the indicator lights on both sensors glow steadily.
Most remotes will hold their programming for several years, but you should replace the battery based on usage and the owner’s manual to maintain a strong signal. If your remote range drops below 15 feet, the battery is likely failing.
After you finish programming, clear the ladder away and store your manual in a safe place. If you require complex wiring or circuit board repairs, contact a certified professional. Tampering with internal electrical components can void your warranty and risks damaging the logic board. If the motor hums but the door doesn’t move, check the manual release cord before calling for service.
Alternative Programming Methods
Using the Wall Console
Many units allow you to program remotes through the wall-mounted control panel. This removes the need for a ladder, as you navigate a digital menu to “Add Remote” or “Learn Mode.” This is faster and safer for those uncomfortable with heights.
Wireless Keypad Setup
If you’re adding an outdoor keypad, you must enter a master PIN followed by the learn command. This process is distinct because it requires assigning a unique sequence to the keypad, which then talks to the motor independently of your handheld remotes.
External Receiver Modules
If your built-in receiver fails, you can wire an external universal receiver to the wall button terminals. This bypasses the internal board entirely, allowing you to use modern remotes with an older motor unit. This is a common fix for legacy systems that no longer accept original signal codes.
Frequently asked questions
Can I program a remote without a ladder?
Yes, you can use a wall-mounted console to enter programming mode if your specific model supports it. Check your wall control menu for an option labeled “Learn” or “Pairing.” If your wall control is a simple button without a screen, you must use the physical learn button located on the motor head.
How long does the learn mode stay active?
The learn mode typically stays active for 30 seconds after you press the button on the motor head. If you don’t press the remote button within this window, the receiver will exit the mode automatically. You’ll need to press the learn button again to restart the process.
Is it safe to program a remote while the door is open?
Yes, it’s perfectly safe to program the remote while the door is in the open position. Ensure that the area under the door remains clear of people and objects in case the door closes during testing. Never attempt to adjust the mechanical tension springs yourself while working on the opener.
What happens if I lose the remote?
If you lose a remote, you should clear the memory on your garage door opener to prevent the lost device from opening your door. Most units have a “Clear All” function, which you trigger by holding the learn button for 10 to 15 seconds until the LED light flashes.
Why won’t my remote sync with the motor?
The most common cause is a dead battery or an incompatible frequency. Ensure the battery is fresh and that the remote is designed to work with your specific model’s frequency. If the battery is new, check for loose wires on the motor head that connect to the antenna.
How many remotes can I pair at once?
Most standard residential garage door openers can hold between 8 and 15 unique remote codes in their internal memory. If you try to add more than the limit, the system will typically overwrite the oldest code stored in the unit.
Conclusion
Once you’ve finished, test the remote a few times to ensure it’s working reliably. If the door doesn’t move, don’t worry; just double-check the batteries and try the pairing process again. You’ll be glad you handled this yourself, and it’s a great way to keep your home running smoothly for years.
