
You can resolve most issues with your machine by performing garage door chamberlain troubleshooting, which usually starts with checking your safety sensors or the wall control panel. The most common cause for a door that refuses to close is a blocked or misaligned infrared safety sensor, which prevents the motor from engaging as a safety precaution. If your door reverses suddenly or won’t move at all, these basic checks often restore normal function without needing a professional technician.
Troubleshooting your Chamberlain garage door
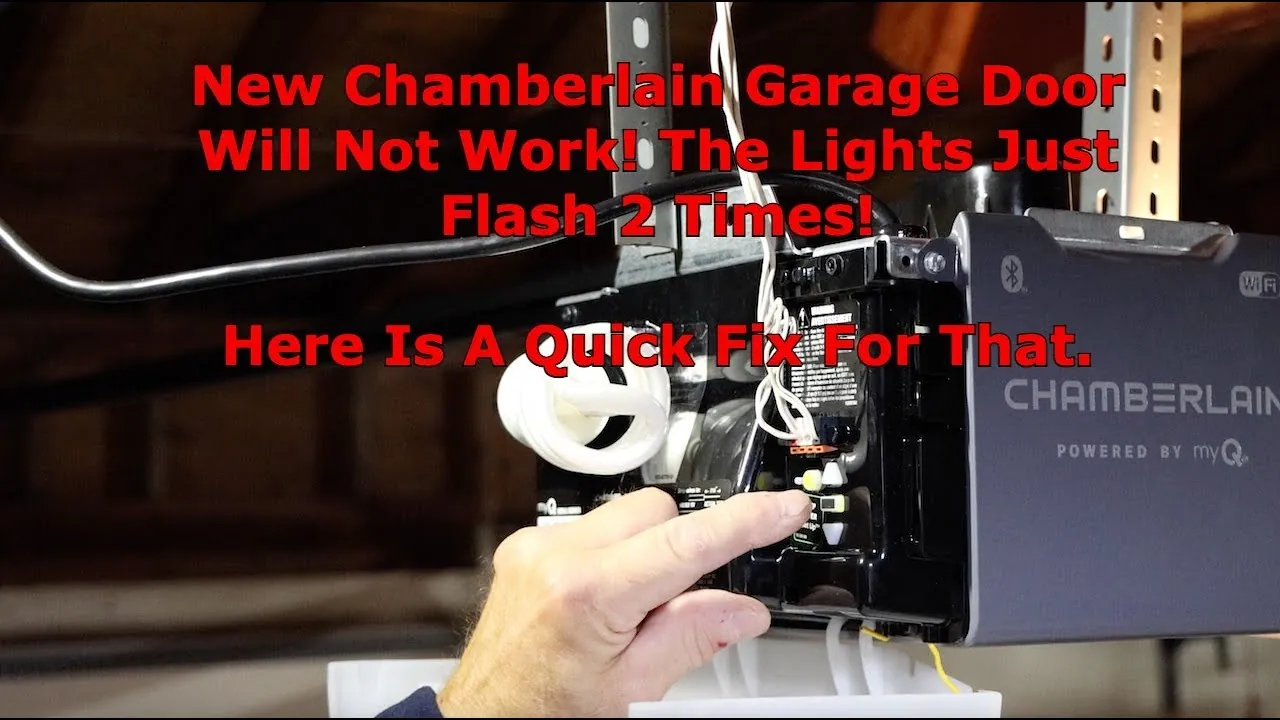
Most operation issues happen because the electronic safety system detects an obstruction or a loss of power. The safety sensors located at the bottom of your tracks are designed to stop the door instantly if they can’t see each other. Even a small amount of dirt on the lens or a slight bump to the mounting bracket can break this invisible beam, causing the system to think someone is standing in the way.
If your door reverses immediately upon closing, check the sensor LEDs first. A solid light indicates a clear connection, while a flickering or off light confirms a misalignment. Simply loosen the wingnut on the bracket and rotate the sensor until the light stays solid.
Another frequent cause is the travel limit setting. Over time, the internal gears may settle or the door itself may shift, causing the motor to think the door is hitting the floor before it actually does. If the motor detects resistance, it will reverse the door to prevent damage to the mechanism.
Many homeowners mistakenly increase the force sensitivity to stop this reversing, which risks crushing objects or damaging the door panels. Instead, adjust the down-limit screw on the motor housing by a quarter turn. You can check the current status of your door by looking at the diagnostic light on the motor head; the number of flashes indicates specific error codes that help identify if it’s a sensor issue or a motor-related fault.
Check the safety sensors
The safety sensors are the first place to look when your door fails to close. Each sensor has a small LED light that stays lit when the alignment is correct. If these lights are flickering or off, the sensors aren’t talking to each other. Clean the lenses with a soft, dry cloth to remove dust or spiderwebs that might block the signal.
Once clean, ensure the brackets are tight and pointing directly at each other. If one sensor is loose, you can gently nudge the bracket until the light turns solid. A common mistake is overtightening the wingnut, which can cause the bracket to sag under its own weight over time. If the bracket feels flimsy, use a level to ensure both units are mounted no higher than six inches above the garage floor.
Don’t attempt to bypass these sensors by twisting wires together; this creates a serious safety risk for your household and pets. If you can’t get the lights to turn solid despite cleaning and alignment, check the wiring for small nicks or exposed copper. If the wire is intact but the light remains dark, the internal circuit has likely failed and the unit requires a full replacement. Always replace both sensors as a matched pair to ensure consistent signal strength.
Reset the travel limits
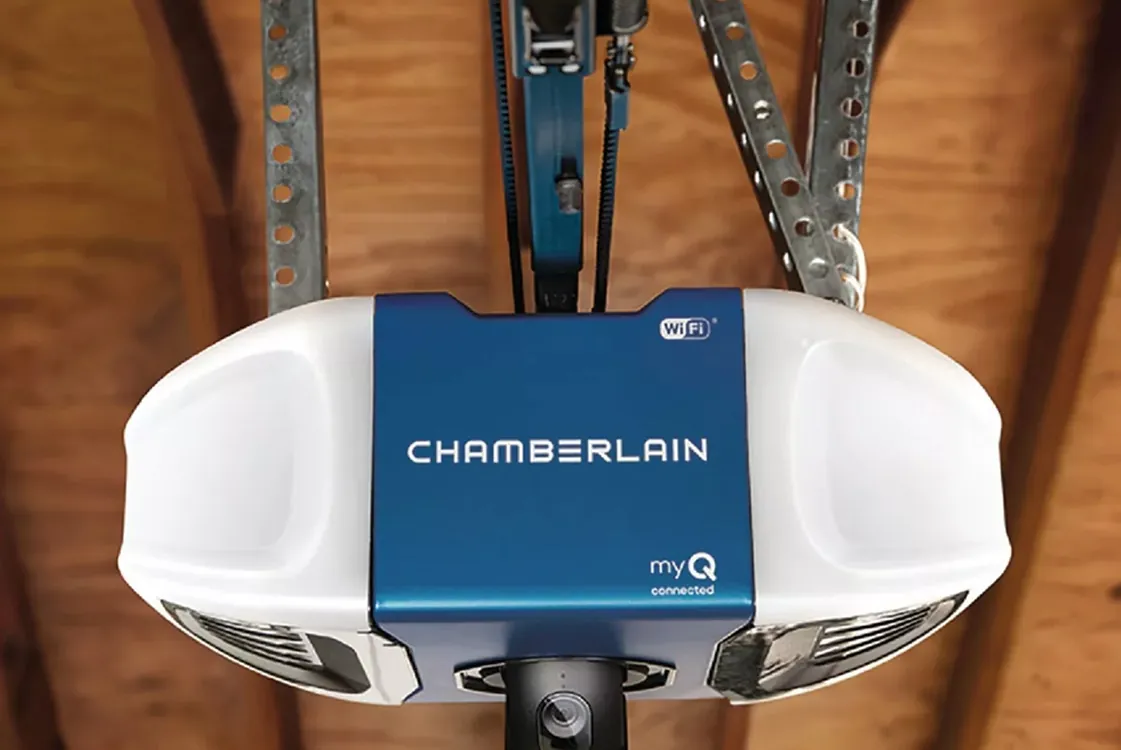
If the door moves but stops short or reverses, the travel limits need a quick adjustment. These settings tell the motor exactly how far the door should open and close. If the setting is off by even an inch, the motor senses extra pressure and assumes the door is hitting an object, triggering the automatic reverse feature.
Locate the adjustment buttons on the side or back of the motor unit. You’ll usually see arrows or “up” and “down” buttons. Press the “down” button to move the door to the floor, then adjust the limit until the door sits firmly without pushing hard into the concrete.
If you have an older model with screw-type limit adjustments, turn the down-limit screw in small increments. Turn it counter-clockwise to increase the travel distance or clockwise to decrease it. Test the door after every quarter-turn to avoid over-correcting, which can cause the door to bind in the tracks.
If the door hits the floor and immediately bounces back up, you have set the limit too deep. Back the screw off by an eighth of a turn until the door rests flush. If the door hangs an inch above the floor, you haven’t set it deep enough. Always clear the floor of debris before testing, as even a small pebble can trigger the safety sensor and give you a false reading.
Test the force settings
When the door is physically balanced but still stops, you might need to increase the force setting. This setting controls how much effort the motor uses to pull the door. If the force is set too low, the motor gives up when it meets any natural resistance, such as a cold day where the grease is thicker or the door is slightly heavier.
Find the “force” or “travel” dial on your motor housing. This is often a small plastic knob that you can turn with a flat-head screwdriver. Increase the force only by a small amount, such as one notch or a quarter-turn, and test the door again.
If you find yourself increasing the force to the maximum level and the door still struggles, don’t keep pushing it. This indicates a mechanical issue like a broken spring or a bent track. Continuing to force the motor when the door is heavy can strip the internal gears. If the door feels heavy when you lift it by hand, you need a professional to inspect the spring tension.
Common mistakes to avoid
Spraying grease on the tracks collects dust and grit, creating a sticky paste that forces the motor to work significantly harder. Use a silicone-based lubricant on the rollers and hinges instead, as these dry cleanly without attracting debris.
Bypassing safety sensors by wiring them together is a dangerous gamble. If the beam is obstructed, the door won’t stop, posing a severe risk to children or pets. If your door reverses randomly, check for misaligned lenses or frayed wires before considering a bypass.
Ignoring a grinding or screeching sound is a common mistake that leads to total system failure. These noises indicate metal-on-metal friction or loose hardware. If you hear a pop or a sudden bang, stop using the door immediately and inspect the cables for fraying.
Never attempt to adjust the torsion spring yourself. These components are under hundreds of pounds of tension and can cause catastrophic injury if they snap. If the door feels heavy or uneven, call a professional technician to handle the tensioning safely.
Preventing future operation issues
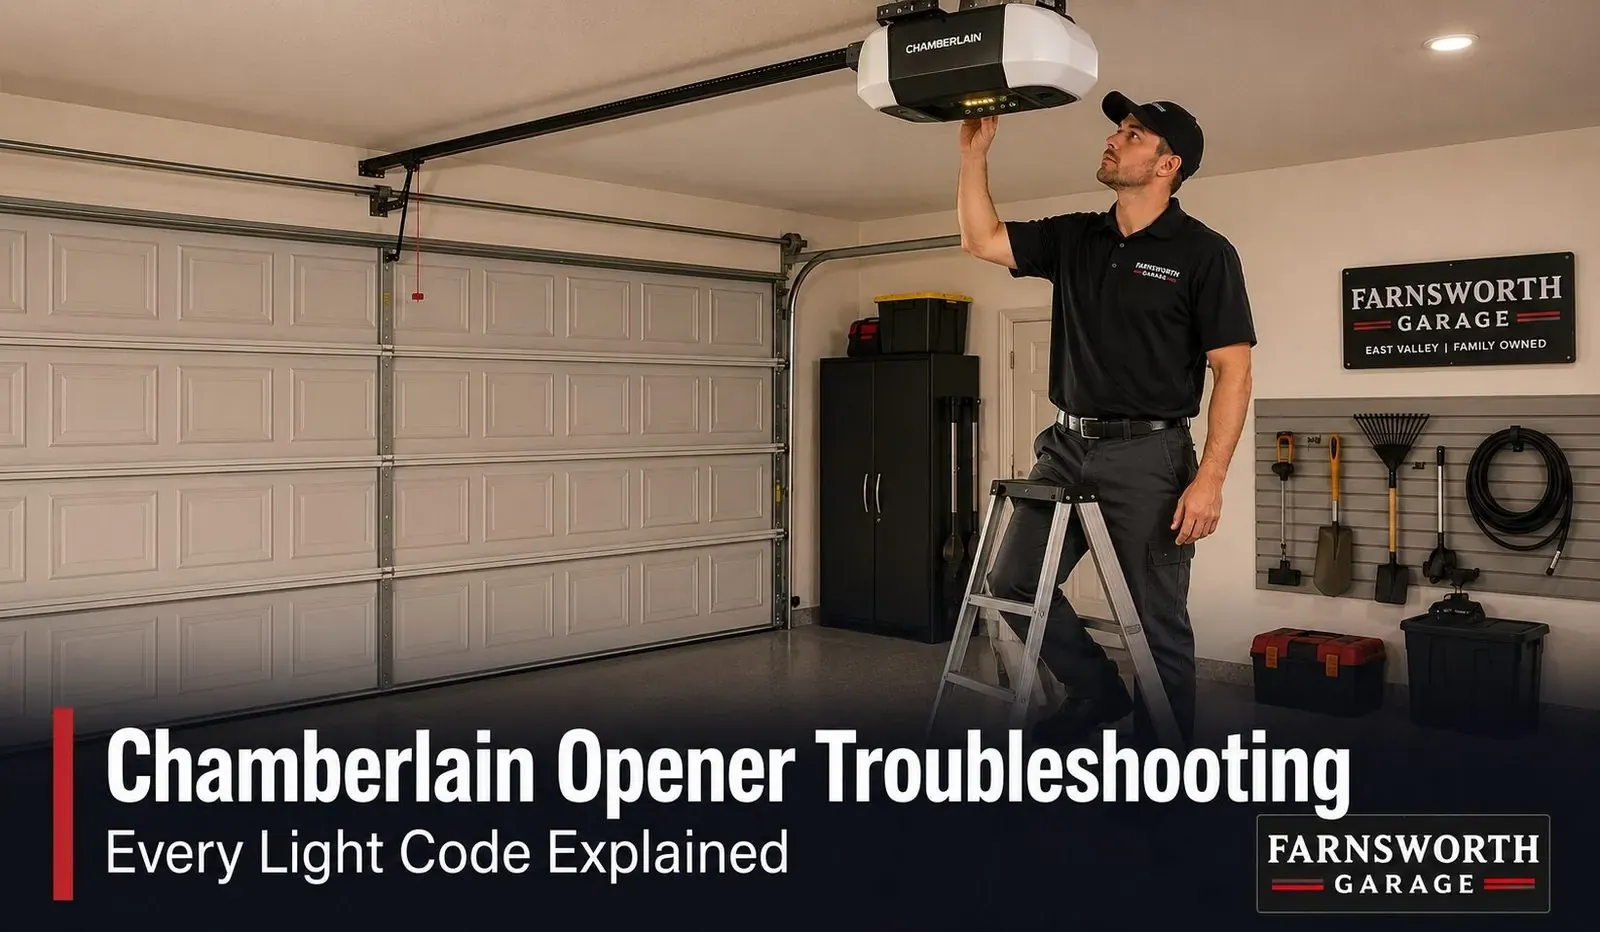
Keeping your system running smoothly requires regular maintenance to ensure the hardware and software stay in sync. If you’re doing this, do this instead to keep the door moving safely and reliably.
| If you’re doing this | Do this instead | Why |
|---|---|---|
| Pulling the emergency cord | Disengage only when the door is closed | The door can fall rapidly if the spring is broken |
| Using thick oil on hinges | Use a silicone-based lubricant | Oil collects grit and slows the door down |
| Tightening track bolts | Check for loose wall mounts | The tracks must remain perfectly vertical |
| Forcing a stuck door | Manually operate the door first | This helps you feel if the spring is broken |
Most homeowners wait until the motor groans to act, but the real test is the “balance check.” Disconnect the opener and lift the door halfway by hand. If it drifts more than six inches in either direction, your tension springs are failing.
If your door feels heavy or jerky, stop immediately. Check the bottom brackets for fraying cables. If you see even one strand of wire protruding, don’t touch the cable yourself. These components hold enough tension to cause severe injury. Call a professional to reset the spring tension before the cable snaps entirely.
Related guides
- Chamberlain Garage Door Opener Troubleshooting: Easy Fixes
- LiftMaster vs Chamberlain: Which Garage Door Opener Is Best
- Garage Door Cable Came Off Drum: How to Fix It Safely
Frequently asked questions
How long should a garage door last?
Most residential systems last 10 to 15 years with consistent annual maintenance. This lifespan depends heavily on your usage frequency and how well you keep the tracks clean and hinges lubricated. Note that loud noises or uneven movement often indicate that rollers or springs require professional replacement.
Why does my door reverse before hitting the floor?
Your door reverses before touching the floor because the current travel limit setting is too short or the force sensitivity is set too low. The motor thinks the door is hitting an object and triggers the safety reversal to prevent damage. You can fix this by adjusting the down-limit setting on the motor housing, allowing the door to travel a few inches further until it makes light contact with the ground.
Is it safe to fix the garage door myself?
It’s safe to perform basic maintenance like cleaning sensors, lubricating hinges, or adjusting limit settings, but you must never touch the springs or cables. These components are under high tension and can cause serious injury if they release suddenly. If your diagnostic checks don’t solve the problem, or if you see a broken cable or spring, stop immediately and contact a qualified garage door technician to handle the repairs.
What happens if the power goes out?
You can operate your door manually during a power outage by pulling the red emergency release cord. This action disconnects the trolley from the motor, allowing you to lift the door by hand. Always ensure the door is closed before pulling the cord to prevent it from slamming shut.
How often should I lubricate the door?
Lubricate your hinges, rollers, and track bearings every 6 to 12 months for optimal efficiency. Use a silicone-based spray lubricant, as it avoids attracting dust and dirt like petroleum-based alternatives. Be careful to avoid spraying the nylon rollers or belt, as this can cause them to slip or degrade.
Conclusion
If you have tried adjusting the limits and cleaning the sensors but the door remains non-responsive, the issue may be a faulty logic board or a stripped gear inside the motor housing. These internal components require specialized tools to access and replace safely. At this point, it’s best to contact a professional technician who can confirm if the motor unit needs a simple repair or a full replacement.
