
Learning how to program a remote for an overhead garage door opener is a practical way to save time and money after moving or losing a transmitter. Although these systems prioritize security, most allow homeowners to sync new remotes in minutes using standard methods. Whether your system uses rolling codes or older dip switches, you can typically complete the setup by accessing the motor unit on your garage ceiling.
Key Takeaways
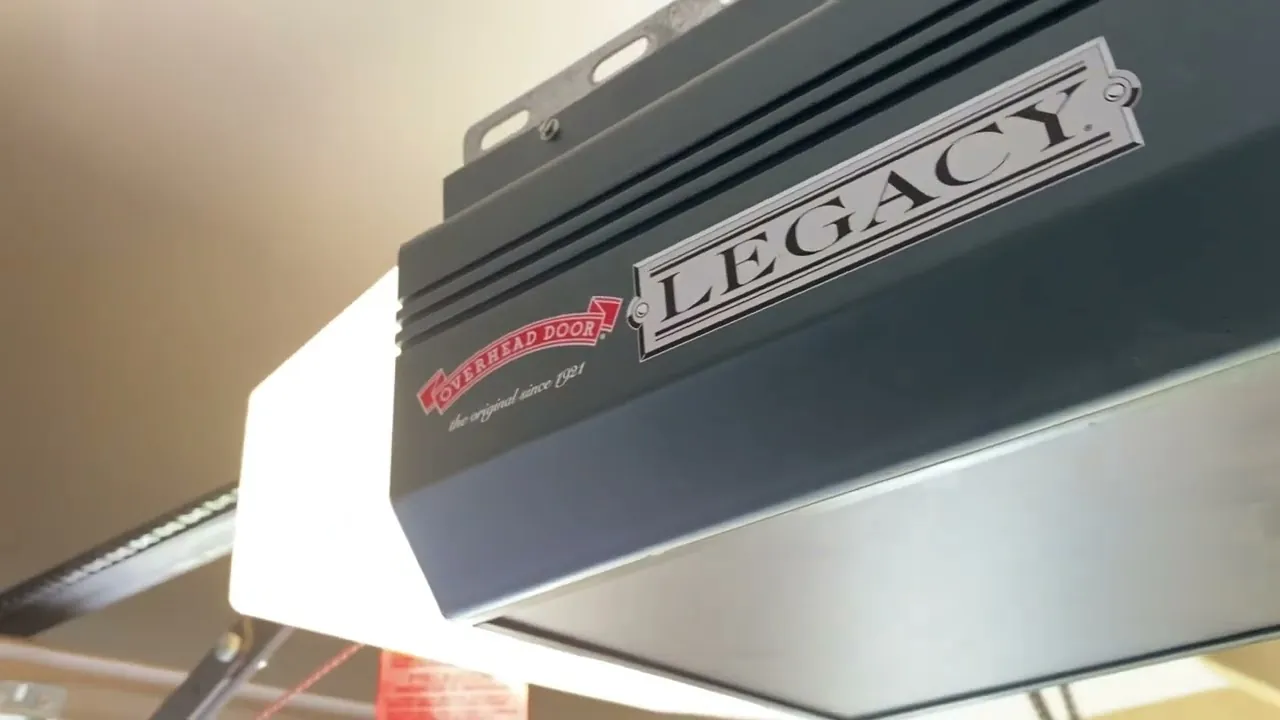
- Identify your motor unit’s brand and model number before starting to ensure compatibility with your remote.
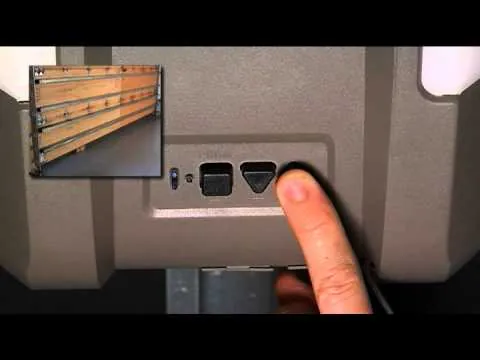
- The “Learn” button is usually located on the back or side panel of the motor housing.
- Rolling code technology requires you to press the button on your remote within 30 seconds of activating the learn mode.
- Always test the remote from both inside and outside the garage to confirm the signal is consistent.
- If your system uses physical switches, ensure the pattern on the remote matches the motor unit exactly.
Identifying Your Opener Type
Before you begin the programming process, you must determine which generation of hardware you’re working with. Most openers manufactured after 1993 use a rolling code security system, which changes the access code every time the button is pressed to prevent unauthorized entry. Older systems, however, may rely on a fixed-code setup involving a series of small switches inside the transmitter and the receiver.
- Rolling Code Openers: These are the industry standard today and feature a dedicated “Learn” button on the motor unit.
- Dip-Switch Openers: These require you to manually set a series of small toggles to match a specific pattern.
- External Receiver Models: Some older homes have a separate box mounted near the motor that handles signals.
| System Type | Primary Feature | Programming Method |
|---|---|---|
| Rolling Code | Security Encryption | Press Learn button on motor |
| Dip-Switch | Fixed Binary Code | Manual toggle alignment |
| Universal | Multi-Brand Support | Frequency/Brand selection switches |
How to Program Rolling Code Remotes
The most common procedure for modern residential openers involves a simple synchronization sequence. First, locate the “Learn” button on your motor unit. This is often colored yellow, purple, red, or green, and is usually found under the light cover or on the side of the housing.
- Locate the Learn Button on the back of the motor unit.
- Press and release the button; a small LED light will typically begin to glow or blink steadily.
- Within 30 seconds, press and hold the button on your handheld transmitter until the motor unit’s light flashes or you hear a click.
- Test the remote by pressing the button again to see if the door operates.
Pro Tip: If your motor unit light doesn’t blink after pressing the learn button, check that the unit is plugged into a functional power outlet and that the wall-mounted control panel is active.
Configuring Older Dip-Switch Models
If you’re working with a legacy system, you’ll need a small flat-head screwdriver to adjust the internal switches. These switches are usually hidden behind the battery cover of the remote and inside the main motor housing.
- Open the battery cover on your remote.
- Open the cover on your motor unit to expose the matching switches.
- Set each switch on the remote to the exact “On” or “Off” position as it appears on the motor unit.
- Replace all covers and test the signal.
Warning: Ensure your garage door is fully closed before attempting any internal maintenance on the motor unit to prevent accidental operation while your hands are near the drive chain or belt.
Troubleshooting Common Connection Issues
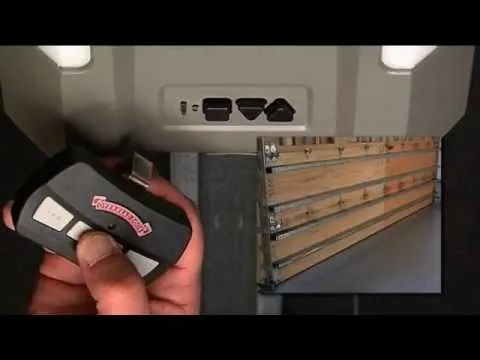
If your remote fails to operate the door after following the steps above, the issue is often related to signal interference or battery health. Start by replacing the batteries, as even a “new” remote may have been sitting on a shelf for months.
- Dead Batteries: Replace with the specific coin-cell or alkaline battery type recommended by the manufacturer.
- Signal Interference: Large metal objects or LED light bulbs can sometimes interfere with the radio frequency of the transmitter.
- Antenna Issues: Ensure the small wire hanging from the motor unit isn’t damaged or obstructed by metal shelving.
- Range Limitations: If the remote only works when you’re very close to the door, the antenna may need to be straightened or repositioned.
Clearing Old Remote Codes
When you lose a remote, it’s a best practice to clear the memory of your opener to ensure that the lost device can no longer operate your door. Most modern units allow you to perform a “hard reset” that wipes all previously paired transmitters.
To perform a reset, press and hold the “Learn” button on the motor unit for approximately 6-10 seconds. The indicator light will usually flash or turn off, signaling that all stored codes have been erased. Once cleared, you’ll need to re-program any existing remotes you still have in your possession using the standard rolling code steps mentioned earlier.
Selecting Compatible Replacement Remotes
Not every remote works with every motor. You must check the brand and the frequency of your system.
- LiftMaster/Chamberlain: Often identified by the color of the learn button.
- Genie: Frequently use specific frequency ranges like 315MHz or 390MHz.
- Craftsman: Typically compatible with Chamberlain-made remotes.
- Universal Remotes: These units allow you to select the brand via a series of switches or a specific programming mode.
| Component | Purpose | Maintenance Interval |
|---|---|---|
| Remote Battery | Powering the transmitter | Every 12-24 months |
| Motor Light Bulb | Signaling programming mode | As needed |
| Safety Sensors | Preventing door closure | Monthly check |
| Drive Chain/Belt | Moving the door | Yearly lubrication |
Understanding Frequency and Safety
Garage door openers operate on specific radio frequencies, typically ranging between 300MHz and 390MHz. Interference from other wireless devices, such as older cordless phones or amateur radio equipment, can occasionally disrupt the signal. If you find your remote is inconsistent, consider whether you have recently installed new wireless electronics in your garage or near the home’s exterior walls.
Furthermore, ensure that your remote is kept in a secure location. If you frequently park your car outside, don’t leave the remote clipped to the sun visor, as this provides easy access to your home for anyone who gains entry to your vehicle. Many modern vehicles now include built-in “HomeLink” or similar systems that can be programmed to replace your handheld remote entirely, providing a more secure and integrated solution.
Testing Your Safety Reversal System
Once you have successfully programmed your remote, it’s critical to verify that the safety reversal system is still functioning correctly. Even though programming a remote doesn’t change the safety settings, it’s good practice to test the system whenever you’re working on the motor unit.
- Place a small object, such as a roll of paper towels, on the floor in the path of the door.
- Press the remote button to close the door.
- The door should strike the object and immediately reverse direction.
- If the door doesn’t reverse, adjust the force settings on the motor unit or contact a professional.
Related guides
- LiftMaster vs Overhead Door Garage Door Openers: The Verdict
- Chamberlain Garage Door Opener Troubleshooting: Easy Fixes
- LiftMaster vs Chamberlain: Which Garage Door Opener Is Best
Frequently Asked Questions
Can I program a universal remote to any opener?
Most universal remotes are designed to work with the vast majority of major brands manufactured after 1993. However, they may not be compatible with very old systems that use a different frequency or proprietary encryption. Always check the packaging of the universal remote for a list of compatible brands and manufacture dates before purchasing to ensure it will work with your specific motor unit.
How do I know which learn button color I have?
The color of the learn button is the most reliable way to identify the frequency and technology of your opener. Common colors include yellow, purple, red, green, and orange. You can find this button by removing the light cover on the motor unit. Once you identify the color, you can look up the exact compatibility requirements for your specific model online or in the manual.
What should I do if the learn button is missing?
If your motor unit doesn’t have a learn button, you likely have an older model that uses physical dip switches. These are typically located inside the remote itself or behind a small panel on the motor unit. If you can’t find switches or a learn button, you may need to purchase an external universal receiver kit that plugs into your existing opener’s wall button terminals.
Why does my remote only work intermittently?
Intermittent operation is often caused by low battery voltage or signal interference. Start by replacing the battery with a fresh, high-quality unit. If the problem persists, check for new electronic devices installed near the garage that might be broadcasting on the same frequency. Also, ensure the antenna wire hanging from the motor unit isn’t touching any metal surfaces, which can “ground out” the signal.
Is it possible to program a car button without a remote?
Yes, most vehicles equipped with built-in garage door buttons can be programmed by putting the car into “learning mode” and then pressing the learn button on the motor unit. You generally don’t need an existing handheld remote to initiate this process, though having one can sometimes make the steps easier. Consult your vehicle’s owner manual for the specific sequence required to sync your car’s system.
Conclusion
If you have successfully programmed your remote, verify the operation from several distances to ensure the signal is strong and reliable. If you encounter persistent issues, check the motor’s manual for specific diagnostic codes indicated by the blinking light on the unit. For continued safety, perform a monthly test of your door’s reversal features to ensure your home remains both accessible and secure.
