
When your electrolux washer not filling with water, the first thing to check is whether the water supply valves behind the machine are fully open. This issue is most often caused by a blocked inlet screen or a faulty water inlet valve that no longer responds to electrical signals. If you have confirmed that the water supply is on, you can inspect the inlet hoses for kinks or debris that might be stopping the flow.
Why your Electrolux washer isn’t filling with water
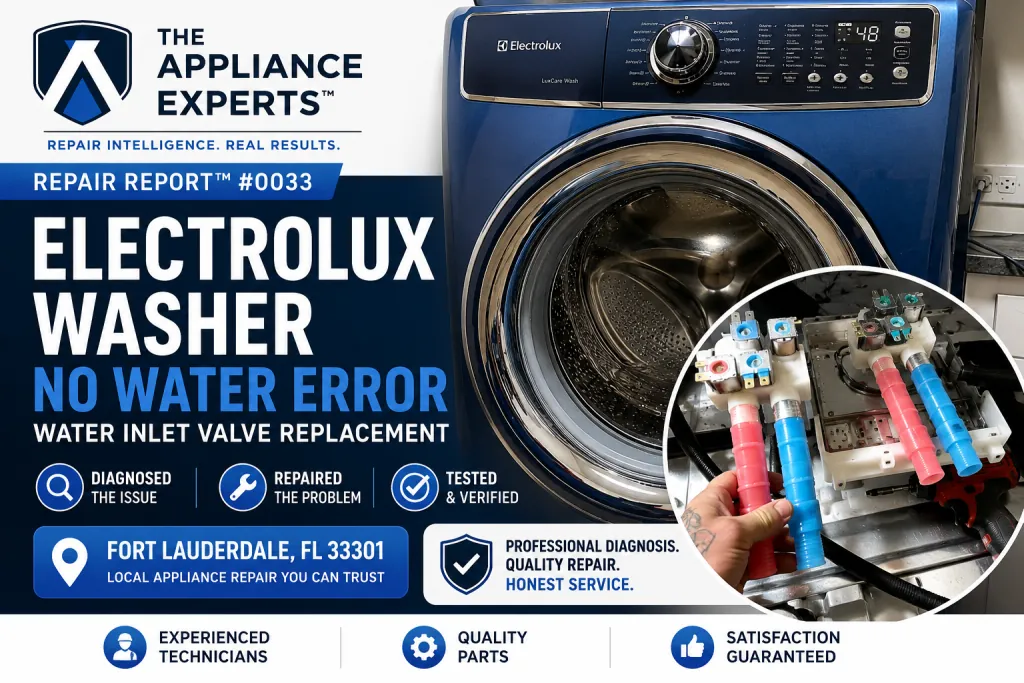
The primary reason for a lack of water is a restriction in the supply line or a failure of the internal components that manage the intake. If you live in an area with hard water, mineral deposits often build up inside the mesh screens located where the hoses connect to the washer. These screens are designed to catch sediment, but they will eventually choke off the water flow if they aren’t cleaned regularly.
Another common factor is the water inlet valve itself. This component uses solenoids to open and close the flow of water based on the cycle you select. If the solenoid coil burns out or the internal diaphragm gets stuck, the valve won’t open even when the control board sends power to it.
You can tell if this is the issue by listening closely to the back of the machine; if you hear a faint hum but no water enters, the valve is likely receiving power but failing to move.
Finally, consider the door interlock mechanism. A washing machine is designed to pause or stop if it senses the door isn’t perfectly latched for safety. If the sensor fails, the control board will prevent the cycle from starting, which includes blocking the water intake. You can find specific guidance on these components in the Electrolux support documentation for your model series.
Clear the Inlet Valve Screens
Cleaning the inlet screens is a simple task that solves the problem for many users. First, turn off the water supply faucets completely to avoid spraying water everywhere. You’ll need to unscrew the hoses from the back of the washer; keep a small bucket or a towel ready to catch the water left inside the lines. Once the hoses are disconnected, look into the threaded ports on the back of the washer.
You’ll see small plastic screens inside these ports. Use needle-nose pliers to gently pull them out, being careful not to tear the mesh. Rinse these screens under a strong stream of tap water to remove all grit and mineral buildup. If they’re heavily clogged, soak them in white vinegar for 15 minutes before scrubbing them with a soft brush. Once clean, push them back into place, reattach the hoses, and turn the water back on to test the flow.
If your machine displays an “E1” or “Water Inlet” error code despite clean screens, the blockage often resides deeper in the solenoid valve. Inspect the hose washers for cracks or flattened rubber, as these frequently cause leaks that mimic inlet failures. Replace any washer showing signs of hardening.
If you live in an area with hard water, perform this maintenance based on your usage and the owner’s manual to prevent sediment buildup from burning out the valve motor. If the screens appear perfectly clean but the washer fills slowly, the issue is likely a failing pressure sensor rather than a flow obstruction. In that case, stop cleaning and have a technician test the sensor.
Inspect and Straighten Supply Hoses
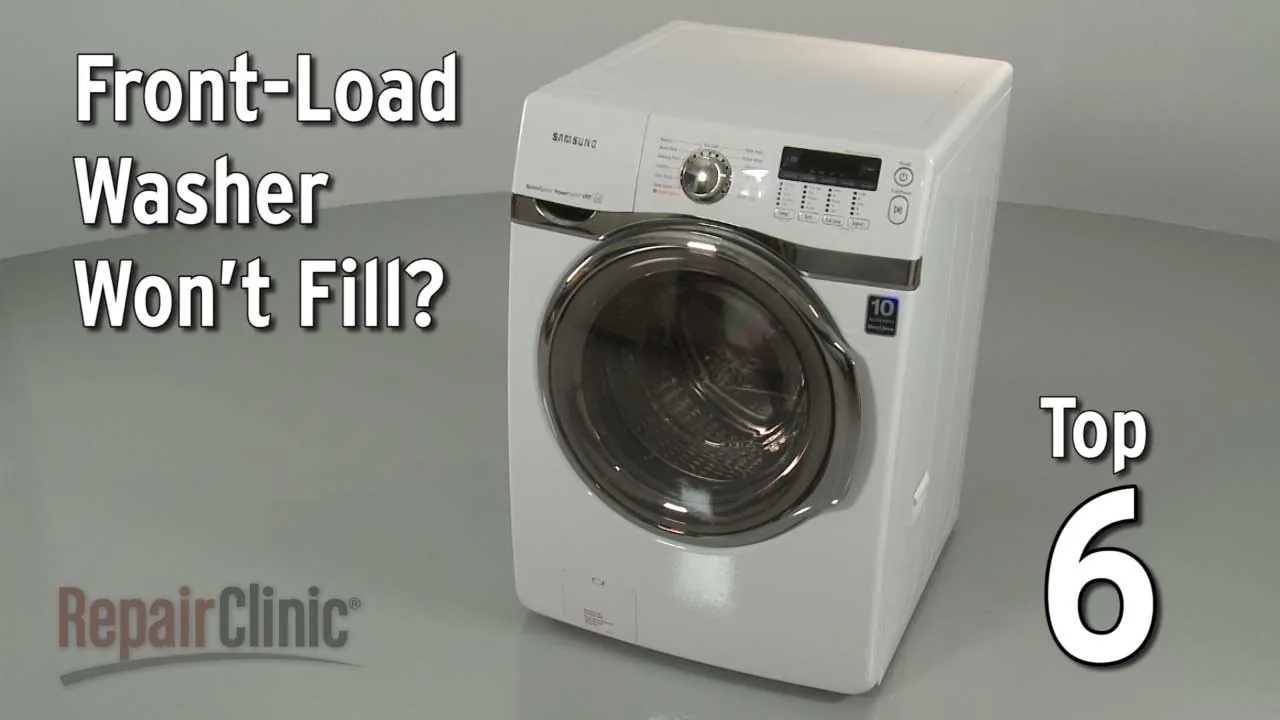
Sometimes the fix is as simple as correcting a physical blockage in the hose. If you recently moved the washer, the hoses might be kinked against the wall or crushed behind the unit. Check the entire length of both the hot and cold hoses for sharp bends. If you find a kink, straighten the hose and ensure it has enough slack to allow water to move freely without pressure.
When inspecting the line, look for a tight radius bend. If the hose curves at an angle sharper than 90 degrees, it will restrict flow significantly. You should be able to slide two fingers between the back of the machine and the wall. If you cannot, the hose is likely being pinched by the unit’s weight.
While the hoses are disconnected, check the rubber washers inside the hose ends. If these are cracked or flattened, they may not seal correctly or could block the flow. Replace any damaged washers with new ones of the same size. If the hose feels brittle, replace the entire assembly; replacing hoses is inexpensive relative to the cost of water damage repairs.
Reset the Control Board
If the valves and hoses are clear, the machine’s computer might be stuck in a fault state. A simple power reset can often clear temporary errors that prevent the water intake from starting. Unplug the washer from the wall outlet and leave it disconnected for at least 10 minutes. This allows the capacitors on the control board to drain their charge completely.
Many users fail to wait the full duration, plugging the unit back in after only a minute. This rush ensures the board retains its stored voltage, rendering the reset useless.
After the wait, plug the machine back in and try to run a simple rinse cycle. If the machine begins to fill, the issue was a minor logic error. If it still doesn’t fill, the problem is likely a deeper hardware failure.
If you suspect a problem with the water inlet valve, don’t attempt to test the electrical components yourself. A technician should check the voltage at the valve terminals to determine if the solenoid coil has failed or if the fault lies within the control board. Contact a professional to avoid the risk of electrical shock.
Common Mistakes to Avoid
People often assume the washer is broken when the house water supply is simply turned off or the valve handle is stuck. Before calling a professional, check the main faucet behind the unit. If the handle resists, don’t force it with a wrench, as the internal stem often snaps under pressure.
Always tighten hose connections by hand to avoid cracking the plastic inlet ports. Pliers exert uneven torque that creates hairline fractures, leading to slow, hidden leaks that rot your subfloor. If you can’t get a watertight seal by hand, replace the rubber washer inside the hose coupling first.
Ensure the drain hose sits at least 30 inches above the floor but no more than 96 inches. If the hose is inserted too far into the standpipe, it creates a siphon that drains water as fast as it enters. This triggers a persistent “water level” error on most digital displays.
Never touch internal wiring or the control board while the machine is plugged in. Even if the cycle is off, the capacitor can hold a lethal charge. Always flip the dedicated circuit breaker at the panel before removing the back cover.
Prevent Future Water Issues
To keep your machine running, replace the hoses and clean the inlet screens based on your usage and the recommendations found in your owner’s manual.
Rubber hoses harden and become brittle long before they show visible cracks. If your hoses feel stiff or show any surface discoloration, replace them immediately regardless of the five-year mark. A burst hose can release a significant amount of water, causing catastrophic home damage.
Never use pliers or wrenches to tighten hose connections. The plastic threads on your machine’s valve ports are fragile. Tightening by hand until snug provides a sufficient seal without risking a hairline fracture that leads to a slow, hidden leak behind the unit.
Monitor your fill times closely. If the drum takes significantly longer to fill than it did when new, the inlet screens are likely clogged with mineral deposits or sediment. Clean these screens based on your usage and the owner’s manual to prevent the internal solenoid valves from overheating and failing entirely.
Finally, keep the unit at least three inches away from the wall. Pushing the machine flush against the drywall forces the hoses into a sharp, damaging bend that restricts water flow and accelerates material fatigue.
Related guides
- Best Smart Water Bottles in 2026
- Are Salt Water Pools Warmer? The Truth Explained in 2026
- 5 Best Water Softeners for Well Water: Our Top Picks in 2026
Frequently asked questions
Can a faulty door lock prevent water from filling?
A faulty door lock prevents the washer from filling because the control board won’t signal the water valve to open. The safety system cuts power to the intake until it receives a signal that the latch is secure. If your display shows a door-related error code, check the latch for debris or damage.
How long does it take for a washer to fill?
A typical washer takes between two and five minutes to fill, depending on your home’s water pressure and the cycle selected. If your machine takes significantly longer or stops before reaching the target level, you likely have a restricted water supply or a failing inlet valve. Check your home’s water pressure at a nearby sink to rule out plumbing issues.
Is it safe to replace the inlet valve myself?
It’s safe to replace the valve if you’re comfortable using basic hand tools, provided you unplug the machine and turn off the water supply first. The inlet valve is a modular part that usually requires only a screwdriver to remove. If you aren’t confident in your ability to reconnect electrical clips and water hoses securely, hire a professional.
What happens if I use the wrong inlet hose?
Using an incorrect hose can lead to leaks, restricted water flow, or failure to meet manufacturer pressure requirements. Ensure you use hoses specifically rated for washing machines, as they’re built to withstand high pressure and temperature fluctuations. Using a garden hose or thin-walled alternative is a safety risk and may void your warranty.
Why does my washer hum but not fill?
A humming sound typically means the solenoid in the water inlet valve is receiving electricity but is stuck or blocked by debris. The internal plunger can’t move due to mechanical resistance inside the valve. If you have cleaned the inlet screens and confirmed the water supply is open, the valve has likely failed and requires replacement.
Conclusion
If these simple checks don’t resolve the problem, it’s best to contact a professional technician. They’ll have the right tools to test your machine’s internal sensors and wiring safely. Don’t hesitate to reach out for help if you’re feeling unsure, as it’s better to stay safe while getting your laundry back on track.
