
The most common reason for an aeroGarden pump not working is a buildup of nutrient salts or organic debris blocking the impeller. This issue happens in almost every unit after several months of use, especially if the water reservoir isn’t cleaned regularly. You can confirm this by listening for a faint humming noise or checking if the water surface is completely still despite the unit being powered on.
Why your AeroGarden pump stopped working
| Cause | How common | How to confirm it | Fix it yourself? |
|---|---|---|---|
| Debris blockage | Very common | No water movement | Yes |
| Nutrient buildup | Common | White crust on parts | Yes |
| Loose connection | Occasional | Power light is off | Yes |
| Failed motor | Rare | No hum when plugged | No |
| Damaged power cord | Rare | Visible wire fraying | No |
| Mineral scale | Rare | Stuck impeller shaft | Yes |
If your pump hums but pushes no water, check the impeller first. A jammed shaft often mimics a motor failure, but it’s usually just a pebble or scale deposit. If the shaft spins freely by hand but the motor remains silent, the internal windings have burned out.
Most users mistake a tripped GFCI outlet for a dead pump. If the power light remains dark, reset your breaker before assuming the hardware is broken.
Acid degrades these components over time, leading to permanent leaks. Use a dedicated equipment cleaner instead.
If the pump vibrates excessively, check the mounting surface. A pump sitting directly against a hard wall creates resonance that sounds like mechanical failure. Place a small foam pad underneath to dampen the noise. If the vibration persists, the internal bearings are likely worn beyond repair.
Debris and organic blockage
The pump mechanism relies on a small spinning impeller to move water, and any physical obstruction will stop this rotation immediately. Over time, small root fragments or loose organic matter from the grow sponges can drift into the intake area. When these items wedge between the impeller blades and the housing, the motor can’t overcome the resistance, leading to a complete stop of water flow.
To check for this, unplug your unit and gently lift the pump assembly out of the reservoir. Inspect the intake grate at the bottom for any visible plant matter or root strands that have bypassed the filter.
If you see debris, carefully remove it with tweezers. You should also verify that the impeller spins freely by using a small tool like a toothpick to nudge it. If it doesn’t rotate with a light touch, the obstruction is likely deeper inside the housing.
Cleaning this debris takes about 10 minutes of your time. If the pump still fails to engage after you clear the intake, the issue might be internal. If you aren’t comfortable disassembling the small plastic housing or if you feel resistance that might break the plastic clips, stop immediately.
Attempting to force the assembly open often results in permanent damage to the tabs that hold the unit together. If the pump remains silent even after clearing the intake, it’s time to contact the manufacturer for a replacement unit.
Nutrient salt accumulation
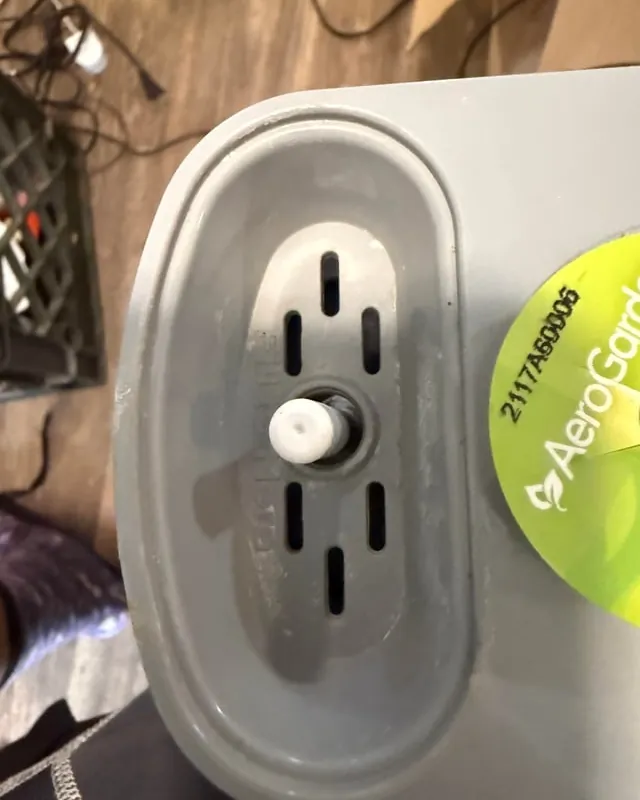
Nutrient salts are essential for plant growth, but they can crystallize inside the pump if the water level remains low for too long. These salts form a hard, white crust that acts like glue, binding the impeller to the walls of its chamber. This usually happens if you ignore the “Add Water” light for several days, causing the concentration of minerals to rise sharply as the remaining water evaporates.
You can identify this by inspecting the pump for a white, chalky residue. If you see this buildup, the pump is likely seized rather than broken. To address this, soak the pump assembly in a solution of white vinegar and water for 30 minutes.
This mild acid dissolves the mineral deposits without harming the plastic or rubber components. The AeroGarden maintenance guide suggests keeping the water level at the fill line to prevent these high-concentration mineral deposits from forming in the first place.
After the soak, rinse the pump thoroughly with fresh water to ensure no vinegar residue remains. If the pump is still stuck, repeat the soak one more time. If the impeller still doesn’t spin after two cycles, the internal motor has likely suffered an electrical failure due to the constant stress of trying to turn a locked shaft. At this stage, the pump is effectively at the end of its life, and you’ll need to purchase a replacement part.
Connection and power issues
Sometimes the pump is perfectly fine, but it isn’t receiving the electricity required to start the motor. This usually happens if the power cord isn’t seated firmly into the base of the unit or if the wall outlet has tripped. If the grow lights are turning on but the pump is silent, check the connection between the power cord and the unit’s base.
Ensure the plug is pushed all the way into the port. If the unit is connected to a power strip, try plugging it directly into a wall outlet to rule out a faulty strip. If the pump still doesn’t activate, check the power adapter itself for signs of heat damage or a loose connection at the brick. If the cord feels warm or the light on the adapter is flickering, stop using it immediately.
If you have verified the connection and the pump still refuses to run, don’t attempt to repair the electrical wiring inside the base. The base contains sensitive electronics that manage the lighting cycles and pump timing.
Opening the sealed base voids the warranty and introduces a shock hazard. If the power supply is confirmed to be working but the pump remains silent, the internal motor has failed. Replacing the entire pump assembly is the only safe path forward once the motor burns out.
Rare and professional-only repairs
- Impeller shaft wear: The plastic pin holding the impeller can become grooved over time, causing the impeller to wobble and jam.
- Water damage to motor: If water leaks into the sealed motor housing, the internal coils will short out and stop working permanently.
- Failed power adapter: The power brick may stop delivering the correct voltage, which requires a new manufacturer-approved power supply.
- Internal circuit failure: If the base unit stops sending signals to the pump, the entire system might require professional repair or full replacement.
If you encounter any of these, the repair exceeds the scope of a standard home fix. Attempting to solder electronics or replace sealed motors carries a risk of fire or electrical shock. Consult a qualified professional or the manufacturer’s support team if your unit is still under warranty.
What a fix typically involves
Fixing an aeroGarden pump is generally a task of cleaning or replacing parts. Most solutions involve simple maintenance like soaking the pump in vinegar, which costs almost nothing beyond the household items you already own. If the pump is truly broken, you’ll need to buy a replacement pump assembly, which is usually a fraction of the cost of a new garden unit.
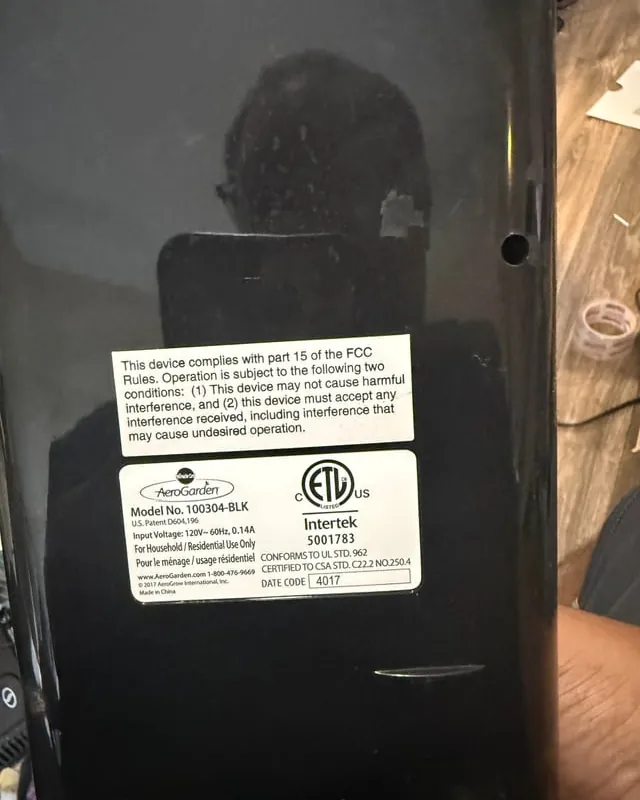
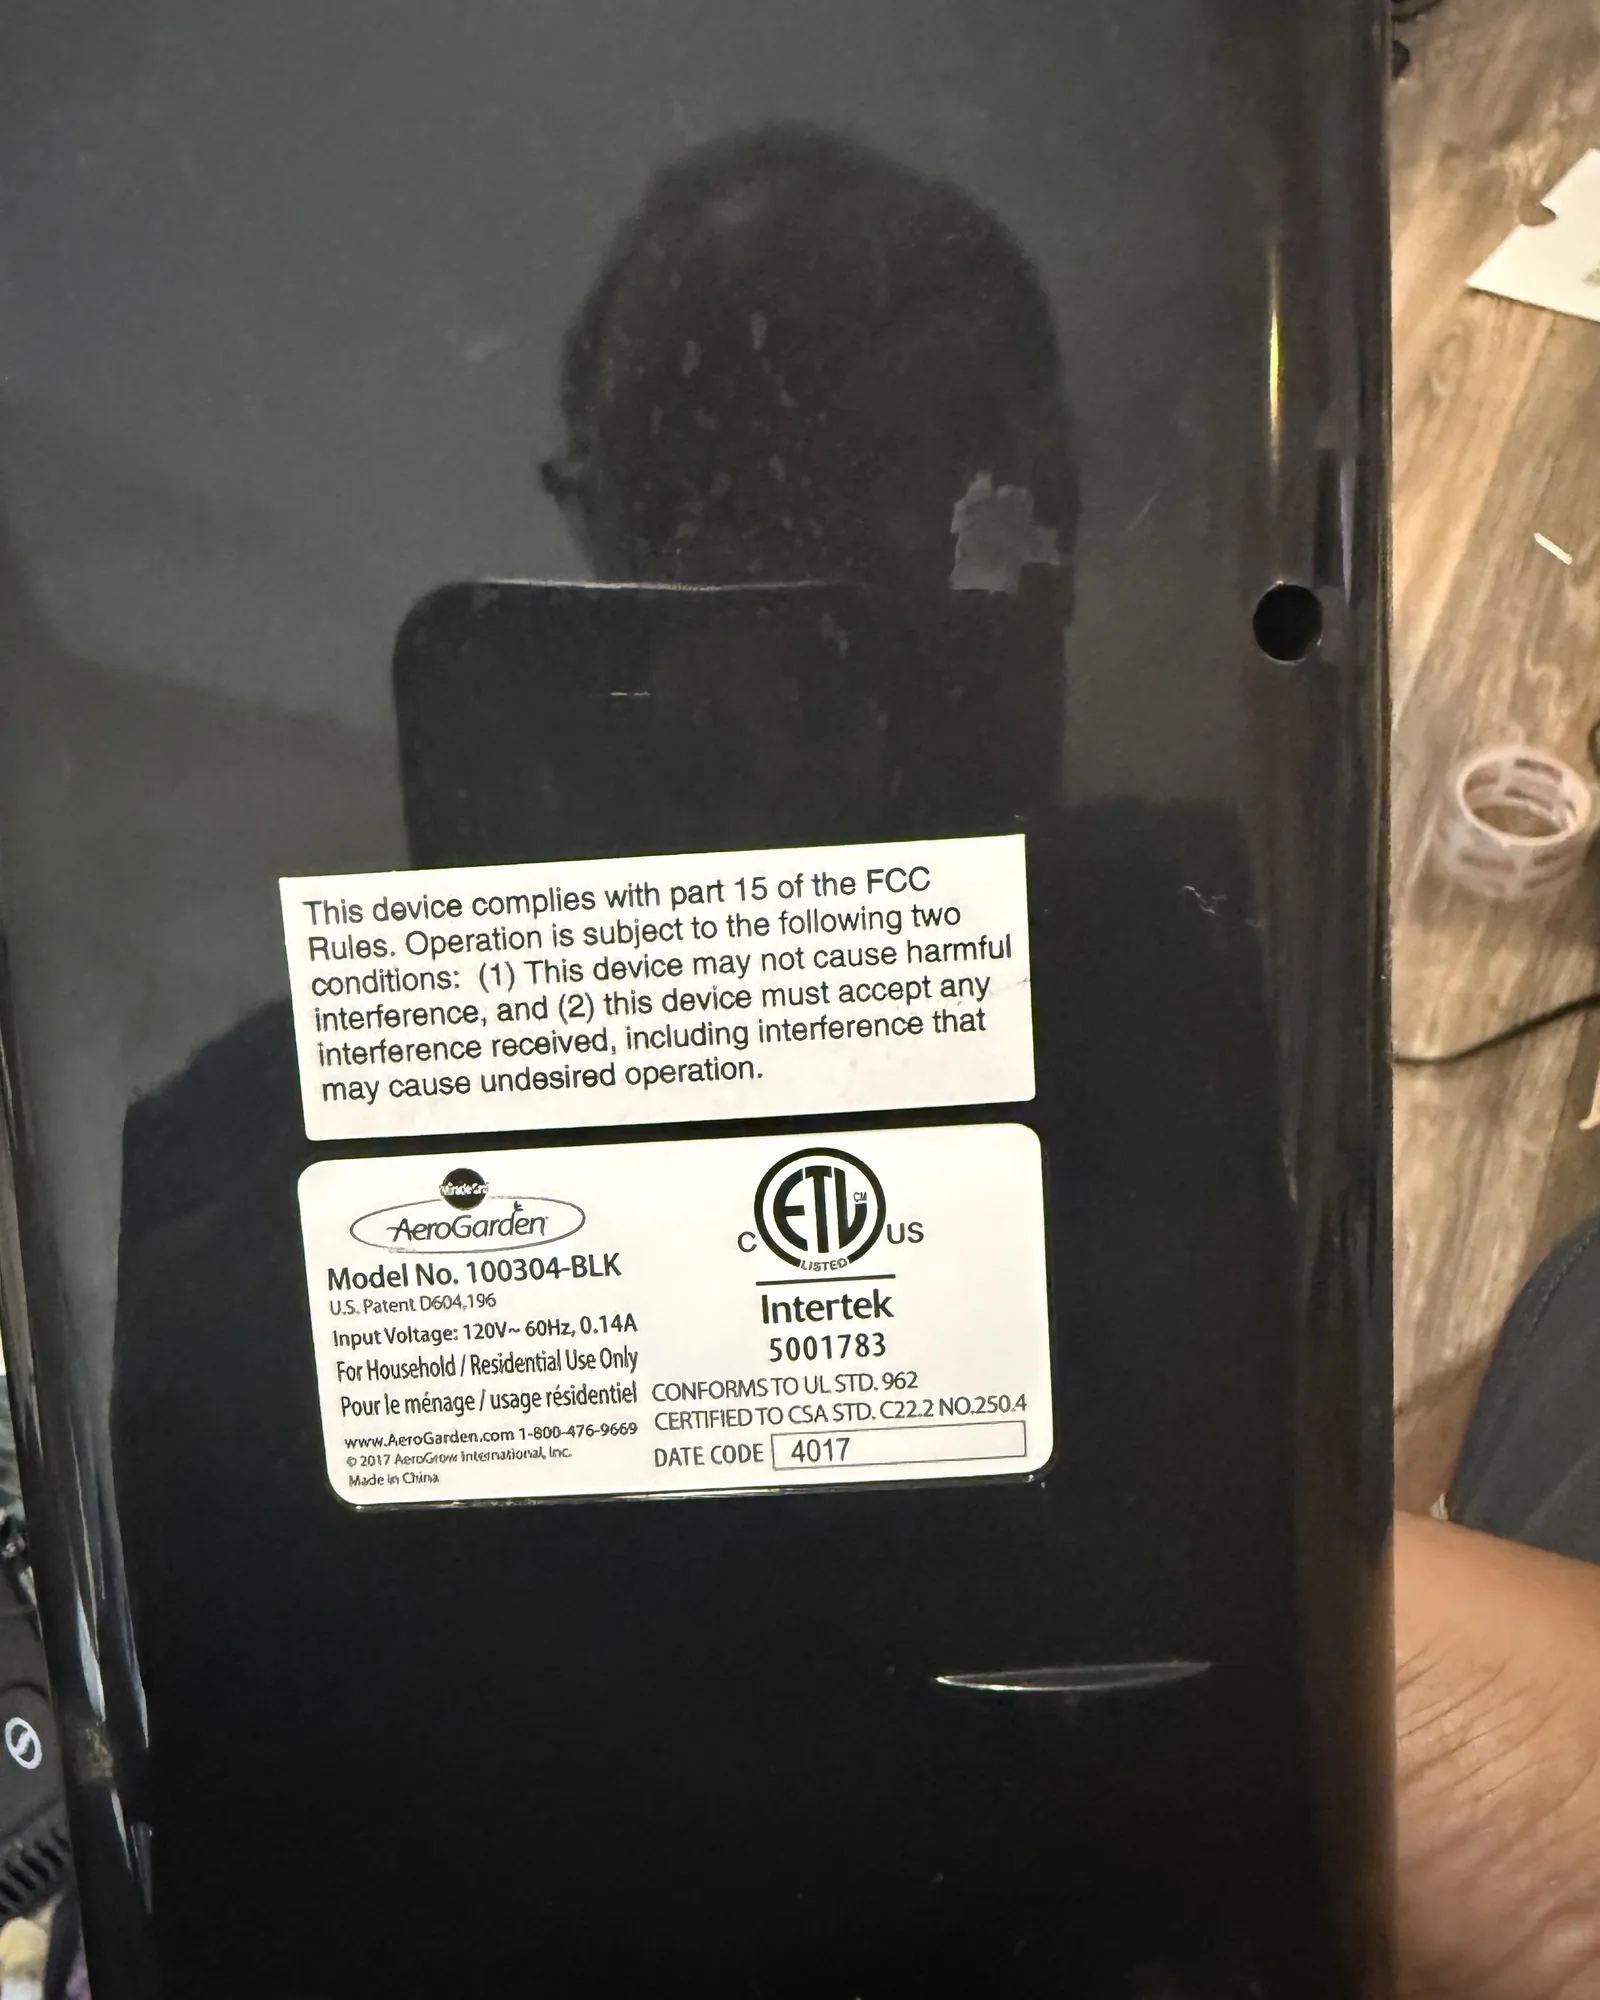
The time required for these fixes ranges from a quick inspection to a full hour of soaking and rinsing. If you need to order a replacement part, you can find the correct model number on the bottom of your garden base or in your original manual.
Always verify the model number before purchasing, as different garden sizes require specific pump flow rates. If you’re unsure which part fits your unit, the manufacturer’s website provides a compatibility chart for every garden version. Relying on the official documentation prevents the frustration of buying a part that doesn’t fit your specific setup.
Related guides
- Sump Pump vs Sewage Ejector Pump in 2026
- Best Air Mattress Pumps for Camping in 2026
- Is Jandy a Good Pool Pump? The Verdict by Pool Type in 2026
Frequently Asked Questions
How do I know if the pump is broken?
The pump is likely broken if you hear no noise and feel no vibration after you clear all debris and soak the unit in vinegar. A healthy pump produces a consistent, low-frequency hum when it’s running. If you have confirmed the unit has power and the impeller is clean but still doesn’t spin, the motor has failed.
How often should I clean the pump?
You should clean your pump every 3 to 4 months, or whenever you start a new batch of plants. This schedule prevents mineral buildup and root debris from accumulating to the point of causing a jam. If you notice your plants growing slower than usual, check the pump immediately, as it might be struggling to circulate the necessary nutrients to the roots.
Is it safe to leave the pump running 24/7?
It’s safe and necessary to leave the pump running constantly, as the cycles are pre-programmed to ensure your plants get enough oxygen and nutrients. The motor is designed for continuous duty and doesn’t need to be turned off. If you notice the pump is making a loud grinding noise, it’s a sign that the impeller is obstructed or worn out.
What happens if I keep using a jammed pump?
If you continue to run a jammed pump, the motor will overheat and burn out, making the unit impossible to fix. The motor tries to overcome the resistance of the jam, which pulls extra current and can damage the internal wiring or the power adapter. Always turn off the unit immediately if you suspect the pump isn’t spinning correctly to save the motor.
Does the water level affect pump performance?
The water level must be kept near the fill line because the pump needs to be fully submerged to function correctly. If the water level drops too low, the pump will pull in air, causing a loud gurgling sound and potential overheating. Always top off the reservoir when the water level indicator shows it’s low to ensure the pump stays cool and quiet.
Can I use store-bought cleaners to fix the pump?
You should only use white vinegar to clean your pump, as harsh chemicals can leave toxic residues that kill your plants. Never use bleach, dish soap, or abrasive cleaners on the pump components or inside the reservoir. These substances are difficult to rinse away completely and can cause long-term damage to the delicate root systems of your herbs and vegetables.
Conclusion
Regular maintenance is the most effective way to keep your garden thriving. By checking the pump based on frequency of use and consulting your owner’s manual for specific service guidelines, you avoid the most common causes of failure. If you ever reach a point where the unit doesn’t respond to these simple cleaning steps, reach out to the manufacturer to discuss your warranty options or to identify the correct replacement part for your specific model.
