
A pH electrode works by generating a small voltage based on hydrogen ion concentrations, and you can ensure accurate results through proper care of one. This electrical potential shifts with the sample’s acidity, which the meter converts into a reading. Regular maintenance keeps these sensors reliable over months of testing.
Parts of the pH sensor
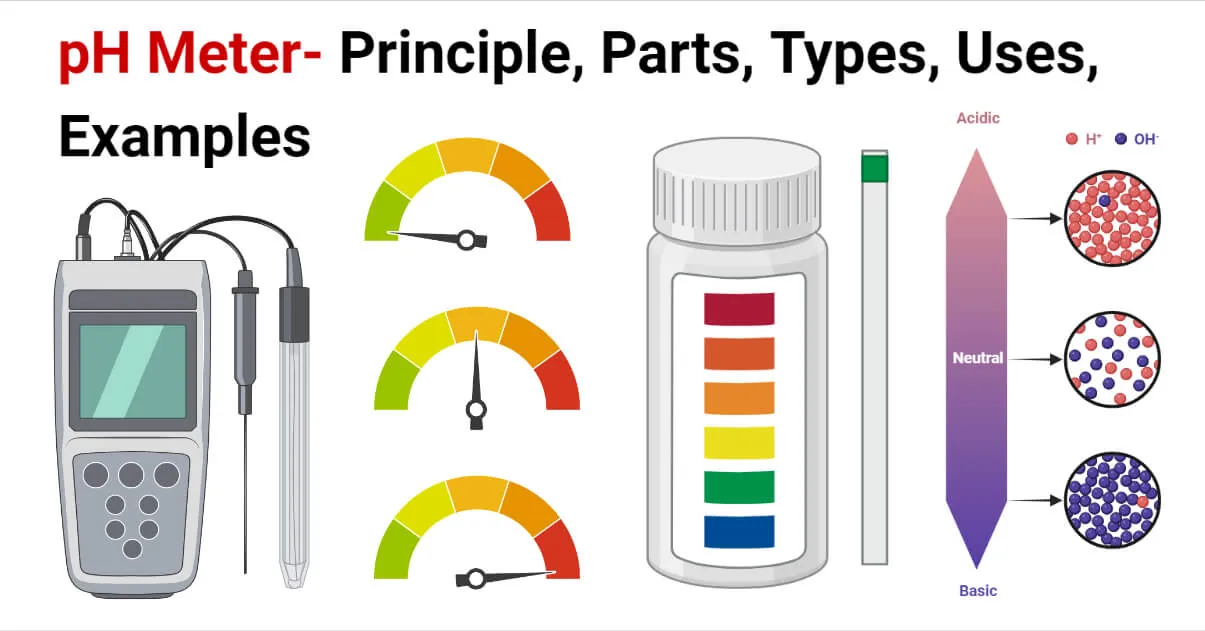
The sensor is a delicate tool that relies on several specific components to function correctly. If one part is compromised, the entire reading becomes unreliable.
| Part or input | What it does | What you notice when it goes wrong |
|---|---|---|
| Glass bulb | Senses hydrogen ions | Slow response or unstable readings |
| Reference junction | Completes the circuit | Erratic or drifting measurements |
| Internal electrolyte | Maintains stable reference | Slow, noisy, or failing calibration |
| Cable connector | Transmits the signal | Error messages or high noise |
| Storage solution | Keeps the glass hydrated | Dried out bulb, sluggish performance |
Inspect the glass bulb for micro-cracks under a magnifying glass if your slope efficiency drops below 95%. A single hairline fracture renders the sensor useless, regardless of how often you recalibrate.
If your reference junction is clogged, soak the tip in a 3M KCl solution at room temperature for several hours. You can distinguish a failing bulb from a junction issue by checking the slope; if the reading fails to move when placed in different buffers, the glass membrane is likely compromised.
Never store your sensor in deionized water. Doing so leaches ions from the glass membrane and shortens its lifespan by months. Always use the manufacturer-recommended storage solution to maintain the hydration layer.
Steps for successful measurement
Follow these steps to get a clean reading every time. Note that these times assume a room temperature sample of 25°C; if your sample is colder, expect the sensor to take longer to stabilize.
Rinse the glass bulb gently with distilled water to remove any contaminants from the previous sample. If you’re testing viscous liquids like oils or thick syrups, perform a secondary rinse with a mild solvent to prevent film buildup.
Blot the bulb dry with a clean, lint-free tissue; never rub the glass, as this creates static electricity that interferes with accurate readings. Rubbing the bulb causes a drift in readings that can persist for several minutes.
Place the sensor into your sample and stir gently for 5 seconds to ensure the liquid reaches the bulb. Avoid hitting the sides of the glass container, which can crack the delicate membrane.
Wait for the meter reading to stop moving; this usually takes 30 to 60 seconds depending on the sample type. High-purity water requires more time because of its low ionic strength.
Record the stable value once the meter indicator stops flashing or the number remains steady for 10 seconds. Remove the sensor, rinse it again with distilled water, and place it back into the storage solution immediately. Never store the bulb in distilled water, as this leaches ions from the glass.
Why proper maintenance prevents errors
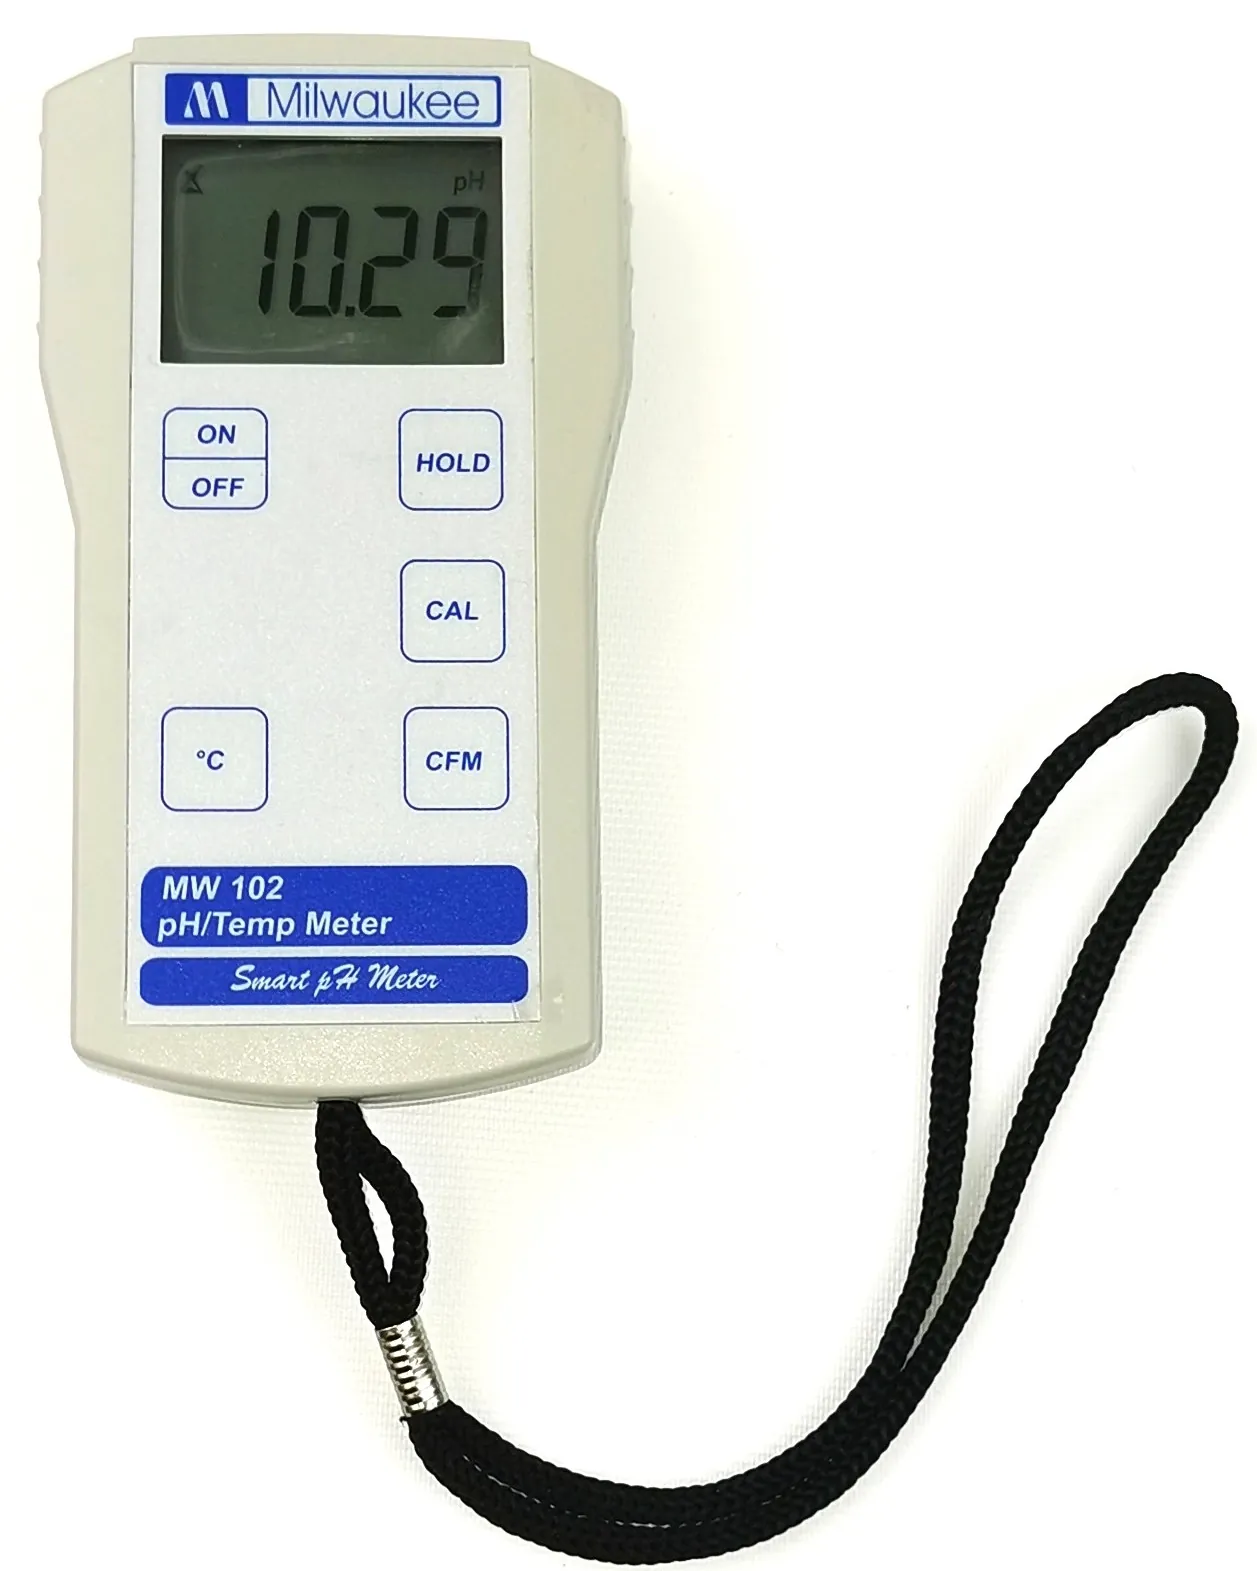
The accuracy of your data depends entirely on the condition of the glass membrane and the reference junction. The glass bulb is a thin, fragile layer of specialty glass that must remain hydrated at all times to exchange ions with the sample.
If the bulb dries out, the ion exchange stops, leading to “drift,” where the reading keeps changing even when the sample hasn’t changed. This is a common mistake that ruins sensors; it costs you the price of a replacement probe because the damage is often permanent.
The reference junction acts as an electrical bridge between the internal wire and your liquid sample. If the junction becomes clogged with debris or proteins, the circuit is broken. This creates high resistance, which manifests as a slow response time or an inability to calibrate to standard buffers. If you’re testing high-viscosity liquids or oily substances, you must clean the junction more frequently.
If the internal electrolyte solution inside the probe gets contaminated or leaks out, the reference potential shifts. You can’t fix this internally; if the internal liquid is low, the sensor is at the end of its life. Always check the fill level if your probe has a refillable port, as this is the one factor that determines if you can revive a failing probe or if you need a new one.
Controlling your sensor environment
Things you can control
- The storage solution type (always use 3M KCl).
- The frequency of your calibration (at least once daily).
- The cleaning method (use mild detergent or enzymatic cleaners).
- The temperature of the calibration buffers (match the sample).
Things fixed by design
- The thickness of the glass bulb.
- The composition of the internal reference wire.
- The physical diameter of the junction.
If the glass bulb cracks, the internal electronics are exposed to moisture and the sensor is permanently destroyed. Don’t attempt to repair glass components yourself, as this requires specialized laboratory equipment and skill. If you suspect a physical break, consult the manufacturer’s technical support team for a professional assessment.
Habits for consistent results
Consistent maintenance prevents the common issues that lead to sensor failure. First, never store your electrode in distilled or deionized water; this pulls ions out of the glass membrane and shortens its lifespan significantly. Always keep the bulb submerged in the manufacturer-recommended 3M potassium chloride storage solution.
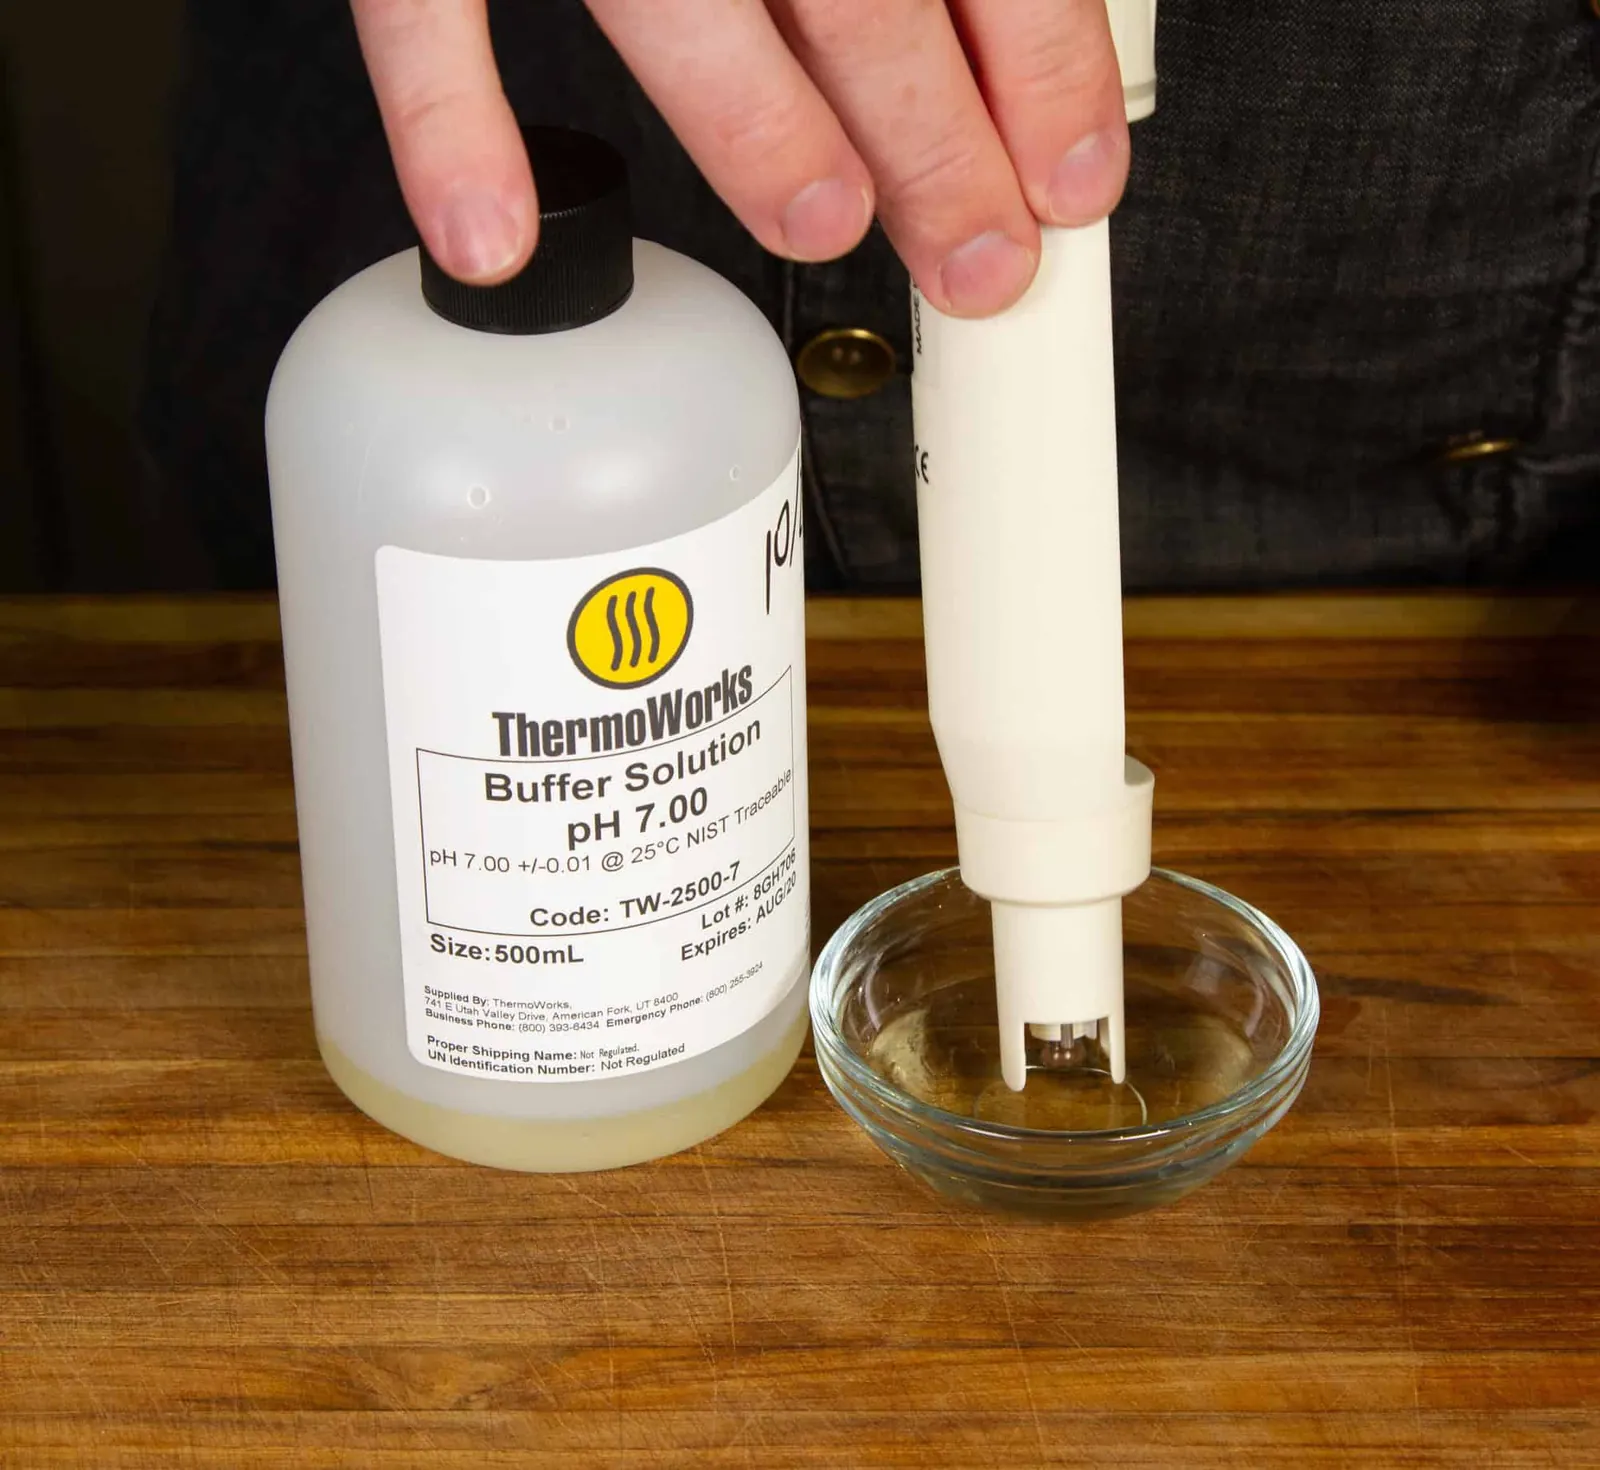
Second, calibrate your meter using at least two buffer solutions that bracket your expected sample range. If you expect a pH of 7.4, use 7.0 and 10.0 buffers. If the meter fails to recognize these buffers during the process, it’s a sign that your sensor is aging or the junction is clogged.
Third, clean the bulb after every use if you’re measuring samples with high solids or fats. Rinse the bulb with distilled water or a mild detergent solution, then rinse thoroughly with distilled water. Finally, store the electrode upright if possible. This prevents the internal electrolyte from settling unevenly and helps keep the reference junction fully saturated with the internal liquid for better stability.
Related guides
Frequently asked questions
How long does a pH electrode last?
A standard glass pH electrode typically lasts 12 to 18 months with daily use and proper storage. The exact lifespan depends on the chemical harshness of the samples you test; testing very acidic or basic liquids constantly will degrade the glass bulb faster than testing neutral water samples.
Is it safe to touch the glass bulb?
You should never touch the glass bulb with your fingers, as oils from your skin can coat the glass and cause slow response times. If you accidentally touch it, clean the bulb immediately with a mild detergent and rinse it thoroughly with distilled water before attempting to take a measurement.
Why is my reading not stable?
An unstable reading usually happens because the reference junction is clogged or the glass bulb is dirty. Check the junction for visible debris and ensure the probe is fully submerged; if the reading still fluctuates, perform a fresh calibration to see if the meter can compensate for the sensor’s current condition.
How often should I calibrate?
You should calibrate your pH electrode at least once every 24 hours of use. If you’re performing high-precision work or testing samples that vary greatly in temperature and acidity, calibrate before every set of measurements to ensure the meter accounts for the current sensitivity of the electrode.
What happens if the storage solution dries out?
If the storage solution dries out, the glass bulb dehydrates and loses its ability to respond to hydrogen ions. You can sometimes revive a dry electrode by soaking it in 3M potassium chloride solution for 24 hours, but severe dehydration often causes permanent damage that prevents the sensor from ever stabilizing again.
Can I store the probe in tap water?
Never store a pH electrode in tap or distilled water because these liquids leach ions from the glass membrane. Always use the manufacturer-recommended 3M potassium chloride storage solution to maintain internal reference stability and keep the glass membrane properly conditioned for accurate readings.
Conclusion
Keeping your sensor clean and hydrated will help it last much longer. If you’re unsure about your electrode’s condition, try testing it with a fresh buffer solution today. It’s a simple habit that’ll save you from frustrating errors later on, ensuring your lab work stays reliable and stress-free for years.
