
You can usually fix a la crosse rain gauge not working by clearing physical debris like leaves or twigs from the tipping bucket mechanism inside the collector cone. Most connectivity issues stem from the sensor losing its wireless sync with the indoor display unit after a battery change or power outage. If the device remains unresponsive after these simple checks, the internal sensor components may have reached the end of their functional life.
Why your rain gauge stopped working
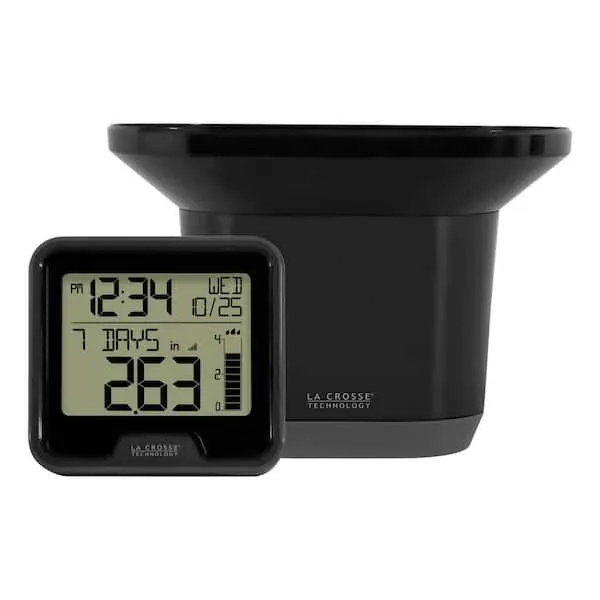
The most frequent reason for a weather sensor to stop reporting is a simple power interruption or a disruption in the wireless signal. When you replace the batteries in your outdoor sensor, the indoor display station often struggles to re-establish the handshake required to receive data packets. You should always ensure the sensor and display are within 300 feet of each other, as physical obstacles like walls, trees, or metal siding can block the signal.
Another common cause is the accumulation of sediment or biological matter inside the collection cone. The rain gauge functions by tipping a small internal spoon or “bucket” each time a specific amount of water collects. If spider webs, leaves, or bird droppings block this movement, the sensor can’t record precipitation even during a heavy storm. You can verify the sensor’s health by checking the official La Crosse Technology support database for specific sync procedures related to your model number.
Finally, environmental exposure can degrade electronic sensors over time. If the device has been in direct sunlight or extreme weather for several years, the internal transmitter may fail. If you notice the display shows “dashes” instead of numbers, the system is failing to communicate. If you see a constant reading of zero during a storm, the physical mechanism is likely jammed or broken.
Clear the tipping bucket debris
To restore functionality, you must carefully remove the outer collection cone to access the internal tipping bucket. This is the primary point of failure for most users. Use a soft, dry cloth or a cotton swab to gently wipe away any dirt, spider webs, or debris that might prevent the small plastic spoon from rocking back and forth.
Never use harsh chemical cleaners or abrasive scrubbers on the plastic components, as these can scratch the surface and affect the accuracy of future rain measurements. If the bucket feels stiff or doesn’t tip easily when you touch it, verify that it’s level. A tilted sensor will cause the bucket to stick on one side, which keeps it from recording any rainfall.
Once you have cleared the area, replace the cover securely so that no light or wind enters the mechanism. If you find the internal pivot point is snapped or the plastic is warped, the sensor likely needs to be replaced entirely, as these small parts aren’t sold as individual repair items.
Perform a wireless system reset
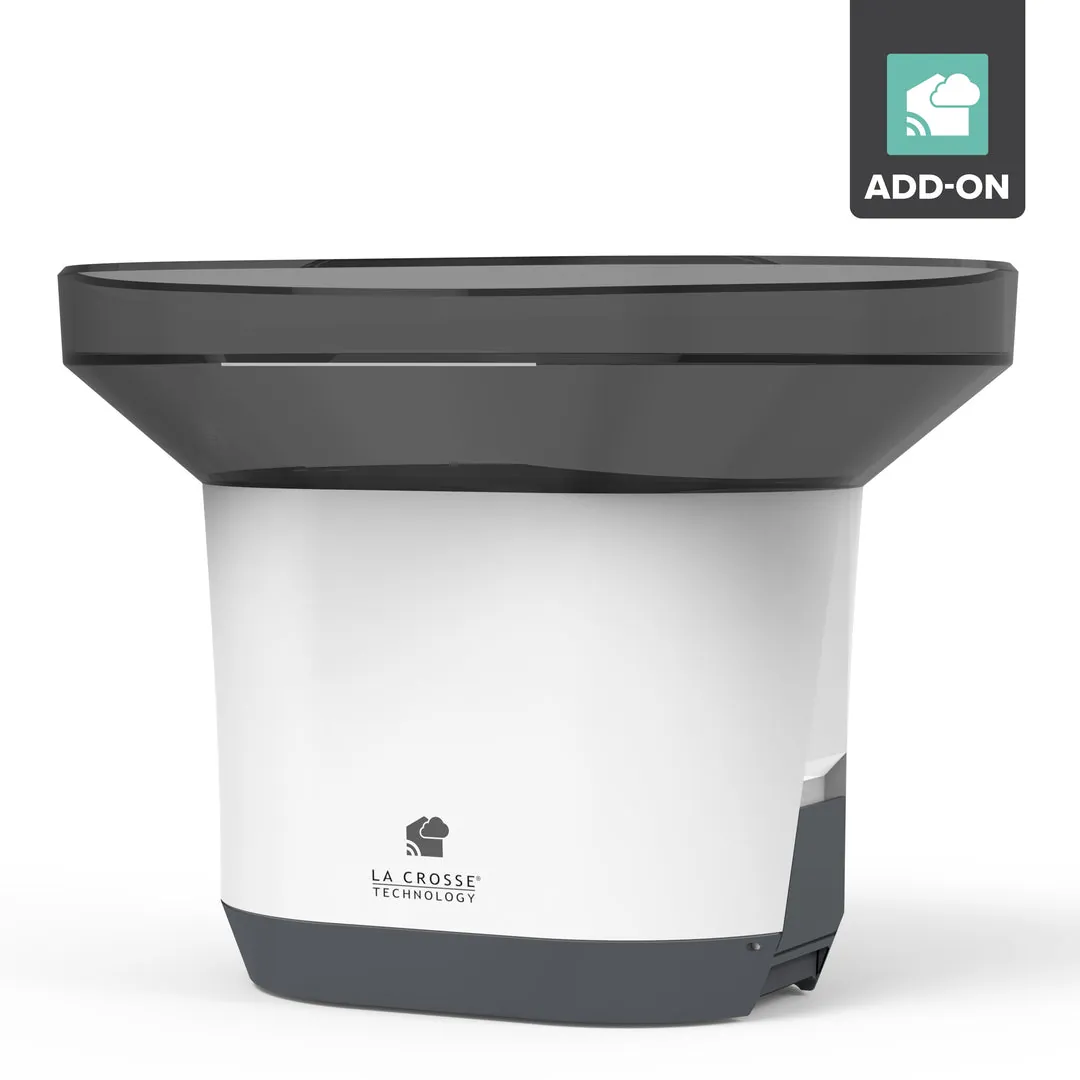
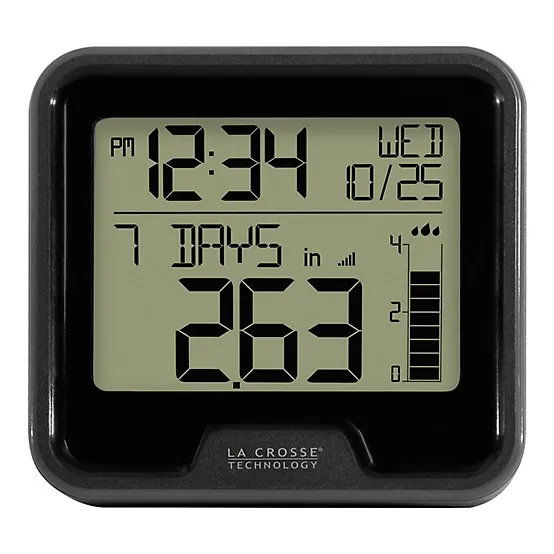
If the physical mechanism is clear but the display still shows no data, you need to force the indoor and outdoor units to re-sync. Start by bringing the outdoor sensor into the same room as your indoor display unit to rule out signal interference. Remove the batteries from both the display unit and the outdoor sensor, and wait at least 15 minutes before proceeding.
This long pause is vital. It allows the internal memory to clear completely, which a quick swap can’t achieve. Many users rush this step, only to find the units retain their previous, corrupted handshake.
Reinsert fresh, high-quality alkaline batteries into the outdoor sensor first, then the display unit. Place the sensor back outside and wait for up to 10 minutes for the connection icon to stop flashing.
If the display shows data while the units are close together but fails when you move the sensor outside, you have a signal range issue. In this case, you may need to move the display closer to the sensor or remove large metal objects that might be blocking the wireless path.
If the signal still drops, check for nearby electronics like routers or cordless phones. These devices often broadcast on the same frequency and can effectively drown out your sensor’s transmission.
Verify the battery and power status
If the device still fails to report, the issue is often related to the voltage provided by the batteries. Even if batteries aren’t fully dead, they may not provide enough power to transmit a signal over long distances. Always use standard alkaline batteries rather than rechargeable ones, as rechargeable batteries often have a lower voltage output that can cause intermittent signal drops.
If you have tried multiple sets of fresh batteries and the sensor still doesn’t transmit, the transmitter board inside the housing may be damaged. If your sensor is more than three to five years old, this is often the point where the hardware simply wears out due to heat and humidity.
At this stage, trying to open the sealed electronic housing isn’t recommended, as it will void any remaining warranty and can lead to permanent damage. If the unit is within the warranty period provided by the manufacturer, contact their customer service team with your proof of purchase. If the warranty has expired, purchasing a replacement sensor unit is usually more cost-effective than attempting a repair.
Avoiding common maintenance mistakes
Many people make the mistake of using high-pressure water or compressed air to clean the sensor. This can force debris deeper into the pivot point or damage the sensitive internal electronics. You should also avoid placing the rain gauge near lawn sprinklers, as the constant water spray leads to mineral buildup that causes the tipping mechanism to seize over time.
If your gauge consistently reports lower totals than nearby stations, check the pivot for mineral crusting. If it reports high, erratic totals, check for vibrations from your mounting surface.
Never use metal tools to scrape the tipping bucket. This creates microscopic grooves that catch dirt and organic matter, requiring you to clean the unit twice as often. Use a soft, damp cloth instead.
Avoid placing the sensor on a vibrating surface, such as a metal fence or a thin pole. These vibrations trigger the bucket to flip prematurely, resulting in “ghost” readings that ruin your data set.
Never lubricate the internal pivot with oil. Oil acts as a magnet for fine dust, eventually forming a thick sludge that binds the mechanism. If the bucket sticks, use only a dry graphite spray.
Don’t mix old and new batteries. The weaker battery creates internal resistance that drops the voltage, causing the transmitter to fail during cold weather. Always replace the entire set at once.
Maintaining accurate precipitation readings
The best way to ensure your rain gauge remains accurate is to perform a light cleaning at the start of every season. If you live in an area with heavy pollen or dust, check the collector cone more often to ensure the funnel remains clear. A simple visual check once a month prevents the buildup of organic matter that can skew your data by several millimeters.
If you use rechargeable batteries, switch to fresh alkaline cells. The slightly higher voltage of alkaline options ensures a stronger signal transmission during heavy storms. Never use a high-pressure water hose to clear the collector. Use a soft, dry cloth instead, as the force from a hose can easily knock the sensitive internal pivot mechanism out of alignment.
Mount the gauge on a stable, dedicated post rather than a fence. Fences vibrate in the wind, which causes the internal tipping bucket to register false readings. If you notice your gauge reporting rain during a perfectly clear day, check the mounting stability first.
Related guides
Frequently asked questions
How do I know if my batteries are dead?
The most reliable sign of dead batteries is the “Low Battery” icon on your display. If you see dashes instead of rain data, replace the batteries, as low voltage often prevents signal transmission. Note that corrosion from old batteries can permanently damage the unit.
How long does a rain sensor last?
A standard outdoor rain sensor typically lasts between three and five years. Harsh climates with high heat or extreme humidity can cause the housing and electronics to degrade faster. If your sensor fails after five years, the transmitter has likely reached the end of its life.
Why does my gauge show zero after a storm?
If your gauge shows zero during rain, a blockage in the tipping bucket is the most likely cause. Check the collection cone for debris like leaves or spider webs that prevent the bucket from rocking. If the unit is clean and level, the internal pivot mechanism may be broken.
Is it safe to open the sensor housing?
You shouldn’t open the sealed electronic housing of your sensor. These units are designed to be weather-resistant, and opening the casing breaks the waterproof seals, causing immediate circuit failure. If the bucket is clean and batteries are fresh, the internal electronics have failed and require replacement.
How far away can the sensor be?
The sensor should be placed within 300 feet of the indoor display for the best results. This range assumes an open line of sight with no physical barriers between the devices. Thick walls, metal siding, or dense trees will significantly reduce the effective signal range.
Conclusion
Regular maintenance is the best way to keep your equipment running smoothly. By keeping the collector cone clear of debris and ensuring your batteries are fresh, you’ll get the most accurate data from your system for years to come. If you encounter persistent issues, focus on the signal connection first, as most problems are solved by simply resetting the link between the outdoor sensor and your indoor monitor.
