
An abutment is a connector piece that links a dental implant or a bridge framework to the replacement tooth or crown. It acts as the structural foundation, ensuring that the artificial tooth stays securely in place while allowing for the natural movement and pressure of your mouth. Dentists use these components to bridge the gap between the internal root structure and the visible restoration.
The success of your dental work depends on how well this connector fits the surrounding gum tissue. If the abutment isn’t properly tightened, it can cause the crown to wobble or lead to bacterial growth under the gum line. A common mistake is assuming that all connectors are universal; in reality, your dentist must select a specific size and shape that matches your unique bone density and gum height.
Fitting Dental Implant and Bridge Abutments
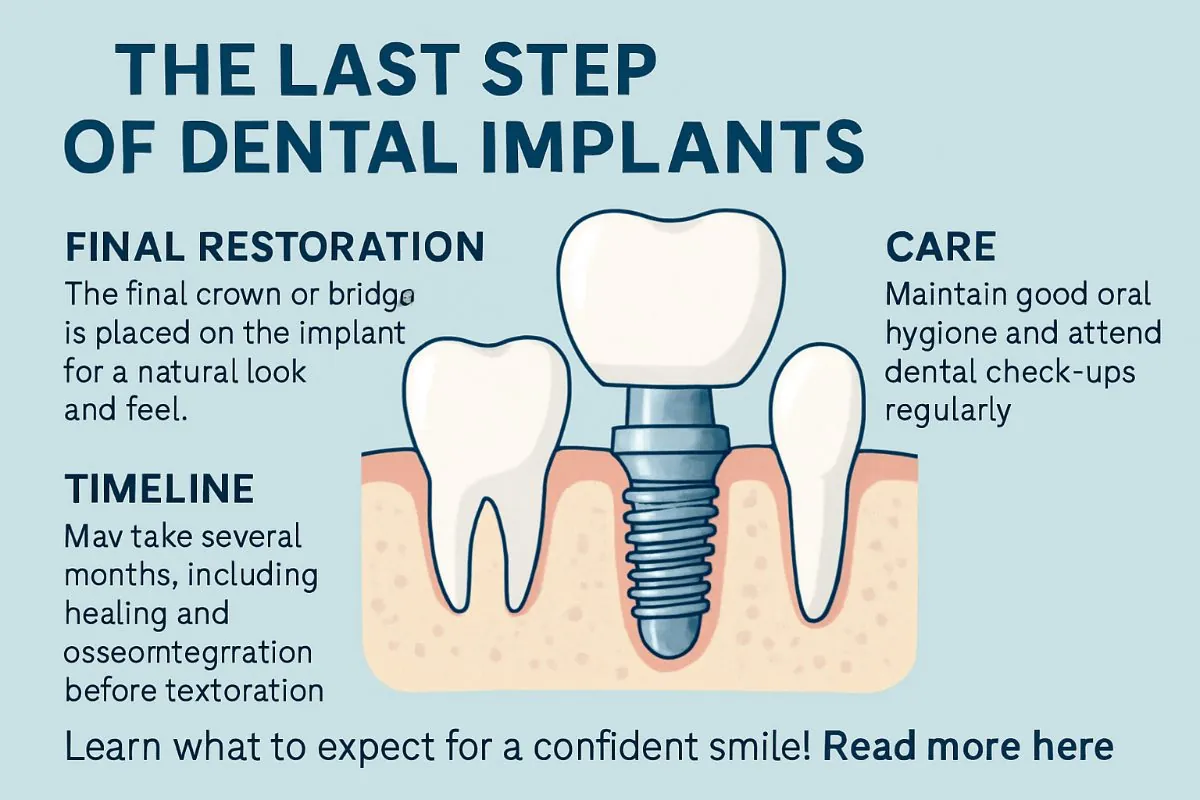
The dental professional must ensure the area is clean and free of debris or plaque before beginning the attachment process. Even microscopic particles trapped between the connector and the implant platform can cause micro-gaps, leading to bacterial colonization and eventual bone loss.
Select the correct abutment size by measuring the height of your gum tissue, which typically ranges from 1mm to 6mm. If the tissue is thicker than 3mm, opt for a taller gingival cuff to prevent the crown margin from being buried too deep, which makes it impossible for the patient to clean.
Screw the component into the dental implant using a calibrated torque wrench, set to 30 to 35 Newton-centimeters. Always verify the calibration of your torque wrench according to the manufacturer’s specifications; an over-torqued screw risks fracturing the internal threads, while under-torquing leads to screw loosening and eventual restoration failure.
Check the seating of the piece with a dental X-ray to confirm that it’s perfectly flush with the implant platform.
Place the final crown or bridge over the connector and cement or screw it down. If you choose cement, use a radiopaque material so you can identify excess cement on follow-up X-rays; residual cement is the leading cause of implant failure in the first year.
Never use pliers or household tools to tighten these pieces. You’ll scratch the titanium surface, creating a rough harbor for bacteria.
Timeframes for Dental Restoration
The time it takes to place these components depends on your healing progress and the complexity of your bridge. Most patients find that the procedure is quick, but the preparation time varies based on the state of the jawbone.
| Situation | How long | What changes it | What to watch for |
|---|---|---|---|
| Standard implant | 30 minutes | Bone density | Any loose feeling |
| Bridge support | 45 minutes | Number of teeth | Gum inflammation |
| Complex graft | 60+ minutes | Healing speed | Persistent bleeding |
If your procedure is taking significantly longer than the times listed above, it may indicate that the underlying bone hasn’t fully integrated with the original implant. In such cases, your dentist will pause the work to allow for more healing time rather than forcing the piece into place.
Expect a three-month wait if you require a sinus lift or significant bone grafting before the final restoration. If you lack sufficient bone volume, the implant will fail to stabilize, leading to long-term discomfort or total loss of the prosthetic.
Check for persistent sensitivity near the gum line two weeks post-op. If you feel a dull ache that intensifies when you bite down, consult your dentist immediately. This often signals that the abutment is misaligned. If the pain is sharp and localized, it may be an infection requiring antibiotics before the final bridge can be safely attached.
Signs of a Finished Restoration
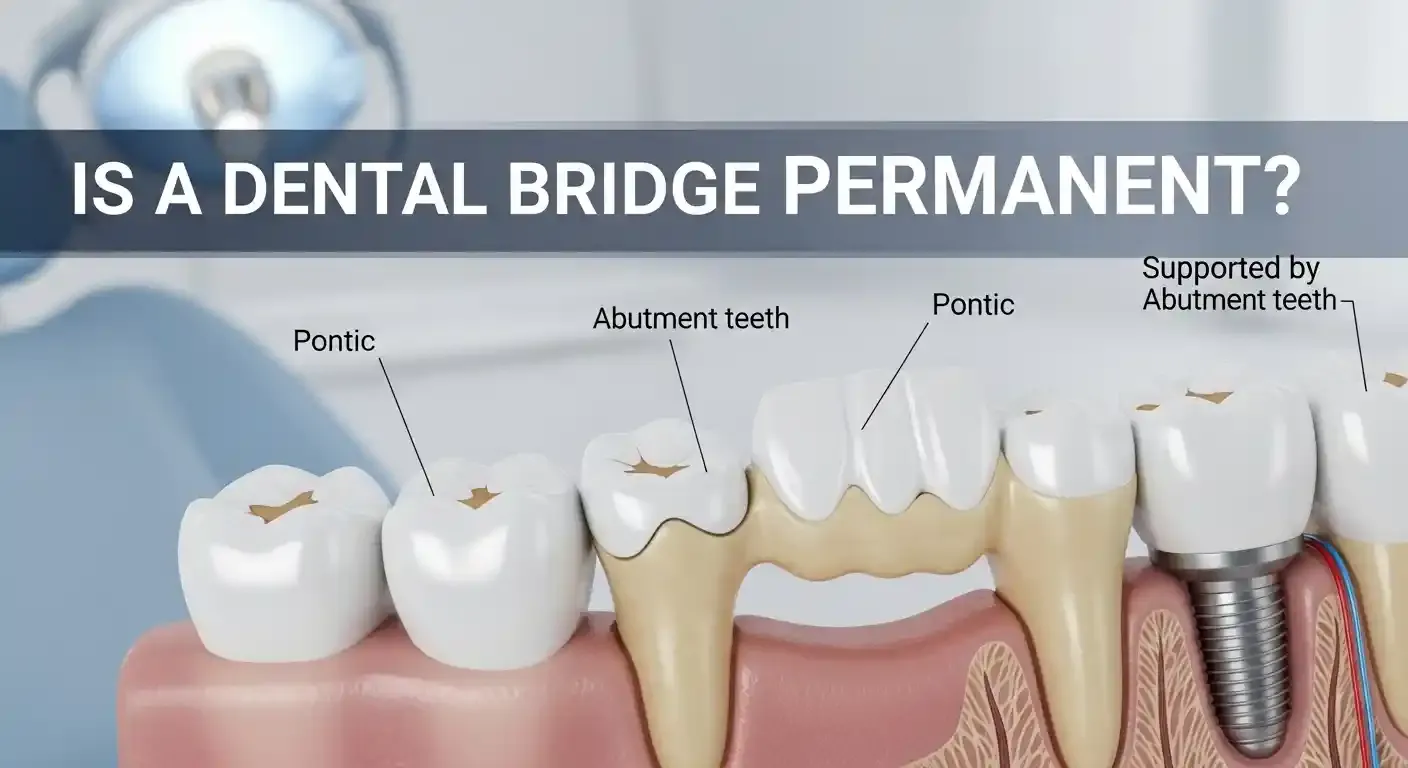
You’ll know the work is finished when the crown feels completely solid and doesn’t move when you apply pressure with your tongue. There should be no gap between the gum tissue and the base of the crown, and your bite should feel balanced across your entire mouth. If you notice a metallic taste or a persistent bad smell, this often signals that the piece isn’t sealed correctly.
The ultimate test is a clinical check where the dentist uses a specialized probe to ensure there’s no pocketing or space between the abutment and the gum. If the fit is perfect, you should be able to floss around the area without the string catching or shredding on the edge of the connector.
If you feel a high spot that makes one tooth hit before the others, demand an adjustment immediately. Ignoring this imbalance puts excessive force on the root, which can lead to a fracture within six months. If the floss slides through smoothly but you feel a slight snag, the margin is likely over-contoured. This trap collects bacteria that your toothbrush can’t reach, eventually causing gum recession.
Common Errors to Avoid
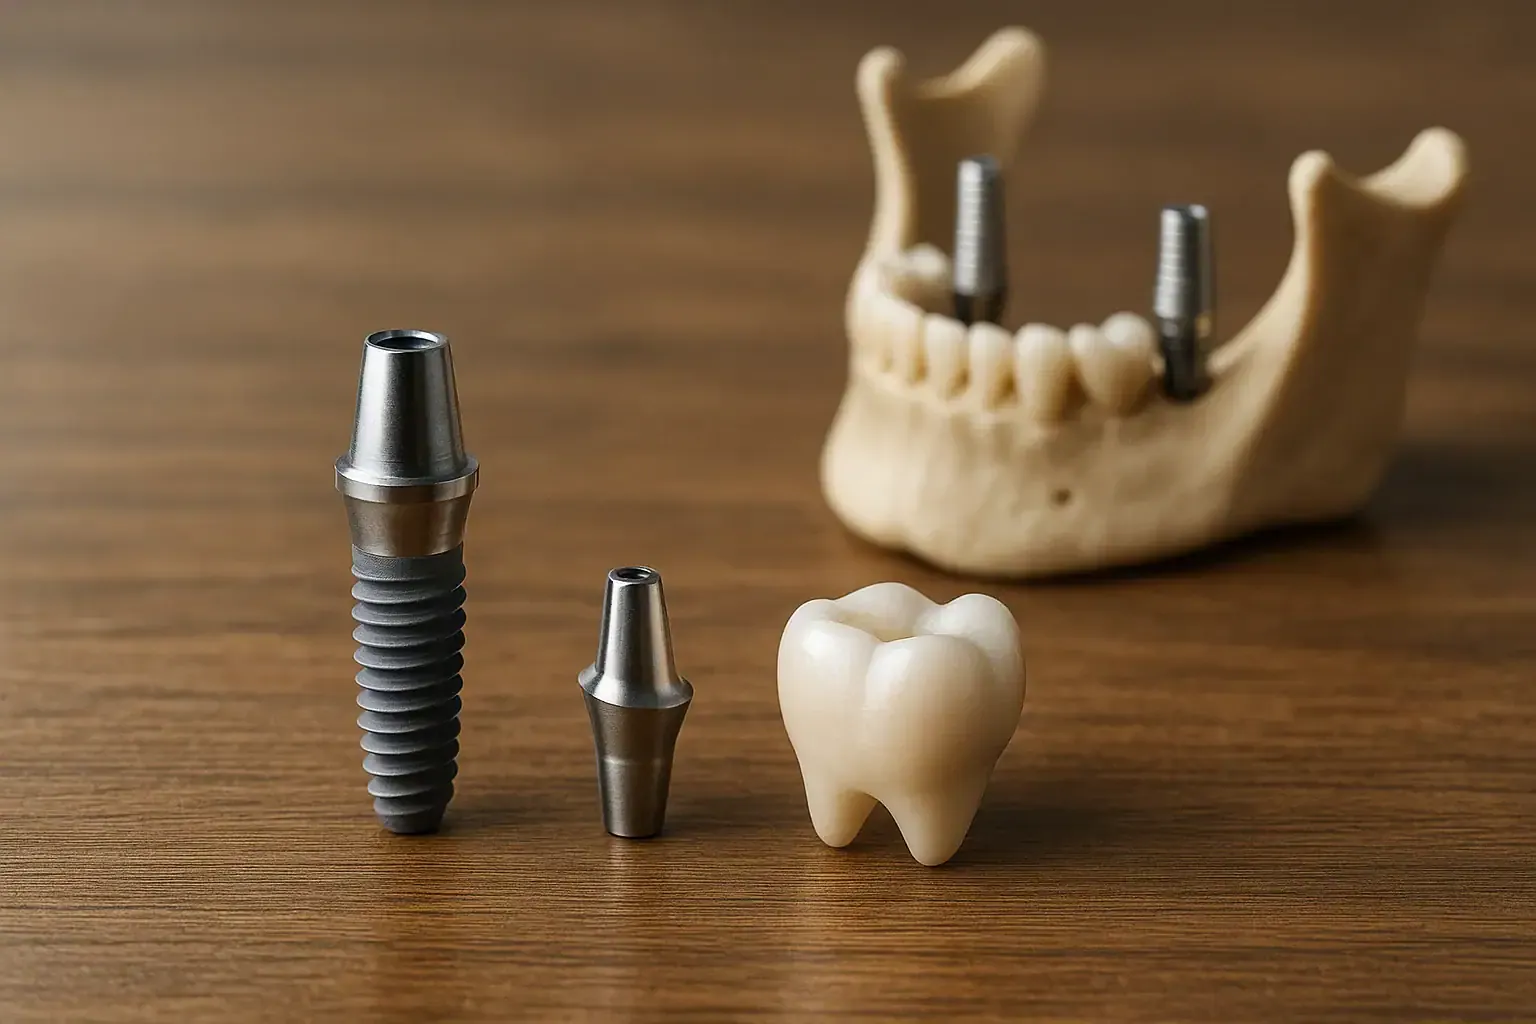
Forcing an incorrect size creates a permanent trap for bacteria. Using a connector that’s too wide for your gum tissue causes the gums to recede over time. Always rely on your dentist to measure the exact millimeter height required for your specific anatomy. If you notice a dark line appearing at the gum margin, your connector is likely too bulky, and you should request a narrower profile during your next visit.
Ignoring a loose feeling is a common mistake that risks structural failure. A minor wobble might seem insignificant, but it allows bacteria to enter the implant site and leads to bone loss. You must return to your dental office immediately to have the torque setting checked if the piece feels unstable. If the screw is loose, waiting even one week can cause irreversible damage to the underlying bone structure.
Skipping professional hygiene is dangerous because the gum tissue remains vulnerable. Many people think that because the tooth is artificial, it can’t decay. You need to brush and floss around the base daily to prevent peri-implantitis. If your gums bleed during flossing, you’re already showing signs of inflammation and must schedule a cleaning.
Frequently asked questions
How long does an abutment last?
Most of these components are designed to last for a significant duration, provided you maintain good oral hygiene.
Is it safe to have an abutment placed?
Yes, it’s a routine and safe procedure when performed by a qualified dental professional. The risk of complications is very low, usually involving minor gum irritation that heals within a few days. You should always disclose your full medical history to your dentist, especially if you have conditions that affect bone healing or blood clotting, to ensure the process remains safe for you.
What happens if the abutment comes loose?
If you feel the piece moving, you should contact your dentist to have it tightened or replaced before the underlying implant is damaged. A loose connector creates a space where bacteria can hide, which can lead to infection if left untreated for too long. Don’t attempt to tighten it yourself with household tools, as you may strip the delicate screw threads inside the implant.
Does the abutment hurt to install?
No, most patients report feeling no pain during the installation because the area is already healed from the initial implant surgery. Your dentist may use a local anesthetic to keep you comfortable while they ensure the piece is properly seated. If you feel anything other than mild pressure during the appointment, let your provider know right away so they can adjust their technique.
How do I clean around my abutment?
You should clean around the base of your crown daily using a soft-bristled toothbrush and interdental brushes to remove plaque. Because the connector sits at the gum line, it’s the most common place for bacteria to accumulate. If you’re unsure about your technique, ask your dental hygienist to show you how to use floss threaders or water flossers safely around the restoration.
Conclusion
Your dentist is the only person who can determine if your implant site is ready for the final connection. They will evaluate your X-rays and tissue health to ensure the foundation is stable enough to support your new crown or bridge for the long term.
