
A short circuit transfer welding process occurs when the electrode wire touches the base metal, creating a controlled electrical short that melts the wire tip before it detaches as a droplet. This method, often called MIG short circuiting, is used for thin materials and out-of-position welds because it keeps the heat input low and the weld pool small. It’s a common technique for joining steel sections under 1/4 inch thick.
The main factor deciding if this process works is the balance between your wire feed speed and the voltage settings on your machine. If the voltage is too high, you’ll get excessive spatter and burn-through on thin metal. If it’s too low, the wire will just stub into the puddle without melting properly.
A common mistake is trying to use this transfer mode on thick plates. This often leads to a lack of fusion, where the weld sits on top of the metal instead of biting into it, creating a weak joint that can fail under stress. Always check the machine’s manual for the recommended material thickness range, as American Welding Society standards suggest this mode is primarily for thinner gauges where heat control is critical.
Performing short circuit transfer welding
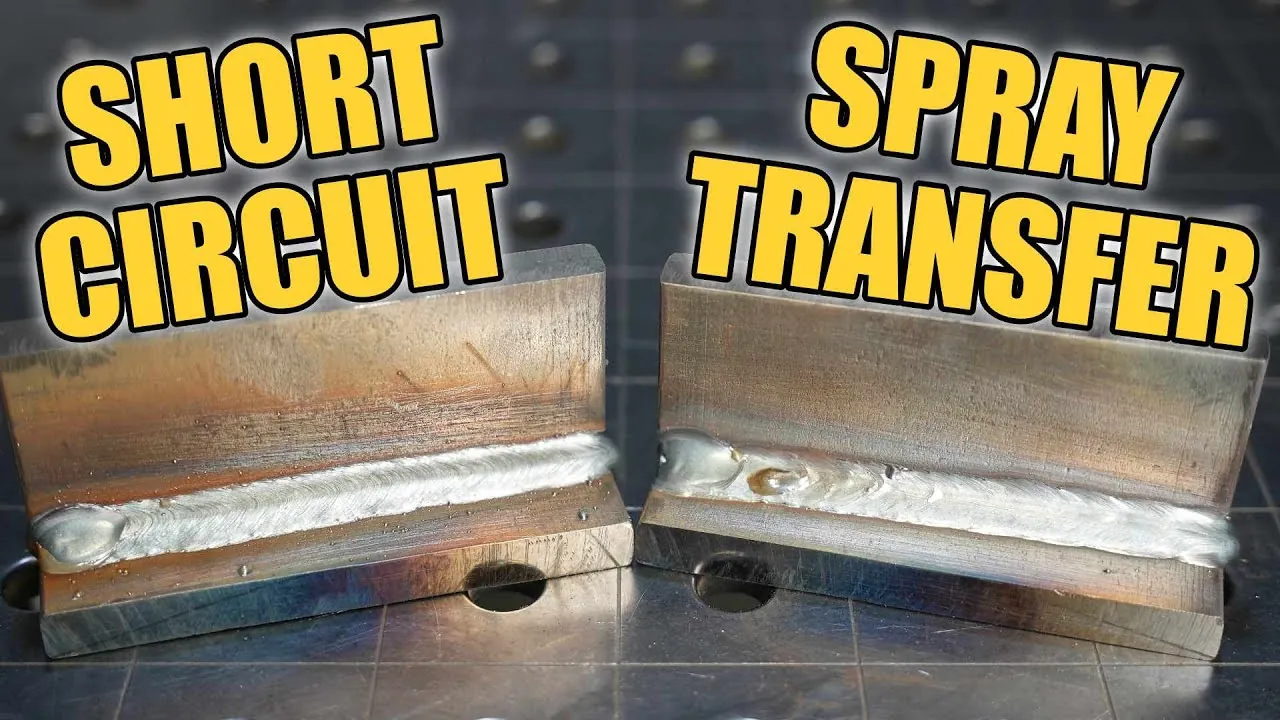
- Prepare your metal surfaces by grinding away rust, paint, or oil within 1 inch of the weld joint to ensure a clean electrical path.
- Set your wire feed speed and voltage according to the manufacturer’s chart for the specific thickness of your steel.
- Hold the torch at a 10-to-15-degree angle to the joint to maintain proper gas coverage and visibility.
- Maintain a contact-tip-to-work distance of about 3/8 to 1/2 inch while moving the torch at a steady, consistent speed.
-
Watch the arc closely; it should sound like steady frying bacon, which indicates the short circuit is happening at the right frequency. Tip: If the arc sounds erratic or pops loudly, adjust your wire feed speed slightly until the sound becomes smooth and consistent.
-
Stop the weld if you notice the metal glowing dull red, as this means the heat is building up too much for the thin material. Tip: If you’re new to this, practice on scrap pieces of the same thickness until you can maintain a uniform bead width without burning holes in the steel.
Time required for welding
The time taken depends on the length of the weld and the thickness of the material. A typical 12-inch weld on 1/8-inch steel takes about 60 to 90 seconds to complete, but this varies based on your travel speed and skill level.
| Situation | How long | What changes it | What to watch for |
|---|---|---|---|
| Tack welding | 2-5 seconds | Joint complexity | Pinholes or gaps |
| 12-inch bead | 60-90 seconds | Travel speed | Burn-through |
| Corner joint | 45-75 seconds | Metal thickness | Heat buildup |
If the job is taking significantly longer than these estimates, check your ground clamp connection to ensure it’s tight and clean. A poor ground increases electrical resistance and slows your deposition rate.
Novices often mistake a slow travel speed for better penetration. This error causes excessive heat buildup, which warps the base metal and weakens the structural integrity of the joint. If your puddle grows too wide to control, increase your travel speed rather than lowering your wire feed speed.
When working with materials thicker than 1/4-inch, you must account for multiple passes. A single pass rarely achieves full penetration on heavy plate. Use a root pass to bridge the gap, followed by a hot pass to fuse the edges, and a final cap pass for surface appearance.
Signs of a successful weld
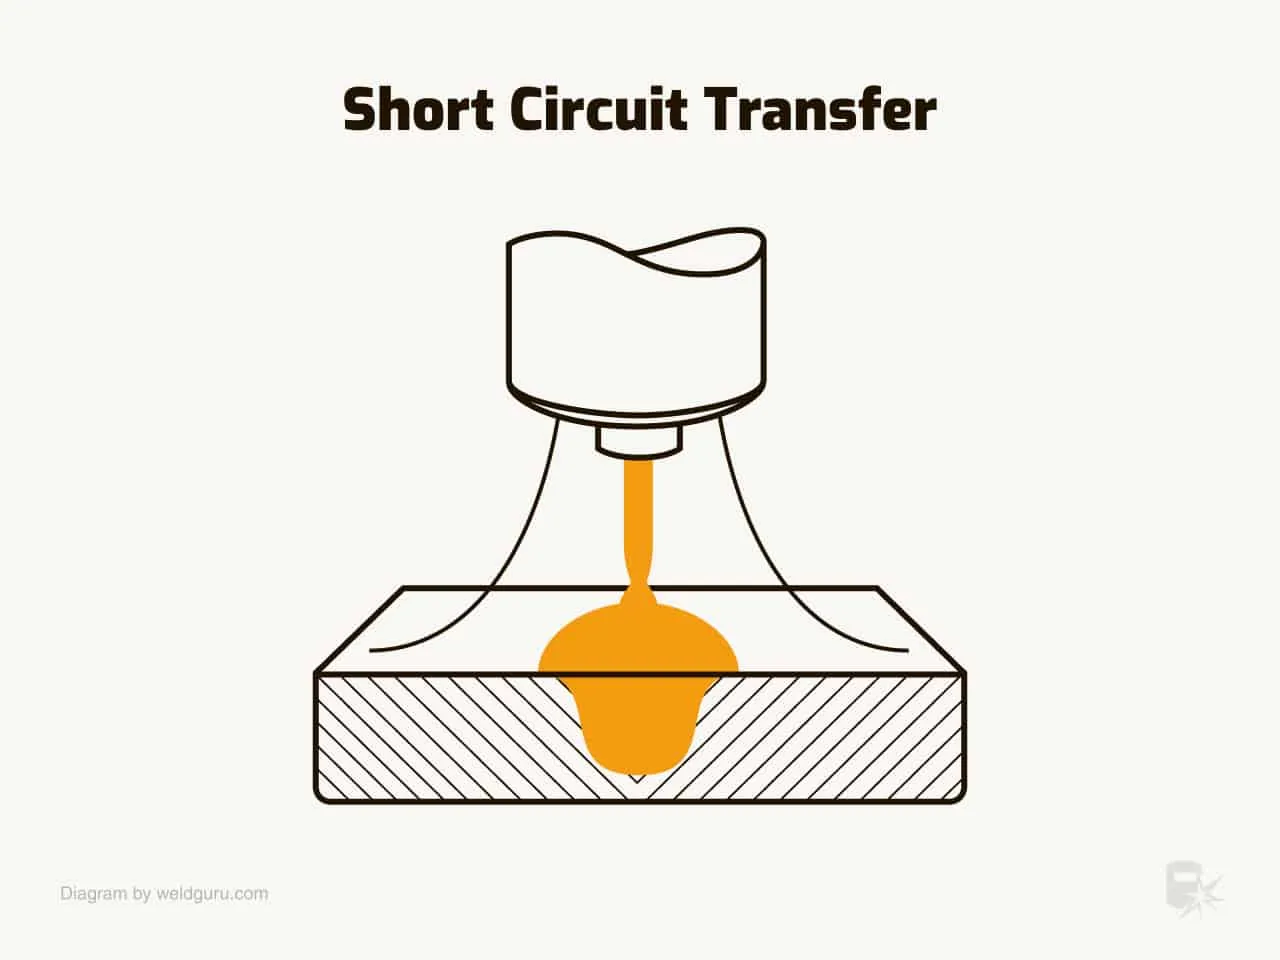
You can tell the weld is done correctly by looking at the bead profile and the penetration on the back side of the metal. A good weld has a uniform, slightly convex shape with no undercut at the edges. If you see deep grooves along the side of the bead, your heat is likely too high or your travel speed is too fast.
The most reliable test for a beginner is the visual inspection of the fusion line. If the weld bead looks like it’s sitting on top of the metal rather than melting into it, you haven’t achieved enough penetration. In critical structural applications, you must follow the AWS D1.1 Structural Welding Code to determine if your specific weld needs non-destructive testing, such as visual inspection by a certified welding inspector.
Common errors in short circuiting
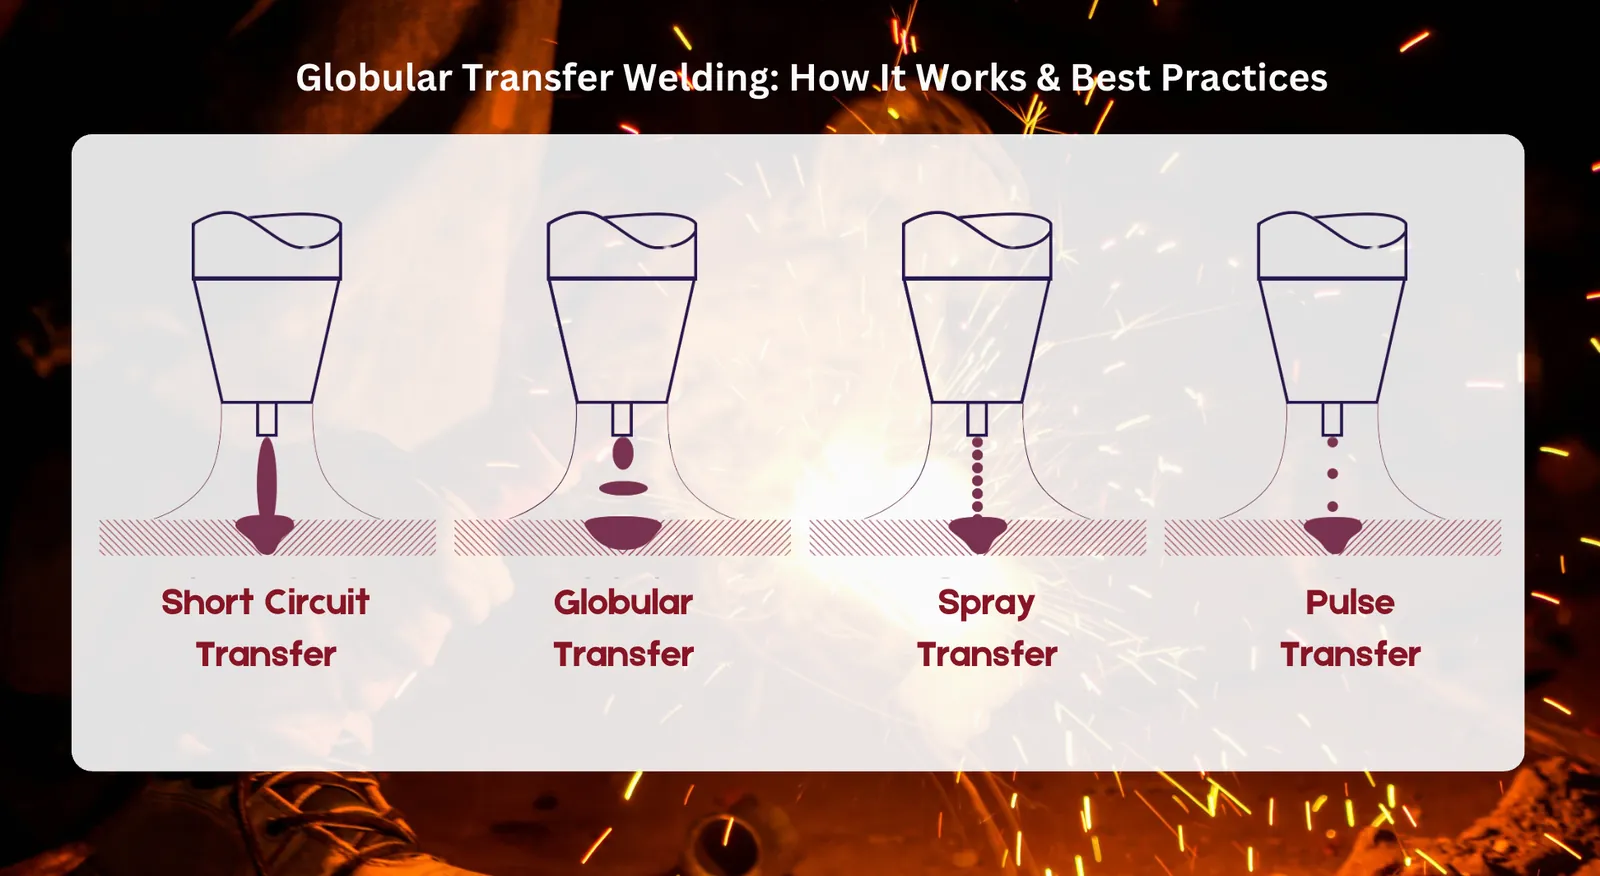
- Using too much stick-out: Extending the wire too far past the contact tip increases resistance and reduces the current, leading to weak, ropy welds that lack proper penetration. Keep your nozzle distance consistent at 3/8 inch to maintain the necessary electrical current for a stable arc.
- Wrong shielding gas mixture: Using pure CO2 on thin steel often creates more spatter than a 75/25 Argon-CO2 blend, which makes cleanup difficult and consumes more time. Switch to a gas blend designed for short circuit transfer to improve arc stability and reduce the amount of time you spend grinding spatter away.
- Poor ground placement: Attaching the ground clamp to a painted or rusty surface creates high resistance, which causes the arc to stutter and the wire to feed inconsistently. Always attach the ground clamp to clean, bare metal as close to the weld area as possible to keep the electrical circuit stable.
Related guides
- What Is Quenching the Process and Its Purpose Explained
- 5 Best Cycling Shorts for Long Distance Rides Reviewed in 2026
- Is Chlorine Heavier Than Water? The Short Answer Explained in 2026
Frequently asked questions
Can I use short circuit transfer on aluminum?
No, this process is generally not recommended for aluminum because the wire feed characteristics and heat requirements are different. Aluminum typically requires a spray transfer mode or a pulse-welding setup to prevent the wire from bird-nesting in the drive rolls and to ensure the metal melts cleanly without excessive oxidation. Check your welder’s manual for specific aluminum settings or recommended transfer modes for that material.
Is this welding method safe for beginners?
Yes, it’s one of the most accessible methods for beginners to learn, provided they wear proper personal protective equipment. You must wear a welding helmet with the correct shade, flame-resistant gloves, and a long-sleeved jacket to protect against UV rays and hot sparks. Always weld in a well-ventilated area to avoid breathing in welding fumes, which can be hazardous to your health over time.
How long does the electrode wire last?
The life of your wire depends on the spool size and the thickness of the material you’re welding. A standard 2-pound spool of .030-inch wire will last for several hours of continuous welding on thin-gauge steel. You’ll know it’s time to replace the spool when the wire end reaches the feed mechanism, at which point you must secure the new wire properly to avoid tangles.
Why does my welder pop and sputter?
Your welder is likely popping because the wire feed speed is too low for the voltage setting, or your ground connection is weak. If the wire isn’t feeding at a constant rate, the arc will struggle to maintain the short circuit cycle, leading to an unstable puddle. Adjust your wire feed speed upward in small increments until the arc sound settles into a consistent, smooth hum.
What happens if I use too much voltage?
Using too much voltage causes the arc to become long and erratic, which leads to excessive spatter and a high risk of burning through the metal. On thin material, this often results in large holes and a very wide, flat bead that lacks the structural integrity required for a strong joint. Always use the manufacturer’s suggested settings for your specific material thickness to avoid these issues.
How do I stop the wire from burning back to the tip?
The wire burns back to the tip when your voltage is too high or your contact tip is worn out and loose. Replace the contact tip if the hole has become enlarged, as this causes the electrical contact to become intermittent and unstable. Ensure your wire feed speed is high enough to keep up with the burn-off rate, which prevents the arc from traveling too far up the wire.
Conclusion
Proper technique in short circuit transfer welding requires a steady hand and a clear understanding of your equipment’s limits. By focusing on your travel speed and maintaining a consistent distance from the metal, you’ll achieve clean, strong welds on thin materials. Always prioritize safety and consult your machine’s manual when in doubt about your settings.
