
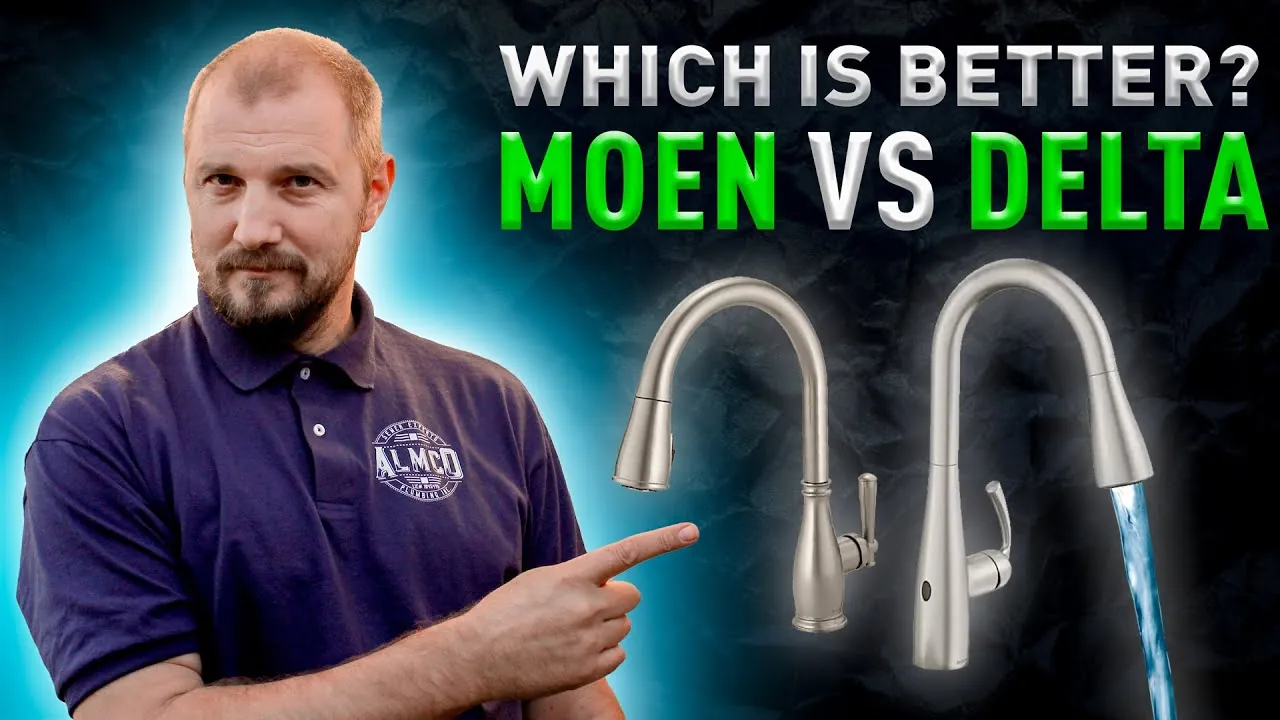
The best choice between these two brands is often decided by your specific repair needs, as moen vs delta faucets offer similar quality but different internal parts. If you prioritize ease of finding replacement parts at local hardware stores, Delta is typically the better choice due to their standardized ball-valve design. If you prefer a lifetime warranty process that feels more streamlined for the original owner, Moen often wins for its straightforward replacement policy.
How Moen and Delta faucets compare

Choosing between these brands depends on how much you value simple repairs versus design variety. While both companies produce high-quality fixtures for residential use, their internal mechanisms vary significantly.
| Method | How long | Effort | Cost | Best for |
|---|---|---|---|---|
| Delta repair | 15 minutes | Low | Low | DIY beginners |
| Moen repair | 20 minutes | Medium | Low | Long-term owners |
| Full replacement | 60 minutes | High | High | Style upgrades |
Delta is known for its “diamond seal” technology, which reduces the number of wear points inside the faucet. This design is highly reliable but requires specific Delta-branded parts when a leak eventually occurs.
Moen uses a cartridge-based system that’s easy to pull out and replace. You must match the exact cartridge model to your specific faucet series, or the seal will fail within weeks. Check the underside of the spout for a serial number before heading to the hardware store.
A common mistake is buying a “big box” store version of a premium brand. These models often use plastic internal valves instead of the brass components found in plumbing supply store versions. If the faucet feels unexpectedly light, it likely contains these cost-cutting materials.
If you prioritize longevity, choose a model with a solid brass body and ceramic disc valves. If you prioritize aesthetics, look for a brand with a lifetime finish warranty. If you live in an area with hard water, avoid matte black finishes, as mineral buildup creates visible white spotting that’s nearly impossible to remove without damaging the coating.
Repairing a standard delta faucet
Delta faucets are popular because they use a standardized ball-valve assembly. This means most parts are interchangeable across many of their older and newer models.
- Turn off the water supply valves under the sink to prevent spraying.
- Use a hex key to remove the handle screw and pull the handle off.
- Unscrew the cap and use a wrench to remove the bonnet nut.
- Lift out the cam, packing, and ball assembly to inspect for mineral buildup.
- Replace the rubber seats and springs if the unit is leaking, then reassemble.
If you find a leak persists after replacing the seats, check the ball itself for deep scratches or pitting. A damaged ball will tear through new rubber seats in weeks, forcing you to repeat the entire repair. If you see visible grooves, replace the ball entirely.
Most beginners fail by overtightening the bonnet nut. If you crank it down too hard, the handle will feel stiff or jerky when you move it. Tighten the nut until it’s snug, then back it off a quarter turn. This allows the internal components to move freely while maintaining a watertight seal.
If the faucet leaks from the base of the handle rather than the spout, the issue is likely the O-rings on the faucet body. Replace these whenever you open the assembly to avoid a secondary leak later. Always test the water flow slowly after reassembly to ensure the pressure doesn’t blow out your new seals.
Replacing a moen cartridge
Moen is famous for its “1222” or “1225” style cartridges. These are self-contained units that replace almost every moving part inside the faucet body in one go.
Shut off the water supply lines to stop flow to the fixture. Open the faucet to drain the lines, or you’ll deal with residual water spilling during removal.
Remove the handle by loosening the set screw, usually found underneath. If the screw is hidden behind a decorative cap, pry it off gently with a flat-head screwdriver to avoid scratching the finish.
Pull the retaining clip out from the top of the faucet body. Use a cartridge puller tool to slide the old cartridge straight out. If the cartridge doesn’t budge, don’t force it with pliers, as you risk snapping the plastic stem and leaving the housing permanently jammed. Instead, apply a food-grade silicone grease to the edges and let it sit for ten minutes.
Align the new cartridge, push it in, and slide the retaining clip back. If the clip resists, the cartridge is likely a fraction of an inch too far out; press firmly until the groove aligns perfectly.
This process is clean because it replaces the entire water-control mechanism at once. It’s ideal if you want to avoid fiddling with tiny springs or individual washers. However, if your home has hard water, mineral deposits often weld the cartridge to the brass sleeve. In these cases, a specialized puller tool is mandatory to prevent damaging the internal valve body.
Maintaining your kitchen or bath hardware
Regardless of the brand, you must follow local building and plumbing codes to ensure your connections are safe and compliant. If you aren’t comfortable working with pressurized water lines, contact a licensed plumber to avoid water damage or voided warranties.
Clean the aerator every six months to maintain water pressure. Mineral buildup here is the primary cause of uneven flow. If the water stream begins to spray outward or loses its force, soak the aerator in white vinegar for one hour to dissolve the calcium deposits.
Use a soft cloth and mild soap for cleaning; avoid harsh chemicals. Abrasive cleaners or scrub pads will strip the protective finish from brass or nickel fixtures, leading to permanent corrosion.
Check the supply lines for signs of fraying or rust annually. If you see a single bubble or a damp spot on the braided metal, replace the line immediately. A burst supply line can dump hundreds of gallons of water into your home in under an hour.
Keep your original proof of purchase to make warranty claims easier. Many manufacturers require a digital copy of the receipt to process replacement parts.
If you have very hard water, your internal parts will wear out faster than the manufacturer estimates. Test your water hardness with a simple strip kit from a hardware store. If your hardness level exceeds seven grains per gallon, you need a water softener. Without one, expect to replace your internal cartridges or seats much sooner than the duration often claimed in marketing.
Choosing the right faucet brand

When you’re in a hurry, Delta is the better choice because replacement parts are stocked at almost every home improvement store. If you’re doing this for the first time, Moen is often easier because the cartridge system is modular and requires fewer small parts to manage. If you want the best possible result regardless of cost, select the brand that offers the specific finish and spout height that matches your kitchen’s layout, as both perform reliably over time.
The main trade-off is between the simplicity of the Moen cartridge and the ubiquity of Delta repair parts. If you live in a rural area with limited store access, prioritize the brand that your local shop carries in stock. This ensures that when a leak happens, you can fix it the same day without waiting for shipping. Always verify the model number on your current fixture before buying parts to ensure a perfect fit for your specific installation.
Most beginners fail by choosing a faucet based solely on the display model’s aesthetics. If the handle feels loose or the spray head lacks a weighted hose, walk away. A heavy, solid brass internal valve is the mark of a long-lasting product.
If your water supply is hard or high in mineral content, avoid matte black finishes. These surfaces show water spots instantly and require daily polishing. Stick to brushed nickel or chrome to hide buildup. If your sink has three holes, ensure the faucet includes a matching deck plate.
Related guides
- Polaris vs Pentair Cleaner: Which Brand Wins for Your Pool in 2026
- Best Power Station for Home in 2026
- Best Foosball Tables for Home: 5 Top Picks in 2026
Frequently asked questions
Can I use generic parts for these faucets?
No, you should use only manufacturer-approved parts for these faucets to ensure a proper seal and avoid leaks. While some generic universal parts exist, they often fail to fit the precise tolerances required for the internal seals. Using non-branded parts can also void your lifetime warranty, meaning you would have to pay for a full replacement faucet if the unit fails again in the future.
How long do these faucets usually last?
Most high-quality faucets from these brands last a long time with proper maintenance. The actual lifespan varies depending on your local water quality, as high mineral content can corrode internal parts faster than soft water. If you notice a steady drip, replacing the internal cartridge or seats usually restores the fixture to like-new condition, potentially extending the total lifespan significantly.
Is it safe to replace a faucet myself?
Yes, it’s safe to replace a faucet yourself if you have basic tools and a clear understanding of how to shut off your water. You should always ensure the water supply is fully off and keep a bucket ready for any residual water in the pipes. If you encounter corroded pipes or can’t stop the water flow completely, stop immediately and call a licensed plumber to prevent flooding.
What happens if I lose the receipt?
You can usually still get warranty support by providing the model number and photos of the fixture to the manufacturer. While a receipt makes the process faster, both companies maintain databases of their models and can often identify your product from a clear image. Be prepared to describe exactly when the issue started and what specific parts are showing signs of wear.
How often should I clean the aerator?
You should clean the aerator periodically to prevent mineral buildup and maintain good water pressure; consult your owner’s manual for the recommended maintenance frequency based on your specific usage. Simply unscrew the end of the spout, rinse the mesh screen under running water, and use a soft brush to remove any trapped debris. If the screen is heavily clogged with white calcium deposits, soak it in white vinegar for one hour before rinsing it clean.
Why is my new faucet leaking?
A new faucet might leak because the supply lines weren’t tightened enough or the rubber gaskets were pinched during installation. Check the connections under the sink first to ensure they’re snug, as loose nuts are the most common cause of leaks in new setups. If the leak is coming from the spout itself, the internal cartridge may have been damaged during the initial assembly or installation process.
Conclusion
Ultimately, you can’t go wrong with either brand since both provide reliable performance for your home. Before you head to the store, take a quick photo of your current setup to ensure you grab the right match. You’ll find that a little preparation makes the installation process much smoother and stress-free.