
A standard kitchen sink strainer is the best choice for most homes because it traps food waste to prevent clogs while remaining easy to clean and replace. You should only use a garbage disposal flange if you intend to install a motorized food waste disposer, as the flange is a specific mounting component required to hold the disposal unit securely against the sink basin.
Comparing sink drainage components
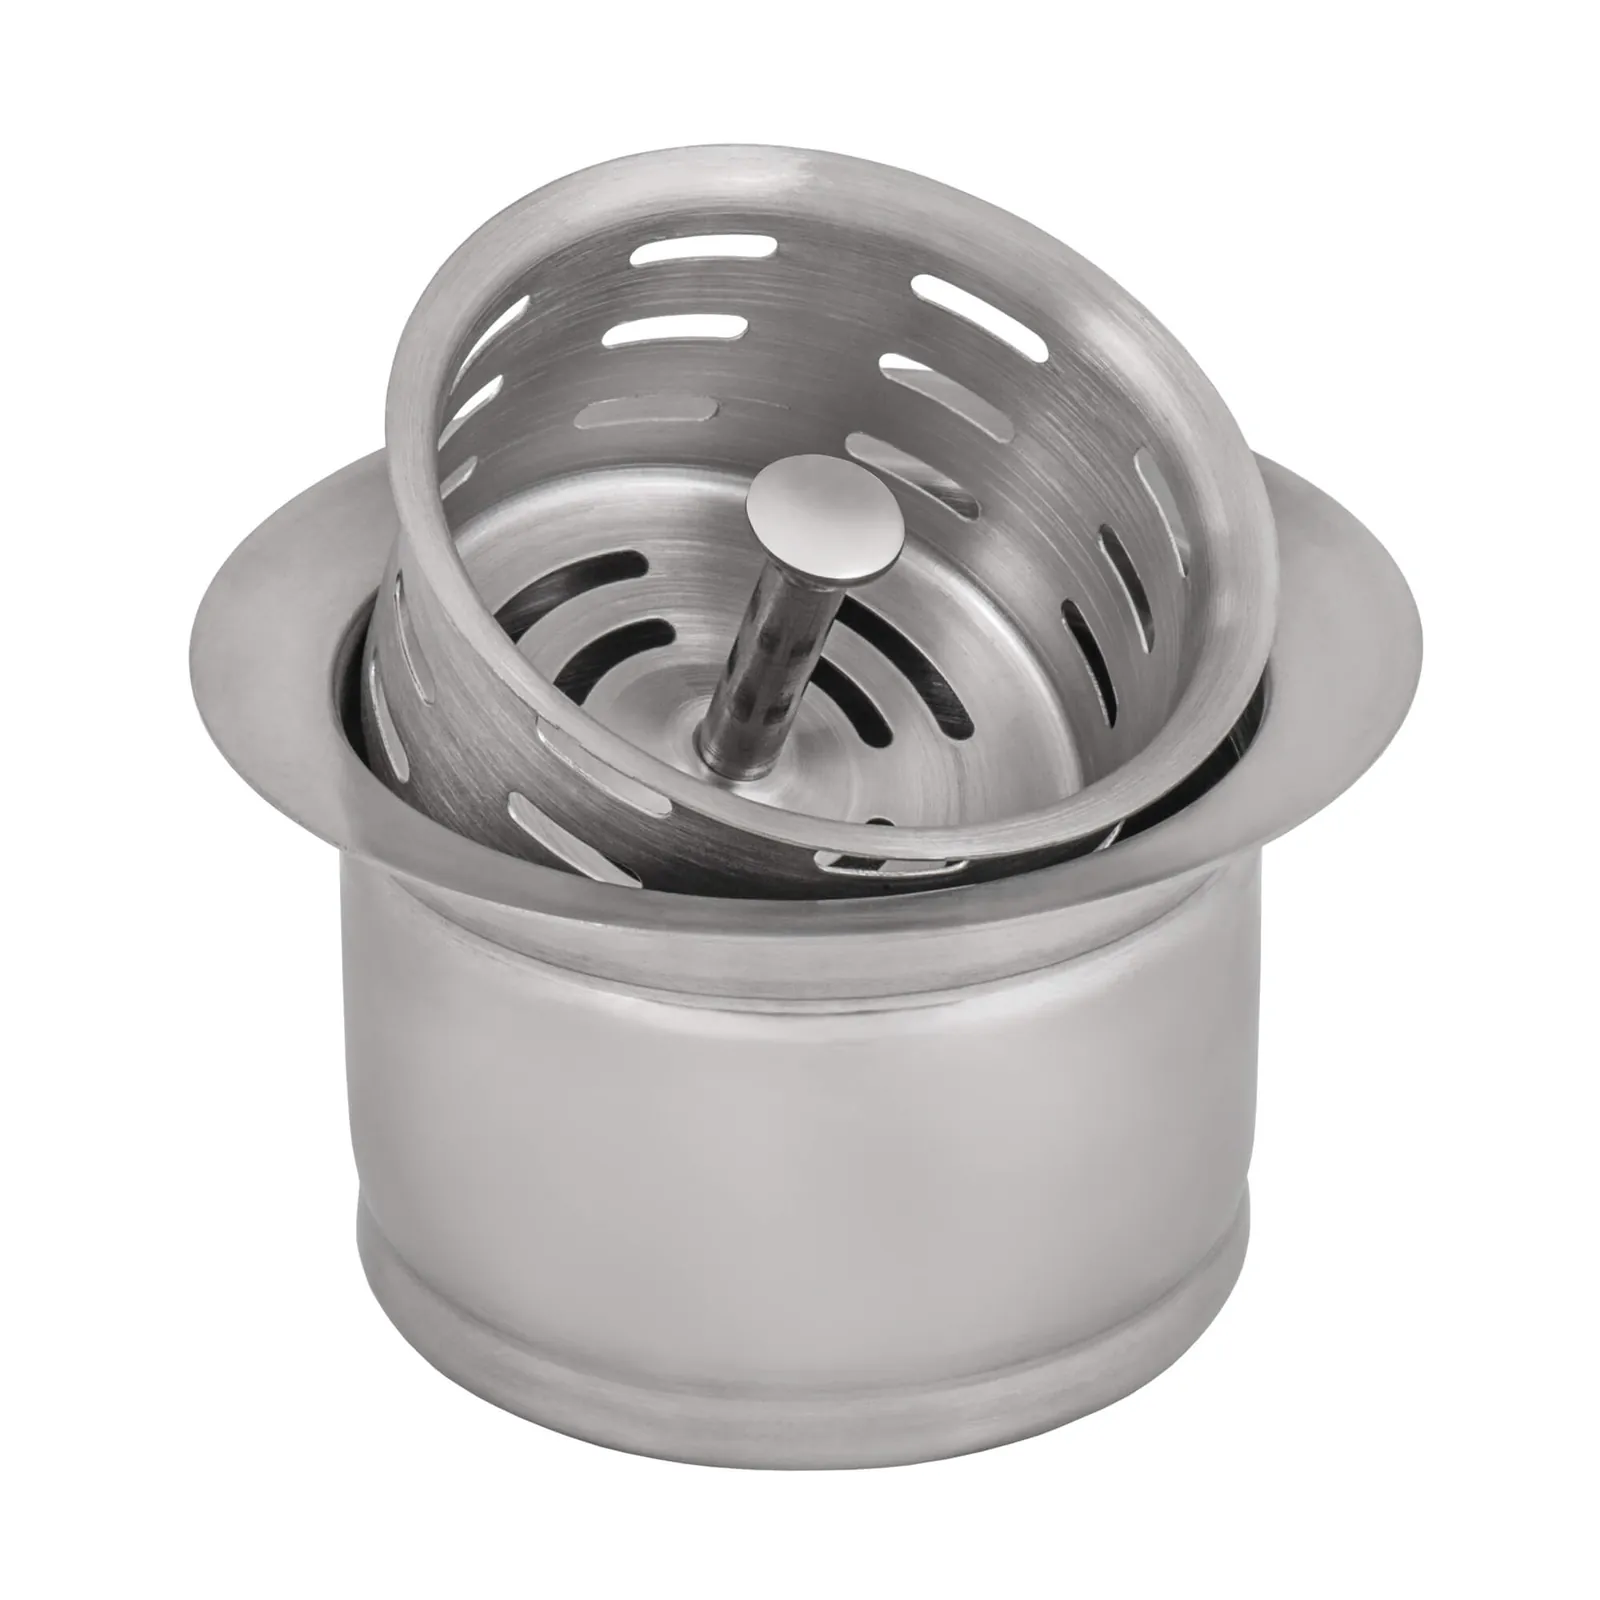
Choosing between these two parts depends entirely on whether you want to grind food waste or catch it before it enters your plumbing system. A strainer acts as a simple physical barrier, whereas a flange serves as the structural foundation for a disposal unit.
| Method | How long | Effort | Cost | Best for |
|---|---|---|---|---|
| Sink strainer | 15 minutes | Low | Low | Manual waste disposal |
| Disposal flange | 60 minutes | High | Medium | Grinding food waste |
These units require wider pipes to prevent frequent clogs, as ground food particles create a thick slurry that standard residential piping often fails to clear.
You must also consider your septic system. Avoid using a disposal flange unless your tank is specifically rated for the extra organic load. Adding a disposal to a standard septic system typically requires pumping the tank more frequently depending on use, so consult your owner’s manual for the correct maintenance schedule, costing you extra in maintenance.
If you’re on a municipal sewer line, either option is generally acceptable. The main trade-off is between the simplicity of a manual strainer and the convenience of a grinding unit.
When installing, check the sink’s mounting surface. If you have a heavy cast iron or fireclay sink, the flange will seat firmly without extra reinforcement.
Finally, check your local building codes. Some municipalities prohibit food waste disposers entirely to protect aging sewer infrastructure from blockages. If your area restricts them, you’re legally required to use a standard basket strainer.
Installing a standard sink strainer
A sink strainer is a simple metal or plastic basket that sits in the drain opening. It blocks large debris while letting water flow freely into the P-trap below.
Apply a thin, consistent ring of plumber’s putty to the underside of the strainer rim to ensure a watertight seal against the sink surface. If you’re installing a stainless steel strainer on a porcelain sink, use a silicone-based sealant instead of putty, as traditional oil-based putty can permanently stain the porous finish.
Insert the strainer into the drain hole from above the sink. From underneath, slide the rubber gasket, the paper friction washer, and the metal locknut onto the strainer body in that specific order. The paper washer is critical; it prevents the metal locknut from binding against the rubber gasket, which allows you to achieve a tight seal without twisting or tearing the rubber.
Tighten the locknut firmly using a basin wrench or slip-joint pliers until the strainer is secure and the excess putty squeezes out. If the strainer rotates while you tighten the nut, place a pair of pliers across the basket crosshairs inside the sink to hold it stationary.
Wipe away the extra putty and connect the tailpiece pipe to the strainer threads. If you notice a slow drip after installation, don’t overtighten the nut. Instead, back the assembly off, clean the surfaces, and ensure the rubber gasket is seated perfectly flat against the sink basin.
This method is excellent for preventing clogs in older pipes that might be prone to blockages. The main weakness is that you must manually empty the basket into the trash, which can be messy if you have a lot of food scraps. If you frequently handle large volumes of organic waste, consider installing a garbage disposal unit instead of a standard strainer to prevent sink backups.
Setting up a garbage disposal flange
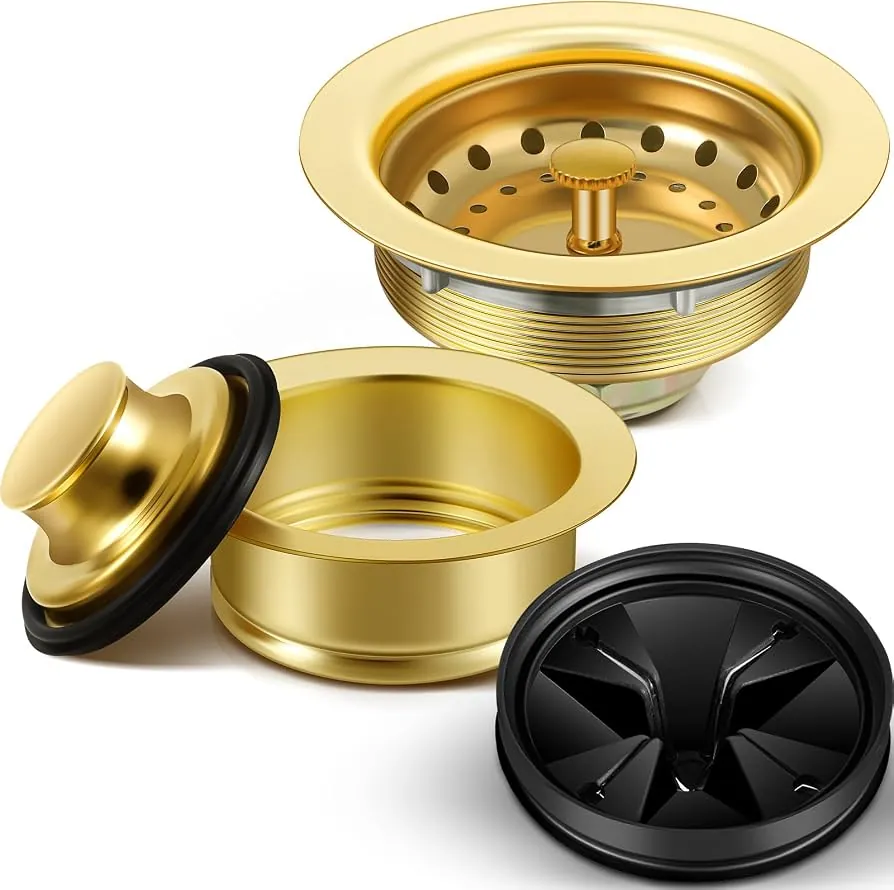
A disposal flange is a specialized collar designed to lock a heavy disposal motor to the sink. It replaces the standard strainer basket entirely.
Clean the sink drain opening thoroughly to remove any old putty or debris that could prevent a tight seal. Scrape the metal rim with a plastic putty knife to avoid scratching the finish. Any residue smaller than a grain of sand can create a slow drip that eventually rots your cabinet floor.
Place the mounting flange into the drain opening with a generous amount of plumber’s putty under the lip. Roll the putty into a snake about the thickness of a pencil before circling the flange. If you have a stainless steel sink, use 100% silicone instead of putty, as the oils in plumber’s putty can sometimes discolor the finish.
From below the sink, slide on the backup flange, the mounting ring, and the snap ring provided with your specific disposal kit. You must seat the snap ring firmly into the groove on the flange neck. If the ring pops out during installation, the disposal will vibrate loose over time, causing leaks.
Tighten the three mounting screws evenly to pull the flange tight against the sink. Don’t overtighten these screws, as you risk cracking the sink or stripping the mounting bracket threads. A firm, hand-tight fit is sufficient.
Attach the disposal unit to the mounting ring by rotating it until the locking tabs snap into place. This setup is ideal for fast cleanup after cooking, as it sends food waste directly into the drain lines.
The drawback is that disposals require electrical power, which necessitates a dedicated outlet under the sink and a wall switch for safe operation. Always verify your local plumbing code, as some jurisdictions prohibit food waste disposers entirely due to strain on aging municipal sewer systems.
Choosing between sink strainers and garbage disposal flanges
Deciding which part to use depends on your daily habits and your kitchen setup.
When you’re in a hurry, use a garbage disposal flange. It allows you to clear plates instantly without stopping to empty a basket. If you cook for a large family and generate significant food waste, the time saved over a year adds up to dozens of hours.
When you’re doing this for the first time, choose a sink strainer. It involves no electrical work and is much harder to install incorrectly. Most beginners fail by misaligning the mounting bolts on a disposal, which leads to slow, persistent leaks beneath the cabinet.
When you want the best possible result, pick a high-quality stainless steel strainer. It resists corrosion and never requires motor maintenance.
If you choose a disposal, remember that you’re trading the simplicity of a passive drain for a mechanical system that requires occasional clearing. If your goal is to keep things simple and avoid future repair costs, the manual strainer is the better path.
Check your local building codes before buying. Some municipalities prohibit food waste disposers due to aging sewer infrastructure. A disposal unit forces waste through narrower pipes, often causing clogs in older plumbing systems that a standard strainer would never trigger. Always prioritize the capacity of your pipes over the convenience of the appliance.
Important rules for sink installations
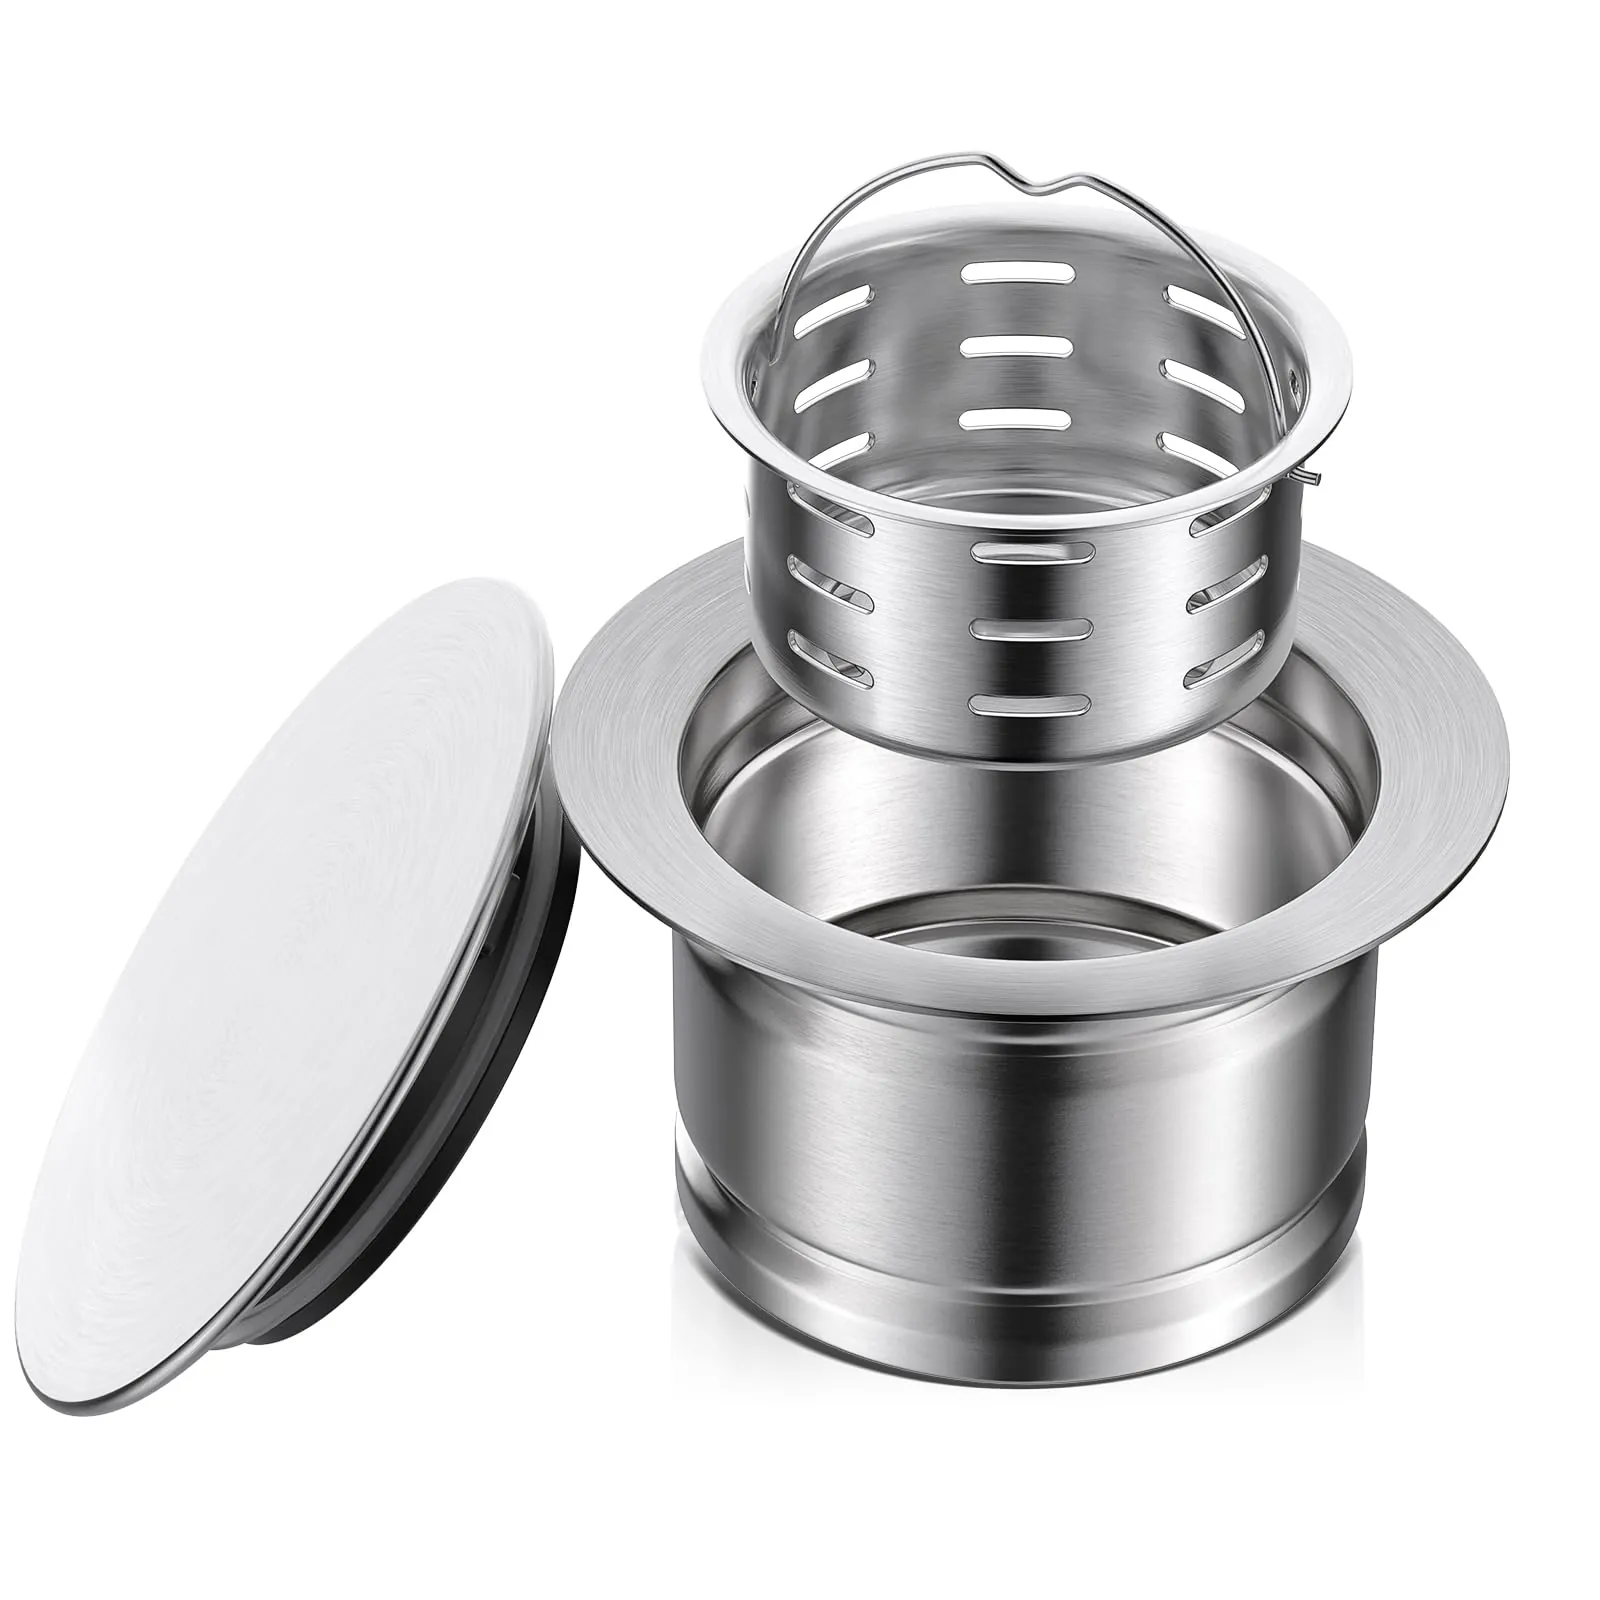
Regardless of whether you choose a strainer or a flange, the quality of the seal is the most important factor. Check the sink manufacturer’s instructions to determine if plumber’s putty or silicone sealant is recommended for your specific sink material. If you have a composite or granite sink, check the manufacturer’s manual, as some materials react poorly to oil-based putty and require a silicone sealant instead.
Before you begin, turn off the water supply to the sink to prevent accidental leaks. If you’re installing a disposal, ensure the electrical circuit is off at the breaker box before touching any wiring.
If you aren’t comfortable working with electrical components, hire a licensed plumber or electrician to complete the installation safely. Failing to secure the unit properly can lead to leaks that damage your cabinetry or, in the case of a disposal, vibrations that loosen the plumbing connections over time.
Related guides
- 10 Best Drain Cleaner for Kitchen Sink Standing Water Picks in 2026
- Best Smart Kitchen Gadgets in 2026
- Best Kitchen Washcloths That Dont Smell in 2026
Frequently Asked Questions
How do I stop a sink from leaking?
Tighten the mounting nut or flange screws slightly, but don’t overtighten them, as this can crack plastic parts or deform thin metal sinks. If the leak persists, you must remove the unit, clean off the old putty, and reapply a fresh, consistent bead around the drain opening.
Can I install a disposal without a flange?
No, the flange is the specific mechanical interface that holds the weight of the disposal motor. Without the correct flange, the disposal won’t lock into place and will fall out of the drain.
Is it safe to put coffee grounds in a disposal?
It isn’t recommended, as coffee grounds can accumulate in the P-trap and cause stubborn blockages. Even with a disposal flange, it’s better to throw grounds in the trash or a compost bin to keep your pipes clear.
How long does a sink strainer last?
A high-quality stainless steel strainer can last a long time, while plastic versions often show signs of wear or cracking much sooner. Replace the unit if the basket no longer holds water or if the finish begins to peel.
What happens if the mounting screws are loose?
If the mounting screws on a disposal flange are loose, the unit will vibrate excessively and the seal will break, causing water to drip into the cabinet below. Regularly check these screws if you notice unusual noise during operation.
Conclusion
Choosing between these two parts really comes down to your future plans for the kitchen. If you aren’t sure about adding a motor, stick with the simple strainer for now. It’s a reliable, low-maintenance option that won’t give you any trouble. You can always upgrade to a disposal later if you decide otherwise.