
For most homeowners, using pipe insulation foam is the best way to prevent heat loss and light condensation because it’s inexpensive and easy to install. If your main concern is preventing frozen pipes during extreme winter temperatures, however, you should choose heat tape instead. Choosing between pipe insulation foam vs heat tape depends on whether you need to trap existing heat or actively generate new heat to stop ice from forming.
Comparing pipe protection methods
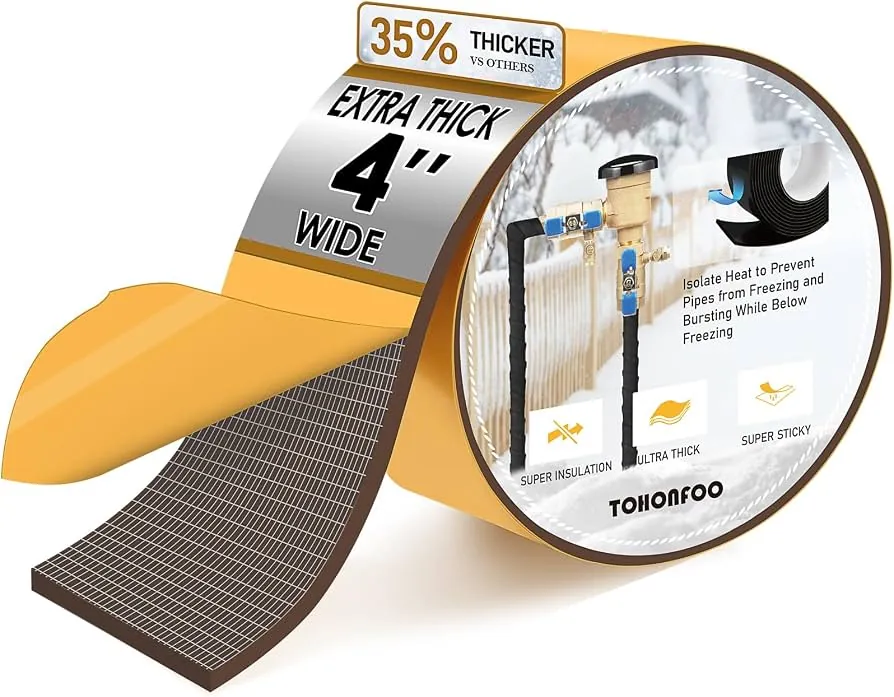
The right choice depends on your climate and the location of your plumbing. Foam is a passive barrier, while heat tape is an active heating system that requires electricity.
| Method | How long | Effort | Cost | Best for |
|---|---|---|---|---|
| Foam sleeves | 15 minutes | Low | Low | Reducing energy bills |
| Heat tape | 1 hour | High | Medium | Preventing frozen pipes |
| Fiberglass wrap | 30 minutes | Medium | Low | Large pipes |
If you live in a mild climate, foam sleeves effectively keep your water lines from sweating in the summer. In colder regions where temperatures drop well below freezing, foam alone can’t prevent water inside the pipe from turning to ice. If you have an unheated crawl space or exposed outdoor plumbing, you need an active solution to keep the temperature above the freezing point.
Use foam sleeves only on interior pipes where the ambient temperature stays above 32 degrees Fahrenheit. If you install foam on exterior lines, the pipe will eventually freeze because the insulation merely slows heat loss rather than generating any warmth.
Most homeowners make the mistake of overlapping heat tape, which creates a dangerous fire hazard by concentrating heat in one spot. Always spiral the tape along the pipe length according to the manufacturer’s spacing requirements.
If your pipes are made of plastic, ensure the heat tape is specifically rated for PVC or PEX, as standard metal-rated tape can melt synthetic materials. When in doubt, check the pipe material stamp; if it’s PEX, verify the tape has a self-regulating thermostat to prevent overheating.
Installing foam insulation sleeves
Foam insulation is a simple, cost-effective way to improve the thermal efficiency of your home’s plumbing. It works by creating a barrier that prevents heat from escaping your hot water pipes and stops cold air from reaching your cold water lines.
Measure the outer diameter of your pipe to ensure you purchase the correct size of foam sleeve. Most residential pipes are either 1/2 inch or 3/4 inch; buying the wrong size leaves a gap that allows air to circulate, rendering the insulation useless.
Clean the surface of the pipe with a damp cloth to ensure the adhesive strips will hold properly. Dust or grease on the pipe prevents the glue from bonding, causing the seam to peel within weeks.
Cut the foam sleeve to the required length using a standard utility knife. If you’re insulating around a 90-degree elbow, cut the foam at a 45-degree angle to create a miter joint for a seamless fit.
Snap the sleeve over the pipe and press the adhesive edges together to seal the seam tightly. Ensure the seam faces downward to hide it from view.
A common mistake is leaving gaps at pipe joints or elbows. This allows cold air to leak in and negates the benefits of the insulation. If you can’t fit the foam perfectly, use a manufacturer-approved insulation tape to seal the exposed edges. This extra step prevents heat transfer at the most vulnerable points.
Using electric heat tape
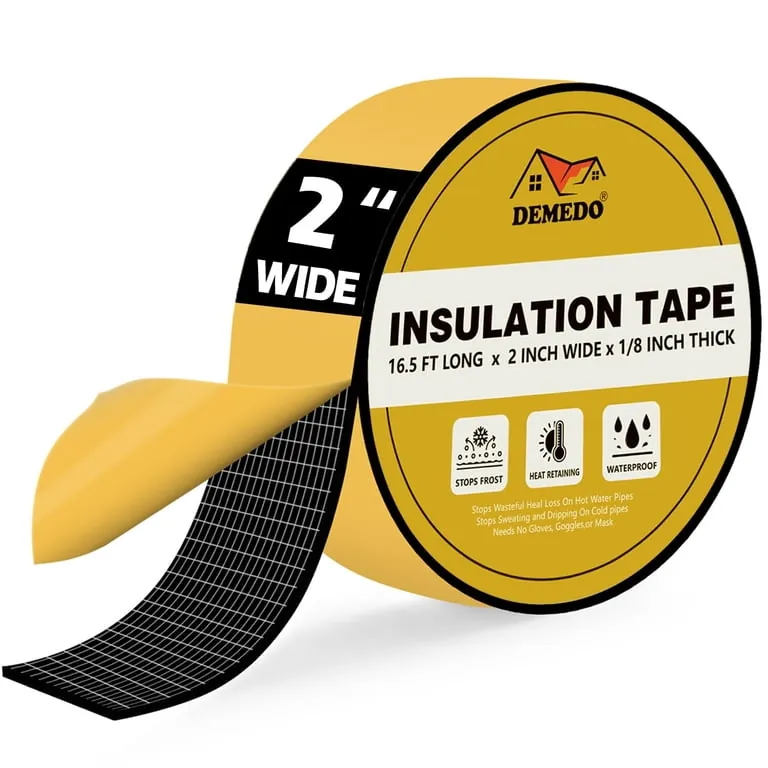
Electric heat tape is a specialized cable that wraps around your pipes to provide consistent warmth. It’s specifically designed to stop water from freezing in pipes that are exposed to harsh, sub-zero conditions.
Inspect the heat tape for any cracks or damage to the outer plastic casing before you begin. If the insulation is brittle or the wire is exposed, discard the unit immediately. A damaged cable can cause a short circuit or ignite nearby insulation.
Wrap the cable around the pipe in a spiral pattern, following the specific spacing instructions provided by the manufacturer. Never cross the cable over itself. Overlapping creates a localized hot spot that can melt the pipe or cause the cable to fail prematurely.
Secure the cable using the manufacturer-approved tape. Don’t use standard duct tape or electrical tape, as the adhesive will break down under the heat. Plug the unit into a Ground Fault Circuit Interrupter (GFCI) protected outlet.
Heat tape is the only reliable choice for pipes located in unheated spaces like crawl spaces or attics where temperatures regularly hit freezing levels. Ensure your tape is rated for the specific pipe diameter and material.
Use a thermostat-controlled model if you want to save on electricity; these units only activate when the ambient temperature drops below 38 degrees Fahrenheit. If you don’t have a GFCI outlet near your pipes, you must hire a licensed electrician to install one. Plugging heating elements into standard outlets creates a serious fire hazard.
Choosing between pipe foam and heat tape
When deciding which product to use, you must consider the specific environment of your pipes. Each method serves a different purpose, and picking the wrong one can lead to frozen pipes or wasted money.
When you’re in a hurry, use foam sleeves. They require no electrical work and can be installed in minutes using only your hands and a knife.
When you’re doing this for the first time, start with foam. It’s forgiving, inexpensive, and carries no risk of electrical shock or fire if installed incorrectly. If you choose heat tape, you must ensure the thermostat sensor stays in direct contact with the pipe. Failing to do this causes the tape to cycle based on air temperature, which leaves your pipes vulnerable to freezing.
When you want the best possible result, choose heat tape for exterior or unheated pipes. While it takes more effort to install, it provides the active heat necessary to survive extreme winter weather.
The trade-off is simple: foam is a passive insulator that works best for energy efficiency, whereas heat tape is an active heater that works best for emergency freeze protection. If your pipe is located in an area that stays above freezing, use foam.
If your pipe is in a crawl space that hits freezing temperatures, foam isn’t enough. You need the active heat of a cable. If you see ice forming on the exterior of your insulation, you have already lost the battle; upgrade to heat tape immediately to prevent a burst pipe.
Maintaining your pipe protection
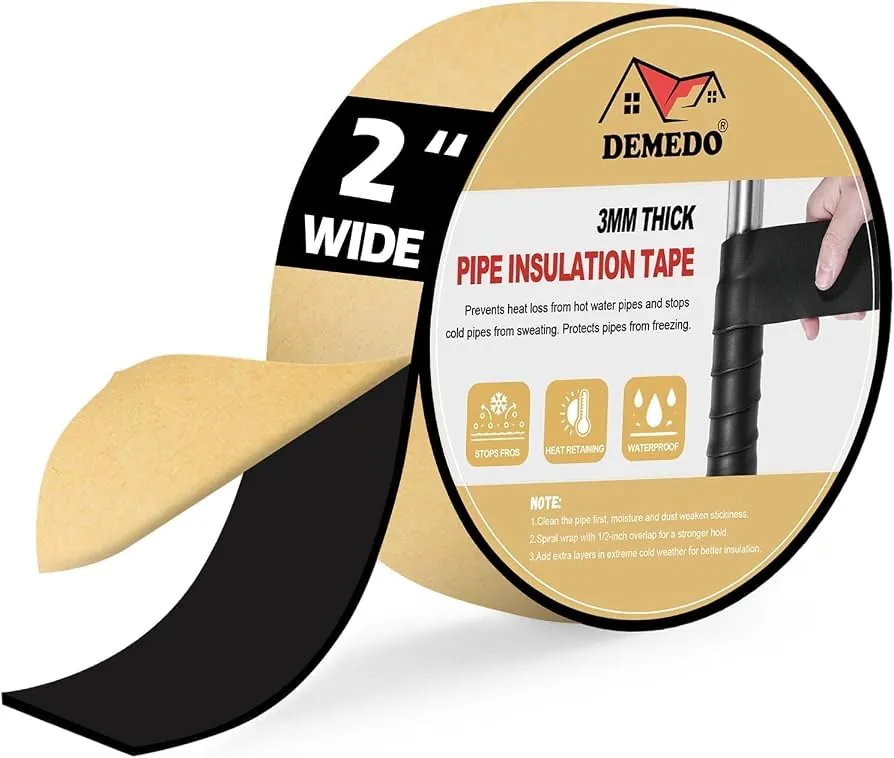
Regardless of the method you choose, you must monitor your pipes throughout the winter. Proper maintenance ensures that your protection remains effective when the weather turns cold.
Check your insulation or heat tape once every month during the winter season. If you use foam, look for sections that have pulled apart or become crushed, as these spots will no longer provide a tight thermal seal. If you use heat tape, verify that the indicator light is on and that the cable hasn’t moved or become loose.
Always keep the area around your pipes clear of flammable materials like cardboard or rags, especially if you’re using electric heat tape. If you suspect a pipe is already frozen, don’t use an open flame to thaw it, as this can cause the pipe to burst or start a fire. Instead, use a hairdryer on a low setting or contact a professional plumber who has the proper tools to thaw the line safely.
If your pipes are located in an unheated crawlspace, check them immediately after any windstorm. High winds can strip away loose insulation or shift heat tape, leaving exposed metal vulnerable to a flash freeze.
When in doubt, prioritize accessibility. Keep at least twelve inches of clearance around all pipe joints. This allows you to perform a quick visual inspection without moving heavy storage items. If you can’t see the pipe, you can’t catch a failure before the water expands and splits the line.
Frequently asked questions
Can I wrap foam over heat tape?
No, you should never wrap standard foam insulation over electric heat tape unless the manufacturer explicitly states it’s safe. Many types of heat tape rely on air circulation to prevent overheating, and covering them with insulating foam can cause the cable to melt or fail. Always read the specific safety manual for your heating cable before adding any additional layers of protection.
How long does heat tape last?
Most high-quality heat tape cables are designed to last for a limited period, though this varies based on how often the unit runs.
Is it safe to leave heat tape plugged in all year?
No, you should only plug in your heat tape when the outside temperature is expected to drop near or below freezing. Leaving it plugged in during the summer months wastes electricity and shortens the lifespan of the heating element. Many modern models include a built-in thermostat that automatically turns the unit on and off, but manual units should be unplugged when the weather warms up.
What happens if the power goes out?
If you rely on heat tape and the electricity fails, your pipes will lose their active heat source and may freeze quickly. In areas prone to power outages, you should ensure your pipes are also wrapped in a layer of fiberglass insulation to retain heat for as long as possible. Heat tape is an excellent tool, but it isn’t a replacement for proper home weatherization.
How much foam insulation do I need?
You need enough foam to cover every inch of exposed pipe in your unheated areas, including all elbows and joints. Measure the total length of your pipes in feet and add an extra 10% to account for trimming errors. If your pipes are located near a cold draft, ensure the foam is thick enough to block the airflow entirely to prevent localized freezing.
Why is my pipe still freezing with insulation?
If your pipe is still freezing, the foam insulation is likely insufficient because it only slows heat loss rather than stopping it. Insulation only works to keep the heat already present inside the pipe; it can’t generate heat on its own. If the ambient temperature in your crawl space or wall cavity stays below freezing for a long time, you must switch to an active heat source like heat tape.
Conclusion
If you aren’t sure which option fits your home, take a quick look at your plumbing during the next cold snap. Checking for damp spots or frost buildup today will help you decide if you’ve got a simple insulation job or if you’ll need to install a heating element before winter truly hits.