
A metal clamp is the most reliable solution for high-pressure leaks, while choosing between pipe repair clamp vs tape vs epoxy depends on the size of the hole and the material of your plumbing. You should use a clamp for metal pipes under pressure, opt for epoxy to fill small cracks in rigid pipes, and reserve tape for temporary fixes on low-pressure lines. If the leak is at a joint or a fitting, these methods often fail, and you’ll need to replace the damaged section entirely.
Comparing leak repair methods
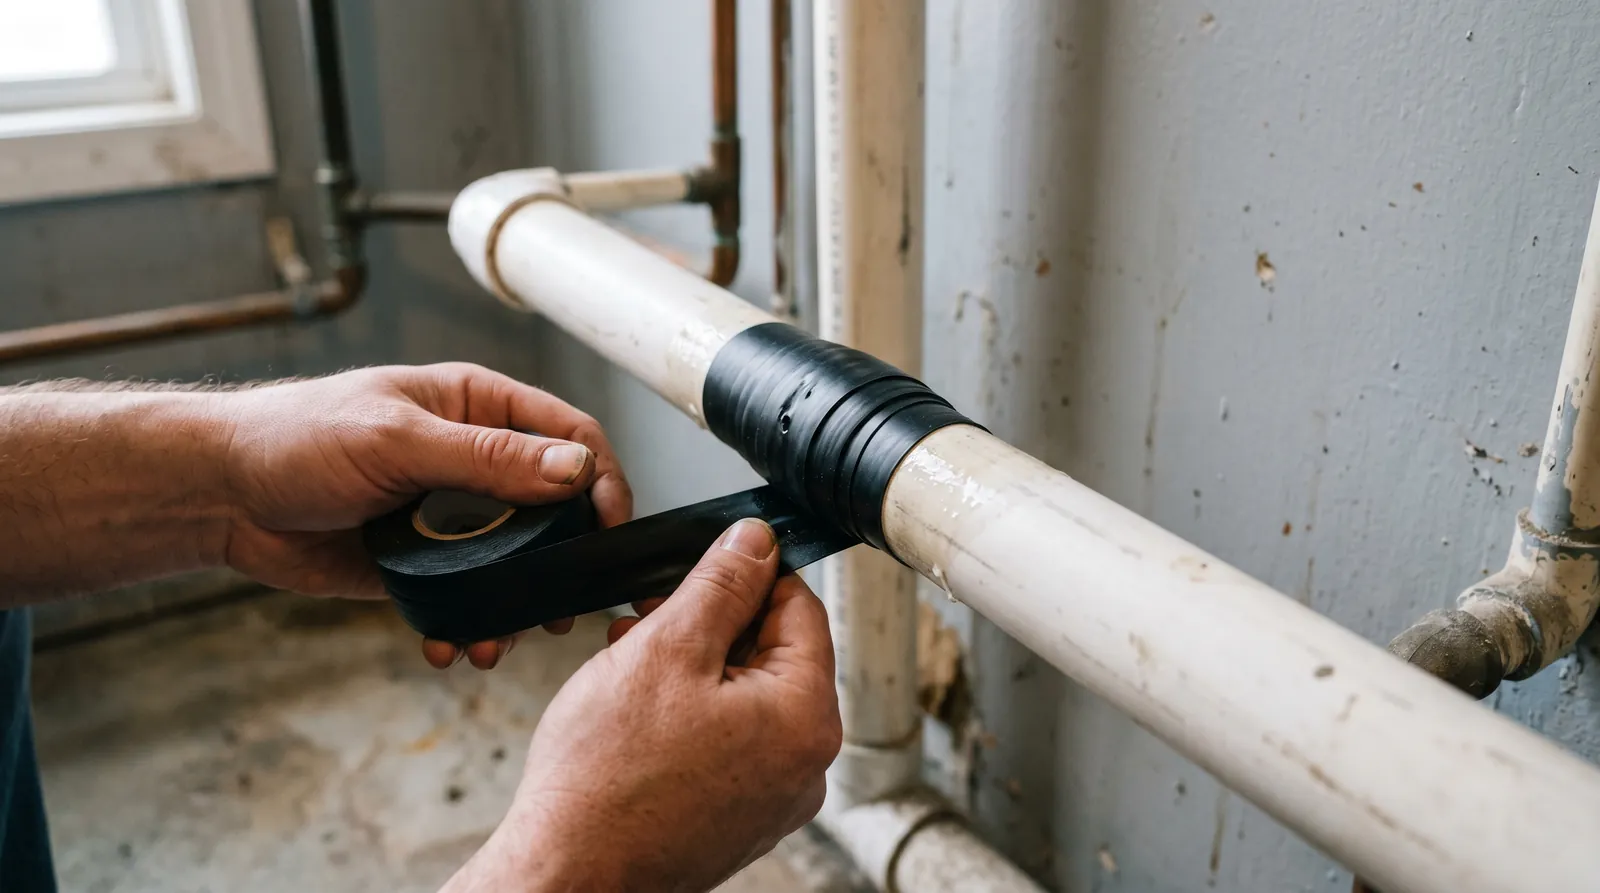
Choosing the right tool depends on your specific pipe material and the pressure within the line. A clamp provides a mechanical seal, while tapes and epoxies rely on chemical bonding or compression to stop the flow.
| Method | How long | Effort | Cost | Best for |
|---|---|---|---|---|
| Repair Clamp | Permanent | High | High | Metal pipes |
| Epoxy Putty | Semi-permanent | Medium | Low | Small cracks |
| Repair Tape | Temporary | Low | Low | Low-pressure leaks |
If you’re dealing with a pinhole leak in a copper line, a clamp is usually the safest choice. For plastic pipes, many epoxies aren’t rated for the expansion and contraction cycles that occur with hot water. Always check the manufacturer’s technical data sheet for your specific pipe type before applying any chemical sealant.
Most DIYers fail by applying epoxy to a pipe while it’s still damp or under active pressure. If you can’t stop the flow completely, the putty will fail to bond, leaving you with a mess that’s harder to fix later. If the leak is still weeping, use a rubber patch and a hose clamp instead of putty.
Apply the rule of diameter: if the crack exceeds one-third of the pipe’s circumference, don’t rely on tape or putty. These materials can’t withstand the hoop stress of pressurized water. In those cases, cut out the damaged section and install a new coupling. Using a patch on a structural crack is a temporary band-aid that will eventually burst, potentially causing significant water damage to your home.
Using metal repair clamps
A repair clamp works by using a rubber gasket held against the pipe by a stainless steel housing. This creates a watertight seal that handles high pressure better than any other DIY method.
Turn off the main water supply to the damaged pipe section. Clean the area around the leak with a wire brush to remove rust or debris. If the pipe surface remains pitted or uneven, the gasket will fail to seal. Use a fine-grit sandpaper to smooth the metal until it’s bare and uniform.
Place the rubber gasket directly over the hole. Position the metal housing over the gasket and tighten the bolts evenly using a wrench. Tighten in a cross-pattern, similar to changing a car tire, to ensure the pressure is distributed equally across the seal.
Turn the water back on slowly to check for remaining seepage. This method is excellent for straight pipe sections because it doesn’t require cutting the line. However, it isn’t suitable for pipes that are bent or for leaks located near a junction.
A common mistake is over-tightening the bolts in an attempt to stop a persistent drip. If you tighten the bolts too far, you risk crushing a thin-walled pipe or warping the housing. If the leak continues after you have reached the manufacturer’s recommended torque, the pipe wall is likely too corroded to support a clamp. In that case, you must cut out the section and install a new coupling.
Applying epoxy putty
Epoxy putty is a two-part compound that you mix by hand until it turns a uniform color. Once applied to the leak, it hardens into a solid mass that bonds to the surface of the pipe.
- Shut off the water and drain the pipe completely.
- Sand the pipe surface with 80-grit sandpaper to create a rough texture for the bond.
- Knead the epoxy sticks together until the color is consistent.
- Press the putty firmly into the crack or hole.
- Allow the material to cure for at least 24 hours before restoring water pressure.
If the pipe surface feels cool or beads with condensation, wipe it with a heat gun or a hair dryer before applying the putty. Moisture is the primary cause of bond failure; if the putty doesn’t feel tacky when you press it against the metal, the surface is still too damp.
Epoxy is perfect for irregular shapes where a clamp can’t fit. If you don’t let the material cure for the full time listed on the package, the internal pressure will force the putty out of the hole.
This isn’t for you if the pipe is still damp, as many epoxies won’t stick to wet surfaces. If you’re working on a high-pressure supply line, consider a rubber-lined pipe repair clamp instead, as epoxy is meant for pinhole leaks, not structural pipe failure.
Using self-fusing repair tape
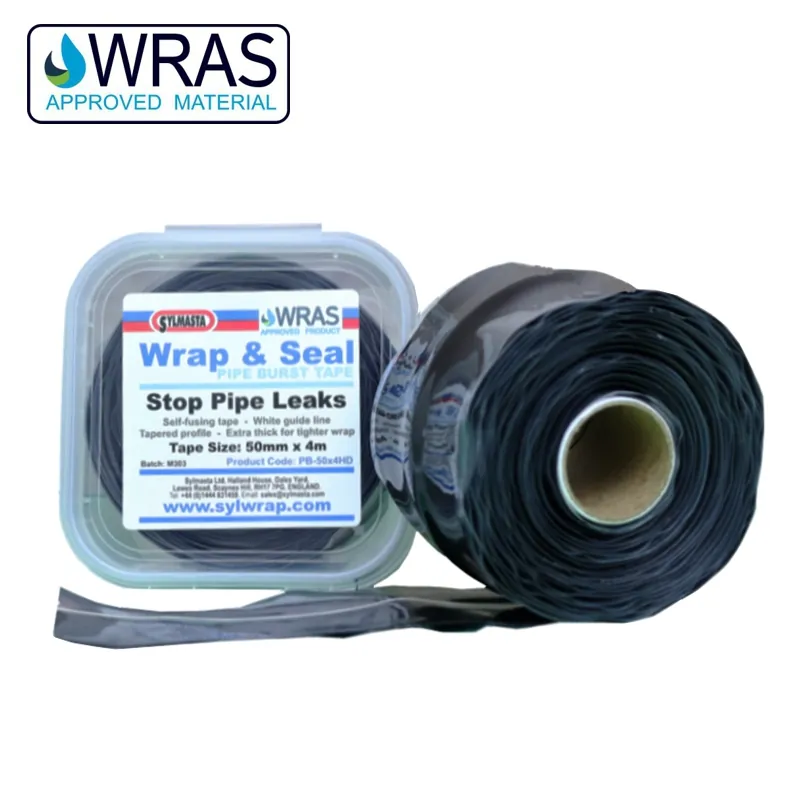
Repair tape, often called silicone rescue tape, works by fusing to itself rather than the pipe. It creates a tight, rubberized sleeve that holds back water through tension.
Clean the pipe surface thoroughly to remove grease and dirt. Any residue left behind prevents the silicone from bonding to itself, which leads to a slow weep under the wrap.
Peel back the protective film from the tape. Wrap the tape tightly around the pipe, overlapping each layer by half its width. Stretch the tape as you wrap to ensure a strong, self-fusing bond. You should aim for a 50 percent stretch during application to ensure the layers fuse together.
Secure the end of the tape by pressing it firmly against the previous layer. If the tape doesn’t stick immediately, you haven’t stretched it enough to activate the material.
This method is great for quick, temporary fixes on low-pressure lines like garden hoses or drain pipes. It isn’t designed to withstand high-pressure main lines. If you see the tape bulging or bubbling after installation, the pressure is too high for a repair.
If you use it on a hot water pipe, the heat may cause the tape to lose its adhesive properties over time. Follow the NSF International guidelines for plumbing materials if your pipe carries drinking water, as not all tapes are certified for potable water systems.
Choosing between pipe clamps, tape, and epoxy
When you’re in a hurry, repair tape is the fastest option because it requires no drying time and minimal surface preparation. If you’re doing this for the first time, epoxy putty is the most forgiving method because it can be molded into any shape or gap. When you want the best possible result whatever it takes, a metal repair clamp is the superior choice because it offers a durable, mechanical seal that resists vibration and pressure changes.
Choose tape if the leak is on a low-pressure line, such as a drain pipe, where you can wrap the material at least three times around the diameter. If you’re dealing with a pressurized water line, move immediately to a clamp. Tapes often bubble and peel when exposed to constant internal force.
Many beginners make the mistake of applying epoxy to a wet surface. This prevents the chemical bond from forming, leading to a total failure within hours. If the pipe is sweating or damp, use a clamp instead.
The rule is simple: if you can easily reach the pipe with a wrench, use a clamp. If the space is too tight for tools, use epoxy. Always prioritize mechanical connections over chemical ones whenever the repair must withstand temperature swings or heavy vibration.
Essential rules for every repair
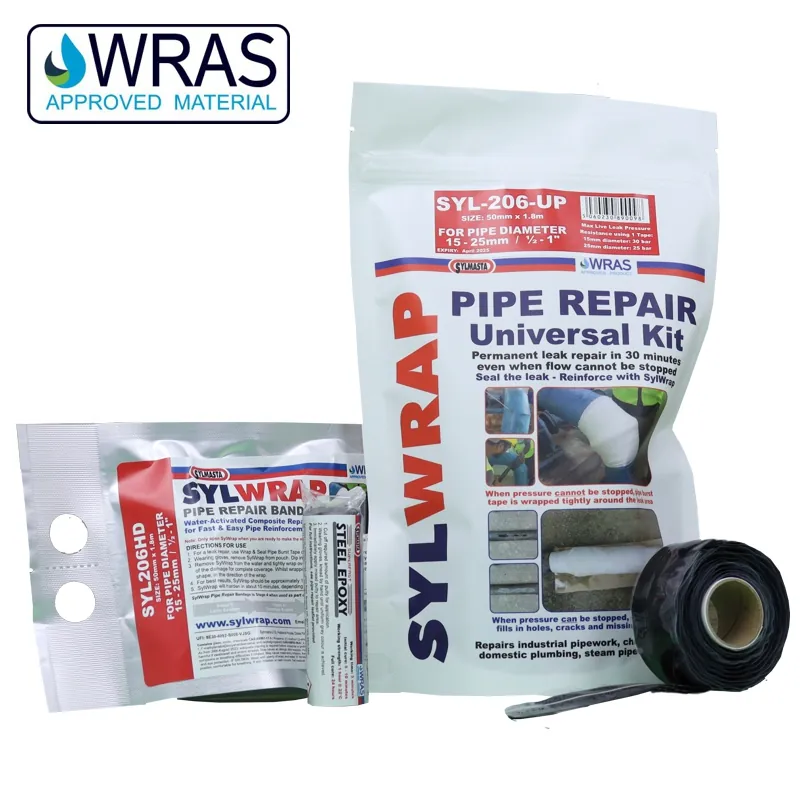
Regardless of the method you choose, safety and preparation remain the most important steps. You must always confirm the pipe is completely depressurized before starting, or the water pressure will simply push your repair material away before it can set. If you’re working on a main supply line, check your local building codes to ensure that a permanent repair is allowed without a licensed plumber.
Any repair that involves cutting a pipe or working on gas lines is beyond the scope of DIY work. If you find the leak is caused by corrosion across a large area, don’t try to patch it; the pipe wall is likely too thin to hold a clamp or epoxy, and the entire section requires replacement by a professional. Always keep the manufacturer’s instructions for your chosen product on hand, as the specific curing time varies by brand and temperature.
Related guides
- Pipe Insulation Foam vs Heat Tape: Which One Do You Need in 2026
- Foosball Table Replacement Parts Grip Wraps Fix in 2026
- Why Does Polaris 65 Go in Circles: Fix Flow and Tires in 2026
Frequently Asked Questions
Can I use duct tape for a pipe leak?
No, you should never use duct tape for a pipe leak because it isn’t waterproof and will fail almost immediately under pressure. It’s designed for air ducts and dry surfaces, not for containing water. Using it will only mask the problem while the water continues to damage the area behind the tape.
How long does epoxy last on a pipe?
Epoxy can last for several years if it’s applied to a clean, dry surface and allowed to cure fully. The actual lifespan depends on the pipe material and the temperature of the water. If the pipe experiences frequent temperature changes, the bond may weaken over time, leading to a new leak.
Is it safe to use tape on a hot water pipe?
No, most standard repair tapes will lose their seal when exposed to high heat. You must check the product label to see if the tape is rated for hot water temperatures. If the label doesn’t explicitly state it’s heat-resistant, assume it will fail once the pipe reaches operating temperature.
What happens if I don’t turn off the water?
If you don’t turn off the water, the pressure will prevent the tape or epoxy from forming a seal. The water will continue to push through the leak, washing away the adhesive before it has a chance to bond. You’ll likely end up with a bigger mess and a failed repair attempt.
How much pressure can a clamp hold?
A high-quality stainless steel repair clamp can typically hold up to 150 PSI, but this depends on the specific model and the condition of the pipe. You should check the manufacturer’s specification sheet for the exact pressure rating of the clamp you’re buying. If your home’s water pressure is high, verify it with a gauge before choosing your repair method.
Why is my repair still leaking?
Your repair is likely leaking because the pipe surface wasn’t cleaned enough or the material didn’t bond properly. If the pipe is wet or greasy, the sealant won’t stick. Another common cause is that the leak is actually at a joint or fitting where a flat clamp can’t get a proper seal.
Conclusion
If you aren’t sure which fix fits your situation, don’t hesitate to call a local plumber for advice. It’s better to be safe than sorry when dealing with water damage. Once you’ve patched the leak, keep a close eye on the area for a few days to make sure it’s holding tight.