
When you’re faced with a sudden leak in your plumbing system, finding the best pipe repair clamps can mean the difference between a minor inconvenience and a flooded basement. These mechanical devices act as a temporary or semi-permanent bridge over a damaged section of pipe, sealing the leak without the need for cutting, welding, or soldering. Depending on the size, material, and complexity of the clamp, a homeowner can expect to spend between $12.00 and $85.00 for a single unit. These tools are designed to provide a quick, effective, and reliable way to restore water pressure and prevent further water damage in residential and light commercial settings while you plan for a more permanent plumbing repair.
Key Takeaways
- Always identify the exact pipe material (PVC, copper, or galvanized steel) before selecting a clamp, as mismatching materials can lead to galvanic corrosion.
- Measure the outside diameter of your pipe accurately; a clamp that’s too small or too large will fail to create a watertight seal.
- Most clamps are intended for low-pressure applications; never use them on high-pressure steam lines or gas pipes without consulting professional safety guidelines.
- Clean the pipe surface thoroughly with a wire brush or sandpaper to remove debris, scale, and oxidation before tightening the clamp.
- Verify that your chosen repair method complies with local building codes, as some jurisdictions require permanent pipe replacement for long-term solutions.
Understanding Your Pipe Repair Options
Pipe repair clamps come in various configurations, each suited to specific types of damage. If you have a pinhole leak, a small, focused clamp will suffice. If you have a longitudinal crack or a wider section of damage, you’ll need a full-circle repair clamp. Understanding these categories is essential for choosing the right mechanical sealing device.
Band Clamps
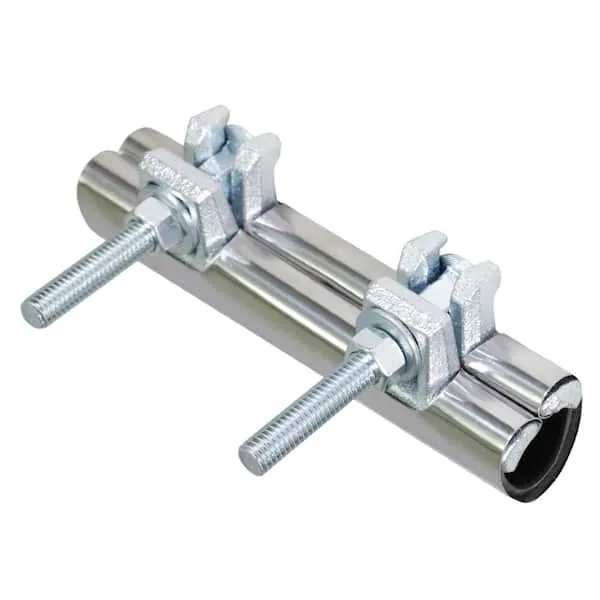
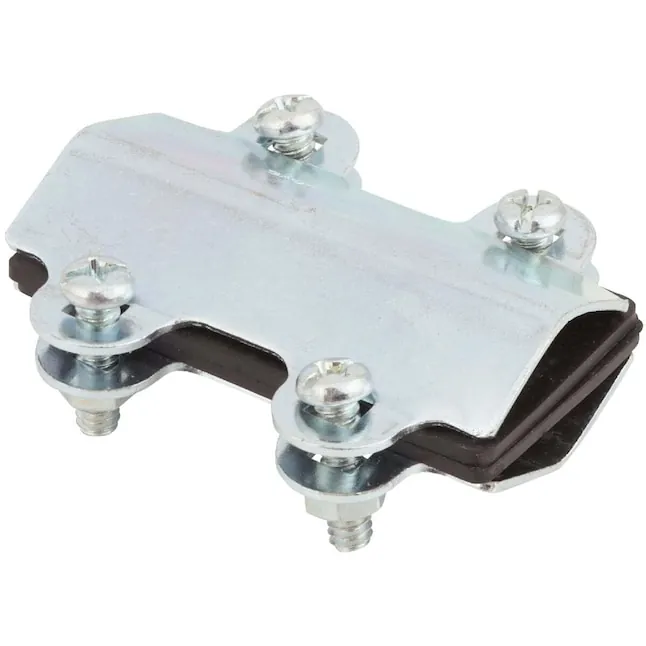
These are the most common DIY solutions. They consist of a stainless steel band and a thick rubber gasket. When tightened, the rubber is compressed against the leak, creating a seal. These are excellent for small, non-structural leaks.
Bell Joint Clamps
These are specialized devices used specifically for sealing leaking joints in bell-and-spigot pipes. They’re heavier and more complex than standard band clamps, often requiring specific tools for proper installation.
Full-Circle Clamps
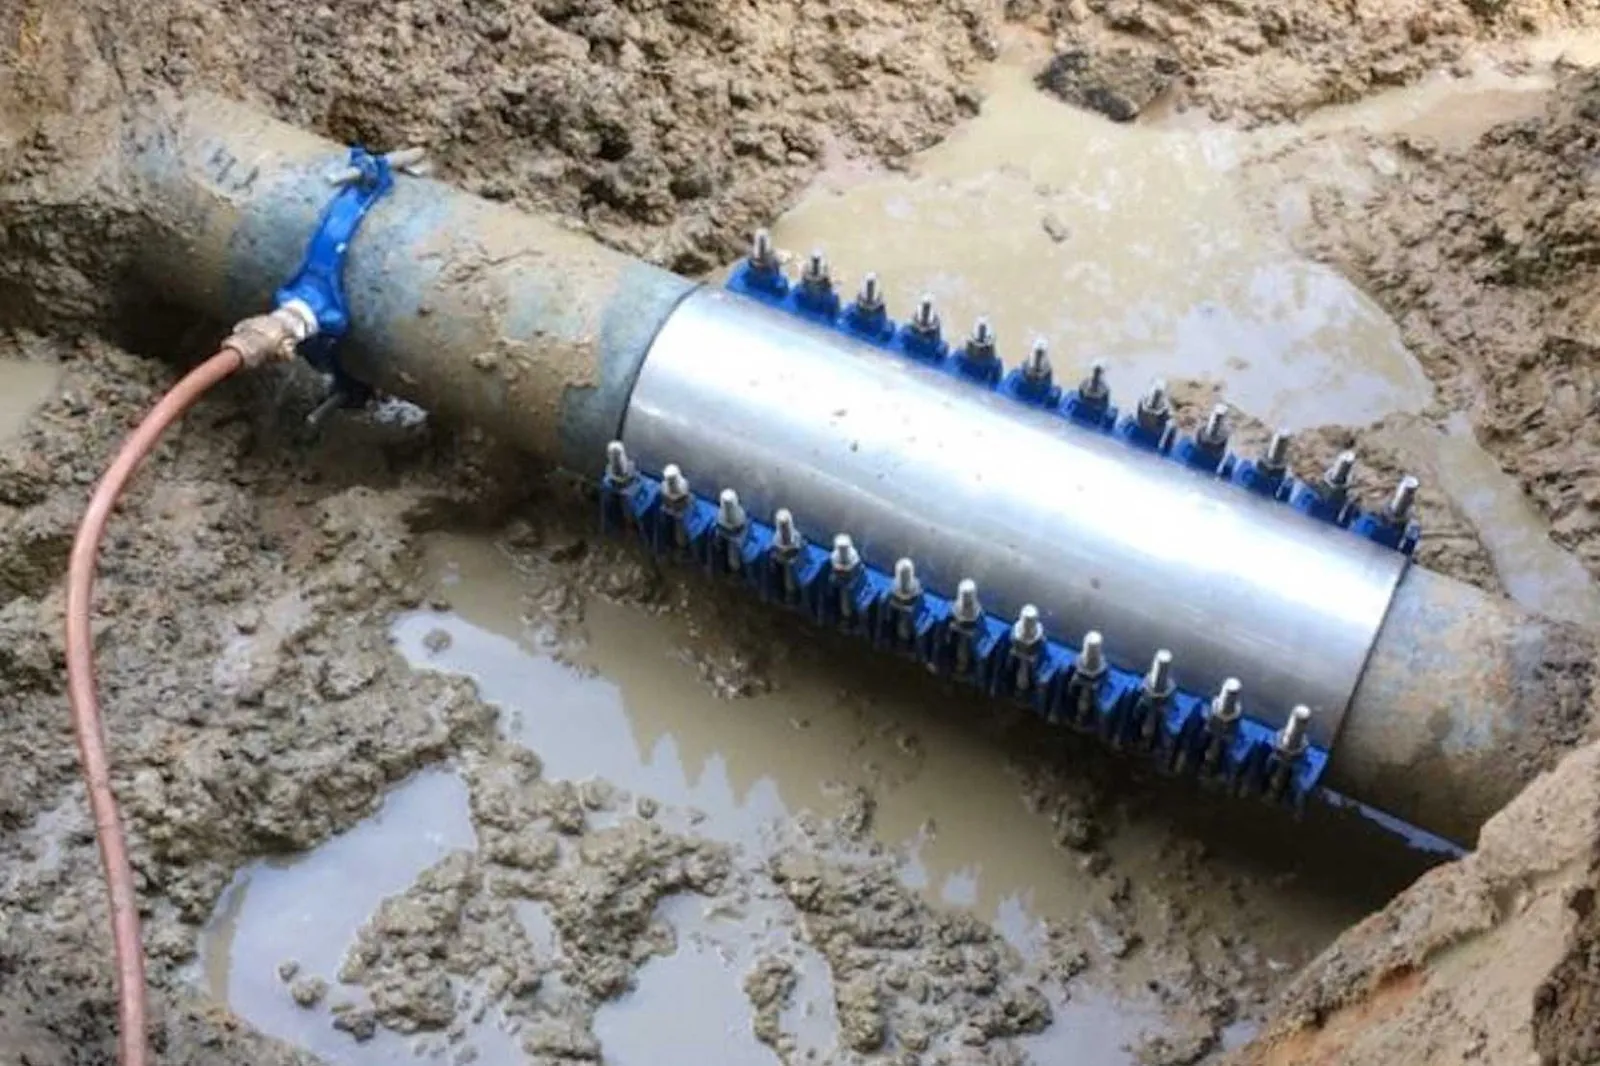
These clamps wrap entirely around the pipe and offer a larger surface area for sealing. They’re the gold standard for repairing cracks that span several inches or for pipes that have experienced significant localized corrosion.
Assessing Pipe Material Compatibility
Not all clamps are suitable for every pipe material. Using a stainless steel clamp on a soft copper pipe without a rubber liner can cause damage, while using certain metals on galvanized steel can accelerate the rusting process.
| Pipe Material | Recommended Clamp Type | Considerations |
|---|---|---|
| PVC/CPVC | Plastic-safe band clamp | Avoid over-tightening to prevent cracking the pipe. |
| Copper | Stainless steel with rubber | Use a liner to prevent galvanic corrosion. |
| Galvanized Steel | Heavy-duty iron or steel | Ensure the gasket is rated for high pressure. |
| PEX | Specialized PEX clamp | PEX is flexible; ensure the clamp doesn’t deform it. |
Corrosion prevention is the primary reason for choosing specific materials. If you’re working with older metal pipes, ensure your clamp is compatible with the existing metal to avoid long-term structural failure.
How to measure for the correct fit?
Measuring the pipe correctly is the most critical step in the repair process. You must measure the outside diameter (OD), not the nominal pipe size (NPS). Many people make the mistake of buying a clamp based on the interior diameter of the pipe, which will lead to a clamp that’s far too large for the job.
- Use a pair of calipers to get an exact measurement of the pipe’s circumference.
- If you don’t have calipers, use a piece of string to wrap around the pipe and then measure the length of the string with a ruler.
- Divide the circumference by 3.14 to find the outside diameter.
Warning: Never attempt to “force” a clamp that’s slightly too small to fit. Doing so can cause the pipe to shatter or further widen the existing crack, resulting in a much larger emergency.
Are all clamps rated for pressure?
Pressure ratings vary wildly between products. A clamp designed for an irrigation system won’t hold up to the pressure found in a home’s main water supply line. You must check the NSF International standards for plumbing components to ensure the parts you’re installing meet the necessary safety requirements for your specific water system. Always look for the pressure rating stamped on the clamp or listed on the packaging.
- Low-pressure: Suitable for irrigation or drainage.
- Medium-pressure: Standard for most residential indoor plumbing.
- High-pressure: Required for main service lines entering the building.
Always consider the pressure rating specifications before finalizing your purchase, as a failure under pressure can cause significant property damage.
Common brands and where to buy
When shopping for repair clamps, you’ll find several reputable brands that offer consistent quality. Avoid generic, unbranded options found on discount marketplaces, as they often use inferior rubber gaskets that degrade quickly when exposed to chlorinated water.
- Mueller Industries: Known for high-quality, durable components.
- Fernco: A leader in flexible couplings and repair solutions.
- Apollo Valves: Offers robust solutions for both residential and commercial applications.
- Oatey: Widely available in most hardware stores and reliable for DIY repairs.
These brands are typically stocked at major home improvement retailers, including The Home Depot, Lowe’s, and Ace Hardware. You can also source professional-grade hardware from specialized plumbing supply houses.
What is the best pipe repair clamp?
The “best” clamp is the one that fits your specific situation. For a quick fix on a copper line, a simple stainless steel band clamp is usually ideal. For a larger crack in an older iron pipe, a heavy-duty bolted full-circle clamp is superior.
- Identify the damage: Is it a pinhole or a crack?
- Verify the material: Is it metal or plastic?
- Check the pressure: Does the pipe carry high-pressure water?
- Confirm the size: Do you have the exact outside diameter?
By following these steps, you eliminate the guesswork and select a reliable sealing solution that will last until a permanent replacement can be scheduled.
How to install a repair clamp?
Installation is straightforward, but it requires patience. The pipe must be perfectly clean. Any remaining grit, rust, or debris will create a channel for water to escape under the gasket.
- Step 1: Turn off the water supply to the affected line.
- Step 2: Use a wire brush to scrub the area around the leak until the pipe surface is smooth.
- Step 3: Apply a thin layer of plumbing-safe lubricant to the gasket if recommended by the manufacturer.
- Step 4: Position the clamp directly over the leak, ensuring the gasket covers the damage completely.
- Step 5: Tighten the bolts in an alternating pattern to ensure even pressure distribution.
- Step 6: Turn the water on slowly and check for any signs of weeping or moisture.
Pro Tip: Use a torque wrench if the manufacturer provides a specific torque setting; over-tightening is a common cause of clamp failure.
Troubleshooting common installation issues
If the clamp continues to leak after installation, don’t panic. Most issues are related to surface preparation or alignment.
- Leaking at the edges: This often happens if the pipe surface is still uneven. Re-clean the area.
- Clamp slipping: The clamp might be too large for the pipe. Verify your diameter measurement.
- Gasket pinching: This occurs if the clamp wasn’t centered correctly. Loosen the bolts and re-align the rubber insert.
If you find that the pipe is too corroded for a clamp to hold, you may need to consider a pipe replacement strategy instead of a temporary patch. Clamps work best on pipes that still have structural integrity.
Related guides
- 10 Best RV Drain Cleaner Picks for Clear Pipes and Tanks in 2026
- 10 Best Drain Cleaner for Gunk Picks to Clear Your Pipes in 2026
- 10 Best Drain Cleaner for Soap Scum Picks for Clear Pipes in 2026
Frequently Asked Questions
Can I leave a repair clamp on permanently?
While repair clamps are often sold as temporary fixes, many high-quality stainless steel models can last for years. However, they aren’t a substitute for repairing or replacing a compromised pipe. If the pipe is heavily corroded, the clamp may simply cause the leak to move to an adjacent weak spot. Always treat the clamp as a bridge to a permanent fix.
Do I need to turn off the water?
Yes, you should always shut off the main water supply before attempting any repair. Even if the leak is small, the pressure in the line can prevent the gasket from seating properly, and tightening a clamp under full pressure is dangerous. Always drain the remaining water from the line by opening the lowest faucet in the house before you begin the installation process.
Will a clamp work on a leaking joint?
Standard band clamps are designed for straight pipe sections. If your leak is at a fitting or a joint, you’ll need a specific bell joint clamp or a repair coupling. Attempting to use a standard clamp on a joint will usually result in an uneven seal that fails almost immediately. Check your local plumbing supply store for specialized joint repair kits.
Can I use these on gas pipes?
No, you must never use standard water pipe repair clamps on gas lines. Gas leaks are extremely dangerous and require specific materials, certifications, and professional installation techniques. If you suspect a gas leak, leave the premises immediately and contact your local utility company or a licensed professional. Using a water clamp on a gas line is a significant fire and explosion hazard.
How tight should the bolts be?
Tighten the bolts until the clamp is secure and the gasket is fully compressed, but avoid excessive force. Most manufacturers provide a recommended torque value. If you don’t have a torque wrench, tighten the bolts evenly in an “X” pattern until the clamp stops moving and the rubber is firmly seated against the pipe. Don’t use cheater bars on your wrench.
Conclusion
When you have successfully installed your repair clamp and verified that the area is dry, monitor the site for the next several hours. If the seal remains tight, you have successfully bought yourself the time needed to consult with a professional plumber about a permanent repair. Keep your tools handy and your contact information for local emergency services updated to ensure you’re ready for any future plumbing maintenance needs.