
Cooking meat in an infrared oven requires a target internal temperature of 165°F for poultry or 145°F for beef, pork, and fish. These ovens use electromagnetic waves for faster cooking, but their intense energy requires careful monitoring to prevent the surface from drying out before the center reaches the required temperature.
The Science of Cooking Meat in Infrared Ovens
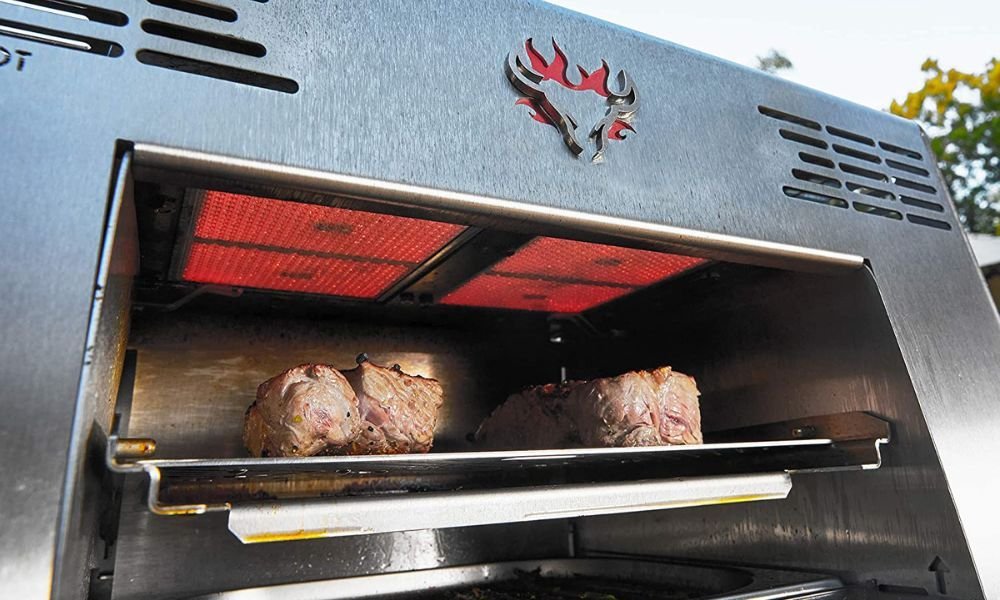
Infrared ovens generate heat using high-intensity lamps or elements that emit infrared radiation. Unlike a traditional oven that heats the air inside the chamber, these units send energy waves straight to the surface of the food. This mechanism is highly efficient for searing and browning, as the energy creates a quick reaction at the outer layer of the meat. It’s a popular choice for those who want a crispy exterior without needing to use large amounts of oil or butter.
A common misconception is that infrared heat penetrates deep into the meat like a microwave. In reality, infrared energy only heats the outer one to two centimeters of the food, and the rest of the cooking happens through conduction as that heat moves inward. If you try to cook a very thick roast at the highest power setting, the outside will likely burn while the center remains raw. This is a crucial trade-off: you gain speed and texture, but you lose the uniform heat distribution found in standard air-circulated ovens. If you’re cooking a thin steak, the process is very fast; if you’re cooking a thick, bone-in roast, you must use a lower temperature setting and increase the time to allow the heat to reach the center safely.
Preparing and Roasting Your Meat
- Bring the meat to room temperature for 20 minutes before cooking, as this helps it heat more evenly throughout.
- Pat the surface of the meat completely dry with a paper towel, because excess moisture on the surface will create steam and prevent the infrared energy from browning the meat effectively.
- Preheat the infrared oven according to the manufacturer’s instructions, usually for 5 to 8 minutes, to ensure the elements are at full intensity.
- Place the meat on the center of the rack, leaving at least 2 inches of space between the food and the heating elements to prevent charring.
- Set the timer based on the thickness of the cut, starting with 10 minutes for a 1-inch steak or 25 minutes for a 2-pound roast at a medium-heat setting.
- Check the internal temperature using a calibrated food thermometer at the thickest point, ensuring you follow FoodSafety.gov’s safe minimum internal temperatures before removing the meat from the oven.
- Let the meat rest on a carving board for 5 to 10 minutes after cooking to allow the juices to redistribute.
The most important judgement call is deciding when to flip the meat or reduce the heat. If you see the surface darkening too quickly, move the rack lower if possible, or lower the power setting immediately. This isn’t a “set it and forget it” process like a slow cooker. If you’re inexperienced with high-heat cooking, always start with a lower power setting than the manual recommends.
Essential Cooking Settings
| Cut of Meat | Power Level | Time Estimate | What to Watch For |
|---|---|---|---|
| Thin Steak (1 inch) | High | 6–8 minutes | Surface charring |
| Chicken Breast | Medium | 15–20 minutes | Opaque white center |
| Pork Chops | Medium | 12–15 minutes | Golden brown edges |
| Thick Roast | Low | 40–50 minutes | Uniform coloring |
| Fish Fillets | Medium | 8–10 minutes | Pearly, opaque flesh |
Always check the label on your specific unit, as some ovens have pre-set programs that adjust temperature automatically.
The most common mistake is failing to account for the meat’s starting temperature. If you pull a roast directly from the refrigerator, the center will remain cold even when the exterior looks perfect. Always temper your meat on the counter for 20 minutes before cooking. This ensures the heat penetrates evenly without drying out the outer layers.
Use this simple decision rule to adjust your approach. If you’re cooking a cut with high fat content, such as a ribeye, stick to the High setting to render the fat quickly. If you’re handling a lean cut like a pork tenderloin, use the Medium setting and pull the meat when it hits 145°F. The residual heat will finish the cooking process during the mandatory five-minute rest.
If you notice your oven produces uneven heat, rotate your tray 180 degrees halfway through the cycle. This prevents one side of the meat from burning while the other side stays raw. Never overcrowd the tray, as this traps steam and prevents the necessary surface charring required for flavor. If the steam builds up, your meat will boil rather than sear.
Achieving Professional Results
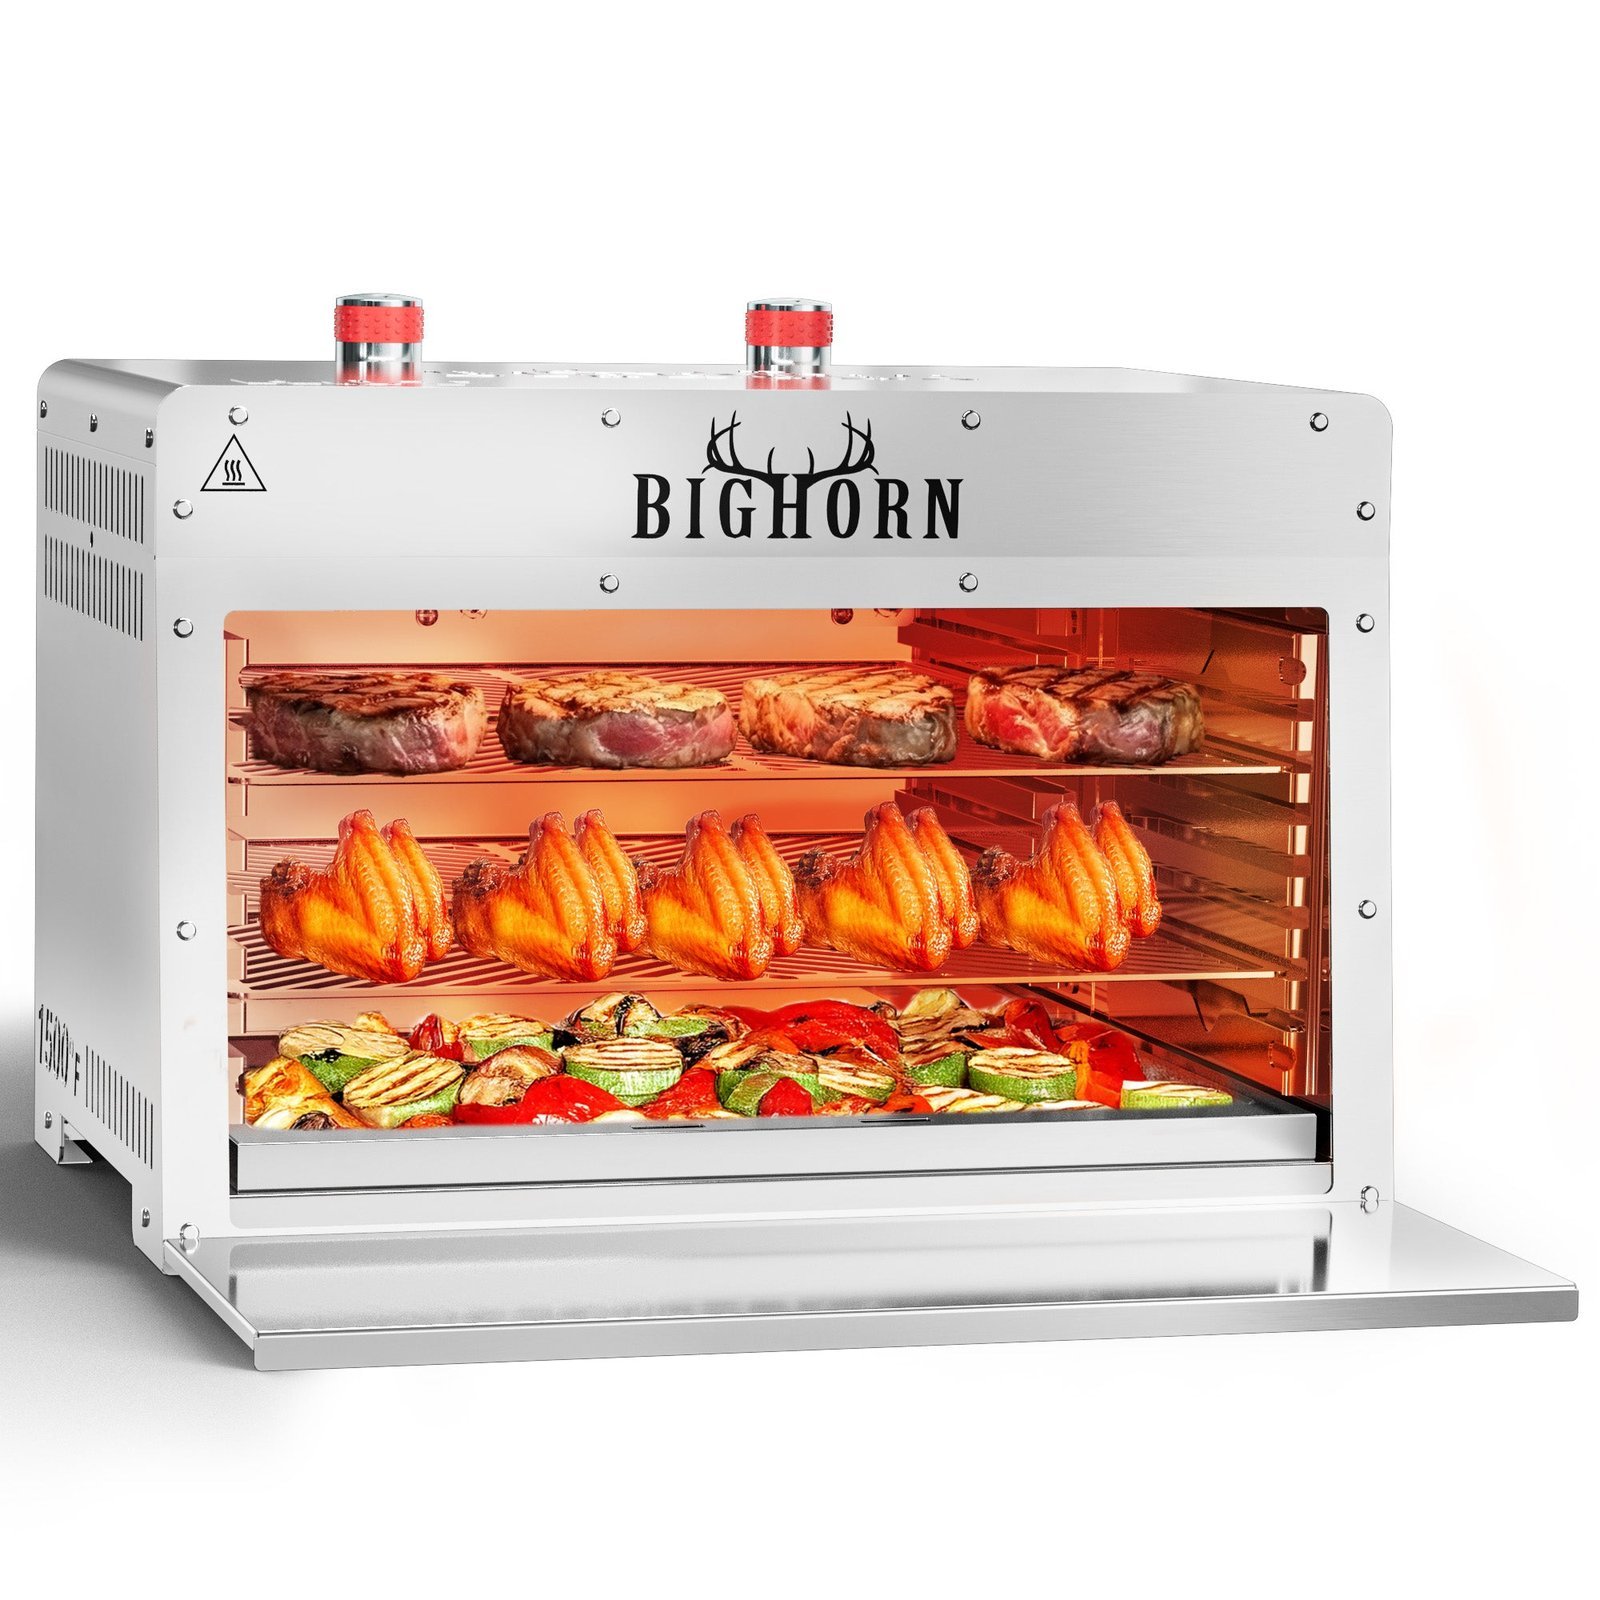
Experienced users know that the secret to success is managing the distance between the meat and the infrared source. The closer the meat is to the element, the more intense the browning, but the higher the risk of the surface drying out. Professionals often use a lower rack position for the first two-thirds of the cooking time to ensure the center reaches the safe temperature without the exterior becoming brittle or overcooked.
Another detail that separates good results from bad ones is the use of a rack. Never place meat directly on the bottom tray of the oven unless the manufacturer specifically says it’s safe. Using a wire rack allows the infrared energy to hit the bottom of the meat, promoting more even cooking and preventing the meat from sitting in its own rendered fat. If you don’t use a rack, the bottom will stay pale and soft while the top becomes hard.
Finally, avoid opening the door repeatedly during the process. Every time you open the door, the infrared elements may cycle off or lose their focus, which extends the cooking time and makes it harder to judge the doneness. If you need to check the temperature, do it quickly and close the door immediately. If the meat isn’t done, add time in 2-minute increments rather than guessing a large block of time.
Solving Common Cooking Issues
| What you notice | What it means | What to do first |
|---|---|---|
| Outside burnt, inside cold | Heat too high | Lower the power setting |
| Meat is gray and soft | Lack of browning | Pat surface dry again |
| Uneven cooking | Poor placement | Center the meat on the rack |
| Smoke in the kitchen | Fat dripping | Place a foil tray underneath |
If you encounter persistent smoke, it usually means fat or juices have dripped onto the base of the oven. Stop the cook, let the unit cool completely, and wipe out the base before continuing.
When your meat arrives at the table gray rather than seared, the culprit is almost always surface moisture. Proteins can’t brown until the water on their surface evaporates, a process that consumes the energy meant for the Maillard reaction. If the meat feels damp to the touch, no amount of heat will save the crust. Use a paper towel to blot the surface until it’s bone-dry before it hits the pan.
Placement errors often stem from ignoring the heat source’s geometry. In most ovens, the center of the rack is the only zone with consistent airflow. If you crowd the edges, you block the radiant path, leading to uneven browning. A good rule of thumb is to leave at least two inches of space between the food and the oven walls.
The most common mistake is failing to account for the “carryover” effect. When you pull a roast from the heat, the internal temperature will continue to rise by five to ten degrees. If you wait until the thermometer hits your target temperature while still in the oven, you have already overcooked the center.
Deciding when to intervene depends on your goal. If you’re searing a steak, prioritize high heat and short duration. If you’re roasting a whole bird, prioritize low heat and consistent placement. If the meat reaches the target temperature but lacks color, increase the heat for the final three minutes. If the exterior is dark but the center remains raw, tent the dish with foil to trap heat without further browning.
Following Safety Guidelines
Prioritizing food safety is essential when dealing with high-heat appliances. According to the U.S. Department of Agriculture, raw meat and poultry must reach specific temperatures to kill harmful bacteria. Poultry requires an internal temperature of 165°F, while ground meats must hit 160°F. Steaks and roasts are safe at 145°F, provided they rest for three minutes.
Never rely on the color of the meat or the “feel” of the texture, as these aren’t reliable indicators of safety. Always use a digital thermometer inserted into the thickest part of the muscle. Avoid bone or fat pockets, as these areas conduct heat differently and will give you a false low reading. If you hit a bone, pull the probe back slightly until the display stabilizes.
If you’re unfamiliar with the operation of your specific appliance, consult the user manual provided by the manufacturer. Never attempt to bypass safety interlocks or modify the heating elements. These interlocks are the only thing preventing the unit from activating while the door is ajar. Bypassing them risks accidental exposure to high-intensity heat or radiation.
If the oven fails to heat or the door seal is damaged, this isn’t a do-it-yourself repair. These appliances contain capacitors that can hold a lethal charge even when unplugged. If you hear a high-pitched whine or smell ozone, stop using the device immediately. Contact a qualified technician or the manufacturer’s support line if the unit requires internal maintenance. Attempting to open the casing yourself is a common mistake that carries a high risk of electrical shock.
Finally, keep children and pets away from the exterior of the oven during operation. The glass or outer casing can reach temperatures exceeding 150°F, which can cause serious burns with prolonged contact. Use the “child lock” feature if your model includes one. If your appliance lacks this, keep the unit unplugged when not in use to prevent accidental activation.
If you find yourself questioning whether an appliance is safe to operate, use the following decision rule: If the power cord shows fraying or the control panel is unresponsive, unplug it and seek professional repair. If the unit functions normally but you remain uncertain about its internal integrity, err on the side of caution and replace the unit.
Maintenance and Care
Once the cooking is finished, the maintenance of your oven ensures it stays efficient for the next use. Wait for the unit to cool to room temperature before attempting any cleaning. If you try to clean the glass or elements while they’re hot, you risk damaging the components or burning yourself.
Use a damp cloth to wipe down the interior walls, but avoid using harsh chemical cleaners or abrasive scouring pads. These tools scratch the reflective surfaces that help bounce the infrared energy onto the food. Once these surfaces are marred, your oven loses its ability to distribute heat evenly, leading to cold spots in your meals.
Check the heating elements for any buildup of grease. If grease collects on the elements, it will smoke the next time you turn the oven on. If you see stubborn spots, a mixture of water and mild dish soap is usually enough to remove them. Never soak the electrical connections, as moisture trapped in these ports can cause a short circuit or permanent unit failure.
If the oven has a removable grease tray, wash it after every use in hot, soapy water. A common mistake is allowing fat to harden in the tray for several days. This makes the residue significantly harder to remove and can attract pests. If the tray is non-stick, avoid metal utensils, which strip the coating and cause food to bond to the metal surface.
Keeping the interior reflective surfaces clean and free of carbon buildup ensures the infrared waves remain focused. This consistency is vital for maintaining the cooking times you expect. If you notice the oven taking longer to reach a set temperature, inspect the glass door for a thin film of oil. A simple wipe with a glass-safe cleaner every three cycles will prevent this haze from forming.
When deciding how to clean, follow this rule: if the debris is loose, use a dry microfiber cloth. If the debris is baked on, use a damp cloth with a drop of mild soap. If you encounter carbonized black spots that don’t lift with soap, don’t scrape them. Instead, place a damp towel over the area for ten minutes to soften the buildup before wiping it away gently.
When to Choose a Different Method
Infrared ovens are excellent for searing, but they aren’t the best tool for every job. If you’re preparing a large, thick-cut brisket or a whole turkey, a standard convection oven is a better choice. Infrared energy struggles to penetrate large volumes of meat, meaning you’ll likely end up with a charred exterior and a raw interior. For these large cuts, use a standard oven at a lower temperature for a longer duration to ensure even heat penetration.
Using infrared on a thick roast forces you to rely on conduction to finish the center. This creates a gray band of overcooked meat beneath the crust that ruins the texture of premium cuts. If you must use the infrared unit for a large roast, set it to the lowest possible intensity and use a leave-in probe thermometer.
This method is also not ideal for meat that requires long, slow braising to break down tough connective tissue. If you’re cooking short ribs or lamb shanks that need to be fork-tender, the quick, intense heat of an infrared oven will make the proteins seize and become tough. The rapid moisture evaporation caused by infrared radiation prevents the collagen from gelatinizing properly. Use a Dutch oven or a slow cooker for these cuts instead. If the recipe calls for a liquid braise, the infrared heat will boil the liquid too violently, leading to a cloudy, broken sauce.
Finally, if you’re cooking meat with a very high sugar content in a marinade, the infrared energy will cause the sugars to caramelize and burn almost instantly. Beginners often make the mistake of applying a barbecue glaze at the start of the cook. This error costs you the entire flavor profile, as the sugars turn into bitter carbon within three minutes.
For glazed meats, use a lower power setting or finish the glaze in the final minutes to prevent burning. If the surface is dark but the center remains cold, move the meat to an indirect heat zone or a traditional oven to allow the internal temperature to catch up.
Related guides