
The best oven for making pizza is a high-temperature wood-fired or gas-powered outdoor model because it reaches temperatures above 800°F, which is necessary for a crisp crust and charred toppings in under 90 seconds. If you lack outdoor space, a dedicated electric pizza oven that hits 750°F is the next best choice, while a standard home oven requires a pizza stone and significant preheating to get close to these results.
Your choice depends on your available space, your preferred pizza style, and how often you plan to bake. This guide assumes you want a professional-grade crust at home and focuses on the equipment that makes that possible.
Selecting the right oven for making pizza
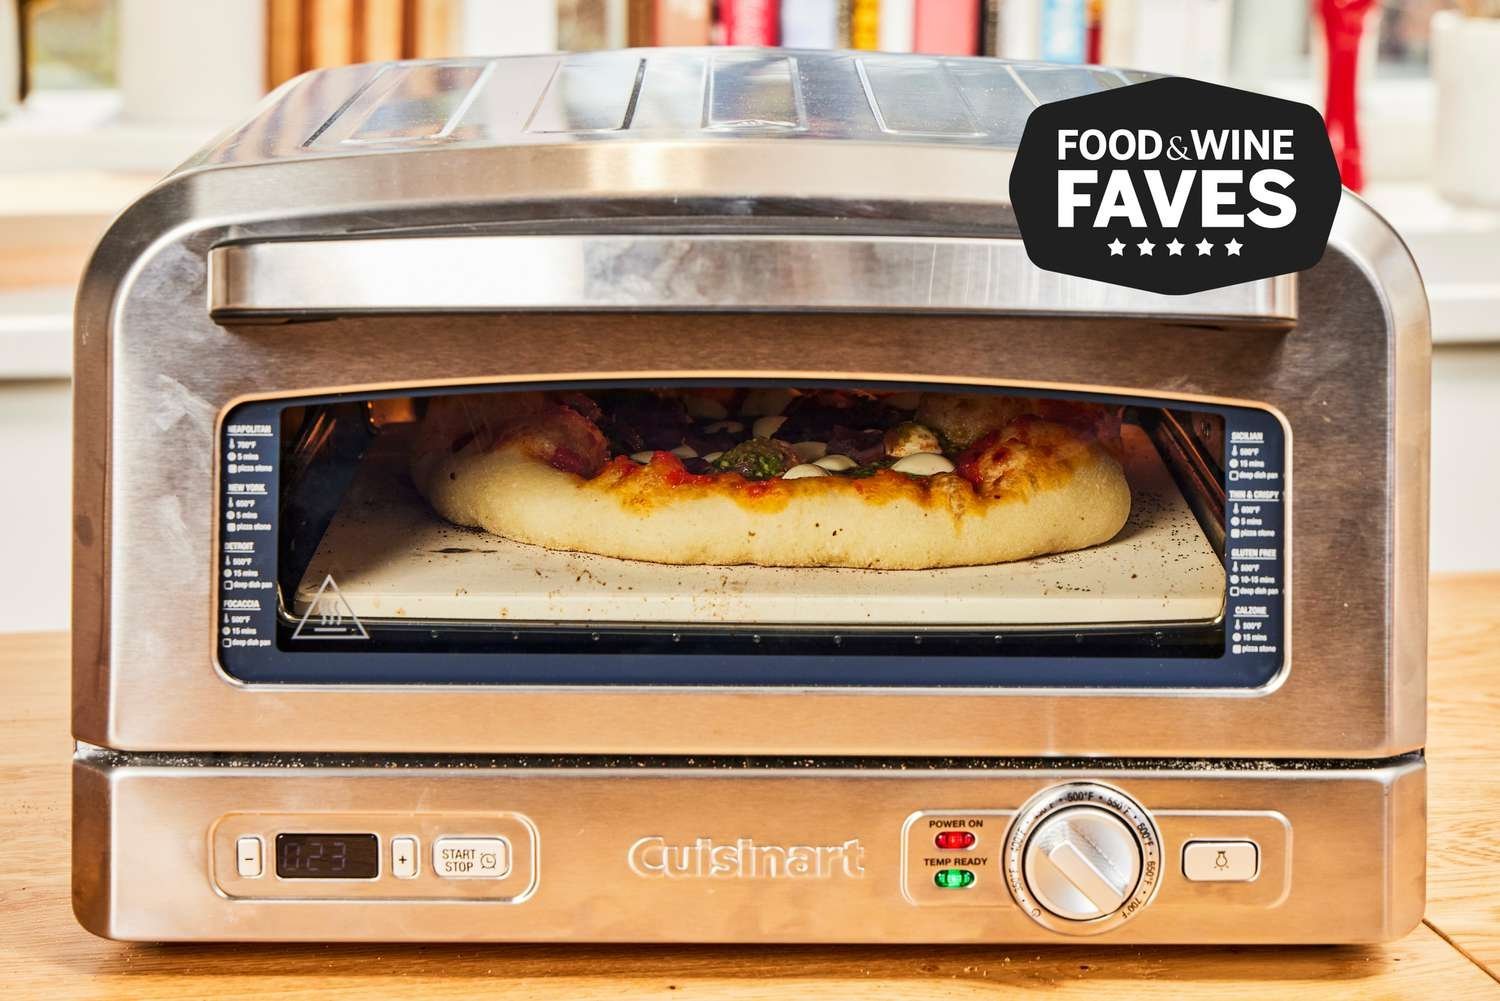
The right tool for the job depends on whether you have a backyard, a balcony, or only a small kitchen counter. If you’re a hobbyist who makes pizza every weekend, an outdoor gas-fired model offers the best balance of speed and convenience. If you live in an apartment, you need an electric unit that’s safety-rated for indoor use.
This guide assumes you want to achieve the “leopard spotting” on your crust that only high heat provides. If you’re satisfied with a thicker, pan-style pizza, your existing kitchen oven is likely sufficient, and you don’t need to invest in specialized gear. We don’t recommend buying a budget outdoor oven that can’t maintain a steady temperature, as you’ll struggle to cook the dough through before the toppings burn.
Factors that change the result
Several technical factors determine if your pizza turns out like a restaurant pie or a soggy mess. The most important is the maximum temperature of the oven, as higher heat allows the dough to rise rapidly, creating an airy, light crust.
- Maximum Temperature: Most home ovens top out at 500°F, which is too low for authentic Neapolitan pizza. Outdoor ovens reach 900°F, which is the standard for fast-cooking, high-hydration doughs.
- Heat Retention: A thick cordierite or ceramic stone holds heat longer than thin metal plates. If you use a stone, you must preheat it for at least 45 minutes before sliding the pizza in.
- Fuel Type: Wood-fired ovens add a distinct smoky flavor but require more practice to manage the fire. Gas burners provide instant, adjustable heat, making them easier for beginners to control.
- Space and Ventilation: Indoor ovens must be used in a kitchen to avoid smoke alarms and fire hazards. Outdoor ovens require at least 10 feet of clearance from flammable structures to ensure safety, as noted by the Consumer Product Safety Commission’s fire safety guidance.
- Preheat Time: People often make the mistake of putting the pizza in before the stone is fully heat-saturated. This costs you the crisp bottom crust you’re aiming for; always use an infrared thermometer to verify the surface temperature of the stone.
Getting the perfect bake
- Place your pizza stone or steel on the middle rack of your oven or set up your outdoor oven according to the manufacturer’s manual.
- Preheat the oven to its highest setting for at least 45 minutes to ensure the stone is uniformly hot.
- Stretch your dough on a lightly floured surface until it’s about 10 to 12 inches wide.
- Dust your pizza peel with semolina flour to prevent the dough from sticking during the transfer.
- Add your sauce and toppings sparingly; too much moisture will result in a soggy middle.
- Slide the pizza into the oven using a single, confident motion.
- Rotate the pizza 180 degrees halfway through the cooking time to ensure even browning.
- Remove the pizza once the crust is golden brown and the cheese is bubbling, which takes 60 to 90 seconds in a 900°F oven or 8 to 12 minutes in a 500°F home oven.
The judgment call is when to pull the pizza out; you want the crust to be firm but not burnt, which requires watching the edges closely during the final minute of cooking.
Oven comparison for home bakers
| Situation | Best Equipment | Time Required | What to Watch For |
|---|---|---|---|
| Backyard hobbyist | Wood-fired oven | 30-45 mins | Flame management |
| Easy outdoor use | Gas-fired oven | 20 mins | Consistent gas pressure |
| Apartment living | Electric pizza oven | 15 mins | Countertop heat safety |
| Occasional baker | Standard home oven | 60 mins | Stone preheat time |
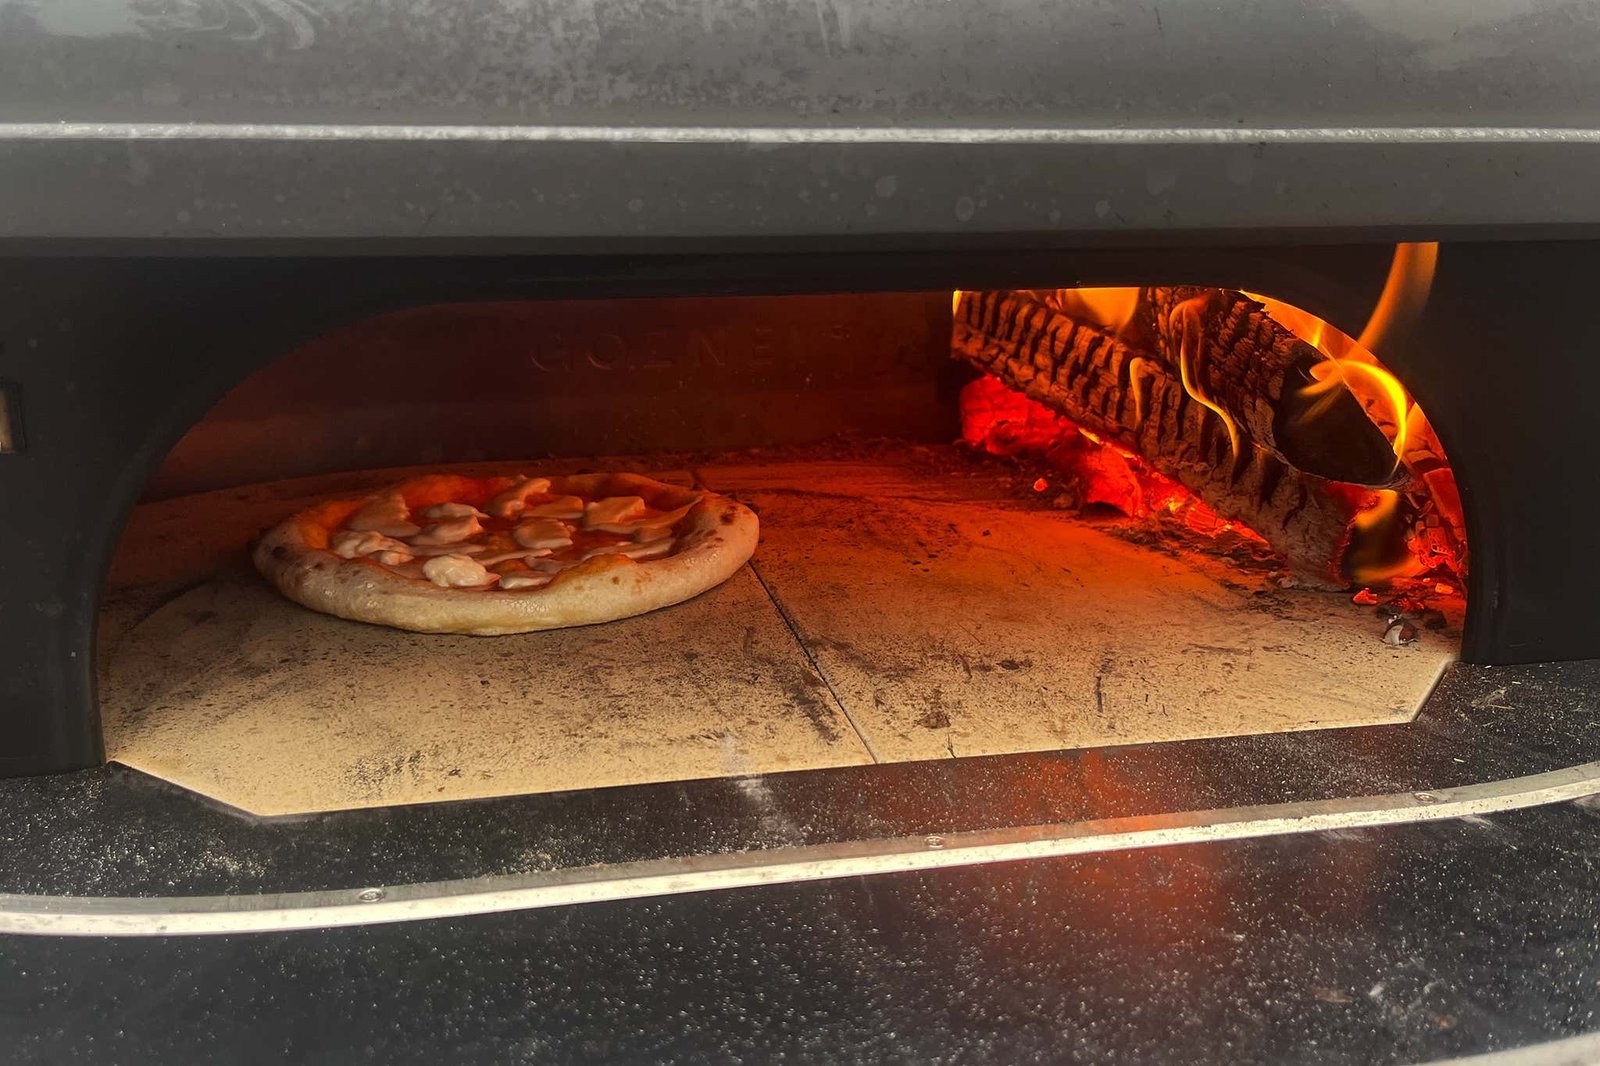
The wood-fired oven is the gold standard for crust development, but it demands a steep learning curve. You must maintain a rolling flame across the ceiling to reach the 800°F threshold required for Neapolitan styles. If your flame dies, the stone temperature drops rapidly, resulting in a pale, gummy crust.
Gas-fired models offer a crucial advantage: the thermostat. If you’re baking for a crowd, gas prevents the temperature fluctuations common in wood ovens. Always monitor your regulator; a drop in pressure during a bake will leave your center raw while the edges burn.
For apartment dwellers, countertop electric ovens are the only viable path. These units use high-density heating elements to mimic professional results in small spaces. However, check your outlet’s amperage. Plugging a 1500-watt oven into a shared circuit often trips the breaker, ruining your bake mid-cycle.
The most common mistake for occasional bakers is trusting the “ready” beep on a home oven. Your oven air might hit 500°F, but your pizza stone needs at least 45 minutes of soaking time to hold enough thermal mass. Without this, the stone loses heat the second the dough touches it.
Use this decision rule: if you bake frequently, invest in a dedicated outdoor gas unit. If you bake occasionally, stick to your home oven but purchase a thick, conductive steel plate. This simple swap reduces your preheat time by 20 minutes while ensuring a crisp bottom every time.
Differences in performance
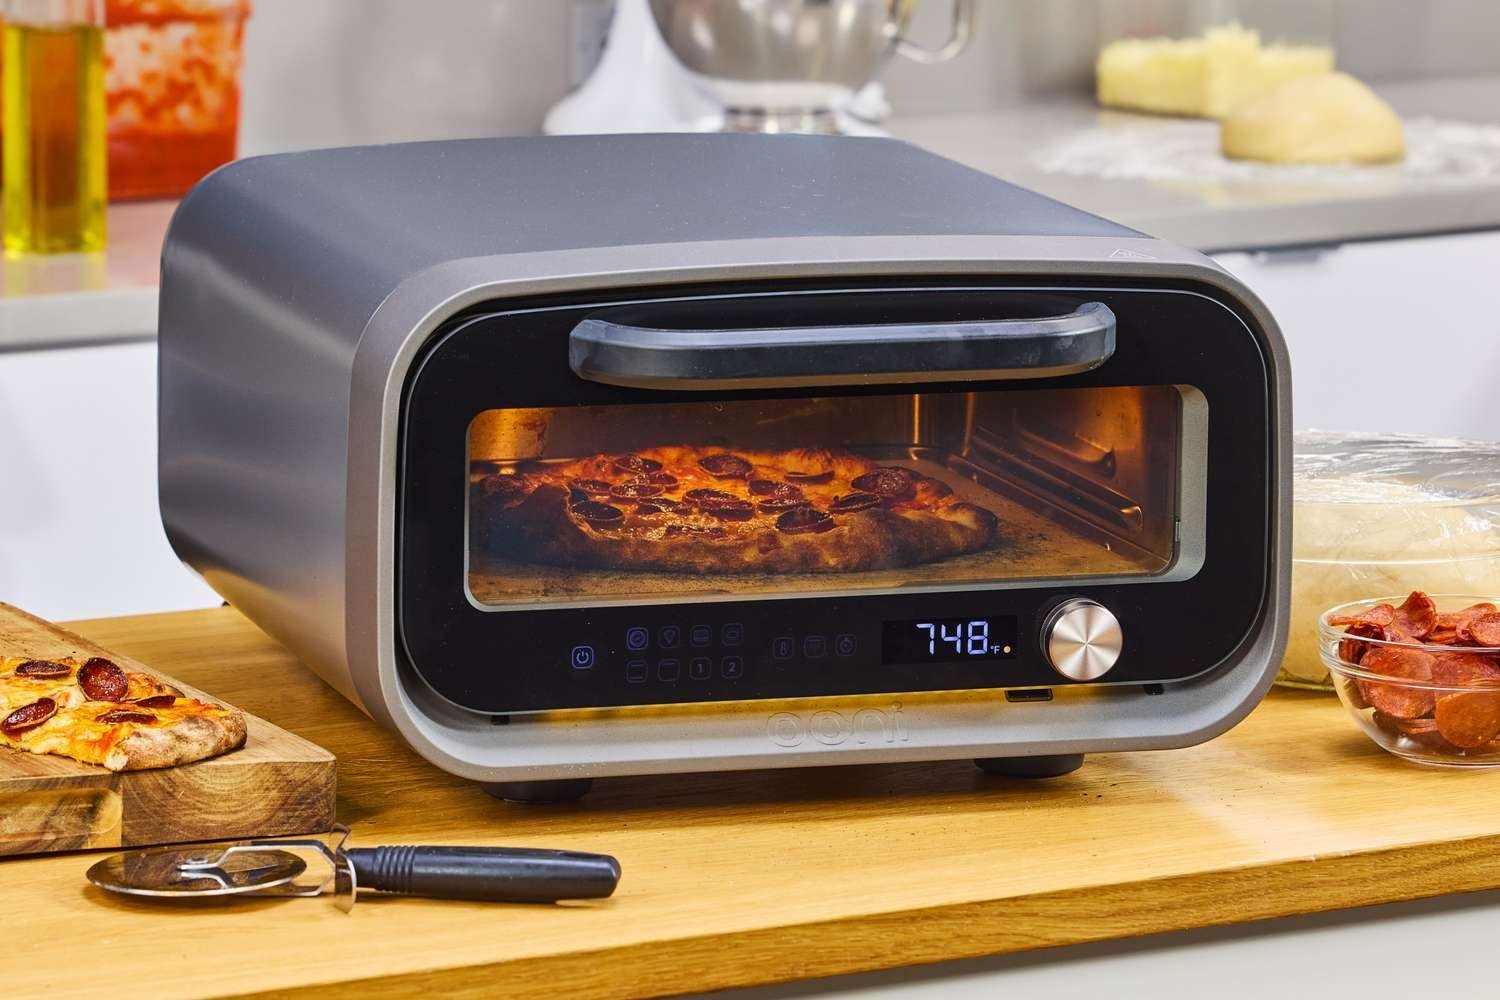
Heat distribution and control
Experienced bakers know that the stone’s surface temperature matters more than the air temperature inside the oven. If your stone isn’t hot enough, the bottom of the pizza will remain pale and soft while the top burns. Always check that your oven door is closed during the entire preheat phase to keep the thermal mass stable.
Managing moisture levels
The biggest difference between a poor result and a good one is the water content of your toppings. Fresh mozzarella releases a lot of liquid; if you don’t drain it or use a “low-moisture” variety, your pizza will end up with a pool of water in the center. Always pat your cheese dry with a paper towel before placing it on the dough.
Common problems and solutions
| What you notice | What it usually means | What to do first | How to stop it |
|---|---|---|---|
| Burnt bottom | Stone is too hot | Move to upper rack | Reduce preheat time |
| Soggy center | Toppings are too wet | Use less sauce | Drain mozzarella well |
| Uneven crust | Hot spot in oven | Rotate pizza early | Use a rotating peel |
| Dough sticks | Peel is too dry | Add more semolina | Shake peel before slide |
| Pale top | Heat is too low | Switch to broiler | Use a pizza steel |
If your crust burns before the cheese melts, your stone has absorbed too much heat. Move the pizza to the highest rack position immediately to finish the top. Next time, cut your preheat duration by fifteen minutes.
Soggy centers often result from moisture trapped under the crust. If you see liquid pooling, blot the surface with a paper towel. To prevent this, slice your fresh mozzarella an hour early and let it sit on a wire rack to drain excess whey.
Hot spots are common in standard home ovens. If one side browns faster than the other, rotate the pizza 180 degrees halfway through the bake. For consistent results, invest in a rotating peel to turn the pie without removing it from the stone.
Dough sticking to the peel is the most common beginner mistake. It costs you a mangled pizza and a messy oven floor. Before you launch, give the peel a quick shake to ensure the dough slides freely. If it catches, lift the edge and dust more semolina underneath.
A pale top indicates your oven lacks the radiant heat needed for a quick bake. Use the broiler for the final sixty seconds to achieve char. If the problem persists, swap your stone for a pizza steel, which conducts heat more efficiently to the dough surface.
Safety and standards
When using high-heat equipment, you must follow the manufacturer’s installation instructions to the letter. These manuals dictate the exact clearance distance from combustible materials, which typically ranges from 18 to 36 inches. Ignoring these gaps creates a fire hazard even if the unit appears stable.
Outdoor ovens that use propane or natural gas must be checked for leaks at every connection point before use. Mix a solution of equal parts water and dish soap, then apply it to the hose fittings. If you see bubbles forming, the seal is compromised. You must tighten the connection or replace the gasket immediately before igniting the burner.
If you’re using an indoor electric oven, ensure your circuit can handle the high wattage, which often exceeds 1,500 watts, to prevent tripping your home’s breaker. Check your electrical panel for a dedicated 20-amp circuit. If you plug the unit into a shared outlet, the simultaneous draw from other appliances will cause the breaker to flip, interrupting your bake.
Always keep a fire extinguisher rated for grease and electrical fires nearby when working with high-heat cooking gear. Look for a Class K or ABC rating on the canister. Never use water on a grease fire, as it will cause the oil to splatter and spread the flames instantly. If the fire persists beyond the initial flare-up, evacuate the area and call emergency services. Don’t attempt to move the equipment while it’s burning, as the risk of severe thermal burns is significantly higher than the cost of property damage.
Financial and time investment
A quality outdoor gas oven is a significant investment, depending on the size and build quality. You’ll also spend money on fuel—propane tanks or wood pellets—which adds a recurring cost to every pizza night.
The real cost is your time, as mastering the dough-stretching technique and managing the heat takes practice. Expect to dedicate at least five sessions of trial and error before you consistently produce a crust with professional-grade char.
If you only make pizza occasionally, a high-quality pizza stone for your existing oven is a better financial choice than buying a dedicated unit. A stone is a cheap part and requires zero assembly or storage space.
The decision rule is simple: if you plan to host more than two gatherings a month, the dedicated oven pays for itself in fuel efficiency and heat retention within one year. If you’re a casual baker, the stone is the superior path.
A common mistake is buying a budget model. These units often lack adequate insulation, leading to massive heat loss whenever you open the door. You end up wasting expensive fuel just to maintain a stable temperature.
If your oven lacks a built-in thermometer, buy a handheld infrared gun. It’s a cheap part and prevents you from launching a pizza into a cold oven, which is the fastest way to ruin a batch of fermented dough.
Maintaining your equipment
After every use, allow your oven or stone to cool completely before cleaning. Thermal shock is the primary cause of hairline cracks in ceramic stones. If you attempt to clean while the surface is still hot, the sudden temperature shift will compromise the structural integrity of the material.
Never use soap on a pizza stone, as the porous material will absorb the chemical smell. Once soap enters the pores, it will leach into every future crust you bake. Instead, scrape off burnt debris with a metal spatula and wipe with a damp cloth. If you encounter stubborn, stuck-on residue, use a stiff-bristled plastic brush and plain water. Avoid soaking the stone entirely, as it’s porous and difficult to dry completely.
Check the burner ports on gas models regularly to ensure they aren’t clogged with flour or food particles. A simple paperclip is often sufficient to clear debris from these small apertures. If you notice the flame turning yellow or becoming uneven, it’s time to perform a deep clean or contact the manufacturer for a maintenance kit.
A yellow flame indicates incomplete combustion, which often leads to soot buildup on the underside of your stone. If the flame remains yellow after you clear the ports, check the air shutter for spider webs or dust. These obstructions disrupt the oxygen mix necessary for a clean, blue burn. If the flame still flickers or cuts out entirely, the thermocouple may be failing, which will prevent the burner from staying lit.
When to avoid specialized ovens
If you only have a very small kitchen or a balcony where open flames are prohibited, a specialized outdoor oven is the wrong choice. Attempting to use a gas or wood oven in an enclosed space is a major fire risk. In these cases, it’s safer and more effective to use a high-end pizza steel in your standard kitchen oven. If you lack the time to manage a preheat process of 45 minutes or more, stick to pan-style pizzas that bake quickly in a standard oven without the need for specialized equipment or high-heat management.
Can I use a regular oven for pizza?
Yes, you can make great pizza in a regular oven by using a pizza steel or stone. The key is to preheat the stone for at least 45 minutes at the highest temperature your oven allows to ensure it’s hot enough to crisp the dough bottom.
Why is my pizza crust soggy?
Your pizza crust is likely soggy because your stone wasn’t hot enough or your toppings had too much moisture. Always preheat your stone for 45 minutes, and pat your fresh mozzarella dry with a paper towel before adding it to the pizza to keep the moisture levels down.
How long does a pizza take in a professional oven?
A pizza takes about 60 to 90 seconds to cook in a professional or high-end outdoor oven reaching 900°F. If your oven temperature is lower, such as a standard 500°F home oven, the baking time will increase to 8 to 12 minutes to achieve the same level of doneness.
Is it safe to use a pizza oven indoors?
No, you should never use an outdoor gas or wood-fired pizza oven indoors because of the risk of carbon monoxide buildup and fire. Only use ovens specifically certified by a body like UL for indoor kitchen use, and ensure you have proper ventilation above the unit at all times.
Does the type of flour matter for the crust?
Yes, high-protein “00” flour is the standard for Neapolitan pizza because it creates a stretchy, strong dough that can withstand the extreme heat of a professional oven. If you’re using a standard home oven, all-purpose or bread flour will work, but the crust will have a slightly different, denser texture.
What is the best temperature for a pizza stone?
The best temperature for a pizza stone is between 500°F and 700°F, depending on the type of pizza you’re making. Use an infrared thermometer to verify the surface temperature of the stone before you slide your pizza on, as the air temperature inside the oven is often not an accurate reading.
Start by preheating your stone for at least 45 minutes to ensure it can deliver the heat needed for a crisp crust. Once the stone reaches the target temperature, you can expect a golden, professional-style crust in just a few minutes. If the crust burns before the center is cooked, you need to lower the rack position or reduce the oven’s intensity.
Related guides