
Yes, you can cook rice in an oven using a covered baking dish and boiling water to ensure the grains soften evenly. This method is effective for large batches, but you must use a tight-fitting lid to trap the steam, as the oven doesn’t provide the same environment as a sealed stovetop pot. The final texture depends on your water-to-rice ratio and the accuracy of your oven’s thermostat. Different grain types, such as basmati or brown rice, require distinct liquid amounts and cooking times.
Who needs to bake rice
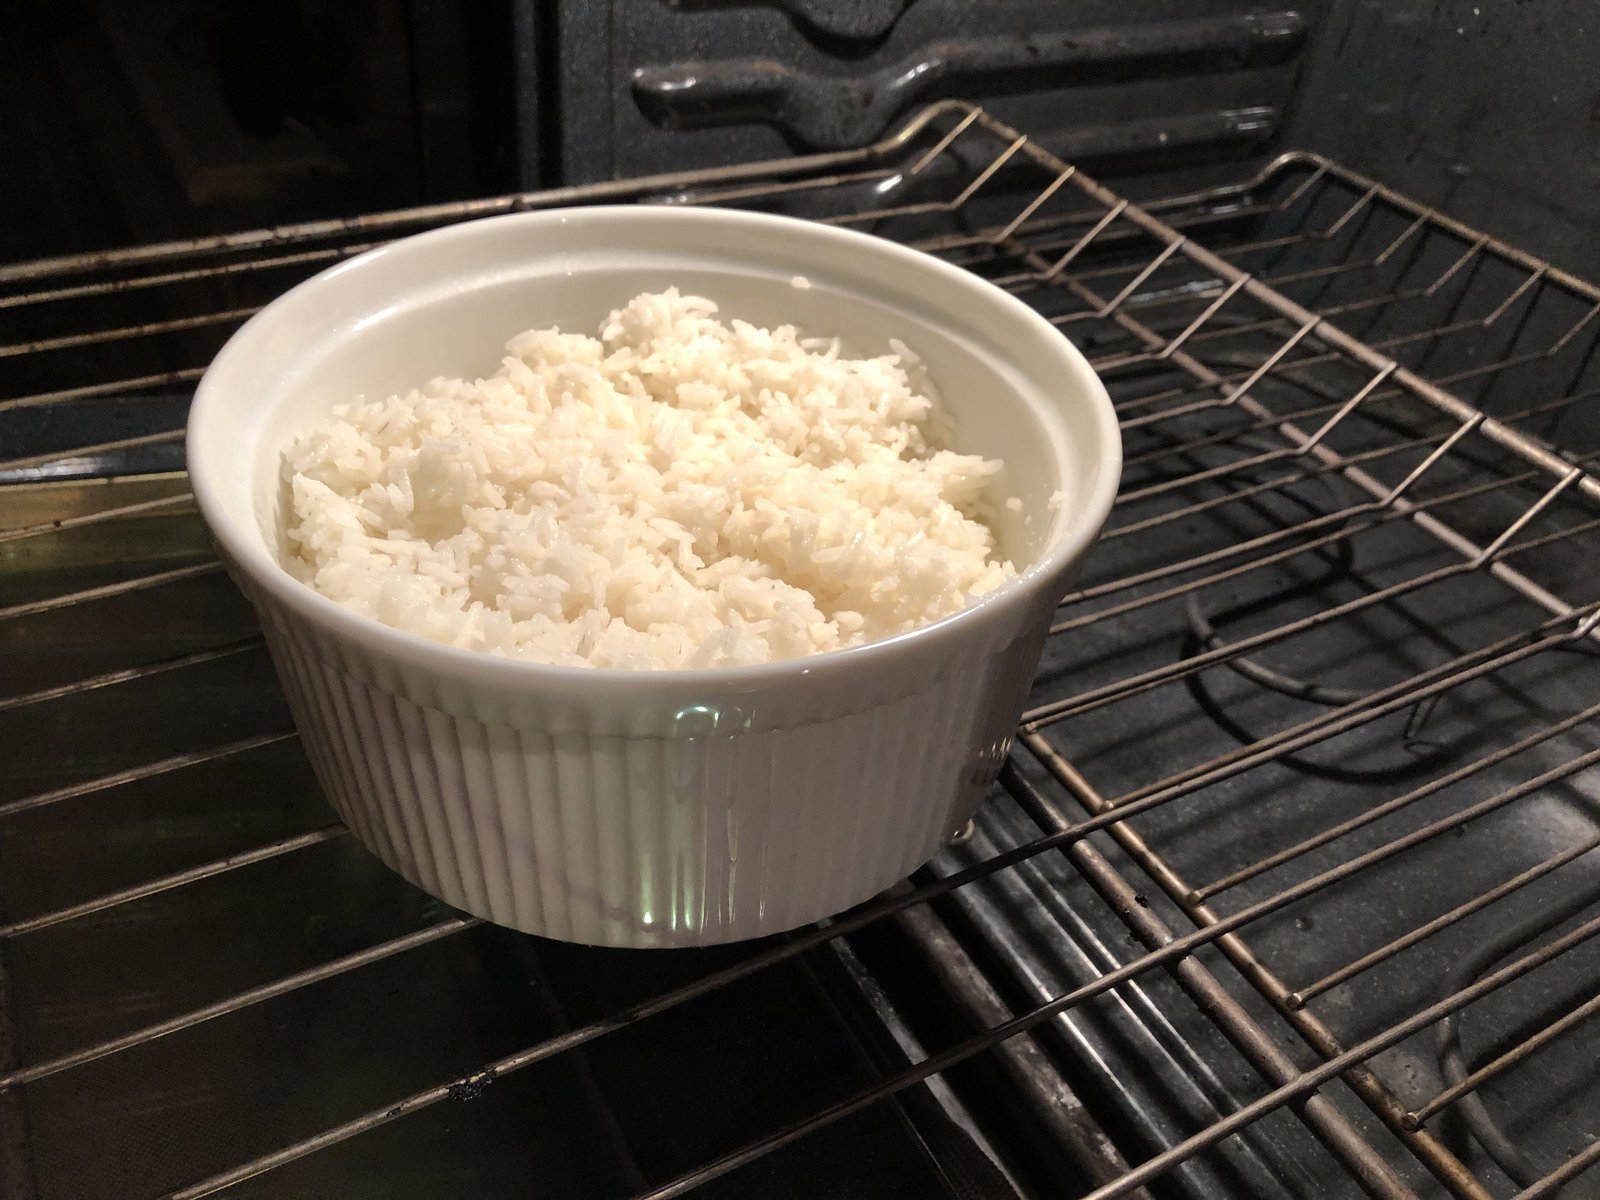
Home cooks often choose this method when they need to prepare a large quantity of rice for a crowd without occupying multiple burners on the stovetop. It’s ideal for someone hosting a dinner party who wants to free up space for other dishes. This approach is also useful if you have an oven-safe casserole dish that keeps rice warm for a longer period after the heat is turned off.
This guide assumes you’re using standard long-grain white rice and a conventional oven set to 375°F. If you’re using brown rice, you’ll need to add about 30 minutes to the total time and roughly 25% more water. This page isn’t for those looking for a quick, ten-minute meal, as the oven process is slower than using a dedicated electric rice cooker or a pressure cooker. If you require perfectly fluffy, individual grains for a specific recipe like sushi or risotto, a stovetop method or a specialized appliance will provide more consistent control over the moisture level.
Factors affecting the result
The most important variable is the seal of your baking dish. A lid that allows steam to escape will result in crunchy, undercooked rice on the surface, while a tight seal keeps the environment humid. If your dish doesn’t have a heavy lid, use two layers of aluminum foil and crimp the edges firmly against the rim of the container.
Oven calibration significantly changes the cooking speed. Most home ovens fluctuate by 10 to 15 degrees during a cycle. If your oven tends to run hot, check the rice ten minutes before the timer ends to ensure the liquid hasn’t evaporated completely. You can verify your oven’s actual temperature by using an independent oven thermometer placed on the center rack.
The water-to-rice ratio remains the second most critical factor. For white rice, the standard ratio is two parts water to one part rice. If you live at a high altitude, water boils at a lower temperature, so you may need to increase the liquid by 10% and extend the cooking time.
Finally, the vessel material dictates heat retention. Glass dishes take longer to reach the target temperature compared to thin aluminum pans, but they hold heat longer. If you switch from metal to glass, add five minutes to the total bake time. People most often fail by removing the lid to “check” the progress; every time you lift the cover, you lose the steam necessary to finish the cooking process.
Can I cook rice in an oven? Step-by-step
- Preheat your oven to 375°F. Ensure the rack is in the center position for even heat distribution.
- Boil 2 cups of water in a kettle or on the stovetop. Using already-boiling water is necessary to shorten the time the rice spends in the oven.
- Combine 1 cup of long-grain white rice with the 2 cups of boiling water in a 2-quart oven-safe casserole dish. Add 1/2 teaspoon of salt if desired.
- Stir the mixture once to ensure all grains are submerged and no rice is stuck to the bottom of the dish.
- Cover the dish with a tight-fitting lid or two layers of aluminum foil. Ensure the seal is airtight to prevent steam loss.
- Place the dish in the oven and bake for 35 to 40 minutes.
- Remove the dish carefully and let it sit, covered, for 5 minutes. This allows the remaining moisture to redistribute throughout the grains.
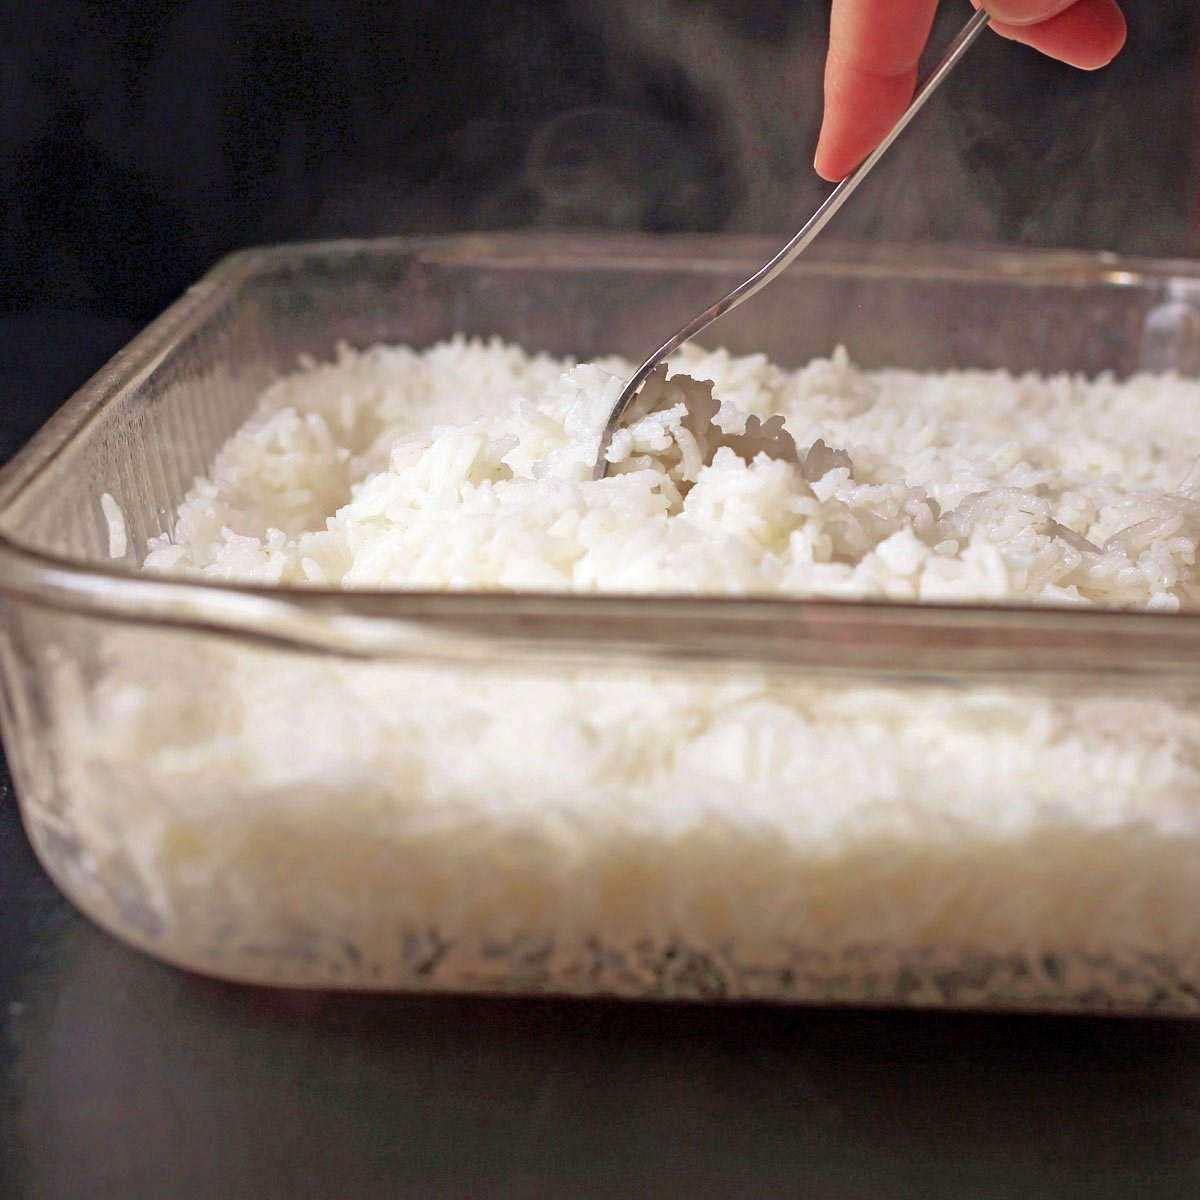
- Fluff the rice with a fork and serve immediately.
The judgment call for success is the absence of liquid at the bottom of the dish combined with a tender, fully hydrated grain. If you see water remaining but the rice is tender, leave the lid off and return to the oven for 3 minutes to evaporate the excess. For safe handling, always use oven mitts when removing the dish, as the trapped steam can cause severe burns. According to FoodSafety.gov’s chart, you should ensure any additions like meat or leftovers reach 165°F if you’re combining ingredients.
Situations for oven rice
The following table outlines how to adjust your approach based on the specific type of rice or the situation you face in the kitchen.
| Situation | Action | Time/Effort | Watch for |
|---|---|---|---|
| White rice | 2:1 water ratio | 40 minutes | Dryness at bottom |
| Brown rice | 2.5:1 water ratio | 70 minutes | Chewy texture |
| Large batches | Use wide pan | 45 minutes | Uneven cooking |
| High altitude | +10% water | 50 minutes | Hard grains |
| Using foil | Double layer seal | 40 minutes | Steam leaks |
Choose the oven method when your stovetop is crowded or you need hands-off consistency for a large dinner party. The primary mistake cooks make is removing the lid to check progress; this releases the trapped steam necessary for even hydration. Every time you peek, add five minutes to your total timer to compensate for the heat loss.
If you’re cooking at an altitude above 3,000 feet, the lower boiling point of water requires the extra liquid noted in the table. Without this adjustment, the outer layer of the grain will turn brittle before the center softens.
For large batches, use a shallow, wide roasting pan rather than a deep pot. This increases the surface area, ensuring the rice at the center cooks at the same rate as the edges. If you notice the bottom layer drying out, reduce your oven temperature by 25 degrees for the final ten minutes of the cycle.
Quality of the final product
Preparation and technique
Experienced cooks always rinse the rice under cold water until the water runs clear before baking. This removes excess surface starch, which prevents the grains from clumping together into a gummy mass. If you skip this step, the rice will release starch during the long oven cycle, leading to a gluey texture that’s difficult to fix later.
Managing the heat
Maintain a steady oven temperature by avoiding opening the door during the bake. If you need to check the rice, do so only after the timer has reached the 35-minute mark. If the rice looks dry on top but feels firm, add 2 tablespoons of hot water and cover again for 5 minutes.
Troubleshooting common issues
The following table helps you identify why your rice might not have turned out as expected and how to correct it.
| What you notice | What it usually means | What to do first | How to stop it |
|---|---|---|---|
| Crunchy grains | Not enough liquid | Add water, cover | Check seal |
| Mushy texture | Too much water | Drain excess | Reduce ratio |
| Burnt bottom | Heat too high | Discard bottom | Use lower rack |
| Uneven cooking | Poor circulation | Stir before baking | Use wider pan |
| Hard center | Too little time | Add 5 minutes | Use boiling water |
Most errors stem from the “peek-and-poke” mistake. This thermal shock prevents the rice from hydrating evenly. If you see steam escaping, your seal is likely compromised. Replace the lid immediately and resist the urge to stir again.
Distinguish between “mushy” and “sticky” before you adjust your technique. If the grains are intact but clumped, you have used too much water or a high-starch variety like Arborio. If the grains are broken and pasty, you have likely over-agitated the pot.
Use this decision rule for future batches: If you’re cooking brown rice, increase the water ratio by 20% compared to white rice. If you’re at an altitude above 3,000 feet, add 10% more water and increase the baking time by eight minutes to account for the lower boiling point. Always let the pot rest off the heat for ten minutes before serving. This allows the moisture to redistribute, ensuring a fluffy finish.
Guidelines for success
The primary rule for cooking rice in the oven is that the vessel must be able to withstand sustained high temperatures without cracking. Always check the manufacturer’s stamp on the bottom of your ceramic or glass dishes to confirm they’re oven-safe. Never use plastic containers, as these will melt and release chemicals into the food.
If you’re cooking rice with other ingredients, such as vegetables or proteins, ensure that all items are cut to a uniform size. Smaller pieces of vegetables will cook faster than the rice, potentially turning to mush before the grain is ready. A good rule of thumb is to dice aromatics into half-inch cubes.
If you’re adding raw meat, you must ensure the meat reaches the safe internal temperature required by local health authorities. Most poultry requires 165 degrees Fahrenheit. If you’re using a non-standard oven, such as a convection model, reduce the temperature by 25 degrees and check the rice 10 minutes earlier than the standard recipe suggests.
Many cooks fail by opening the oven door too frequently to check progress. This releases the steam necessary for even cooking. If the rice remains crunchy after the timer expires, add two tablespoons of hot water and cover tightly with foil. Only add liquid if the grains are firm; if they’re mushy, you have already added too much.
The real cost of baking
Cooking rice in an oven is generally more expensive than using a stovetop burner due to the higher energy consumption required to heat a large, empty oven space. An average electric oven uses between 2,000 and 3,000 watts per hour, whereas a single stovetop burner uses about 1,000 to 1,500 watts. If you’re already running the oven for another dish, the marginal cost is negligible. However, if you’re turning on the oven solely for one cup of rice, you’re spending significantly more on electricity compared to a small pot on the stove.
The effort involved is low, but the time commitment is higher because the oven takes longer to preheat than water takes to boil on a stove. You must weigh the convenience of a “set it and forget it” method against the extra time and energy cost. Always compare your specific utility rates if you’re concerned about the environmental or financial impact of using your main oven for simple side dishes.
Storing and reheating
After the rice is cooked, you should store it in an airtight container in the refrigerator within two hours of preparation to prevent bacterial growth. Aim to cool the rice quickly by spreading it on a shallow tray before refrigerating, as large, deep pots trap heat and keep the center in the “danger zone” between 40°F and 140°F for too long. You can keep cooked rice for up to four days in the fridge.
If the grains become dry during storage, sprinkle a tablespoon of water over the top before reheating. To reheat, use a microwave-safe bowl and cover it with a damp paper towel to reintroduce moisture. Heat for 90 seconds on high power, stir, and check for even temperature. If the center remains cold, heat in 30-second intervals until steaming throughout.
If you notice a sour smell or a slimy texture when you remove the rice from storage, discard it immediately. These signs indicate the presence of Bacillus cereus, a common pathogen that produces heat-resistant toxins. Never attempt to reheat rice more than once, as repeated temperature changes increase the risk of foodborne illness. If you have a large batch, portion it into individual containers before cooling so you only reheat exactly what you intend to eat. This decision rule prevents unnecessary waste and keeps your food safe for every meal.
When to use the stovetop instead
If you need to cook a small amount of rice, such as one or two servings, the oven is the wrong tool. The energy required to heat the oven for a small quantity is inefficient, and the rice may dry out before the center of the grain fully absorbs the water. In these cases, a small saucepan on the stove is faster and keeps the moisture levels more stable.
Furthermore, if you’re attempting to cook delicate varieties of rice like jasmine or arborio, the oven’s dry, circulating heat can be difficult to manage. These types of rice require precise moisture control that’s best achieved through the gentle, focused heat of a stovetop burner. If you’re a beginner, stick to the stovetop until you’re comfortable with the ratio of water to rice, as the oven provides less immediate feedback if your measurements are slightly off.
Is it safe to cook rice in an oven?
Yes, it’s safe to cook rice in an oven as long as you use an oven-safe dish and ensure the rice reaches a temperature where it’s fully hydrated and tender. You must use a lid to trap steam, as the dry heat of an oven won’t soften the rice grains without sufficient moisture.
How long does rice take to cook in the oven?
Rice typically takes 35 to 40 minutes to cook in an oven set to 375°F. This assumes you start with boiling water; if you use cold water, you must add 10 to 15 minutes to the total time to allow the water to reach a boil inside the dish.
Does oven-baked rice taste different?
Oven-baked rice often has a slightly nuttier flavor than boiled rice because of the gentle, indirect heat that surrounds the dish. The texture is usually more uniform throughout the batch, though it lacks the slight starchiness found in rice cooked in a traditional stovetop pot.
Can I bake brown rice the same way?
No, you can’t bake brown rice using the same timing as white rice because the bran layer takes longer to soften. You must increase the water-to-rice ratio to 2.5:1 and extend the total baking time to approximately 70 minutes to ensure the grains are fully cooked.
What happens if I don’t cover the dish?
If you don’t cover the dish, the surface of the rice will become hard and dry while the bottom may remain raw. The steam is essential for cooking the rice; without a lid, the moisture evaporates into the oven air before it can be absorbed by the starch in the grain.
Does the type of dish matter?
Yes, the material of your baking dish affects the cooking time and heat retention. Glass dishes retain heat longer than metal pans, which can lead to slightly longer cooking times, but they provide more even heat distribution which is beneficial for avoiding scorched edges on your rice.
Start by preheating your oven and boiling your water to ensure the process begins immediately. Once the rice is in the oven, keep the door closed to maintain the necessary steam for the full 40 minutes. If the rice remains firm after the timer, add a splash of hot water and bake for five minutes more; seek help from a kitchen manual or online support if you consistently struggle with the final texture.
Related guides