
Thermoplastic adhesives work by melting when heated and hardening when cooled, allowing for quick assembly and strong bonds across many materials. This process is reversible because the material doesn’t undergo a permanent chemical change during application. You’ll find how thermoplastic adhesives work and their applications in industries ranging from automotive manufacturing to simple household repairs, where they provide instant grip as the material returns to a solid state.
How thermoplastic adhesives work
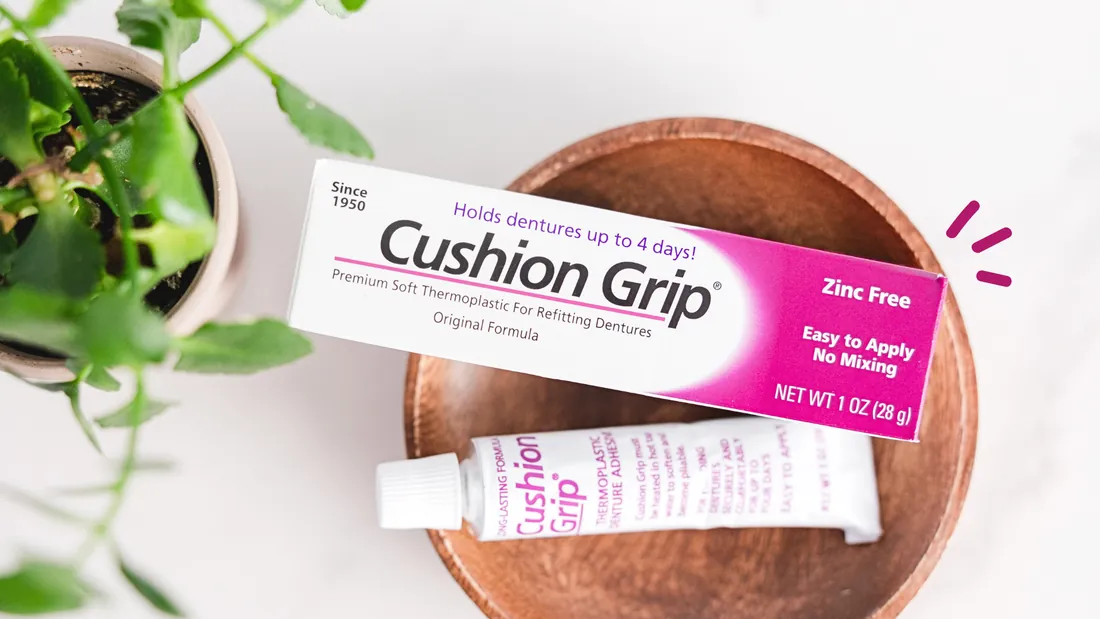
The performance of these adhesives depends on the specific polymers used, which determine how they behave under heat and pressure. You can check the exact chemical composition of a specific product on its Technical Data Sheet to understand its temperature limits and bonding strength.
| Part or input | What it does | What you notice when it goes wrong |
|---|---|---|
| Base polymer | Provides the core adhesive strength | Bond becomes brittle or fails easily |
| Tackifier resin | Increases initial stickiness and grab | Adhesive doesn’t hold parts together |
| Antioxidants | Protects against heat-related degradation | Adhesive discolors or loses bond integrity |
| Wax content | Controls viscosity and setting speed | Glue is too runny or sets slowly |
| Filler material | Adds bulk and lowers total cost | Bond loses flexibility and may crack |
High filler content often hides behind lower price points, but these bonds fail prematurely under mechanical stress.
Distinguish between structural and assembly needs by testing the bond’s shear strength. If the joint must bear a load, choose a high-polymer formulation. If you’re merely holding lightweight decorative components in place, a high-filler adhesive is sufficient. Always verify the glass transition temperature before application. If the operating environment exceeds this threshold, the adhesive will soften and lose its grip regardless of the initial bond quality.
The process of applying thermoplastic glue
Applying these adhesives requires precise control over temperature to ensure the material flows correctly without damaging the substrates. If the temperature is too low, the glue won’t wet the surface; if it’s too high, the polymer may burn or smoke, losing its strength.
- Clean both surfaces to remove dust, oil, or grease, as these block the adhesive from reaching the material.
- Heat the adhesive in an applicator or oven until it reaches the manufacturer’s recommended working temperature, usually between 250°F and 400°F.
- Apply the molten adhesive to one side of the joint in a thin, even bead to ensure uniform contact.
- Join the two surfaces together immediately before the adhesive starts to cool and lose its flow, typically within 5 to 30 seconds.
- Apply firm, steady pressure to the joint while the glue cools to ensure it conforms to the surface texture.
- Allow the assembly to cool completely to room temperature, which takes about 1 to 5 minutes depending on the thickness of the bond.
Why temperature control changes bond quality
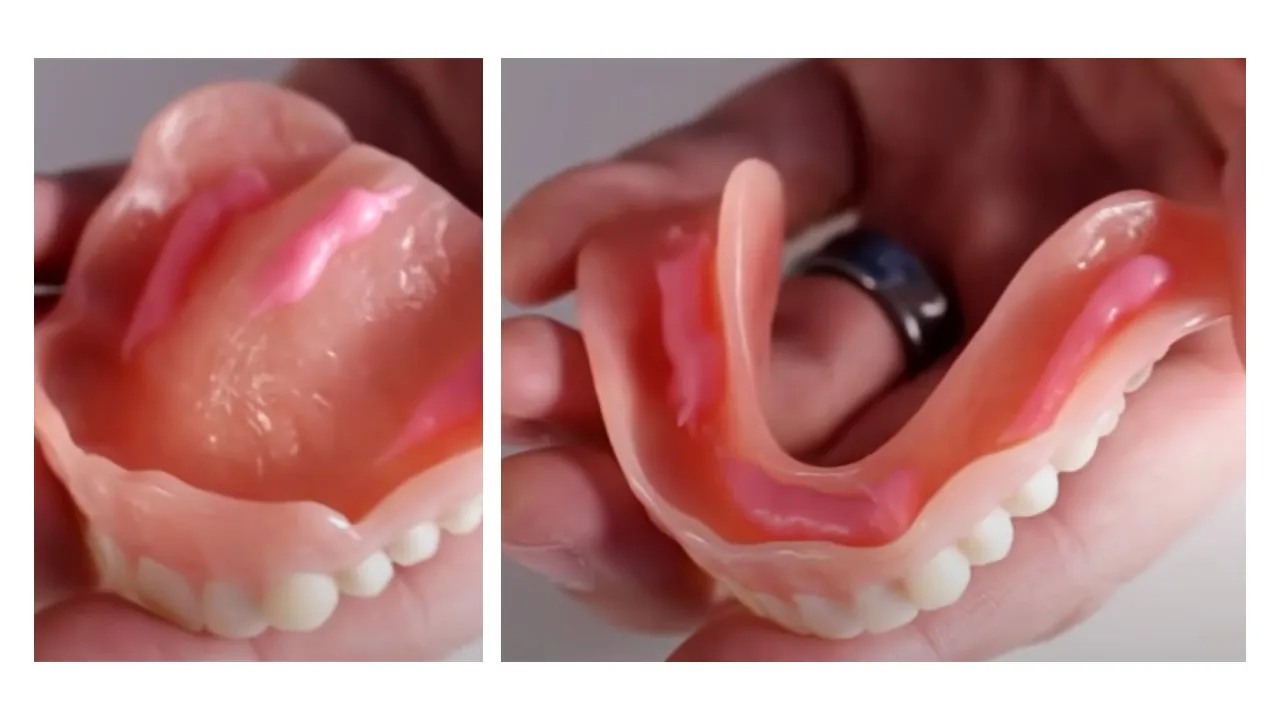
The relationship between heat and polymer behavior is the primary reason these adhesives fail or succeed. Thermoplastic materials rely on physical state changes rather than chemical reactions to create a bond. When you heat the adhesive, the polymer chains gain energy and move past each other, creating a liquid that can wet the surface of the parts you’re joining.
If your equipment doesn’t reach the correct temperature, the adhesive remains too thick to penetrate the microscopic pores of the material. This results in a surface bond that peels away under light stress rather than holding firm.
When the adhesive cools, the polymer chains lock back into a solid state, trapping the surface fibers of the materials within the glue matrix. This is why the cooling rate is just as important as the initial heating. If the parts are cold, they pull heat away from the adhesive too quickly, causing it to harden before it has a chance to properly wet the surface.
This mistake often results in a “cold joint” that looks complete but lacks mechanical strength. You can often see this by inspecting the glue line; if it looks smooth and glossy, it may have cooled too fast. A proper bond usually shows a slight “squeeze-out” at the edges, indicating that the adhesive had enough time to flow before it set.
Controlling the bonding environment
What you can control
- Surface cleanliness: Remove all debris to ensure the adhesive touches the actual base material.
- Application speed: Work quickly to join parts before the glue begins to solidify.
- Pressure: Apply consistent force to push the adhesive into the surface texture during cooling.
- Storage temperature: Keep adhesive sticks in a cool, dry place to prevent premature softening.
Fixed design limits
- Heat resistance: Every thermoplastic adhesive has a maximum service temperature where it will soften and fail.
- Chemical compatibility: Some plastics or metals won’t bond because the polymer can’t wet the specific surface energy.
- Structural load: These adhesives are generally not intended for high-stress structural parts that require long-term load bearing.
Professional applications involving structural safety or heavy loads require specialized equipment and safety training to avoid thermal burns or bond failure. If your project involves load-bearing components, consult an engineer to verify that a thermoplastic bond is sufficient for the intended stress.
Getting the best results from your adhesive
Consistent results require matching your habits to the physical properties of the glue. Always pre-heat materials if the ambient temperature drops below 65 degrees Fahrenheit, as this keeps the adhesive liquid for a few seconds longer.
Use the minimum amount of glue necessary. A bead that’s too thick takes longer to cool, creating a weak, bulky joint that shifts under pressure.
Ensure the applicator tip is clean before every use to prevent clogs that cause uneven application. If you must clear a blockage, use a brass wire brush rather than a sharp metal pick to avoid scratching the internal nozzle finish.
Store your adhesive in a sealed container with a desiccant pack to prevent moisture absorption. If the glue bubbles or foams upon melting, the material has already been compromised by humidity.
Related guides
- Best Adhesive for Shower Corner Shelf in 2026
- 5 Best Adhesives for Convertible Top Window Repairs in 2026
- 5 Best Adhesives for Cabinet End Panels: Expert Picks in 2026
Frequently asked questions
Can I remelt thermoplastic adhesive after it has set?
Yes, you can remelt the adhesive by applying heat to the joint, which returns the polymer to its liquid state. This is useful for adjusting parts, but remember that repeated heating can degrade the adhesive properties, making the final bond weaker than the original application.
How long does it take for thermoplastic glue to reach full strength?
It takes about 10 to 20 minutes for the adhesive to reach its final strength after it reaches room temperature. While the glue feels solid within a few minutes, the internal molecular structure continues to settle and harden during this initial cooling window.
Is it safe to use thermoplastic glue on all materials?
It’s safe for most porous materials like wood, paper, and fabric, but it may fail on non-porous surfaces like polished metal or glass. Check the manufacturer’s label for surface compatibility, as some plastics can be damaged or melted by the high heat of the adhesive.
What happens if I use too much adhesive?
Using too much adhesive creates a thick layer that takes longer to cool, which often leads to a weaker, more flexible bond. Excess glue also pushes out from the joint, creating a mess that’s difficult to remove without damaging the surrounding material.
Does the thickness of the bond matter?
The thickness of the bond matters because a thinner line usually provides a stronger, more consistent hold than a thick, uneven layer. Aim for a bond line thin enough that the parts fit together tightly, as this maximizes the surface area contact for the polymer.
How often should I clean the applicator?
You should clean the applicator tip after every session to prevent hardened residue from blocking the flow. If the tip is partially blocked, the adhesive will emerge in an uneven stream, making it impossible to apply a consistent bead to your parts.
Conclusion
Thermoplastic adhesives offer a versatile solution for many assembly tasks when you respect their need for consistent heat and proper surface contact. By focusing on clean surfaces and correct application temperatures, you ensure the strongest possible bond for your specific materials.
