
Drilling a borehole involves using a rotating bit to crush rock while circulating fluid to remove debris, illustrating how the entire operation functions from the surface rig down to the well. This cycle manages pressure and depth as equipment breaks through rock layers to reach underground resources safely and efficiently.
How the drilling process works
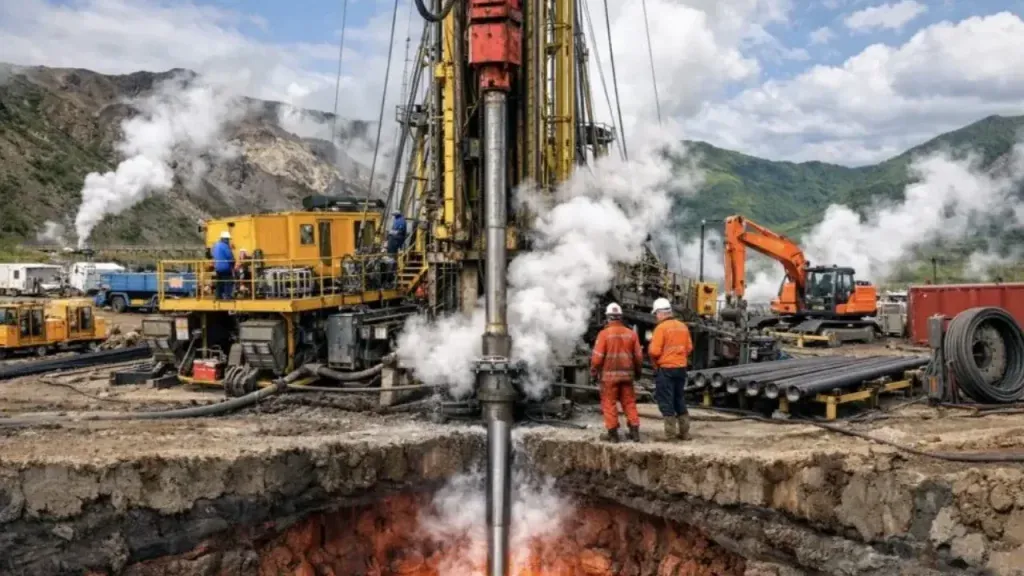
The equipment used on a site serves specific roles to ensure the hole remains stable and deep. Each part must function correctly to prevent accidents or delays during the operation.
| Part or input | What it does | What you notice when it goes wrong |
|---|---|---|
| Drill bit | Crushes the rock | Slower progress or high torque |
| Drill string | Connects bit to rig | Vibrations or pipe fatigue signs |
| Drilling mud | Cools bit and removes rock | Loss of circulation or pressure |
| Mud pumps | Moves fluid down pipe | Pump failure or pressure drops |
| Blowout preventer | Seals the well safely | Pressure spikes on gauges |
| Casing | Supports the hole walls | Fluid leaks or wall collapse |
If your penetration rate drops by more than 20 percent without a change in formation, your bit is likely dull. You must pull the string to inspect the cutters immediately. Continuing to drill with a worn bit risks overheating the entire assembly, which often leads to expensive pipe fatigue.
Operators often mistake mud pressure fluctuations for pump failure. If your pressure gauge pulses rhythmically, check the suction valves first. A steady drop in pressure usually points to a downhole leak or a washout in the drill string. If you lose circulation entirely, stop drilling and pump a lost-circulation material before the hole walls cave in.
Never rely on automated alarms alone. If the blowout preventer shows a pressure spike, manually verify the reading against the standpipe gauge. If they disagree, prioritize the manual reading to avoid a catastrophic well control event. Always consult the manufacturer’s manual for specific torque limits and maintenance intervals for your rig model.
Steps of the drilling cycle
- The crew attaches a drill bit to the bottom of the drill string, which is a series of steel pipes. This assembly is lowered into the hole until the bit touches the rock face at the bottom.
- The rig’s motor rotates the drill string, applying downward force to the bit. This action crushes the rock into small pieces called cuttings, usually taking 1 to 2 hours per pipe segment.
- Mud pumps push drilling fluid down the center of the hollow pipe. This fluid exits through nozzles in the bit, cooling the metal and lifting the rock cuttings back to the surface.
- As the bit moves deeper, the crew adds more pipe segments to the string. Each connection takes about 20 to 30 minutes, during which rotation and fluid circulation must stop temporarily.
- The fluid reaches the surface and passes through shakers. These machines use vibrating screens to separate the rock cuttings from the mud, which is then reused in the system.
- Once a target depth is reached, the drill string is removed from the hole. Workers then insert steel casing pipes and cement them into place to prevent the hole from collapsing.
How mechanical failure impacts the well
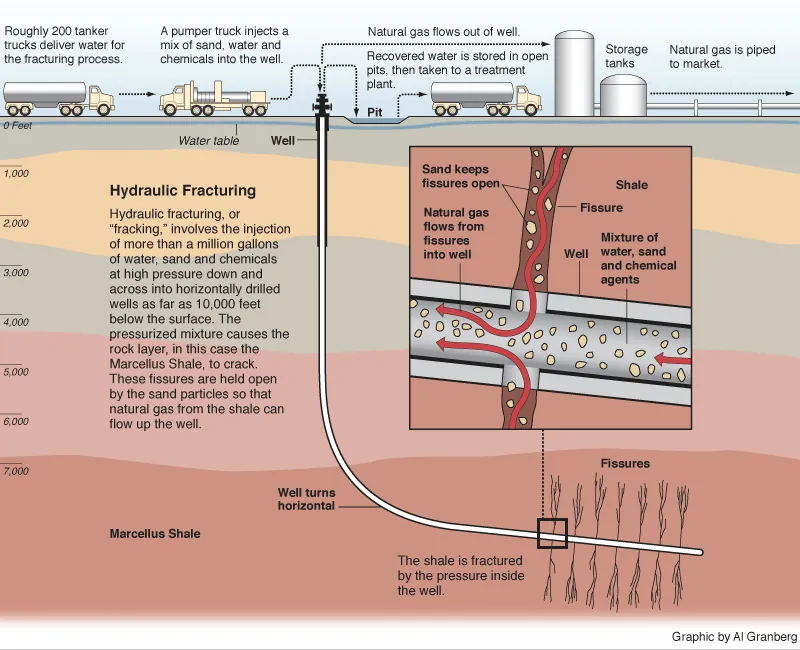
The relationship between surface equipment and the underground environment is constant. When a component fails, the primary concern is the balance of pressure between the rock layers and the wellbore. If the drilling mud stops circulating, the pressure inside the hole can drop, allowing gas or fluids from the surrounding rock to enter the well in an uncontrolled manner. This management of well pressure is the most critical safety task on any rig.
A failure in the drill bit typically results in slower penetration rates, which is a minor operational cost. However, a failure in the blowout preventer is a major safety issue. If this seal isn’t functional, the crew can’t stop a pressure surge from reaching the surface. This is why every rig performs regular pressure tests on its safety valves.
Mistakes often occur when operators ignore small fluctuations in fluid levels. A minor drop in mud volume might seem like a simple leak, but it often signals that the hole is taking in fluid from the formation. Failing to catch this early can lead to a stuck drill string, which costs thousands of dollars in lost time and equipment.
Controlled and fixed elements
What you can change
- The weight applied to the drill bit to adjust speed.
- The speed of rotation based on the rock hardness.
- The chemical mix of the mud to match ground types.
- The frequency of safety checks on the blowout preventer.
What is fixed by design
- The diameter of the borehole set by the bit size.
- The physical depth of the target rock formation.
- The geological pressure of the surrounding ground layers.
Handling high-pressure equipment requires professional certification and specialized training. If you see signs of equipment stress or pressure instability, stop all operations immediately and consult your site supervisor or a certified petroleum engineer.
Improving drilling efficiency
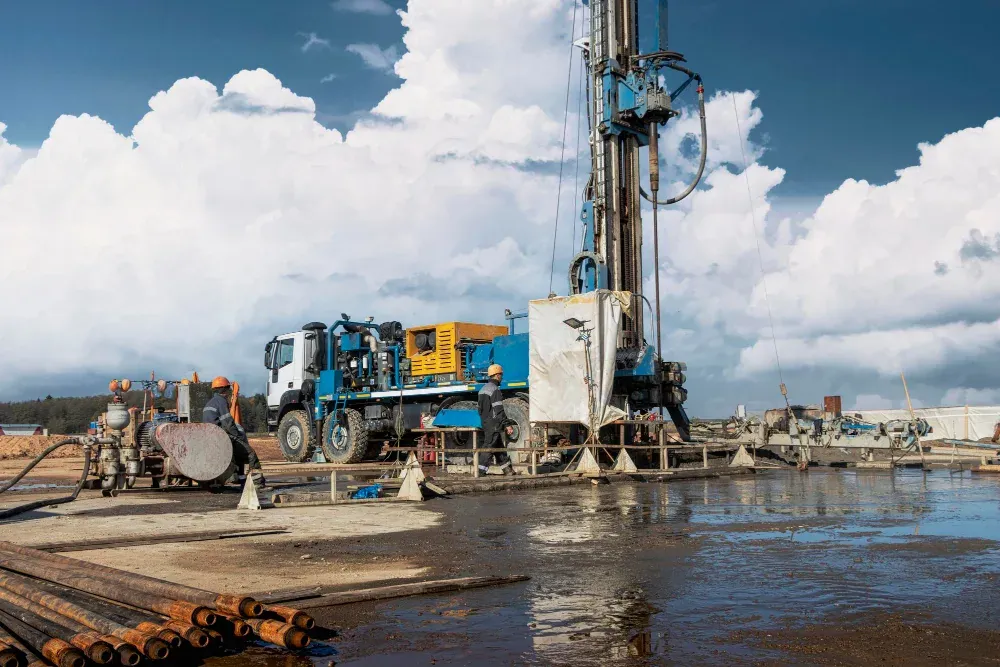
Practical habits on the rig revolve around monitoring the data provided by the sensors. First, always track the weight on the bit. Keep the weight within the range recommended by the manufacturer to extend tool life.
Second, maintain the mud properties. The viscosity must be checked every 4 hours to ensure it can lift the rock cuttings efficiently. If the mud is too thin, cuttings will settle at the bottom, which leads to a stuck pipe. Third, keep the drilling speed consistent.
Rapid changes in speed create vibrations that damage the drill string over time. Aim for a steady speed that keeps the torque gauge in the green zone. Finally, document every pipe change and bit replacement. Tracking these cycles helps you predict when a part will reach its end of life before it fails.
Related guides
- What Is Quenching the Process and Its Purpose Explained
- 5 Best Water Softeners for Well Water: Our Top Picks in 2026
- Best Well Pressure Tanks: How to Choose the Right Size in 2026
Frequently asked questions
How long does it take to drill a well?
The time ranges from 2 weeks to several months, depending on the target depth and rock hardness. You can estimate your specific timeline by checking the daily progress reports against the total depth of the geological target.
Is it safe to drill near water sources?
It’s safe if the well is designed with multiple layers of steel casing and cement to seal off freshwater zones. The safety of the water depends on the integrity of these seals, which are inspected during the construction phase to ensure no cross-contamination occurs between layers.
What happens if the drill bit breaks?
The drilling operation stops immediately, and the crew must perform a fishing operation to retrieve the broken pieces. This process involves lowering a specialized tool into the hole to grab the lost bit, which can take anywhere from a few hours to several days depending on the depth.
Can I drill a well on my own property?
You can’t drill a deep well without local permits, environmental assessments, and certified professional equipment. You must contact your local water or mineral rights authority to determine the legal requirements and safety zones required for your specific location before starting any work.
Does the drilling fluid get wasted?
The fluid is rarely wasted because it’s continuously cleaned by shakers and recycled back into the hole. A small amount is lost as it coats the rock cuttings, but modern systems recover over 90% of the volume for reuse during the entire project.
Why does the pressure change during drilling?
Pressure changes occur because the drill bit moves through different types of rock with varying densities and fluid contents. You can identify the cause of a change by looking at the mud flow gauges, which show whether the well is gaining or losing fluid volume at the surface.
Conclusion
The drilling process is a balance of precision and physical endurance. By keeping the mud moving, the bit sharp, and the pressure stable, the crew can reach the target safely. Remember that the geology dictates the pace, and the equipment is only as effective as the monitoring habits of the team operating it.
