
You can program an overhead door remote by pressing the learn button on the motor unit and then tapping the button on your handheld device within 30 seconds. Most modern systems use a rolling code technology, which means you need to complete the pairing process in one fluid motion to ensure a secure connection. This method works for the vast majority of residential openers manufactured in the last two decades, assuming your hardware is functioning correctly and the batteries are fresh.
Items needed to program your remote
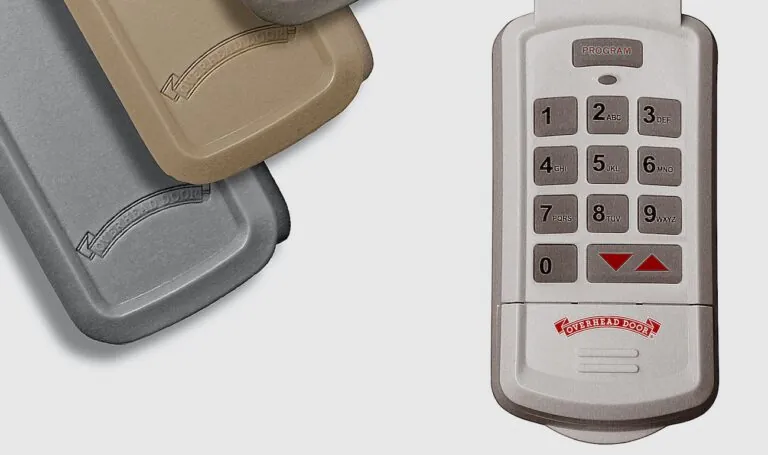
To successfully pair your device, you need a few basic items ready before you climb the ladder. Having everything prepared saves you from having to hop down mid-process, which often causes the system to time out and reset.
A sturdy, stable step ladder that reaches your ceiling motor unit safely.
A new, compatible battery for your remote, usually a 3V lithium coin cell. A weak signal often allows for partial pairing but fails to complete the final handshake with the motor.
The remote control unit you intend to pair with the opener.
A flashlight if your garage lighting is dim or the motor area is dark.
A helper if you have a wall-mounted button that requires a specific sequence.
If you have lost your manual, check the back or the side of the motor housing for a sticker. This sticker lists the model number and the specific frequency your unit uses. You can often find the official operator manuals directly from the manufacturer’s support pages using that model number.
If your remote is a universal aftermarket model, it may require a set of DIP switches or a jumper configuration instead of a learn button. Check the back of the remote packaging for those specific settings. If you see a row of tiny switches, you must mirror the exact pattern found inside your existing remote. If the patterns don’t match perfectly, the motor will ignore the signal entirely.
If your motor unit has a purple learn button, it operates on a different frequency than units with yellow or green buttons. Never attempt to force a pairing between mismatched frequencies, as the hardware simply can’t communicate. If the LED on the motor doesn’t blink when you press the remote, verify the frequency color match before assuming the unit is broken.
Steps to program your overhead door remote
- Locate the learn button on your garage door opener motor. It’s usually a small, colored button—often yellow, purple, or red—found on the side or back of the unit near the antenna wire.
- Press and release the learn button once. A small LED light next to the button will glow steadily or blink, indicating the unit is now in “learn mode” and waiting for a signal.
- Walk to your remote and press the main button you want to use for the door. Hold it for about two seconds, then release it.
- Watch the motor unit light. If the pairing worked, the light will flash once or you’ll hear two quick clicks. This confirms the motor has accepted the new code.
- Wait for the indicator light on the motor to stop blinking or turn off completely. If the light stays on, the system is still in learn mode and you may need to try the sequence again.
- Test the door by pressing the remote button again. The door should begin to move immediately.
Careful: Don’t hold the learn button down for more than 5 seconds. Holding it too long will clear all existing remotes from the memory, and you’ll have to re-pair every single remote you own.
Tip: If the door doesn’t move on the first try, check the antenna wire on the motor. Ensure it’s hanging down and not touching any metal parts, as this can block the signal.
Variations in setup time and effort
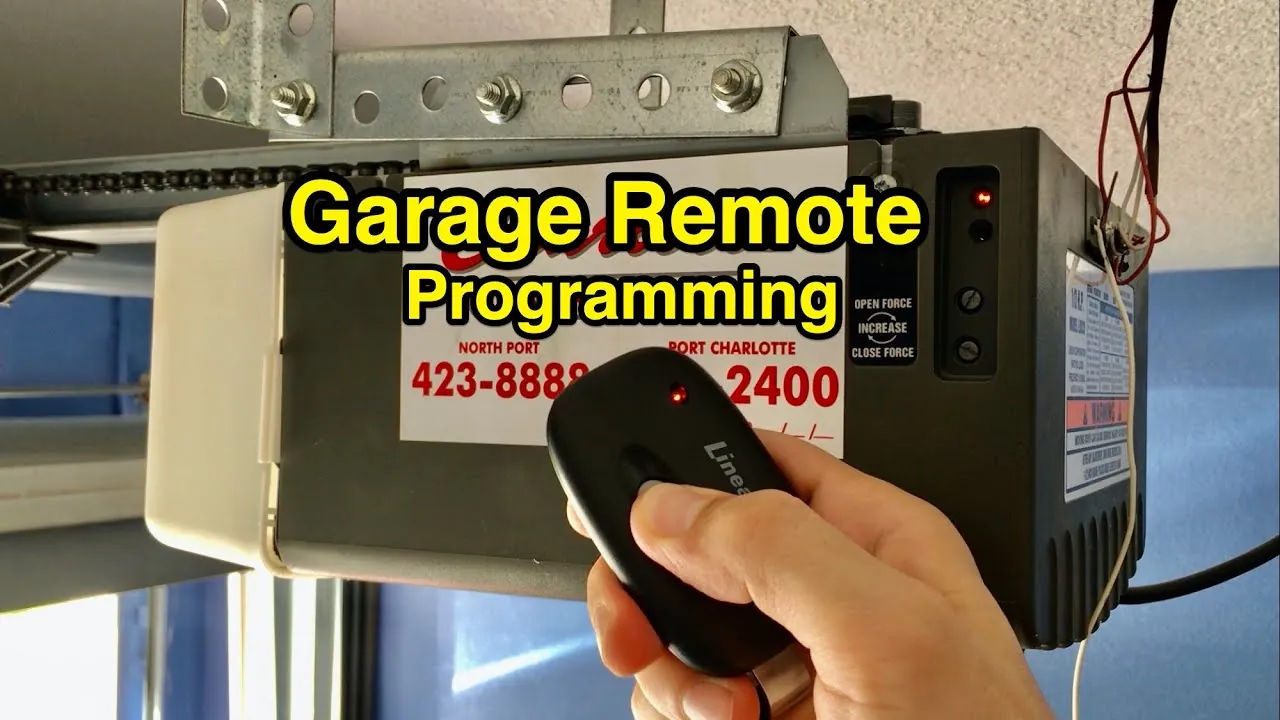
The time and effort required to sync your remote depend mostly on the age and type of your opener system. Newer smart openers often integrate with mobile apps, while older units rely strictly on physical buttons.
| Situation | Setup Time | Complexity | Watch For |
|---|---|---|---|
| Modern rolling code | 1-2 minutes | Low | LED confirmation |
| Older DIP switch model | 5-10 minutes | Medium | Matching switch pins |
| Multi-door sync | 3-5 minutes | Low | Correct button assignment |
| Universal remote | 5-15 minutes | High | Frequency compatibility |
If your system uses DIP switches, you must ensure the toggle positions on the remote exactly mirror the opener’s internal receiver. A single misaligned pin will prevent the signal from firing, costing you twenty minutes of fruitless troubleshooting. Check the receiver board inside the motor housing before you climb down the ladder.
Always start with a single remote to verify the connection before attempting to sync multiple devices. If you try to program everything at once and the process fails, you can’t isolate the faulty unit.
If the opener’s LED flashes rapidly, the system has entered pairing mode; if it remains solid or turns off immediately, your remote is broadcasting on an incompatible frequency. If the remote fails to sync after three attempts, replace the battery even if the indicator light appears bright. Low voltage often prevents the unit from completing the handshake protocol required for rolling code systems.
Confirming a successful connection
A successful sync is obvious because the garage door will respond to your remote command instantly. When the process fails, the motor light usually remains dark or continues to blink, showing that it never received or recognized the signal from your remote. This often happens because the remote isn’t compatible with the specific frequency of your opener, or because the internal battery is too weak to send a strong signal.
To prevent signal issues, always keep the remote within 10 feet of the motor unit during the programming phase. If the remote still fails to pair after changing the battery, inspect the remote’s internal circuit board for corrosion or loose buttons. If you notice white powder or green buildup on the battery terminals, clean them with a small amount of white vinegar and a cotton swab to restore the connection.
Most users mistakenly assume a blinking light means the remote is broken, but it often signals that the opener is in “learn mode” and waiting for a final confirmation press. If the light stops blinking but the door stays shut, you have likely reached the memory limit of the receiver. In this case, clear the opener’s memory by holding the learn button for fifteen seconds, then re-pair all your remotes from scratch.
Safety rules and maintenance
The primary safety standard for residential garage door operators is established by the Consumer Product Safety Commission, which mandates that all units manufactured after 1993 must have an auto-reverse feature. If your opener lacks these photoelectric sensors, don’t attempt to program a remote. Instead, contact a professional to replace the entire system. An opener without active reversal is a significant entrapment hazard that can cause severe injury.
After programming, store your remote in a secure location inaccessible to children. Treat the remote as you would a house key.
Record the date of your battery replacement on a piece of masking tape and stick it to the back of the remote. If you notice the remote’s range decreasing, replace the battery immediately to prevent signal failure during an emergency.
If you require professional repairs to the motor or logic board, only use certified technicians. They must verify that the safety sensors remain aligned after any mechanical adjustment. If the door fails to reverse when it strikes a two-by-four board placed on the floor, the system is unsafe and requires immediate recalibration.
Alternative ways to sync
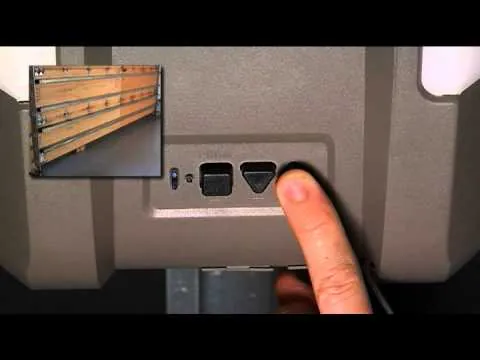
Using a wall-mounted control
If your garage has a smart wall console, you can often use its menu to pair new remotes without touching the motor unit. This is much faster if your ceiling motor is high or difficult to reach. Simply navigate to the “program” or “learn” menu on the wall screen and follow the on-screen prompts.
Using a mobile app
Many modern openers connect to Wi-Fi. You can use the manufacturer’s smartphone application to add new users or remotes to your account. This method is best if you want to grant temporary access to guests, as you can manage these permissions directly from your phone without needing physical access to the motor.
Using a universal bridge
If you have an older or proprietary system, you can install a universal bridge or “gateway” device. This plugs into a standard power outlet and acts as a translator between your remote and the motor. This is a great solution if your original remotes are discontinued or impossible to find.
Related guides
- LiftMaster vs Overhead Door Garage Door Openers: The Verdict
- Garage Door Cable Came Off Drum: How to Fix It Safely
- Hyundai Tucson Door Lock Button Not Working: Easy Fixes
Frequently asked questions
Can I program a remote without a learn button?
No, if your opener doesn’t have a learn button, it likely uses physical DIP switches inside both the remote and the motor. You must manually set the small switches in the remote to match the sequence of switches found on the motor unit’s receiver board.
How long does the learn mode stay active?
The learn mode stays active for 30 seconds after you press the button. If you don’t press the remote button within that window, the motor will exit the mode, and you must start the process over.
Is it safe to program a remote while the door is moving?
No, never attempt to program the remote while the door is in motion. Always ensure the door is fully closed or fully open before you press the learn button to avoid unexpected behavior or injury.
What happens if I lose my remote?
If you lose a remote, you should clear the motor’s memory immediately to prevent unauthorized access. You do this by holding the learn button for 10 to 15 seconds until the indicator light goes out, which deletes every remote previously paired to that unit.
How many remotes can I pair at once?
If you try to add more than the manufacturer’s limit, the oldest remote will be automatically deleted to make room for the new one.
Conclusion
Regular maintenance of your remote keeps your system running smoothly. Test your safety sensors monthly to ensure the door reverses when it hits an object, and keep your remote batteries fresh to ensure you aren’t left outside during a power failure or storm. If you ever feel unsure about the wiring or the safety of your motor unit, contact a qualified garage door technician to handle the adjustments for you.
