
A multimeter is used for measuring electrical properties like voltage, current, and resistance to help you diagnose faults in circuits or devices. By connecting the tool’s probes to specific points, you can confirm if a battery has power, if a wire is broken, or if a switch is working correctly. It’s a essential tool for anyone working with household electronics or automotive electrical systems.
This tool works by converting electrical signals into readable numbers on a digital display. If you set the dial to the wrong measurement mode, you’ll get an inaccurate reading or potentially damage the device’s internal fuse. The most common mistake people make is testing a high-voltage source while the device is still set to measure low-current resistance, which often leads to a blown fuse and a non-functional tool.
How a multimeter is used safely
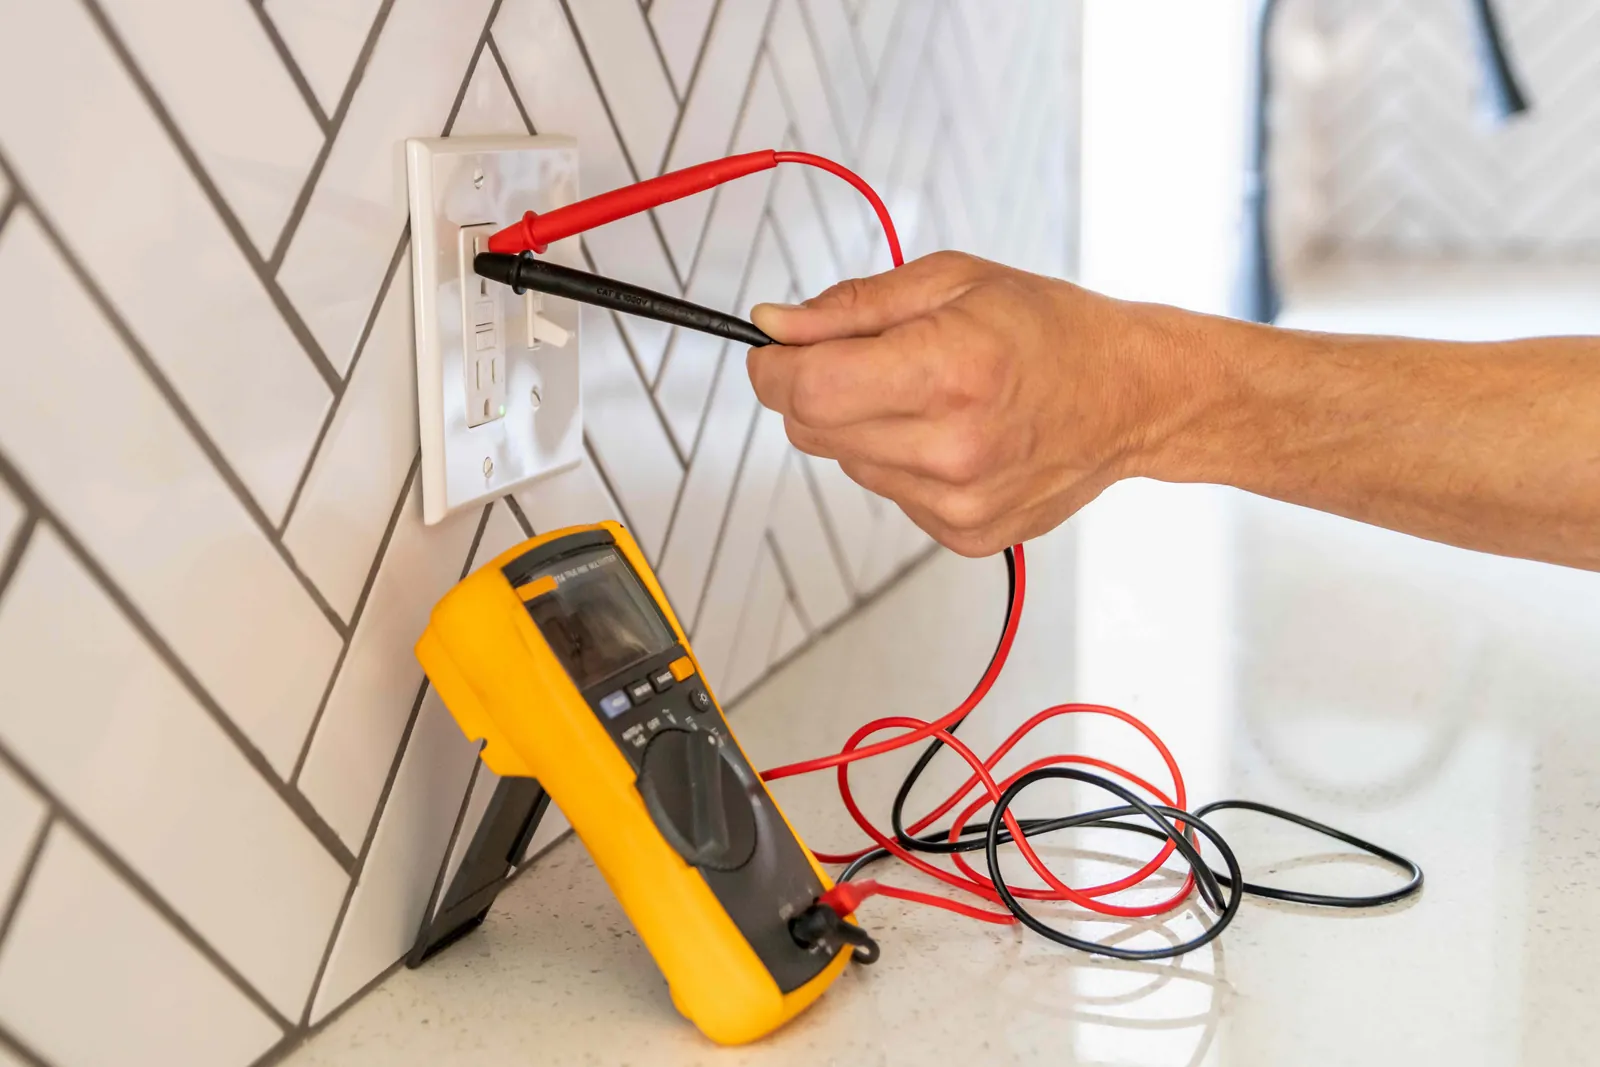
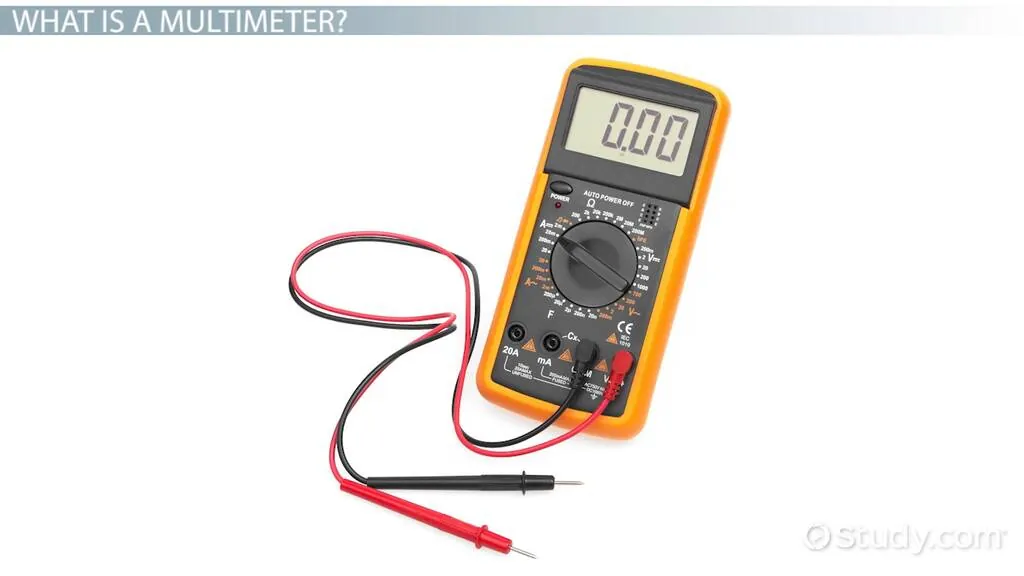
- Select the correct setting on the dial by matching the symbol to what you want to measure, such as the V symbol for voltage or the Ω symbol for resistance.
- Plug the black lead into the port labeled COM and the red lead into the port labeled VΩmA for most standard household tests.
- Turn off the power to the circuit or device before measuring resistance to avoid false readings or damage to the meter.
- Touch the metal tips of the probes to the two points you want to test while ensuring your fingers don’t touch the metal parts.
- Switch the dial back to the off position after you finish your measurements to preserve the internal battery life.
Tip: If your meter shows a “1” or “OL” on the display, it often means the range is too low for the signal or the circuit is open.
Tip: Always inspect your test leads for cracked insulation before use, as damaged wires can lead to electric shock.
Time needed for electrical testing
The duration of a test depends on whether you’re checking a simple battery or troubleshooting a complex wiring issue. Most basic checks take only a few seconds, but tracing a short circuit can take much longer depending on the number of connections involved.
| Situation | How long | What changes it | What to watch for |
|---|---|---|---|
| Battery test | 5 seconds | Number of cells | Low voltage readings |
| Continuity test | 10 seconds | Wire length | Beep sound or zero |
| Circuit voltage | 15 seconds | Access to points | Unstable connections |
| Wiring fault | 10-30 minutes | Complexity of path | Intermittent signals |
If you spend more than 30 minutes on a simple task, you likely have a poor connection between the probe and the wire.
Signs that a test is finished
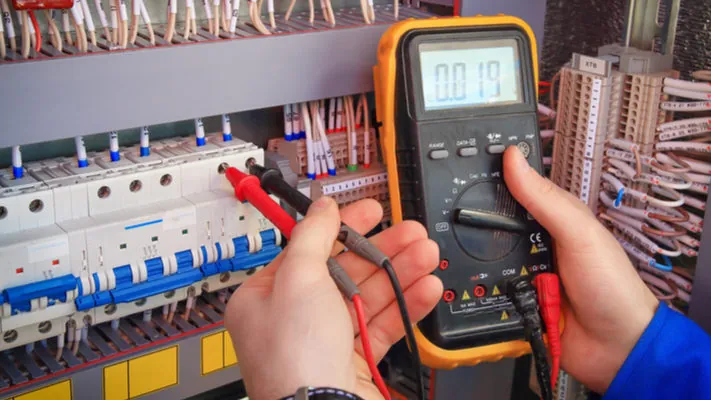
You know a test is complete when the number on the display stops jumping and holds a steady value for at least three seconds. If you’re performing a continuity test, the device will emit a clear, continuous beep, indicating a complete path for electricity. For voltage testing, look for a stable number that matches the expected output of your power source.
If the reading fluctuates by more than five percent after the three-second mark, your probes may have a poor connection. Press them firmly against the contact points to eliminate surface oxidation.
If you’re unsure if the reading is correct, test the meter on a known working source, such as a fresh household battery, to ensure the device is functioning as expected. When the display remains blank or shows erratic symbols despite a fresh battery, the meter itself is likely faulty. Don’t rely on a meter that fails this calibration check; a faulty fuse often leads to false negatives that mask active electrical hazards.
Errors that lead to bad results
- Testing live circuits on the resistance setting: This mistake frequently destroys the meter’s internal components. The device sends its own small current into the circuit. You must always isolate the component or turn off the power before measuring resistance.
A burned protection fuse inside the meter is inexpensive to replace relative to buying a new unit, but it still causes downtime. Worse, it prevents all current measurements until replaced.
If you measure resistance and get a reading that drifts upward slowly, voltage is still present somewhere in the loop. Disconnect everything and try again.
- Using the wrong port for high current: Many meters have a separate port for high-amperage testing. Using the standard port will trip the fuse immediately. Always check the labels on the front of your device. Ensure the red lead is in the correct slot for the expected current.
Most standard ports blow when overloaded. The dedicated high-current jack handles higher loads. Forcing too much current through the milliamp port will blow the internal fuse; have a technician verify these limits.
- Holding both probes with one hand: This creates a risk of electric shock. It can also lead to inaccurate readings if your body creates a parallel path for the current. Use alligator clips if available. Place the probes firmly on the terminals to keep your hands away from live contact points.
Related guides
- What Is Nomex Honeycomb and What Is It Used For
- How Patch Antennas Work and Where Theyre Used Explained
- What Is PVDC and Why Is It Used in Packaging for Shelf Life
Frequently asked questions
Can I use a multimeter to test a car battery?
Yes, you can test a car battery by setting the dial to DC voltage and touching the probes to the battery terminals, but interpreting the exact electrical output requires a technician to ensure accuracy.
Why does my multimeter beep when I touch the probes together?
The beep indicates that the meter has detected continuity, meaning there’s a complete electrical path between the two probes. This mode is used to find broken wires or to check if a switch is working properly. If you touch the probes together and hear no sound, the battery in the meter is likely dead or the leads aren’t connected properly.
How long do multimeter batteries last?
Most standard digital multimeters have batteries that last for 100 to 500 hours of continuous use depending on the backlight usage. If you leave the device on, the battery will drain much faster than if you turn it off after every use. You’ll know the battery is dying when the display digits become faint or the screen starts flashing a low-battery icon.
Is it safe to measure wall outlet voltage?
Yes, it’s safe if you’re using a CAT-rated multimeter that matches the voltage of your home’s electrical system. You must ensure your fingers stay behind the finger guards on the probes at all times during the test. If you aren’t comfortable working with high-voltage mains, it’s best to contact a licensed electrician to perform the inspection instead.
What happens if I measure current in parallel?
Measuring current in parallel with a multimeter will cause a short circuit and likely blow the internal fuse or damage the meter. Current must always be measured in series by breaking the circuit and placing the meter in the path of the flow. If you’re unsure how to wire the meter for current, stick to voltage measurements which are done in parallel.
How do I know if my multimeter is accurate?
You can check your multimeter’s accuracy by measuring a component with a known value, such as a new battery or precision resistor. If the reading differs significantly from the expected value, the meter might need calibration or its battery might be low.
Conclusion
Once you’ve got this tool in your hands, you’ll feel much safer fixing small electrical problems around the house. Don’t wait for something to break completely. Grab a basic model from your local hardware store this weekend and try testing an old battery first.
