
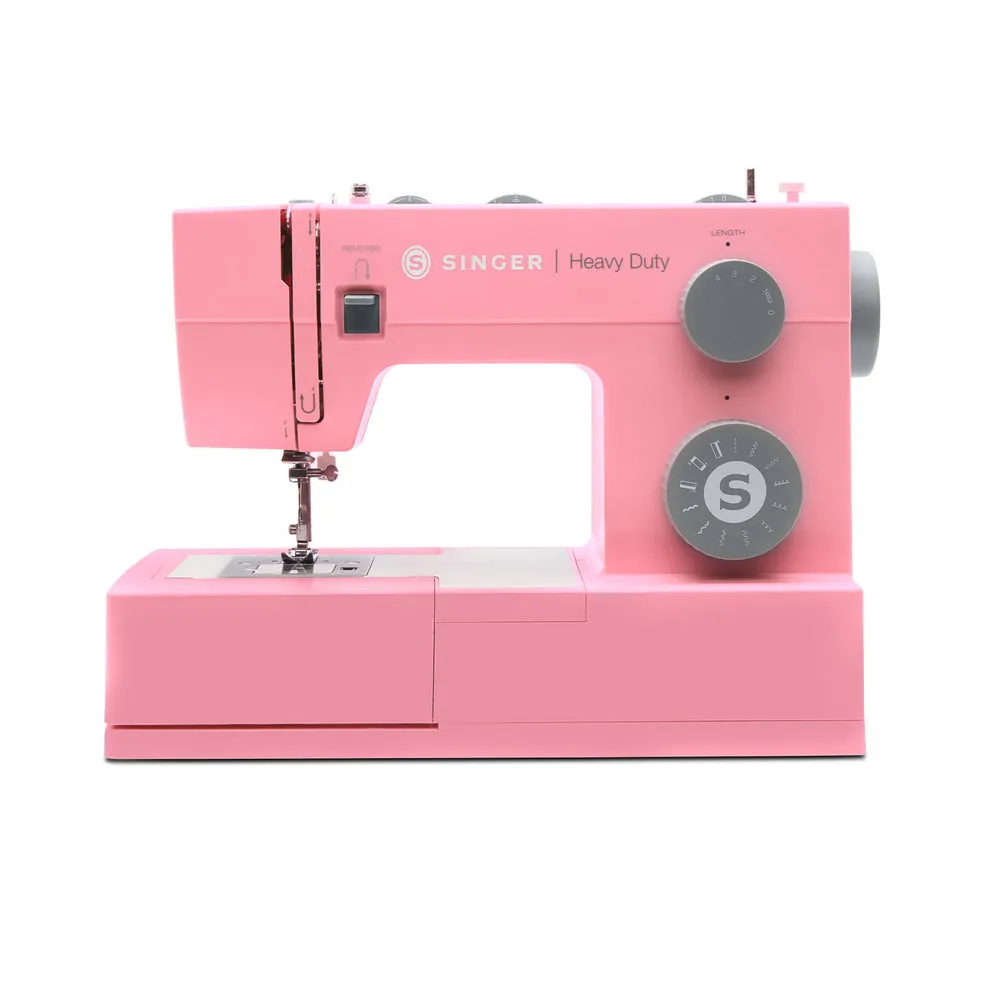
Common singer heavy duty 4411 problems often stem from incorrect threading, improper needle selection, or tension settings that don’t match the fabric weight. These machines are designed for speed and thicker materials, but they require precise setup to maintain a balanced stitch. When the machine skips stitches or jams, it’s usually because the user is using the wrong needle type or the thread path is obstructed. Checking these basic mechanical factors resolves most performance issues without the need for a professional repair technician.
Solving common Singer Heavy Duty sewing problems

Every owner should know how to identify these frequent mechanical errors during daily operation.
| Problem | Best For | Typical Cause |
|---|---|---|
| Skipped stitches | Needles | Incorrect needle size |
| Thread bunching | Tension | Improper threading |
| Needle breakage | Heavy fabric | Wrong needle type |
| Fabric puckering | Settings | High tension setting |
| Machine jamming | Cleaning | Lint buildup |
If your machine skips stitches, swap your needle for a fresh one immediately. A dull tip causes 90% of these gaps. If the needle is sharp but the problem persists, ensure the needle is pushed all the way into the clamp.
When thread bunches underneath your fabric, the culprit is almost always the upper threading path. Re-thread the machine with the presser foot raised to ensure the discs engage properly. If you’re sewing heavy denim or upholstery, switch to a size 100/16 needle.
Using a standard 80/12 needle on dense material forces the machine to deflect, leading to broken points and damaged throat plates. If the fabric puckers, reduce your tension dial by one increment at a time until the seam lays flat.
Skipped stitches and needle selection
Skipped stitches happen when the needle and the hook mechanism don’t meet at the correct time. This usually occurs because the needle is blunt, bent, or not the right size for the fabric being sewn. If you’re sewing heavy denim or canvas, you must use a heavy-duty needle, such as a size 100/16 or 110/18, to ensure the needle can penetrate the layers without deflecting.
- Change the needle every 8 hours of sewing time to ensure a sharp point.
- Ensure the flat side of the needle shank faces the back of the machine.
- Verify that the needle is pushed all the way up into the clamp.
If you’re using a universal needle on thick leather or multiple layers of denim, the needle will flex and miss the bobbin thread loop. This simple adjustment solves 90% of skipped stitch reports. When the machine is correctly maintained, you can find specific maintenance instructions on the official Singer support page to keep the internal hook mechanism running smoothly.
Thread bunching and tension control
Thread bunching under the fabric is almost always a sign that the upper thread isn’t sitting correctly in the tension discs. If the presser foot is down while you thread the machine, the tension discs remain closed, and the thread sits on top of them rather than between them. This results in no tension, causing the thread to tangle into a “bird’s nest” beneath the needle plate.
- Always raise the presser foot before threading the upper path.
- Hold the thread ends firmly when you start a new row of stitching.
- Clean the bobbin case area of any loose lint or thread scraps.
If you’re sewing thin, lightweight fabrics, set the tension dial to a lower number, around 2 or 3. For heavy-duty projects, move the dial toward 5 or 6. If the bobbin thread is pulling to the top, your upper tension is too tight; if the upper thread pulls to the bottom, it’s too loose.
Needle breakage and fabric thickness
Breaking needles frequently indicates that the fabric is being pulled or pushed through the machine rather than guided. The machine’s feed dogs are designed to move the fabric at a consistent rate, and forcing the material causes the needle to hit the metal needle plate. This is a common error for beginners who feel the need to assist the fabric movement.
- Use a straight stitch needle plate for thin fabrics to prevent fabric pulling.
- Check that the needle size matches the thread weight you’re using.
- Keep the speed constant rather than stopping and starting abruptly.
If you’re working with very thick seams, turn the handwheel manually for those few stitches. This protects the needle from hitting bulky intersections where the fabric is too dense to pierce. If you find the needle continues to hit the plate even with proper guidance, the needle bar may be misaligned. In this case, you must stop using the machine and contact a certified repair center for a professional inspection.
Machine jamming and maintenance
Jamming often results from a buildup of lint inside the bobbin case, which prevents the bobbin from rotating freely. The 4411 model is a mechanical machine that relies on a clean path for the hook to catch the top thread. If the hook is dirty, it can’t pull the loop through, leading to a tangled mess that stops the machine mid-stitch.
- Remove the needle plate once a week if you sew for more than 2 hours daily.
- Use a small brush to clear lint from the feed dogs and the bobbin housing.
- Apply one drop of sewing machine oil to the hook race if the machine sounds loud.
Avoid using compressed air to clean the machine, as this often pushes lint further into the sensitive internal parts. Instead, use a lint brush or a small vacuum attachment to remove debris safely. If you hear a rhythmic clicking sound while sewing, it’s a sign that the bobbin case has moved out of position or is damaged.
Other common operational issues
Bobbin winding failure often stems from a bypass of the tension disc. If the thread doesn’t click firmly into the disc, the bobbin fills loosely, causing erratic tension during your next seam. Always verify that the thread is seated before engaging the winder.
Fabric not feeding usually indicates the drop-feed lever is still set for free-motion embroidery. If you’re sewing standard seams, ensure the lever is clicked fully into the “up” position. If the feed dogs remain recessed, the fabric will bunch under the needle, potentially snapping the thread.
Loud operation suggests the internal components are running dry. Apply exactly one drop of clear, high-quality sewing machine oil to the hook race and the needle bar. Never use household sewing machine oil for automotive parts or vice versa. The wrong viscosity will gum up the gears, requiring a professional teardown to clear the residue. If the noise persists after lubrication, stop immediately to prevent the motor from seizing under increased friction.
How to determine the right settings
Choosing the correct settings depends on the relationship between your needle, thread, and fabric. If you’re using a heavy-duty thread, you must use a larger needle eye to prevent the thread from fraying or snapping during the high-speed cycle. For every change in fabric type, perform a test stitch on a scrap piece to verify that the tension is balanced on both sides.
If the bobbin thread pulls to the top, your needle tension is too tight; if the top thread loops underneath, it’s too loose. Adjust by quarter-turn increments until the lock stitch sits perfectly inside the fabric layers.
If you’re sewing a zig-zag stitch, you might need to lower your tension slightly compared to a straight stitch, as the thread has a longer path to travel. Always verify the stitch length and width before starting your final project.
Combining different fabric weights is possible, but you should always use a walking foot attachment to help the machine feed the layers evenly. Beginners often skip the test scrap, costing them hours of seam ripping. Picking the right combination of these three factors means the difference between a smooth seam and a jammed, puckered mess.
Related guides
- Best Heavy Duty Foosball Tables: Top 5 Picks in 2026
- Best Heavy Duty Camping Cot for 300 Lb Person in 2026
- Bemis 7800TDG Commercial Heavy Duty Review: 8 Best Seat Picks in 2026
Frequently asked questions
Why does my machine keep jamming?
The machine jams because lint has built up in the bobbin case or the thread isn’t seated in the tension discs. You should remove the needle plate and clear away all dust with a small brush at least once every week of regular use. If the thread isn’t between the tension discs, it will lose control and tangle beneath the needle plate.
How do I stop the thread from snapping?
Thread snaps when the needle is too small for the thread weight or the tension is set too high for the fabric. Ensure you’re using a needle size that allows the thread to pass through the eye without friction. If the thread continues to break, check the spool pin to ensure the thread is unrolling smoothly without getting caught on the spool cap.
Can I sew leather with this machine?
You can sew light to medium-weight leather if you use a dedicated leather needle and a longer stitch length. The motor is powerful enough, but you must avoid forcing the material through by hand. If the leather is too thick for the needle to penetrate, don’t force it, as this will damage the motor and the timing of the needle bar.
Why are my stitches uneven?
Uneven stitches occur when the presser foot pressure isn’t adjusted correctly or the fabric is slipping under the foot. Ensure your presser foot is firmly lowered before you begin sewing. If you’re sewing multiple layers of thick fabric, a walking foot will help keep the top and bottom layers moving at the same speed to prevent uneven results.
How often should I oil the machine?
You should oil the machine hook race based on your frequency of use; consult your owner’s manual for the specific service schedule. Use only one drop of dedicated sewing machine oil in the designated area as shown in your manual. Never use excessive oil, as it will attract lint and create a sludge that stops the internal components from moving freely.
Does the needle size really matter?
The needle size matters because it determines the size of the hole made in the fabric and how easily the thread passes through the eye. If the needle is too small, the thread will fray and snap; if the needle is too large, it will leave visible holes in delicate fabric. Always match the needle size to the thickness of your fabric and thread.
Conclusion
Ensure your machine is on a flat, stable surface before you start any project. Listen for any unusual clicking or grinding sounds, which are the primary warning signs that the internal timing is off. If the machine continues to skip stitches after you have changed the needle and re-threaded the upper path, stop immediately. Attempting to force the machine to sew when it’s mechanically blocked can lead to permanent damage that requires a professional technician to fix.
