
The best choice between these two products depends on the pressure and physical impact your project requires, as a thicker wall is the primary difference in a comparison of pvc schedule 40 vs schedule 80 for most plumbing and irrigation needs. Use schedule 40 for standard residential water supply and drainage, while schedule 80 provides the extra strength needed for high-pressure industrial lines or areas where pipes face heavy external force.
Comparing wall thickness and pressure ratings
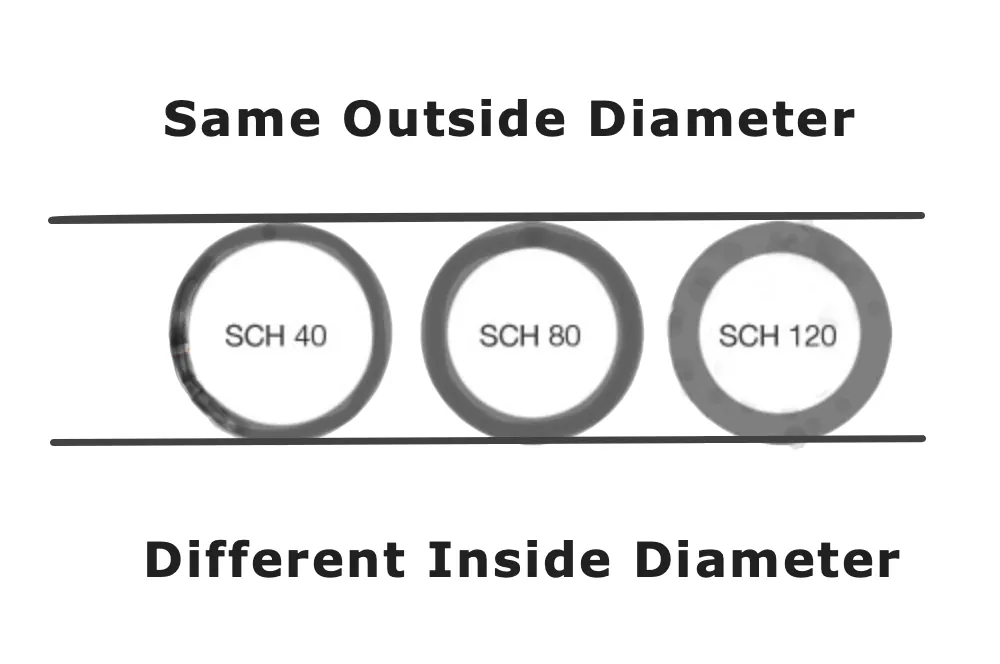
The main difference between these two pipes is the wall thickness. Schedule 80 has a thicker wall than schedule 40, which allows it to handle higher internal water pressure and resist physical damage better. Because the outer diameter is the same for both, they can use the same fittings, but the inner diameter of schedule 80 is smaller, which can slightly reduce water flow.
| Method | Wall Thickness | Pressure Rating | Cost | Best for |
|---|---|---|---|---|
| Schedule 40 | Thinner | Lower | Low | Residential plumbing |
| Schedule 80 | Thicker | Higher | Medium | Industrial applications |
If your system operates above 150 PSI, schedule 40 becomes a liability. Always choose schedule 80 for any line connected to a pump or a main water feed.
The most common mistake is assuming wall thickness correlates to heat resistance. Both schedules are made of the same PVC compound and will soften at temperatures above 140 degrees Fahrenheit. If your application involves hot water or steam, you must switch to CPVC or metal piping regardless of the schedule rating.
If you’re working on a standard home project, schedule 40 is usually sufficient. If you’re installing a system that needs to withstand heavy machinery or high-pressure chemical transport, schedule 80 is the necessary upgrade. Use this guide to match the pipe to the specific PSI demands of your pump.
Working with schedule 40 pipe
This pipe is the standard for most household jobs because it’s inexpensive and easy to install. It handles normal water pressure levels found in municipal systems without trouble.
Measure the length of your pipe run and cut the material using a fine-tooth handsaw or a power miter saw. If you use a power saw, keep the blade speed moderate to avoid melting the edges of the PVC.
Remove any plastic burrs from the cut ends with a file or sandpaper to ensure a smooth fit into the fittings. Failing to deburr creates a jagged edge that catches debris and creates turbulent flow, which eventually leads to clogs or leaks at the joint.
Apply a thin layer of primer to the outside of the pipe and the inside of the fitting, then quickly apply solvent cement. Work fast, as the solvent begins to soften the plastic within seconds.
Push the pipe into the fitting and give it a quarter turn to lock it in place, holding it for 30 seconds. If you don’t see a small, uniform bead of cement squeeze out around the entire circumference of the joint, you likely used too little adhesive.
This pipe is excellent for irrigation, cold water supply lines, and venting. It isn’t suitable for hot water lines, as the plastic can soften and deform under high heat. If your application involves temperatures exceeding 140 degrees Fahrenheit, switch to CPVC or copper to avoid structural failure.
Installing schedule 80 pipe
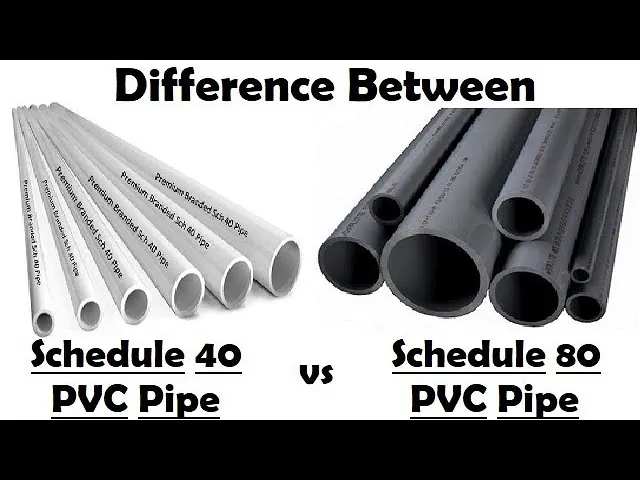
This pipe is designed for demanding environments where the pipe might be exposed to sunlight, heavy traffic, or corrosive liquids. Its thick walls provide a higher safety margin against bursting.
Cut the pipe using a hacksaw or a specialized plastic pipe cutter, ensuring the cut is perfectly square for a tight seal. Burrs left on the edge act as channels for leaks, so always deburr the exterior and interior edges with a chamfering tool.
Clean all surfaces thoroughly, as the thicker walls require a stronger bond to maintain the integrity of the high-pressure system. Use a purple primer to soften the plastic; if you don’t see a violet tint on the pipe end and inside the fitting, you haven’t prepped the surface enough for a chemical weld.
Apply a heavy-duty solvent cement specifically rated for high-pressure applications. Don’t use standard thin-wall cement, which lacks the body to fill the gaps inherent in the thicker, more rigid schedule 80 fittings.
Allow the system to cure for the full time recommended on the cement container. If the ambient temperature is below 50 degrees Fahrenheit, double the cure time to prevent catastrophic joint failure during initial pressurization.
This material is ideal for chemical processing and industrial water lines. Its main weakness is that the smaller inner diameter can lead to a slight drop in total water volume compared to schedule 40. If your system relies on high-volume flow, increase your pipe diameter by one size to compensate for the restricted interior.
Selecting the right pipe for your project
Choosing the correct pipe involves looking at the environment and the pressure demands of your specific system. If you ignore the pressure ratings, you risk a catastrophic pipe failure that could cause water damage or system downtime.
When in a hurry, use schedule 40. It’s widely available at local hardware stores and is easier to cut and fit for quick repairs. If you find yourself in a tight crawlspace, the lighter weight of this material makes overhead installation significantly less fatiguing.
When doing this for the first time, start with schedule 40. The thinner walls are more forgiving to work with, and the fittings are easier to seat correctly during the solvent welding process. Beginners often make the mistake of using too much solvent cement on schedule 80 pipes, which creates internal ridges that restrict flow; stick to schedule 40 until you master the application technique.
When you want the best possible result, choose schedule 80. While the cost is higher, the durability and pressure tolerance provide a longer lifespan for systems that are buried deep or subjected to constant physical stress.
The trade-off is simple: you pay more and lose a tiny bit of flow capacity for the increased safety and longevity of the thicker material. If your system requires a high volume of water, such as a main irrigation feed, verify the internal diameter differences, as schedule 80 has a smaller bore than schedule 40. Always check your local building codes to ensure you’re using the correct material for your specific application.
Guidelines for all pipe installations
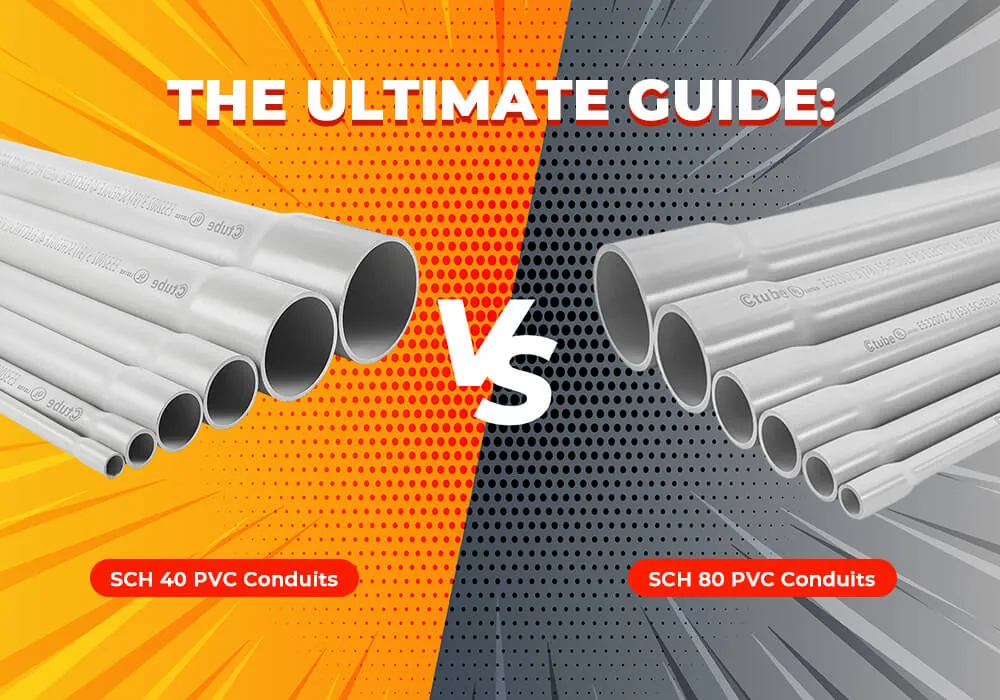
Regardless of which material you choose, you must ensure that your installation follows standard plumbing practices to prevent leaks and failures. Always support pipes with hangers spaced no more than four feet apart for horizontal runs. This prevents sagging, which creates stress points that lead to joint failure over time. Never over-tighten threaded fittings, as this often cracks the plastic regardless of the schedule.
Always use a primer before applying cement to ensure the plastic softens and bonds correctly. If you skip the primer, the joint may hold during initial testing but will likely leak once the pipe experiences thermal expansion.
Check the alignment of your pipes before the cement dries, as you have less than ten seconds to make adjustments once the solvent takes hold. If you force a pipe into place after this window, you create internal tension that will eventually cause the fitting to snap.
If you’re working with pipes larger than two inches in diameter or high-pressure systems, consult a professional plumber. These systems require specific primer dwell times and specialized cement formulations to handle the increased load.
Working with pressurized systems carries a risk of flooding or injury if a joint fails. If you’re unsure about your ability to create a pressure-tight seal, hire a licensed professional. They possess the hydrostatic testing equipment required to verify the integrity of your work. If the needle moves, you must cut out the section and start over.
Frequently asked questions
Can I mix schedule 40 and schedule 80 pipe?
Yes, you can mix them because they share the same outer diameter and fit the same standard couplings. You must ensure the entire system is rated for the lowest pressure component. Note that transition points require extra support to account for differences in wall thickness.
Is it safe to use these pipes for hot water?
No, both of these materials are generally not rated for hot water supply lines in residential plumbing. These pipes are designed for cold water or drainage, and they can lose their structural strength or release chemicals when exposed to high temperatures. You should use copper, PEX, or CPVC piping for hot water lines, as these are specifically manufactured to handle high heat without deforming or failing.
How long does a PVC joint take to cure?
The cure time varies based on the temperature, humidity, and the size of the pipe, but most joints are ready for light pressure in about 2 hours. For full system pressure, you should wait at least 24 hours to ensure the solvent has completely evaporated and the bond has reached maximum strength. Always check the label on your specific brand of solvent cement for the manufacturer’s recommended cure times.
What happens if I use the wrong schedule pipe?
If you use a pipe that’s too thin for high-pressure needs, you risk a burst pipe that can cause significant water damage and expensive repairs. Conversely, using an overly thick pipe where it isn’t needed will cost you more money and reduce the flow rate of your system. Always match the pipe strength to the pressure requirements of your pump or municipal supply to avoid these performance and safety issues.
How do I tell the difference between the two?
You can identify the pipe by checking the markings printed on the side for “Schedule 40” or “Schedule 80.” If the text is worn, measure the wall thickness with a caliper, as schedule 80 is significantly thicker. Be aware that color isn’t a reliable indicator, as both types vary by manufacturer.
Conclusion
Before you head to the hardware store, double-check your local building codes to ensure you’re picking the right material for your specific layout. It’s always better to be safe than sorry when you’re dealing with water lines. You’ll find that choosing the correct thickness makes your final installation much more reliable.