
If you have noticed your hair feeling brittle, your skin becoming chronically dry after showering, or a distinct “rotten egg” odor in your bathroom, you’re likely looking for the best shower head filters to mitigate these water quality issues. These devices are designed to attach directly to your existing shower arm, housing media that neutralizes chlorine, heavy metals, and sediment before the water touches your body. Depending on the filtration technology and the brand, you can expect to spend anywhere from $25 to $120 for a quality unit, with replacement cartridges typically costing between $15 and $40 every three to six months.
Key Takeaways
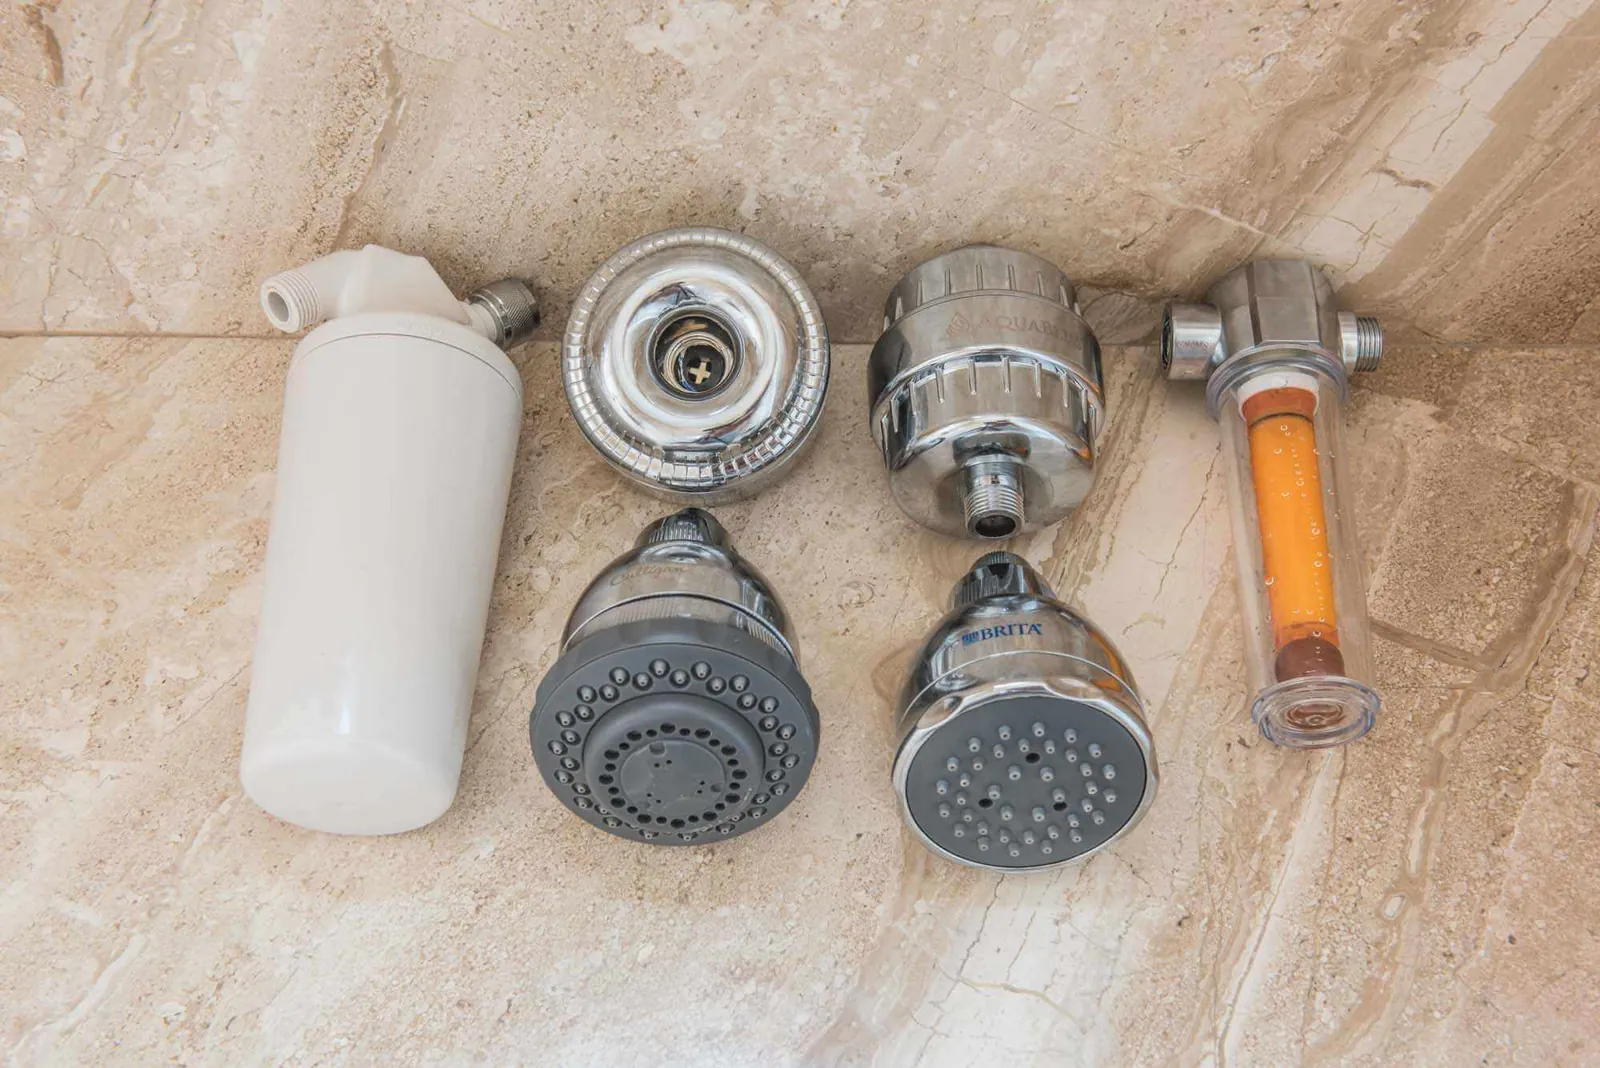
- Prioritize filters certified to NSF/ANSI Standard 177, which specifically tests for the reduction of free available chlorine in shower water.
- Match your filter type to your specific water issue; KDF-55 is superior for chlorine, while sediment filters are better for well water.
- Check your shower arm compatibility; most standard units use a 1/2-inch NPT thread, which is universal in most North American homes.
- Set a recurring calendar reminder to change your filter media every four months to prevent bacterial growth inside the housing.
- Water pressure drop is common; if you have low flow already, choose a high-flow model rather than a multi-stage heavy-duty filter.
Understanding Filtration Technology
Not all shower filters are created equal, and the internal media determines what exactly is being removed from your water supply. Most modern units utilize a combination of filtration stages to provide a comprehensive barrier against common municipal water additives.
Common Filtration Media
- KDF-55 (Kinetic Degradation Fluxion): This is a high-purity copper-zinc formulation that utilizes oxidation-reduction to convert free chlorine into harmless chloride. It’s highly effective in hot water applications.
- Activated Carbon: Usually found in a granular or block form, this is excellent for removing volatile organic compounds (VOCs), pesticides, and unpleasant odors caused by organic matter.
- Calcium Sulfite: Often used alongside KDF, this compound is specifically designed to remove chlorine at high temperatures, making it a staple in many high-performance shower head filters.
- Ceramic Balls: These are often included to balance the pH levels of the water and add beneficial minerals, though their efficacy in large-scale filtration is secondary to the chemical media.
How to Select the Right Filter
Choosing the correct unit depends heavily on whether your water source is a municipal utility or a private well. Municipal water is generally treated with chlorine or chloramine, whereas well water may contain high concentrations of iron, manganese, or sediment.
Selection Criteria Table
| Feature | Municipal Water Needs | Well Water Needs |
|---|---|---|
| Primary Media | KDF-55 / Calcium Sulfite | Sediment / Iron-specific media |
| Stage Count | 10–15 Stages | 2–3 Stages (High capacity) |
| Maintenance | Every 6 months | Every 2–3 months |
| Flow Rate | 2.0–2.5 GPM | 1.5–2.0 GPM |
Warning: If your water pressure is already weak, avoid multi-stage filters that contain dense activated carbon blocks, as these can restrict flow significantly and make your shower experience frustratingly slow.
Top Rated Filter Brands
When shopping for these devices, stick to reputable manufacturers that provide clear documentation regarding their testing protocols. The following brands have established a reputation for build quality and consistent water treatment performance:
- Aquasana: Known for their multi-stage filtration systems that use a blend of copper-zinc and carbon to target both chlorine and lead.
- Culligan: A legacy brand that offers highly reliable, basic inline filters that are easy to install and widely available in local hardware stores.
- Jonathan Product: Popular for their niche focus on beauty-centric filtration, specifically targeting the removal of minerals that cause hair color fading.
- Berkey: While famous for countertop systems, their shower filters are engineered for long-term heavy-duty use and high-temperature tolerance.
- Sprite: Often considered the industry standard for shower-specific filtration, they hold several patents on the media used to neutralize chlorine.
Installation and Maintenance Steps
Installing a shower filter is a task that rarely requires a plumber. Most systems are “plug and play,” requiring only a wrench and some plumber’s tape.
- Preparation: Remove the existing shower head by turning it counter-clockwise. Clean the threads of the shower arm to remove any mineral buildup or old tape.
- Sealing: Apply a small amount of fresh plumber’s tape to the shower arm threads. This ensures a watertight connection and prevents leaks at the primary joint.
- Attachment: Screw the filter housing onto the shower arm. Hand-tighten firmly, then use a wrench to give it a final quarter-turn. Don’t overtighten, or you may crack the plastic housing.
- Flushing: Before attaching the shower head, turn the water on and let it run through the filter for two to three minutes. This flushes out any loose carbon dust or manufacturing residue.
- Final Assembly: Attach your shower head to the output side of the filter, ensuring you use the provided rubber washer to prevent drips.
Pro Tip: Always keep a small container of silicone grease handy. If the O-ring inside your filter housing looks dry or cracked during a filter change, a thin layer of grease will help create a perfect seal and extend the life of the unit.
Addressing Water Quality Concerns
Many users find that their primary motivation for seeking out the best shower head filters is an improvement in skin health. According to the Environmental Protection Agency, public water systems are required to maintain specific disinfectant levels to ensure safety, but these chemicals can strip natural oils from the skin and hair during a hot shower.
Common Water Issues and Remedies
- Dry, Itchy Skin: Often caused by high chlorine levels. Use a KDF-55 filter to neutralize the chemical irritants.
- Brittle or Discolored Hair: Caused by mineral buildup (hard water) or copper levels. Look for filters with ion-exchange resin.
- Rotten Egg Smell: Usually indicates hydrogen sulfide. This requires a specialized carbon-based filter or a whole-house solution, as shower filters may struggle with high concentrations.
- Low Water Pressure: Likely caused by a clogged flow restrictor or a sediment-heavy filter cartridge. Clean the restrictor or replace the cartridge immediately.
Cost Breakdown for Consumers
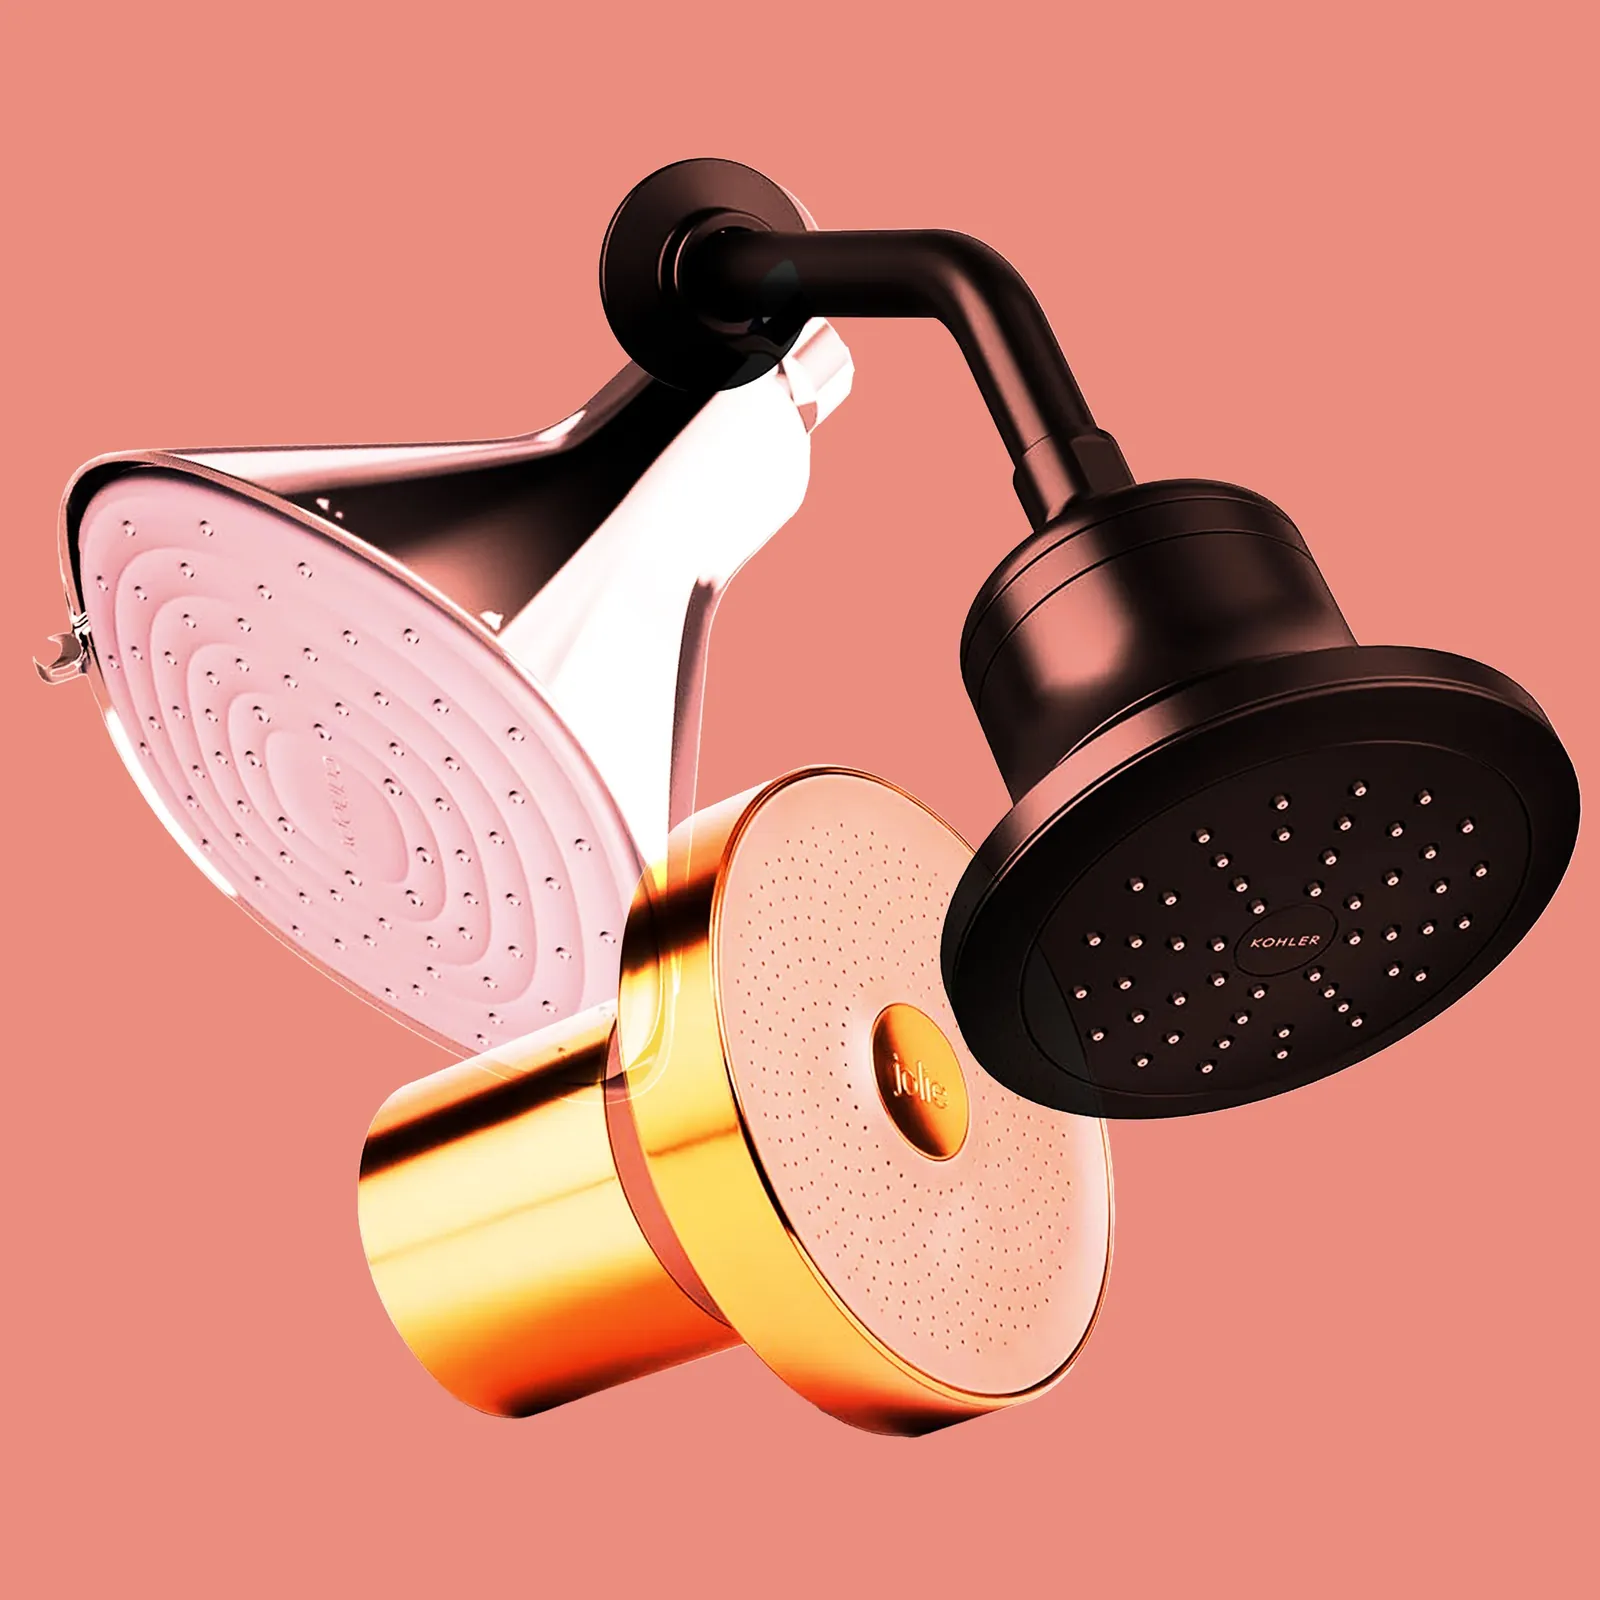
The financial commitment for water filtration is twofold: the initial purchase of the housing and the recurring cost of replacement media.
Typical Price Ranges
| Item Type | Low End Price | High End Price |
|---|---|---|
| Basic Inline Filter | $20 | $45 |
| High-End Multi-Stage Unit | $60 | $130 |
| Replacement Cartridges | $12 | $45 |
Is It Worth the Investment?
Determining whether a filter is worth the cost depends on your personal sensitivity to water quality. If you live in an area with “hard” water or high chlorine treatment, the difference in hair texture and skin moisture is often noticeable within the first week of use. However, a filter isn’t a miracle cure for all plumbing issues.
If your water has high iron content that stains your tub orange, a shower filter won’t solve the source problem; you would need a whole-house water softener to address the mineral content at the point of entry.
Troubleshooting Common Issues
If you have installed a new filter and encounter problems, don’t panic. Most issues are related to simple mechanical errors rather than defective products.
Solving Leaks
- Leaking at the Arm: This usually means the threads aren’t sufficiently sealed. Remove the filter, apply more plumber’s tape, and re-seat the unit.
- Leaking at the Cartridge: This is often due to a misaligned O-ring. Open the housing, ensure the O-ring is seated in its groove, and tighten the casing evenly.
Solving Flow Issues
- Sudden Drop in Pressure: Your filter is likely saturated with sediment. Replace the cartridge. If the pressure remains low, check the shower head’s internal flow restrictor for debris.
- Water is Cloudy: This is almost always carbon dust from a new filter that wasn’t flushed properly. Turn the water on and let it run for five minutes; it should clear up quickly.
Identifying Authentic Products
The market is currently flooded with generic, rebranded filters that offer little to no actual filtration. To ensure you’re getting a legitimate product, look for specific certifications.
What to Look for on the Box
- NSF/ANSI 177 Certification: This is the gold standard for shower filtration. It indicates that the product has been independently tested for chlorine reduction performance.
- WQA Gold Seal: The Water Quality Association provides this seal to products that have undergone rigorous testing for material safety and structural integrity.
- Clear Media Listing: A reputable manufacturer will explicitly list the materials inside the cartridge, such as “KDF-55,” “Activated Carbon,” or “Calcium Sulfite.” If the box just says “mineral stones,” be skeptical.
Comparing Shower Filter Types
When selecting a model, you’ll typically choose between a fixed inline filter or a filter integrated into the shower head itself.
Filter Configuration Pros and Cons
- Inline Filters: These screw between the shower arm and your existing shower head. They offer the most flexibility because you can keep your favorite shower head while adding filtration.
- Integrated Filter Heads: These are all-in-one units where the filter cartridge sits inside the head handle. They’re often more aesthetically pleasing but limit your ability to swap out the spray pattern or head design later.
Health Impacts of Shower Water
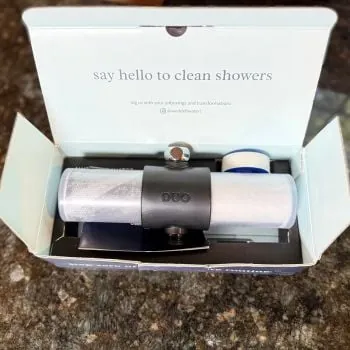
While the most common complaints are cosmetic, some users are concerned about the inhalation of volatile chemicals during a hot shower. When water is heated, chlorine and other chemicals can vaporize, potentially leading to respiratory irritation. A high-quality filter acts as a primary defense, significantly reducing the amount of chemical vapor released into the small, enclosed space of your shower stall.
Related guides
- Best Adhesive for Shower Corner Shelf in 2026
- Pleatco vs Unicel: Which Pool Filter Lasts Longer? in 2026
- Sutro vs Phin: Why the Phin Filter Wins for Most People in 2026
Frequently Asked Questions
Do shower filters actually remove lead?
Most standard shower filters aren’t designed to remove lead. While some high-end multi-stage filters claim to reduce heavy metals, you should specifically look for an NSF/ANSI 53 certification if lead removal is your primary concern. For high lead levels, a point-of-use drinking water filter or a whole-house lead removal system is a much safer and more reliable solution than a simple shower attachment.
How often should I change the cartridge?
The replacement frequency depends on your water usage and the quality of your local supply. For a typical household of two to three people using municipal water, you should replace the filter every three to four months. If you notice a decrease in water pressure or the return of chlorine smells in your shower, it’s a clear sign that the filtration media has reached its capacity.
Will a filter affect my water pressure?
Yes, all filters create some level of resistance. A quality filter should have a minimal impact, but you may notice a slight reduction in flow compared to an unfiltered setup. If your home already has low water pressure, look for filters explicitly labeled as “high flow” or “low restriction” to ensure you maintain a satisfying shower experience while still achieving the desired level of water treatment.
Can these filters handle hot water?
Yes, most shower filters are specifically engineered to withstand temperatures up to 120 degrees Fahrenheit. However, using water that’s excessively hot can sometimes shorten the lifespan of the filtration media, specifically the activated carbon components. To get the most longevity out of your filter, try to keep your shower temperature at a moderate level rather than scalding hot.
Do I need a plumber to install it?
You don’t need a plumber. The vast majority of shower filters are designed for tool-free or minimal-tool installation. If you can unscrew a shower head, you can install a filter. The only tool you might need is an adjustable wrench for the final tightening, and perhaps a roll of plumber’s tape to ensure a secure, leak-free seal between the shower arm and the filter housing.
Conclusion
To begin your journey toward better shower water, start by testing your tap water with a basic chemical kit to identify if you’re dealing with high chlorine, iron, or sediment levels. Once you have identified the specific culprit, visit the website of a reputable manufacturer like Aquasana or Sprite to find a model that aligns with your water chemistry and your budget.