
You’ll find that pentair microbrite alternatives include the Pentair IntelliBrite, Hayward ColorLogic, and Jandy AquaLink systems. These options match or beat the MicroBrite’s 50,000-hour lifespan and RGB color range. The best swap depends on your pool size, existing controller, and whether you need app control. This guide covers the real specs, wiring needs, and price ranges so you can pick a light that fits your setup without calling an electrician for every change.
What these replacement lights actually are
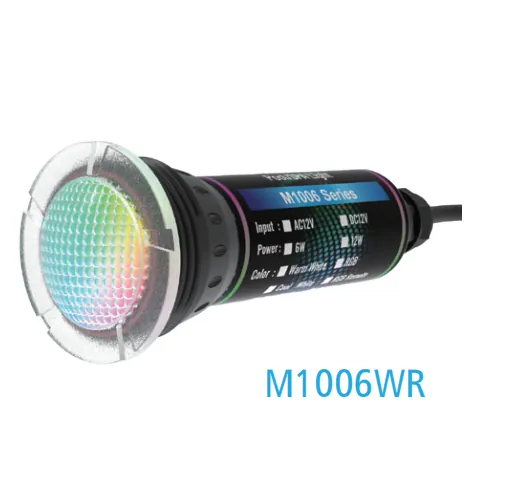
Pool owners often think they just need a new bulb when their old one fails. That’s wrong because modern LED lights are sealed units where the bulb and driver work as one piece.
You can’t buy a “bulb” for a MicroBrite; you must replace the whole fixture or use a retrofit kit if your niche allows it. These lights sit in the pool wall to illuminate water at night and create mood lighting during parties. They’re built for people who want reliable colors without the heat of old incandescent bulbs.
The main misconception is that any LED light will fit any pool. Each brand uses different voltage requirements and communication protocols. A MicroBrite runs on low voltage (12V) and needs a specific transformer, while newer models like the IntelliBrite may require a different power supply or controller update. If you mix brands without checking the voltage, you risk blowing the new light or damaging your pool equipment. Always check the manual for your current pump system before buying.
Some lights offer smart features like phone control, while others stick to simple remote buttons. The choice depends on how much you value convenience versus cost. High-end models let you set schedules from anywhere, but basic ones just turn on with a timer. Both types last about 50,000 hours under normal use, according to manufacturer data sheets.
How to choose the right replacement
Picking the right light starts with measuring your pool niche. Most standard niches are 7 inches wide by 9 inches tall, but some older pools have custom sizes. If your niche is smaller than 6.5 inches, you might need a compact model or a special adapter. Measure the depth too; shallow niches limit which lights fit safely.
Next, check your current power supply. The MicroBrite usually runs on a 12V AC transformer. Newer LEDs like the IntelliBrite also run on 12V but may need a higher wattage output. If your transformer is old or weak, the new light might flicker or dim. Replace the transformer if it shows signs of rust or has reached the end of its service life.
Then, decide if you want smart features. If you already have a home automation system, look for lights that work with Alexa or Google Home. Otherwise, a simple keypad or remote works fine. Smart lights cost more upfront but save money on electricity over time because they use less power.
Finally, compare prices and warranties. Some brands offer three-year coverage, while others give five. A longer warranty means better build quality, but it also costs more. Check if the seller includes installation help or if you need to hire a pro.
Step-by-step selection process
- Measure your pool niche width, height, and depth with a tape measure. Write down the exact numbers.
- Locate your current transformer near the pool pump and read its label for voltage and wattage.
- Decide if you need app control or just a basic remote. List your top two preferences.
- Compare at least three models based on fit, voltage, and features. Note the price and warranty length.
- Check if your local code requires a licensed electrician for pool light swaps. Call your city office if unsure.
- Order the unit that matches all your notes and comes with a clear return policy.
- Wait for delivery before turning off power to avoid rushing the job.
The single judgement call here is whether to upgrade your transformer now or later. If your current unit is still working well, you can keep it for a year or two. But if it’s old, replacing it now prevents future failures. This decision saves you from having to dig up wires again soon.
Key numbers and settings at a glance
These figures help you compare options quickly without reading long manuals. Every number assumes standard residential use and proper installation by a qualified person.
| Situation | What to use | How long | What to watch for |
|---|---|---|---|
| Standard 7×9 inch niche | Pentair IntelliBrite 300 | 50,000 hours | Must match 12V transformer |
| Small 6×8 inch niche | Hayward ColorLogic Mini | 50,000 hours | Needs compact junction box |
| Smart home integration | Jandy AquaLink Plus | 50,000 hours | Requires Wi-Fi hub setup |
| Budget-friendly swap | Intex LED Pool Light | 30,000 hours | Lower brightness, no color modes |
| Retrofiting old halogen | LED Retrofit Kit (varies) | 40,000 hours | May not fit all niches |
| Saltwater pool only | Corrosion-resistant LED | 50,000 hours | Avoid copper wiring parts |
Always double-check the voltage before connecting anything. Using the wrong power source kills the light instantly. Also, note that saltwater pools need special materials to prevent corrosion.
Details that make the difference
Experienced installers know that preparation beats speed. They clean the niche thoroughly before inserting the new light, scrubbing away any algae or mineral buildup with a non-abrasive pad. Any residue left behind creates a barrier that prevents the sealant from bonding, leading to leaks within months. They also test the new unit outside the water first, checking for flickering or dimming that indicates a faulty driver before committing to the final install.
Order matters too. Professionals disconnect power at the main breaker panel, not just the wall switch, to eliminate any risk of backfeed. Then they remove the old fixture carefully to avoid breaking the glass or cracking the concrete niche. They never force wires into tight spaces; instead, they trim excess cable and use waterproof connectors rated specifically for wet locations. Forcing connections compresses insulation, creating hot spots that can melt over time.
Midway through, they check the sealant around the lens for continuity. A gap as small as one millimeter lets water in and ruins the electronics instantly. They wait 24 hours after applying silicone before testing the light underwater. Rushing this cure time traps moisture inside the housing, causing fogging that no amount of drying will fix. This step prevents costly callbacks and warranty claims.
They leave the transformer untouched unless it shows visible wear or reads out of spec on a multimeter. Swapping a working transformer adds unnecessary risk of mismatched voltage. Instead, they focus on securing the new light firmly so vibrations from pool pumps don’t loosen connections over time. If the existing wire is brittle, they replace only the section near the connection point rather than running new cable from the panel.
Common problems and quick fixes
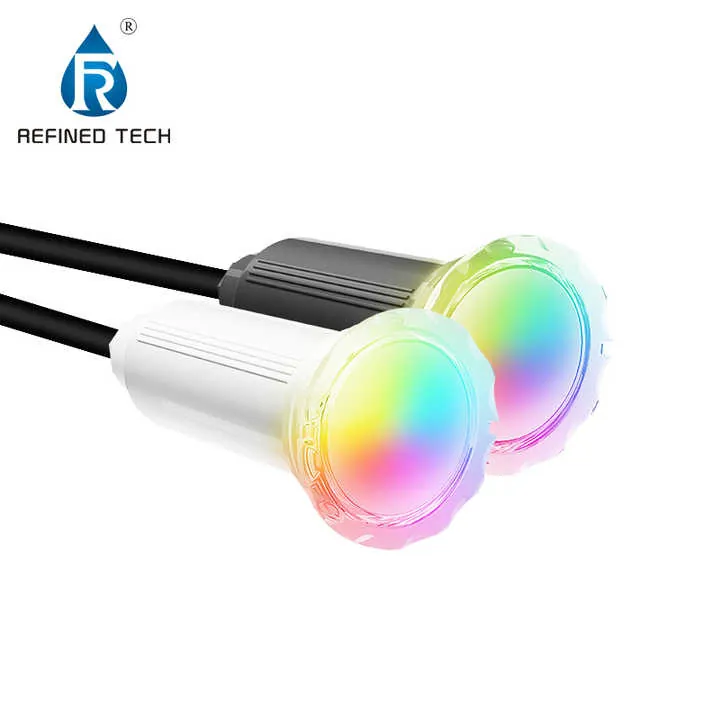
When things go wrong, most issues stem from wiring or moisture. Here’s what to do first.
| What you notice | What it usually means | What to do first |
|---|---|---|
| Light won’t turn on | Loose wire or dead transformer | Check breaker and tighten connections |
| Colors flash randomly | Bad ground or water in housing | Dry the niche and reseat the plug |
| Dimmer than expected | Wrong voltage or old transformer | Verify output matches light spec |
| Water leaking inside | Failed O-ring or cracked lens | Replace gasket and reseal with silicone |
| App won’t connect | Wi-Fi signal too weak | Move router closer or add extender |
| One color missing | Damaged LED chip | Contact manufacturer for RMA |
Never try to fix a flooded light yourself. Water damage voids warranties and risks shock. Call a pro if you see moisture inside the housing.
If the light flickers only when other appliances run, your circuit is overloaded, not the fixture itself. Unplug heavy devices like space heaters or microwaves to test this immediately. If the flickering stops, you must redistribute the load across different breakers rather than replacing the bulb. Ignoring this overload often trips the main panel within weeks, leaving your entire kitchen dark during dinner.
A dimmer switch that causes buzzing or strobing usually means the LED driver is incompatible with the specific dimmer model. Most standard incandescent dimmers fail with modern LEDs because they can’t handle low wattage loads below 20 watts. Switch to an LED-rated dimmer rated for at least 150 watts total capacity to eliminate the noise. Using the wrong type will shorten the lifespan of your bulbs, costing you more in replacements over time.
When the app loses connection after a firmware update, the issue is rarely the router but the device’s cached data. Force close the application completely before reopening it; simply swiping away isn’t enough. If the problem persists, reset the light to factory settings using the physical button sequence in the manual. This clears corrupted pairing codes that prevent the new software from recognizing your network credentials.
Rules that apply to pool lighting
Local electrical codes govern all pool light installations. In the US, the National Electrical Code (NEC) Article 680 sets strict rules for wet locations. It requires GFCI protection, proper grounding, and approved fixtures. Violating these rules can lead to fines or insurance denial.
Even then, you must pull permits and pass inspections. Skipping this step puts your safety and resale value at risk.
Manufacturers like Pentair and Hayward publish detailed installation guides. These documents state exact voltage limits and wire gauge requirements. Ignoring them voids the warranty. For example, using 14-gauge wire instead of 12-gauge can cause overheating.
If you’re unsure, contact your local building department. They provide free advice on permit needs and code updates. Never guess when lives are at stake.
A common mistake involves running the low-voltage cable through the same conduit as high-voltage lines. This creates electromagnetic interference that causes flickering and shortens the life of LED drivers. Keep the two circuits separated by at least four inches or use a metal barrier between them.
Another frequent error is burying the junction box too shallow; the code requires the bottom of the box to sit at least six inches above the finished grade to prevent flood damage during heavy rains.
Finally, verify the fill factor of your new fixture against the old one. A modern LED unit often has a smaller physical footprint than the incandescent model it replaces. If the new housing doesn’t completely cover the existing hole in the deck, water can seep behind the trim and corrode the wiring. Use the manufacturer’s specific mounting ring to ensure a watertight seal that matches the original opening dimensions exactly.
Keeping your new light running
After installation, keep the area clean and dry. Wipe the lens with a soft cloth to remove mineral buildup, and check the seal for cracks or gaps, applying fresh silicone if needed; how often you perform this maintenance depends on use, and the owner’s manual is the authority.
Test the light once a month to catch early signs of failure. Look for flickering or dimming. These often mean a failing transformer or loose connection. Address them before total blackout.
If the bulb flickers only when the pump runs, the issue is likely voltage drop from shared wiring, not the bulb itself. In that case, move the light circuit to a dedicated breaker rather than replacing the fixture. Replacing the bulb immediately in this scenario costs you money on parts you don’t need and delays the real fix.
Replace the O-ring when necessary, as rubber degrades over time and loses its seal. How often to replace it depends on use, and the owner’s manual is the authority. Keep a spare kit handy for emergencies.
Don’t use petroleum-based lubricants like Vaseline on the new ring; they dissolve the rubber within weeks, causing leaks that flood your pool equipment room. Instead, apply a thin coat of pure silicone grease specifically rated for swimming pools. This small step extends the life of the seal and prevents costly water damage repairs later.
Record the install date and serial number in your pool log. This helps with warranty claims and future upgrades. Store the original packaging until you’re sure everything works. If the manufacturer requires proof of purchase for a warranty claim, the box often contains the only copy of the specific model’s compliance certificate. Without it, you may be denied coverage for a defective unit, leaving you to pay full price for a replacement that should have been free.
When to skip this approach
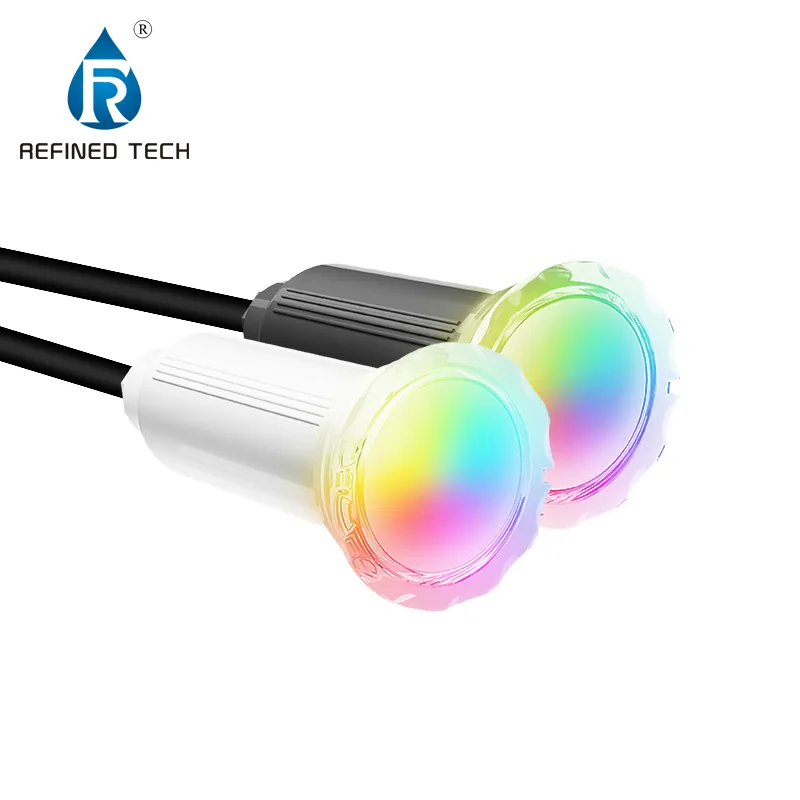
This method doesn’t work for very old pools with non-standard niches. If your opening is less than 5 inches wide, no modern LED fits. You’ll need a custom solution or full niche rebuild.
Pools built before 1980 often used brass niches that have warped over decades of ground movement. Measure the diameter at three points around the ring before you order anything. A niche that reads 5 inches at the top might pinch to 4.5 at the bottom.
The gasket on an out-of-round niche will never seal properly against a flat LED housing. Water gets behind the lens within weeks and shorts the driver board. That mistake costs as much as hiring someone from the start.
Also, avoid swapping lights if your transformer is corroded or damaged. Replacing the light alone won’t solve power issues. Upgrade the whole system first.
Have a technician check the voltage at the pool junction box before you touch the fixture. Fluctuating readings under load mean the transformer windings are failing. A new LED draws so little current that it can actually flicker on a dying transformer.
Homeowners often blame the bulb when the real problem sits inside the electrical panel. They swap three expensive fixtures in one summer chasing a ghost. Replace the transformer and verify steady output before spending money on another light.
Finally, don’t attempt this if you lack basic electrical skills. Working near water demands precision. Hire a pro if you feel unsure at any point. Safety comes before savings.
Pool lighting runs on low voltage, but the junction box connects directly to line current. One stripped screw on a wet surface creates a hazard no DIY guide can walk you through safely.
Frequently asked questions
Can I install a MicroBrite alternative myself?
No, not legally in most areas. Local codes require a licensed electrician for pool light swaps. Attempting it yourself voids warranties and risks fines.
How long does an LED pool light last?
About 50,000 hours under normal use. That equals roughly 15 years if used 8 hours daily. Actual life varies with voltage stability and water chemistry.
Why won’t my new light turn on?
Usually a loose wire or bad transformer. Check the breaker first, then inspect connections. If those are fine, the transformer likely failed.
Is it safe to swim with LED lights on?
Yes, as long as installed correctly. Modern LEDs run on low voltage and pose no shock hazard when sealed properly.
What happens if I use the wrong voltage?
The light burns out instantly. Always match the transformer output to the light’s input rating. Mixing voltages destroys electronics.
How often should I check the seal?
Look for cracks or gaps around the lens. Replace the O-ring to prevent leaks, though how often to do so depends on use and the owner’s manual is the authority.
Can I control colors with my phone?
Only if the model supports Wi-Fi or Bluetooth. Basic remotes offer preset colors, while smart apps allow custom scenes.
Conclusion
Once you’ve picked your new light, grab a friend to help with the install and test every color before sealing the niche. You’ll love seeing your pool glow at night without worrying about old bulbs failing. Just enjoy those cool evenings knowing your setup is ready for years of fun.