
Building a lego foosball table is a fun project that uses standard bricks to create a working game board. You need about 1,000 pieces, smooth rods for the players, and a flat base plate. The goal is simple: make the rods spin freely so you can hit a small ball into your opponent’s net.
This guide covers how to design the frame, set up the player rods, and build a sturdy playing surface. We’ll skip the fluff and get straight to the parts list and steps. You won’t need any special tools or rare bricks to finish this.
What to Look for in Lego Foosball
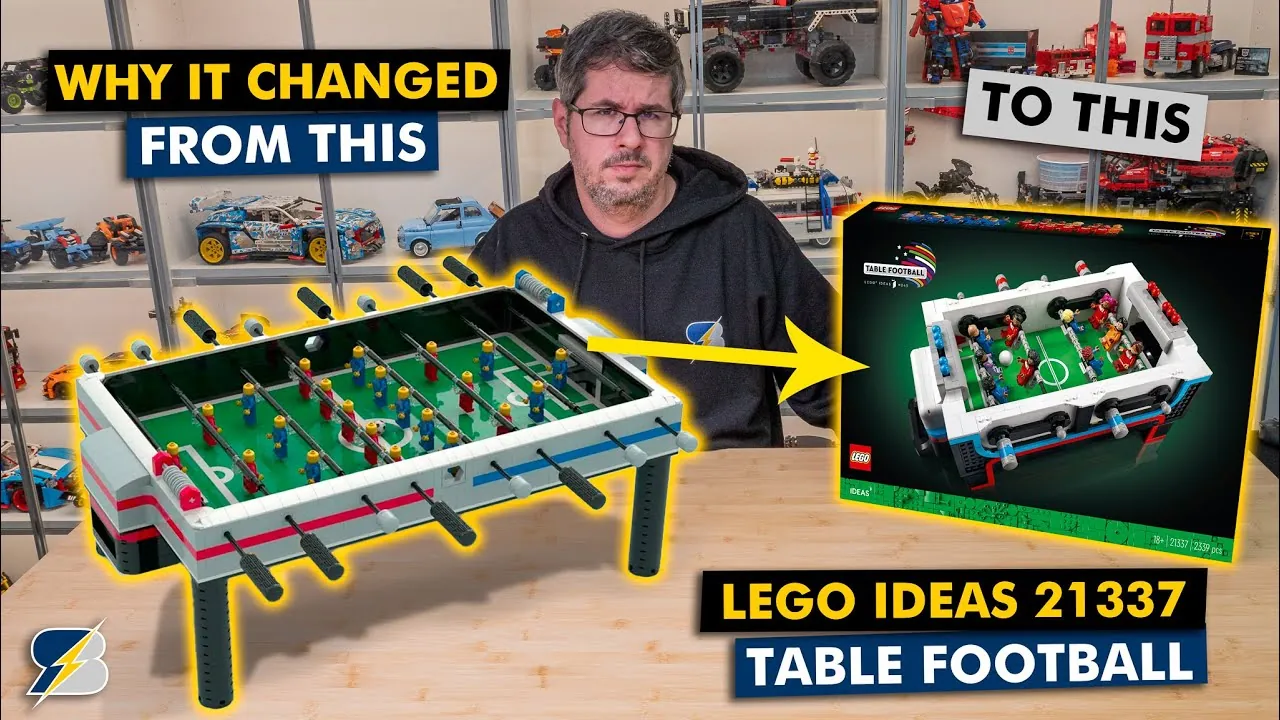
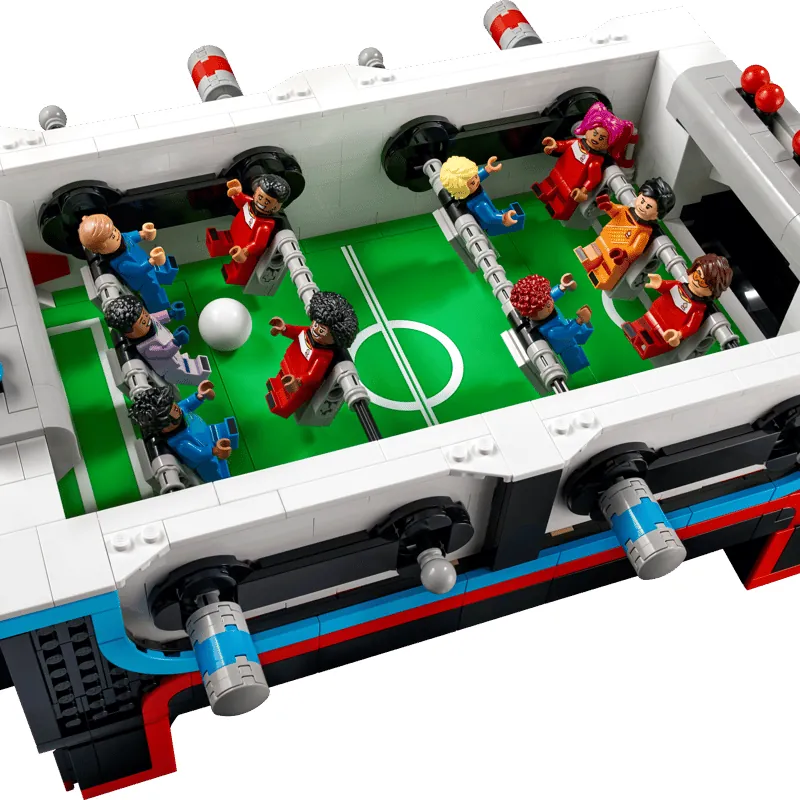
A lego foosball table is a manual tabletop game built from interlocking plastic bricks. It mimics real soccer by letting players rotate rods with attached figures to strike a ball. Unlike store-bought versions, this one is fully customizable in size and color. Most people think it requires complex engineering, but it’s really just clever use of basic geometry.
The core mechanic relies on low-friction rotation. When you turn the rod, the attached minifigures strike the ball. The misconception is that you need specialized Technic parts for everything. In reality, standard bricks work fine for the walls and base. Only the rotating axles need specific connectors to prevent wobbling. If the rods stick, the game becomes frustrating fast.
You’re building a toy for kids or hobbyists who love both soccer and LEGO. It’s not a professional-grade simulator, but it’s durable enough for casual play. The key is keeping the alignment tight so the ball doesn’t get stuck between the rods.
The Basic Method
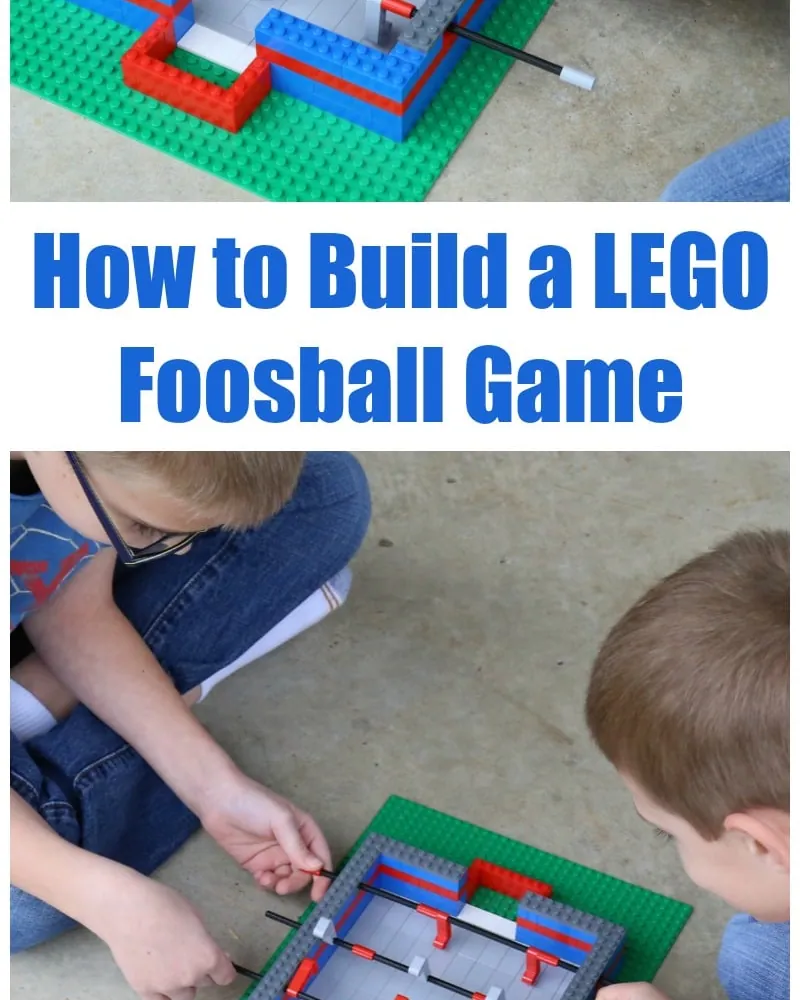
Start by laying out your base. A 32×32 studded plate works well for a compact table. Build four walls around the edge, leaving gaps for goals at opposite ends. Use thin plates for the floor to keep the ball rolling smoothly. Next, construct the player stands. These are vertical towers on either side of the field. Each tower holds three horizontal rods.
- Build the Base: Place a large baseplate. Add a layer of smooth tiles if possible to reduce friction.
- Construct Walls: Build walls 4-6 bricks high. Leave a 2-stud gap at each end for goals. Reinforce corners with diagonal supports.
- Make Player Stands: Create two towers on the sides. They should be tall enough for rods to clear the walls.
- Insert Rods: Use 5L or 7L axles with stoppers. Slide them through holes in the towers. Ensure they spin freely.
- Attach Players: Clip minifigures or custom legs onto the rods. Space them evenly so they don’t collide.
- Add Goals: Build nets or frames at the ends. Make sure the opening is wide enough for the ball.
- Test and Adjust: Roll a ball across the field. Check if rods jam. Tighten or loosen axle connections as needed.
The hardest part is balancing the rods. If they’re too tight, they won’t turn. Too loose, and the players wobble off. Find the sweet spot where gravity keeps them steady but movement is easy.
Key Numbers and Settings at a Glance
Getting the dimensions right matters more than aesthetics. A table that’s too narrow makes passing impossible. One that’s too wide takes forever to cross. Here are the standard specs for a functional build.
| Situation | What to Use | How Long | What to Watch For |
|---|---|---|---|
| Base Size | 32×32 Plate | N/A | Too small limits strategy; too big needs space |
| Wall Height | 4-6 Bricks | ~2-3 inches | Higher walls block shots; lower lets ball escape |
| Rod Length | 5L Axle | 5 studs | Longer axles cause wobble; shorter restricts players |
| Player Spacing | 2 Stud Gap | N/A | Closer spacing causes collisions; wider misses targets |
| Ball Type | Golf Ball | N/A | Too heavy slows play; too light flies off course |
These numbers assume a standard minifigure height. If you use larger figures, adjust the rod length accordingly. Always test the ball roll before finalizing the walls.
What Separates Good Results from Bad Ones
Good builds focus on smoothness. Bad builds look cool but play terribly. The difference is in the axle placement. Experienced builders use bushings or friction reducers inside the tower holes. Beginners often just push the axle through tight brick holes. This creates drag that kills momentum.
Another detail is the rod attachment. Secure the player clips tightly. If they slip during play, you lose control instantly. Also, consider the ball path. A slightly curved field helps keep the ball in play. Flat fields send it flying out after every shot.
Check your alignments mid-build. Use a ruler or straight edge to ensure towers are parallel. Misaligned towers mean uneven rod heights. This causes the ball to bounce unpredictably. Small adjustments early save frustration later.
Test the spin before final assembly. Hold the rod and give it a quick twist. It should coast for at least three full rotations without stopping. If it halts immediately, tighten the washers or check for burrs on the axle ends. Loose axles wobble and eat energy. Over-tightened ones grind and heat up. Find the sweet spot where the rod spins freely but doesn’t wiggle side-to-side.
Inspect the launch ramp angle. A steeper incline launches harder but risks overshooting. A flatter one keeps shots contained but lacks power. Aim for a gentle slope that guides the ball toward the center. This reduces erratic bounces off the walls. Consistent returns make the game playable rather than chaotic.
Common Problems and Quick Fixes
Even careful builders run into issues. Here’s what usually goes wrong and how to fix it quickly.
| What You Notice | What It Usually Means | What to Do First |
|---|---|---|
| Rods Won’t Turn | Friction from tight holes | Widen hole or add bushing |
| Players Fall Off | Loose clip connection | Replace clip or tighten axle |
| Ball Gets Stuck | Uneven floor or wall gap | Level base or fill gaps |
| Wobbling Rods | Axle too long for width | Shorten axle or add support |
If the ball gets stuck between rods, check the spacing. It’s likely too tight. Widening the gap by one stud usually solves it. For wobbling, ensure the axle stops are secure. Loose stops let the rod shift sideways.
The Rules That Apply
LEGO products follow strict safety standards. The American Society for Testing and Materials (ASTM) sets guidelines for toy durability. ASTM F963 Safety Standard ensures bricks meet impact and toxicity tests. Always use genuine LEGO pieces for structural parts. Third-party clones may warp or break under stress.
For children under three, avoid small detachable parts. Minifigure heads and small balls are choking hazards. Keep the table away from heat sources. Plastic deforms at high temperatures. Store it indoors when not in use. This preserves the brick integrity and prevents discoloration.
Don’t force them together. Replace aged pieces with new ones from official sets.
Avoid direct sunlight for long periods. UV rays fade colors permanently. Yellowing affects white and transparent elements most. Use opaque covers if displaying near windows. Never use abrasive sponges. Scratches trap dirt and weaken structure. Inspect connections regularly. Loose joints cause instability. Tighten loose pieces immediately to prevent collapse.
Keeping It Working Afterwards
Storage matters for longevity. Disassemble the rods if storing long-term. This prevents plastic deformation from weight. Clean the table with a dry cloth. Avoid water or chemicals that damage stickers. If a rod sticks again, check for debris in the axle hole. A quick brush-out restores smooth motion. Regular checks extend the life of your build.
Keep the unit indoors. Humidity warps wood and rusts metal. Store it away from direct sunlight. UV rays fade colors and weaken adhesives over time. Don’t stack heavy items on top. The frame isn’t designed for vertical compression loads.
Use a soft brush to remove dust. Dust acts as an abrasive paste. It grinds down moving parts faster than you expect. Check joints every few months.
If you must move it, disassemble first. Carrying a fully assembled table risks bending the legs. Support the center when lifting. Never grab a single leg. That leverage breaks the connection points. Proper care ensures decades of use.
When to Use a Different Approach
This method isn’t for everyone. If you want a permanent fixture, consider wood or metal. LEGO shifts under heavy play. For competitive tournaments, buy a certified table. Your homemade version lacks precision calibration. If you lack time, assemble a kit instead. Building from scratch takes hours. Choose this project only if you enjoy the build process itself.
The real test is stability. Place your finished board on a flat surface and press down hard on one corner. If the structure rocks or the legs wobble, the joinery is too loose. Tighten every screw before adding weight. This simple check prevents frustration later.
Consider the space available. A standard table fits most rooms, but custom sizes require measuring twice. Measure the floor area, then add ten inches for clearance around all sides. This ensures you can walk behind it without bumping into chairs.
Think about storage needs. Do you need to fold it away? If so, hinge mechanisms are essential. They add complexity but save valuable floor space. Weigh the convenience against the extra effort required to install hinges properly.
Related guides
- Best Foosball Tables Under 500: Top 5 Picks in 2026
- How to Paint a Glass Table Top: A Step by Step Guide
- How to Dispose of Large Glass Table Top Panels Safely
Frequently asked questions
Can I use regular golf balls?
Yes, standard golf balls work best. Their size fits most LEGO goals. They roll smoothly on flat surfaces. Avoid heavier balls like tennis ones. They strain the axle connections. Lighter balls fly off easily.
Why do my rods stick?
Friction is the main culprit. The axle holes might be too tight. Plastic expands slightly over time. Try widening the hole with a tool. Or add a small bushing for smoother rotation. Lubricants aren’t recommended for toys.
How long does it take to build?
Expect 2-4 hours for a first build. Simple designs take less time. Complex layouts with detailed stands take longer. Have all parts ready before starting. This avoids pauses searching for pieces.
Is it safe for young kids?
It’s safe for ages 8+. Younger children risk choking on small parts. Minifigure heads and balls are hazards. Supervise play if kids are under six. Remove small pieces if necessary. Use larger blocks for toddlers.
What happens if the ball escapes?
Build higher walls or add side rails. A slight lip on the edges helps. Angled walls also redirect the ball inward. Test with a gentle roll first. Adjust based on where it exits.
Conclusion
Once you’ve tested the rods, try swapping in different colored bricks to match your team’s colors. It’s a great way to make the game feel more personal. You might even decide to build a second table for a tournament with friends later this weekend.