
Yes, you can make desserts in a camping oven as long as you account for the lower heat retention and uneven flame distribution typical of portable units. Most camp stoves and foldable ovens operate with less insulation than a home range, so you must monitor your bake time and rotate your pans frequently to ensure even cooking.
These results depend heavily on the specific heat source you use, the outside air temperature, and the thickness of your cookware. If you’re using a basic stove-top folding oven, expect to adjust your cooking times significantly compared to a standard home appliance.
Can I make desserts in a camping oven? Our top picks
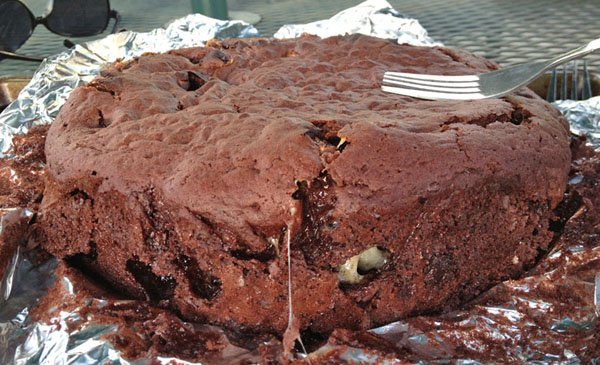
People who enjoy baking while camping usually own a portable stove or a dutch oven and want to expand their menu beyond simple campfire snacks. You might be a weekend camper with a single-burner propane stove, or you could be a long-term traveler with a dedicated RV range. This page serves readers who already have basic outdoor cooking gear and want to move from simple meals to baked goods like brownies, fruit crumbles, or quick breads.
If you’re a complete beginner who has never used a camping stove, start by mastering simple meals before attempting delicate pastries. If you’re looking for a way to bake without any heat source, you’ll need to look at “no-bake” recipes instead, as this guide assumes you have a way to generate and control heat. I am not writing for people who want to bake professional-level tiered cakes in the woods; I am writing for those who want a warm, homemade treat after a day of hiking. If you don’t have a thermometer to check your oven temperature, you’ll need to rely entirely on visual cues, which requires more practice.
Factors Affecting Your Bake
The most important factor is your heat source. A stable, low-pressure flame is much easier to manage than a high-output burner designed for boiling water. If your burner has a high minimum setting, your oven will likely overheat, burning the bottom of your dessert before the center is set.
Wind is the second major challenge. Even a light breeze can draw heat away from a thin-walled camping oven, causing the temperature to drop by 50 degrees or more. You must use a wind guard around your stove to keep the heat consistent. If you’re baking in cold weather, your oven will require more fuel and longer cooking times to reach the same result.
The type of cookware you use also changes the outcome. Thin aluminum pans heat up instantly but also lose heat just as fast. Heavy cast iron is superior for camping ovens because it holds heat, which helps stabilize the temperature inside the box. However, cast iron takes longer to reach the target temperature, so you must start your preheat cycle at least 15 minutes earlier than you would at home.
Finally, the placement of the heat diffuser is critical. Many people make the mistake of placing the pan directly over the flame, which leads to a burnt bottom and a raw top. Always use a heat spreader or a trivet to lift your pan off the base of the oven. This creates a buffer zone that allows hot air to circulate around the dessert rather than searing the bottom of the tin.
Step by Step Baking
- Set up your stove on a level, fire-safe surface and install a wind guard around the entire cooking area to stabilize the flame.
- Place your camping oven on the burner and set the flame to low; if you have an external thermometer, wait until it reads 350°F before starting.
- Prepare your batter using a slightly smaller pan than your oven allows, leaving at least an inch of space on all sides for air circulation.
- Place the pan on a wire rack or trivet inside the oven to ensure the bottom doesn’t touch the direct heat source.
- Close the door firmly and avoid opening it for the first 20 minutes to prevent the internal temperature from crashing.
- Rotate the pan 180 degrees halfway through the estimated cook time to compensate for hot spots caused by the burner.
- Check for doneness by inserting a toothpick into the center; it should come out clean, or with only a few moist crumbs attached.
- Remove the dessert from the oven immediately using insulated gloves, as camping ovens lack the heavy hinges and handles found on home units.
The secret to success is the “touch test.” Because camping ovens rarely have accurate dials, you must rely on the smell of the browning sugar and the firm texture of the crust to judge when the dessert is ready.
Dessert Variations
You can bake many treats outdoors if you adjust your method to suit your equipment.
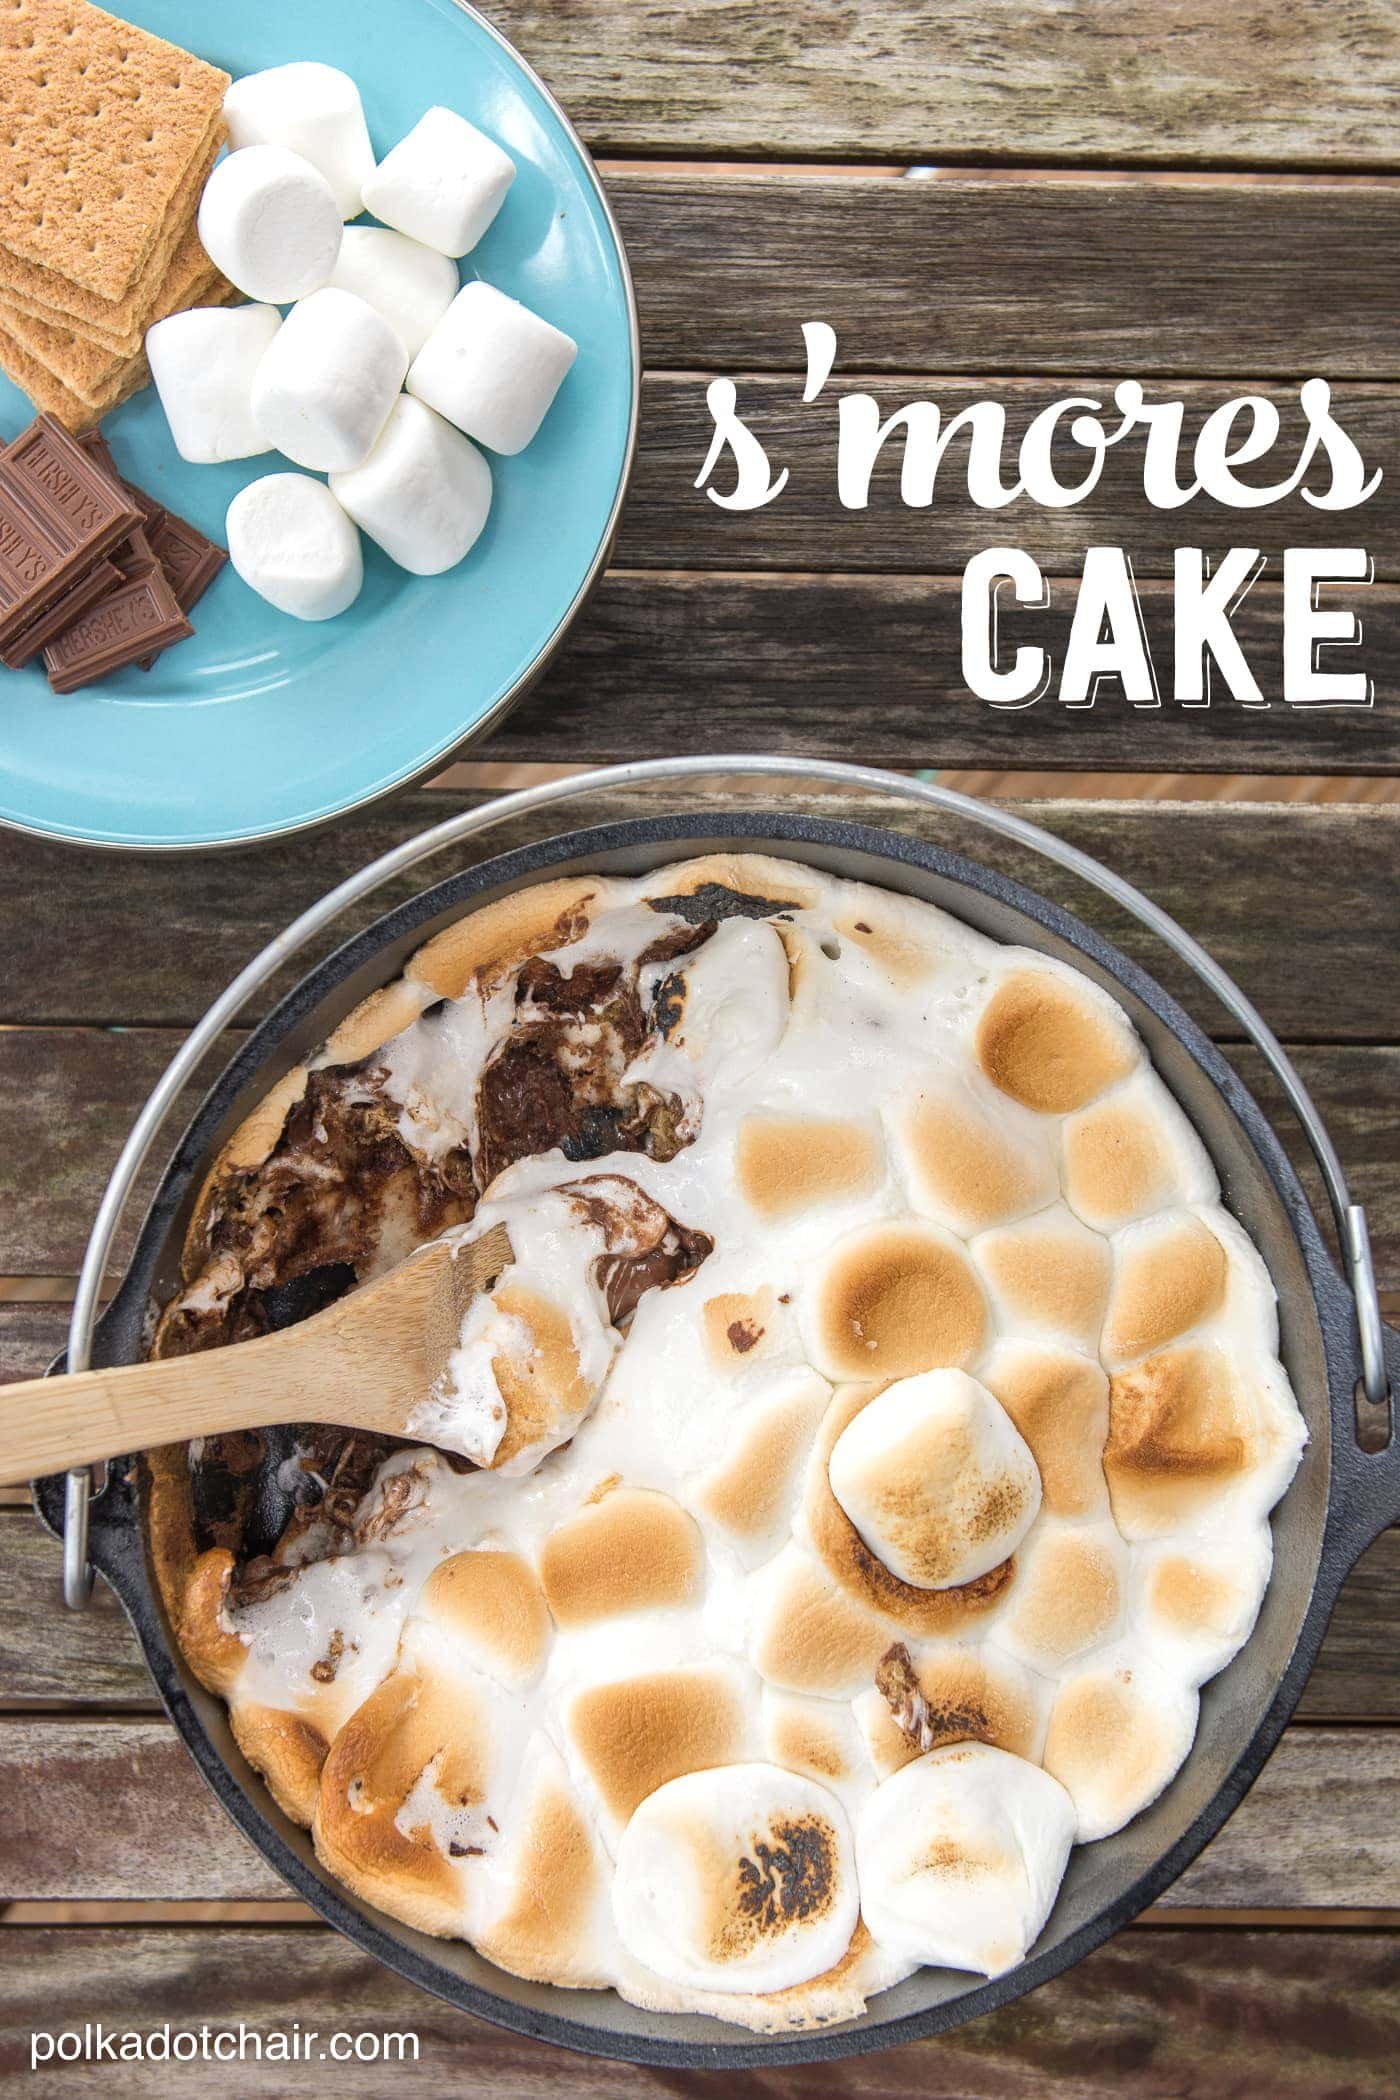
Wind disrupts heat distribution, so choose heavy cast-iron Dutch ovens for fruit crumbles. The iron acts as a thermal buffer against gusts that would otherwise scorch a thin cake. If you’re baking at altitudes above 5,000 feet, you may need to reduce your baking powder slightly to prevent the structure from rising too quickly and collapsing.
Cold air creates a significant temperature gradient between the top and bottom of your pan. To avoid a raw center during chilly mornings, wrap your pan in heavy-duty aluminum foil to trap ambient heat. If you lack a thermometer, rely on visual cues for cookies. Once the edges appear golden brown, remove the tray immediately. Waiting for further browning often results in a burnt bottom because the residual heat in the base continues to cook the dough after it leaves the fire.
When deciding between recipes, use this rule: if the batter is liquid, use a covered vessel to steam the moisture inside. If the dough is dense, leave the lid slightly cracked to allow steam to escape, ensuring a crisp exterior.
Maintaining Quality
Managing Heat Levels
Experienced campers know that the oven floor is always hotter than the air inside. If you notice the bottom of your cake is browning too fast, slide a second, empty metal tray under your baking pan to act as an extra heat shield. This simple trick prevents the base from scorching while the top continues to bake. Always keep your oven door closed; every time you peek, you lose heat that takes several minutes to recover.
Ensuring Food Safety
When reheating or baking items that contain eggs or dairy, you must ensure the center reaches a safe temperature. According to the safe minimum internal temperatures provided by FoodSafety.gov, baked goods containing eggs should be cooked until they’re set throughout. This is particularly important in camping environments where fluctuating temperatures can encourage bacterial growth if the food is left partially raw. If you’re unsure, err on the side of a longer bake time at a lower flame.
Common Camping Issues
| What you notice | What it usually means | What to do first | How to stop it happening |
|---|---|---|---|
| Burnt bottom | Too much direct heat | Raise pan on trivet | Use thicker pan |
| Raw center | Oven too cool | Increase flame slightly | Pre-heat longer |
| Uneven browning | Hot spots in oven | Rotate pan frequently | Use heat diffuser |
| Dry texture | Baked too long | Check early next time | Add water bowl |
| Burnt top | Flame too high | Shield top with foil | Lower heat setting |
The most common mistake is failing to account for wind, which causes uneven heat distribution. If your flame flickers, your temperature will fluctuate by as much as 50 degrees, ruining your bake. Always position your stove behind a windbreak before lighting it.
When dealing with a burnt bottom, the thickness of your cookware matters. A thin aluminum pan transfers heat instantly, leading to scorched dough. If you can’t upgrade your gear, place a flat stone or a secondary empty pan underneath your cooking vessel to act as a heat buffer.
If you struggle with raw centers, check your fuel pressure. Most canisters lose efficiency as they empty or get cold. If the flame appears yellow rather than blue, your burner may be dirty or the fuel-to-air ratio is incorrect. Swap to a fresh canister or keep your fuel warm in your jacket pocket before use.
Finally, distinguish between a dry texture and a burnt top by checking the crust color. If the surface is dark but the interior is moist, you have a heat reflection issue. If the surface is pale and the interior is crumbly, you have over-baked the item. If you see a pale, dry crust, reduce your baking time by ten minutes to retain essential moisture.
Important Safety Rules
Operating a portable oven requires strict adherence to fire safety protocols set by the National Park Service or your local campground authority. Never operate a gas-powered camping oven inside a tent or any enclosed vehicle, as this creates a serious risk of carbon monoxide poisoning. Always keep your stove at least 15 feet away from flammable brush or low-hanging branches. If you’re using a liquid fuel stove, ensure the tank is on a stable, non-flammable surface to prevent accidental tipping. If you notice a leak or the smell of gas, shut off the fuel valve immediately and move away from the unit; don’t attempt to repair the internal fuel lines yourself, as this is a job for a qualified service technician.
The Real Cost
Baking at the campsite costs you more in fuel than you might expect. A standard canister of propane lasts significantly less time when you’re running an oven for an hour compared to boiling water for five minutes. Most compact stoves consume roughly 10 to 15 grams of fuel per hour at a simmer, but baking requires a sustained, high-output flame that can burn through 30 grams or more in a single session.
If you’re on a multi-day trip, carry at least one extra fuel canister specifically for baking. Running out of fuel halfway through a bake will result in a ruined dessert and a wasted batch of ingredients. The most common mistake is assuming your primary cooking fuel will suffice for both meals and treats. This oversight often leaves campers without a way to boil water for coffee on their final morning.
The secondary cost is effort. You must clean your baking pans by hand in a basin, which uses significantly more water than standard dishwashing. A single large pan requires at least two liters of water to rinse properly. If you’re in a water-restricted area, consider if the cleanup is truly worth the result.
Use this decision rule: If your campsite is within walking distance of a potable water source, the cleanup is manageable. If you must carry all your water for the duration of the trip, skip the oven. The weight of the extra water needed for cleaning often outweighs the pleasure of the baked good itself.
Keeping Your Gear Clean
After you finish baking, let the oven cool completely before you attempt to move or clean it. Touching the metal while it remains hot can cause severe burns or warp the heating elements.
Wipe the interior with a damp cloth to remove any sugar spills. Burnt-on residue creates acrid smoke during your next meal and can permanently stain the finish. If a spill has hardened, use a plastic scraper rather than a metal tool to avoid scratching the non-stick coating.
Store your oven in a dry, padded bag to prevent the thin metal walls from denting. A single drop from three feet onto a hard surface is often enough to misalign the door hinges, which ruins the internal heat seal.
If you notice rust on the interior racks, scrub them with a mild abrasive pad. Once clean, coat them lightly with a high-smoke-point oil, such as grapeseed or avocado oil, before storage. Don’t use olive oil, as it will go rancid and leave a sticky, foul-smelling residue inside the chamber.
If you live in a humid climate, place a small silica gel packet inside the bag to absorb moisture. This simple step prevents oxidation from forming on the heating elements during long periods of inactivity. If the unit smells like burning dust after a long storage period, run it empty at its lowest setting for ten minutes to burn off accumulated debris.
When to Skip Baking
If you’re hiking with a strict weight limit, a camping oven is usually too heavy to justify. Most portable oven units add at least two pounds to your pack weight. If your base weight exceeds 20 pounds for a weekend trip, swap the oven for a no-cook alternative like instant pudding or fresh fruit salad.
Always check local fire restrictions before you leave home. Land management agencies often implement “Stage 2” fire bans during dry months. These mandates prohibit all open flames, including canister stoves and charcoal ovens, regardless of your equipment’s safety features. Ignoring these alerts can result in fines exceeding $5,000 or criminal liability if an ember escapes.
If you aren’t comfortable managing a flame for an extended period, don’t attempt to use an oven. Baking requires constant monitoring to prevent flare-ups or scorched gear. If you can’t dedicate your full attention to the stove for 30 minutes, you create a fire risk that you can’t manage while distracted.
Use this simple decision rule: If your campsite is in a designated “high-risk” zone or your group size prevents you from assigning a dedicated “fire watch” person, skip the baking. The cost of a mistake in these conditions is a wildfire, which far outweighs the benefit of a warm brownie. If you lack the time to watch the flame, prioritize safety and choose a dessert that requires no heat at all.
Frequently Asked Questions
Can I use a regular cake pan in a camping oven?
Yes, you can use a regular cake pan, but check the dimensions first. Ensure the pan leaves at least an inch of space between its sides and the oven walls to allow for proper heat circulation.
Is it safe to bake in a camping oven?
Yes, it’s safe if you follow all manufacturer instructions for your specific stove and keep the unit on a stable, fire-resistant surface. Never leave a lit stove unattended, and always ensure proper ventilation if you’re cooking in a semi-enclosed shelter.
How long does a cake take to bake?
A cake usually takes 30 to 45 minutes, but this varies based on your stove’s power and the outside air temperature. Start checking your dessert at the 20-minute mark to avoid overcooking.
What happens if the flame goes out?
If the flame goes out, turn off the fuel source immediately and let the oven air out for several minutes before relighting. Never try to relight a burner if you can smell gas, as this can cause a flare-up.
Does it matter what kind of fuel I use?
Yes, the fuel type affects your heat control and consistency. Propane provides the most stable heat for baking, while liquid fuels require more frequent pressure adjustments to keep the temperature steady.
How do I know if the oven is hot enough?
You can use an external oven thermometer placed on the center rack to verify the temperature. If you don’t have a thermometer, judge the heat by the way the air feels near the vent; it should be very hot but not scorching.
Desserts camping, in short
Before you start your first bake, ensure your stove is on a completely flat surface and you have enough fuel for the entire cooking time. The best sign of success is a dessert that’s firm to the touch and golden brown on top. If you notice the flame flickering or the smell of burning fuel, turn the stove off immediately and consult your manufacturer’s manual for troubleshooting.