
To make the best oven jacket potatoes, bake starchy Russet or King Edward tubers at 400°F for 60 to 75 minutes until the internal temperature reaches 205°F.
Your final result depends on the potato variety, your oven’s calibration, and whether you use a baking rack. This guide assumes you’re using a standard gas or electric oven. If you use a convection or air-fryer setting, you’ll need to adjust your timing downward to avoid over-drying the edges.
Ideal potato types for baking
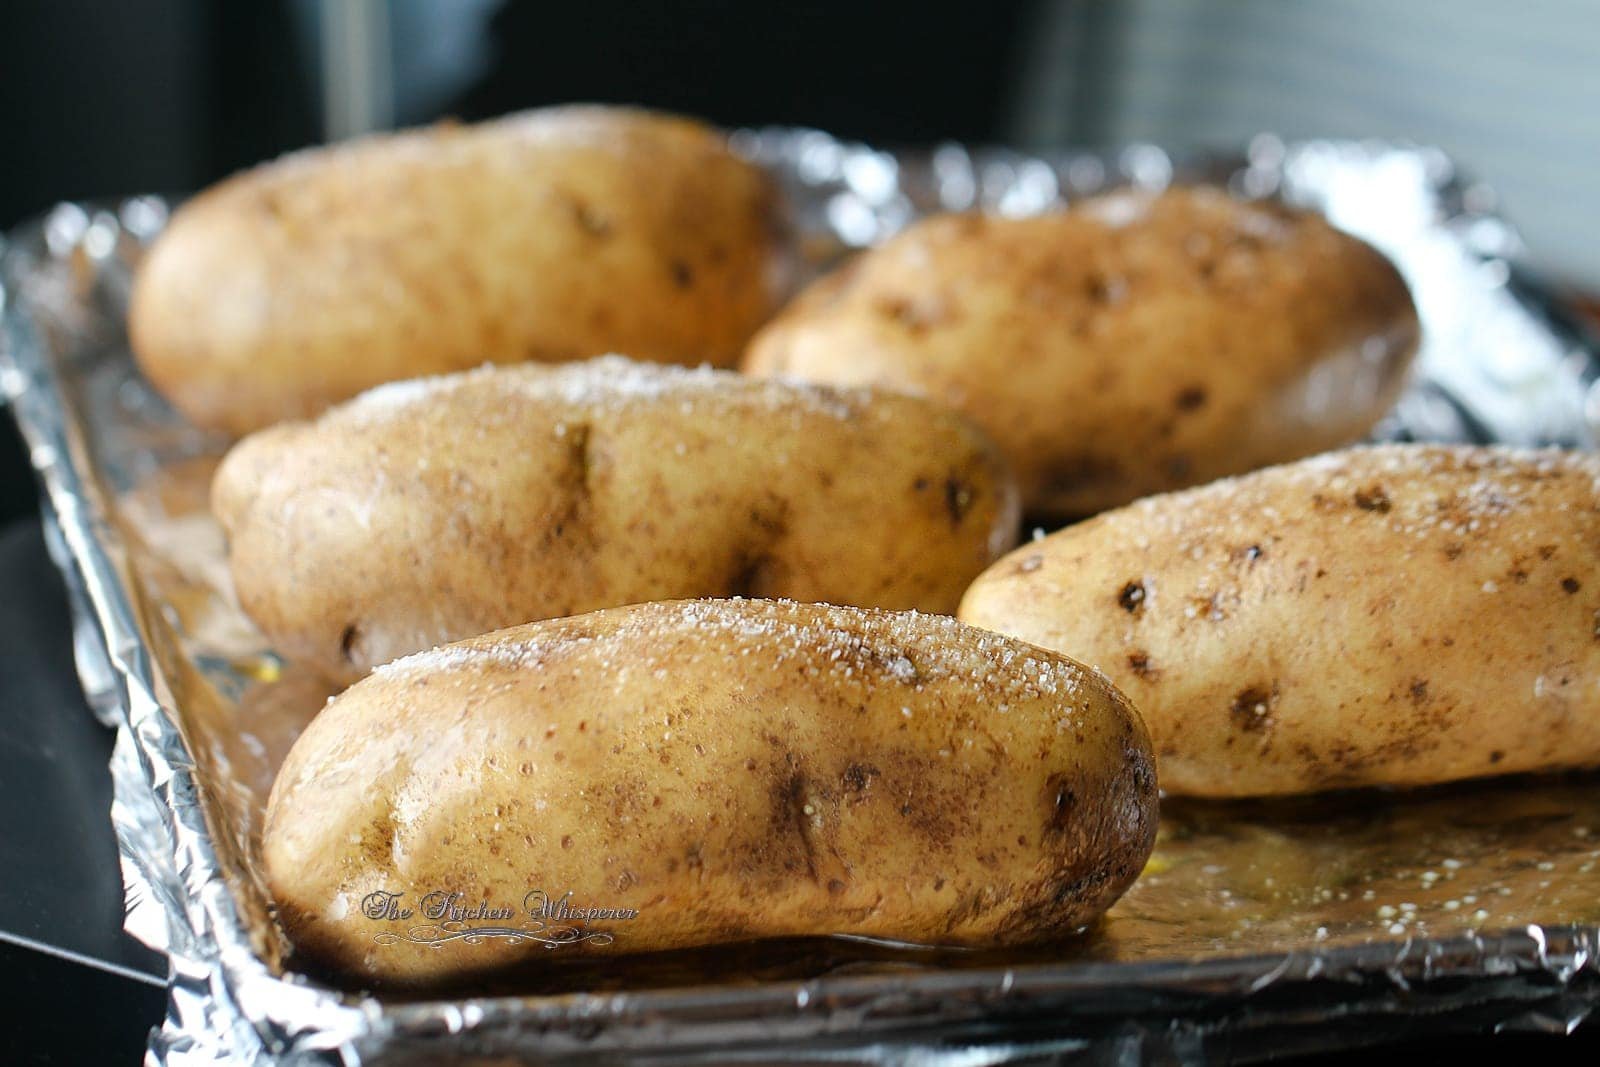
You need a high-starch, low-moisture potato to get that perfect, cloud-like texture inside. Waxy potatoes like red-skinned varieties hold their shape too well and become gummy when baked. If you want the fluffiest results, choose Russet potatoes in the US or King Edward or Maris Piper in the UK.
These potatoes have a thick skin that handles the high heat of an oven without tearing. Look for tubers that feel heavy for their size and have smooth, clean skin. Avoid potatoes with green patches or deep sprouts, as these indicate improper storage or age. If the potato feels soft when you squeeze it, it’s past its prime and won’t bake into a fluffy meal.
The size of the potato matters just as much as the variety. A medium-sized potato, roughly 8 to 10 ounces, is the easiest to cook evenly. If you choose extra-large potatoes, you must increase your baking time by 15 to 20 minutes. If you only have small potatoes, keep a close eye on them after 45 minutes to prevent them from drying out.
Factors affecting your cook time
The most important variable is the moisture content of the potato. Fresh potatoes contain more water and take slightly longer to reach the desired internal texture than older, slightly dehydrated ones. You can check the state of your potato by feeling the skin; if it’s firm and tight, it’s fresh.
Oven calibration is the hidden enemy of a good bake. Most home ovens fluctuate by 10 to 20 degrees during the cycle. Using an oven thermometer is the only way to know if your 400°F setting is actually delivering that heat. If your oven runs hot, your skins will burn before the center is done. If it runs cool, you’ll end up with a dense, heavy potato.
Placement inside the oven changes the heat distribution significantly. Placing the potato directly on the rack allows air to circulate around the entire surface, ensuring a crisp skin on all sides. If you place it on a baking sheet, the bottom will stay soft and moist. For the best texture, use a metal rack to lift the potato off the tray.
Finally, the altitude of your kitchen affects how quickly water evaporates. At higher altitudes, water boils at a lower temperature, which can make the cooking process faster but also more prone to drying out. If you’re above 3,000 feet, start checking for doneness 10 minutes early.
How to make the best oven jacket potatoes: Step-by-step
- Preheat your oven to 400°F. Ensure the rack is positioned in the center.
- Scrub the potatoes under cold running water to remove all dirt. Dry them thoroughly with a clean towel; moisture on the skin prevents crisping.
- Poke the potato 6 to 8 times with a fork. This allows steam to escape so the potato doesn’t burst.
- Rub the skin lightly with a neutral oil like grapeseed or vegetable oil. This helps the skin conduct heat and turn crispy.
- Sprinkle a generous pinch of sea salt over the skin. The salt pulls moisture out of the surface, which adds to the crunch.
- Place the potatoes directly on the center oven rack. If you’re worried about drippings, place a baking sheet on the rack below.
- Bake for 60 to 75 minutes. The potato is done when a knife slides into the center with zero resistance.
- Use a digital thermometer to ensure the internal temperature is at least 205°F, as noted in the safe minimum internal temperatures provided by FoodSafety.gov.
- Remove the potatoes and let them rest for 5 minutes before cutting. This allows the steam to redistribute for a better texture.
The crucial decision is the resting period. If you cut into the potato immediately, the steam escapes instantly, leaving the inside dry. Waiting 5 minutes keeps the moisture inside the starch.
Potato preparation methods compared
| Situation | Method | Time | Watch for |
|---|---|---|---|
| Standard bake | Direct on rack | 60-75 mins | Crispy skin |
| Faster bake | Use convection | 45-55 mins | Dry edges |
| Crispy bottom | Use metal rack | 60-75 mins | Even browning |
| Soft skin | Wrap in foil | 70-80 mins | Steamed texture |
| Small potatoes | Check early | 40-50 mins | Burnt skin |
The primary mistake home cooks make is piercing the skin with a fork before baking. While this prevents bursting, it allows steam to escape, resulting in a mealy interior rather than a fluffy one. If you want a restaurant-style texture, leave the skin intact and use a high-heat finish.
Choose your method based on the desired starch profile. If you’re preparing potatoes for a mash, use the foil-wrapped method. The trapped moisture creates a creamy consistency that absorbs butter instantly. If you’re making a loaded baked potato, skip the foil entirely. Direct heat on the rack is the only way to achieve the brittle, salt-crusted skin required to hold heavy toppings like sour cream or bacon.
Watch the oven calibration closely. If your convection fan is aggressive, reduce the temperature by 25 degrees Fahrenheit to prevent the edges from hardening before the center reaches 205 degrees. For small potatoes under four ounces, pull them at the 40-minute mark. Leaving them for the full hour will turn the interior into a gluey paste. Always test doneness by squeezing the potato with a towel; it should yield fully under light pressure.
Mastering the texture and finish
Achieving the perfect skin
The key to a restaurant-quality skin is surface dehydration. Beginners often wrap potatoes in foil, which creates a steam chamber. This results in a soft, soggy skin that lacks the signature crunch of a true oven-baked potato. Always bake them naked on the rack to allow the dry heat of the oven to work. If you notice the skin darkening too quickly, you can tent a piece of foil loosely over the top, but never wrap the potato completely.
Fluffing the interior
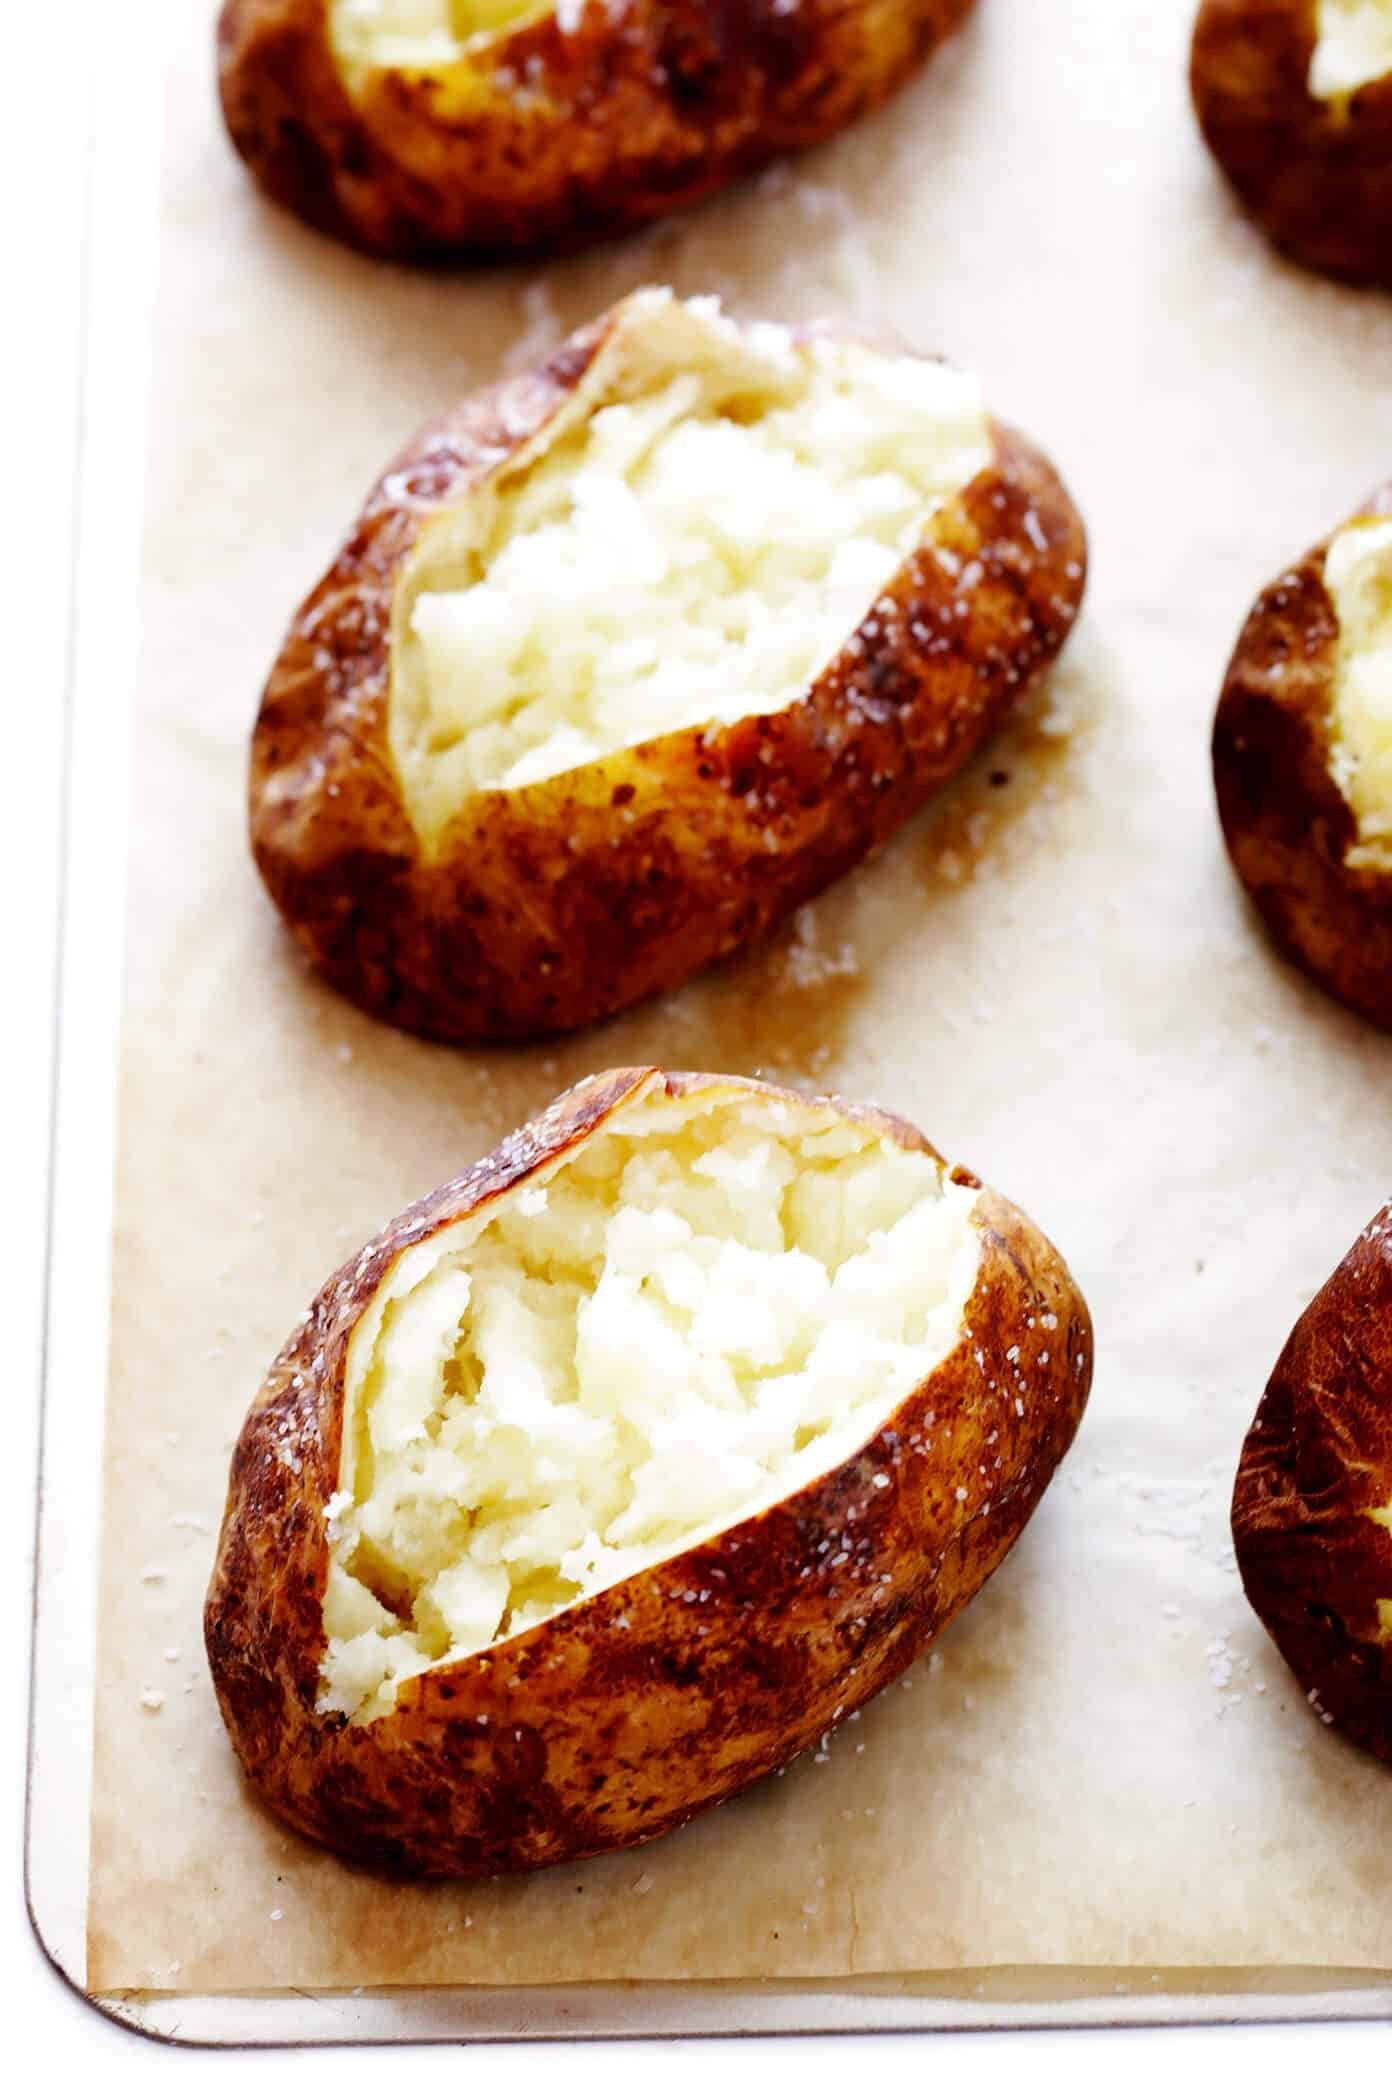
Once the potato is out of the oven, the way you open it defines the final experience. Never slice a potato in half with a serrated knife, as this squashes the delicate starch structures. Instead, use a sharp paring knife to cut a cross into the top. Use your fingers to push the ends toward the center, which causes the potato to “pop” open. This motion aerates the inside, turning dense starch into light, fluffy flakes.
Common issues and fixes
| What you notice | What it means | What to do first | How to stop it |
|---|---|---|---|
| Skin is soggy | Trapped steam | Remove foil | Bake without cover |
| Inside is dense | Under-baked | Return to oven | Use thermometer |
| Skin is burnt | Too hot | Lower heat | Use thermometer |
| Potato burst | No holes | Discard | Prick with fork |
| Skin is oily | Too much oil | Use paper towel | Use light brush |
Soggy skin often happens because the potato remained wrapped in foil after leaving the oven. Steam must escape immediately, or the moisture will soften the crisp exterior. If your potato feels heavy or dense, it likely missed the internal target of 205°F. Never guess by touch. A digital probe inserted into the thickest part provides the only reliable metric for doneness.
Burnt skin is a common mistake when relying on visual cues alone. Oven hotspots can char the surface while the center remains raw. If you notice dark spots, move the rack to the center position and reduce heat by 25°F.
Bursting occurs when trapped gases expand without a vent. Prick the skin at least six times with a fork before heating. If you see oil pooling in the tray, you used too much fat. A light misting or a quick pass with a silicone brush is sufficient. Excess oil prevents the skin from dehydrating, which is the secret to a professional texture. If the skin feels greasy, blot it with a dry paper towel before serving to salvage the crunch.
Following the standards
Kitchen safety starts with understanding how heat interacts with your ingredients. Reaching 205°F ensures the starch molecules have fully gelatinized, turning the potato from hard and crunchy to light and fluffy.
Real costs of your bake
The primary cost of baking a potato is the energy used by your oven. A standard electric oven uses about 2 to 3 kilowatt-hours of electricity per hour of operation. If you’re baking just one potato, this is an expensive way to cook.
Experienced cooks maximize this cost by baking a full tray of potatoes at once, even if they only need one for dinner. You can store the extra baked potatoes in the fridge for up to four days. The time investment is constant regardless of how many potatoes you put in the oven.
A common mistake is preheating the oven for twenty minutes before inserting a single potato. This wastes nearly half the total energy consumed during the entire cooking cycle. If you’re only cooking one, skip the full-sized oven entirely.
Use a toaster oven for individual portions instead. These smaller units reach the necessary 400°F internal temperature using roughly 40% less electricity than a standard range.
Use this decision rule to save money: if you’re baking three or more potatoes, use the full oven to maximize the thermal mass. If you’re baking two or fewer, the toaster oven is the cheaper choice. Always check your local utility rate on your last bill; if you pay a high rate per kilowatt-hour, these efficiency gains will appear as a noticeable reduction in your monthly statement.
Maintaining your result
After baking, you should store any leftovers in a shallow, airtight container once they have cooled to room temperature. Never leave a baked potato at room temperature for more than two hours, as this creates an environment where bacteria can grow.
To reheat, place the potato back in a 350°F oven for 15 minutes or use an air fryer for 8 minutes at 375°F. Avoid the microwave if you want to maintain the skin’s texture, as microwaves soften the skin and make it leathery.
The most common mistake is reheating the potato while it’s still wrapped in its original foil, which prevents the skin from crisping. Always unwrap the potato before applying heat. If you notice a sour smell or a slimy texture when you take the potato out of the fridge, discard it immediately. These are signs of spoilage that no amount of heat can safely neutralize.
When to avoid this method
If you’re in a rush and need a meal in under 30 minutes, the oven method is the wrong choice. The physics of heat transfer through air simply can’t match the speed of pressurized steam. Use a pressure cooker or a microwave-convection hybrid instead to save time.
If you’re cooking for a large group and your oven is already full of other dishes, you can’t rely on the oven to provide the consistent heat needed for a perfect skin. Crowding the oven creates cold spots and traps excess moisture, leading to soggy results. In these cases, consider a slow cooker for a different, softer result.
The primary mistake people make is ignoring the recovery time of the oven. Every time you open the door to check your progress, you lose roughly 25 degrees of ambient heat. If your oven is already packed, it may take ten minutes just to return to the target temperature. This delay ruins the texture of the crust.
If you have a compromised immune system, ensure your refrigerator is set to 40°F or lower, as recommended by food safety guidelines, to prevent the growth of harmful bacteria in any leftovers. If your fridge temperature fluctuates above this threshold, discard the food immediately.
Frequently asked questions

Can I wrap potatoes in foil?
No, wrapping potatoes in foil traps moisture and steams them, which prevents the skin from becoming crispy. You should only use foil if you’re cooking on a campfire or if you need to keep the potatoes warm for a short time after they have already been baked.
How do I know when the potato is done?
The potato is done when you can easily slide a paring knife into the center without feeling any resistance. You should also verify that the internal temperature has reached 205°F using a digital meat thermometer inserted into the thickest part of the potato.
Is it safe to eat the potato skin?
Yes, it’s safe to eat the skin if you scrub it thoroughly under running water before baking. The skin contains most of the fiber and nutrients, but you should always cut away any green parts or deep sprouts before you begin the cooking process.
Why did my potato explode in the oven?
Your potato exploded because steam built up inside the skin with nowhere to go. You must prick the skin of every potato at least 6 to 8 times with a fork before placing them in the oven to allow the steam to escape during the baking process.
How long can I keep baked potatoes in the fridge?
You can keep baked potatoes in the fridge for up to four days when stored in an airtight container. Always ensure they’re cooled completely before sealing the container, and reheat them to an internal temperature of 165°F to ensure they’re safe to eat.
Does it matter which rack I use?
Yes, the center rack is the best position because it allows for the most even heat circulation around the potato. If you place the potato on the top rack, the skin may burn; if you place it on the bottom, the bottom may stay soft.
Can I bake potatoes and meat at the same time?
Yes, you can bake potatoes and meat together if the oven is large enough to maintain a consistent temperature. Ensure the potatoes don’t touch the meat, as juices from the meat can create a soggy spot on the potato skin and increase the risk of cross-contamination.
Oven jacket, in short
Start by preheating your oven and preparing the potatoes exactly as described. Once you pull them out, look for the sign of a perfectly crisp, golden-brown skin that gives slightly when pressed. If the skin feels soft or the knife meets resistance, give them another 10 minutes in the oven. If you smell burning or notice smoke, turn the oven off immediately and check for spills at the bottom.