
To achieve the best results, you need to roast a whole bird at 425°F until the thickest part of the breast and thigh reaches 165°F. This high heat crisps the skin while keeping the meat juicy, and focusing on drying the skin and using a meat thermometer is the best way to make oven chicken. Your final result depends on the size of the bird, the accuracy of your oven, and the moisture level of the skin before it enters the heat.
Who should make this oven chicken
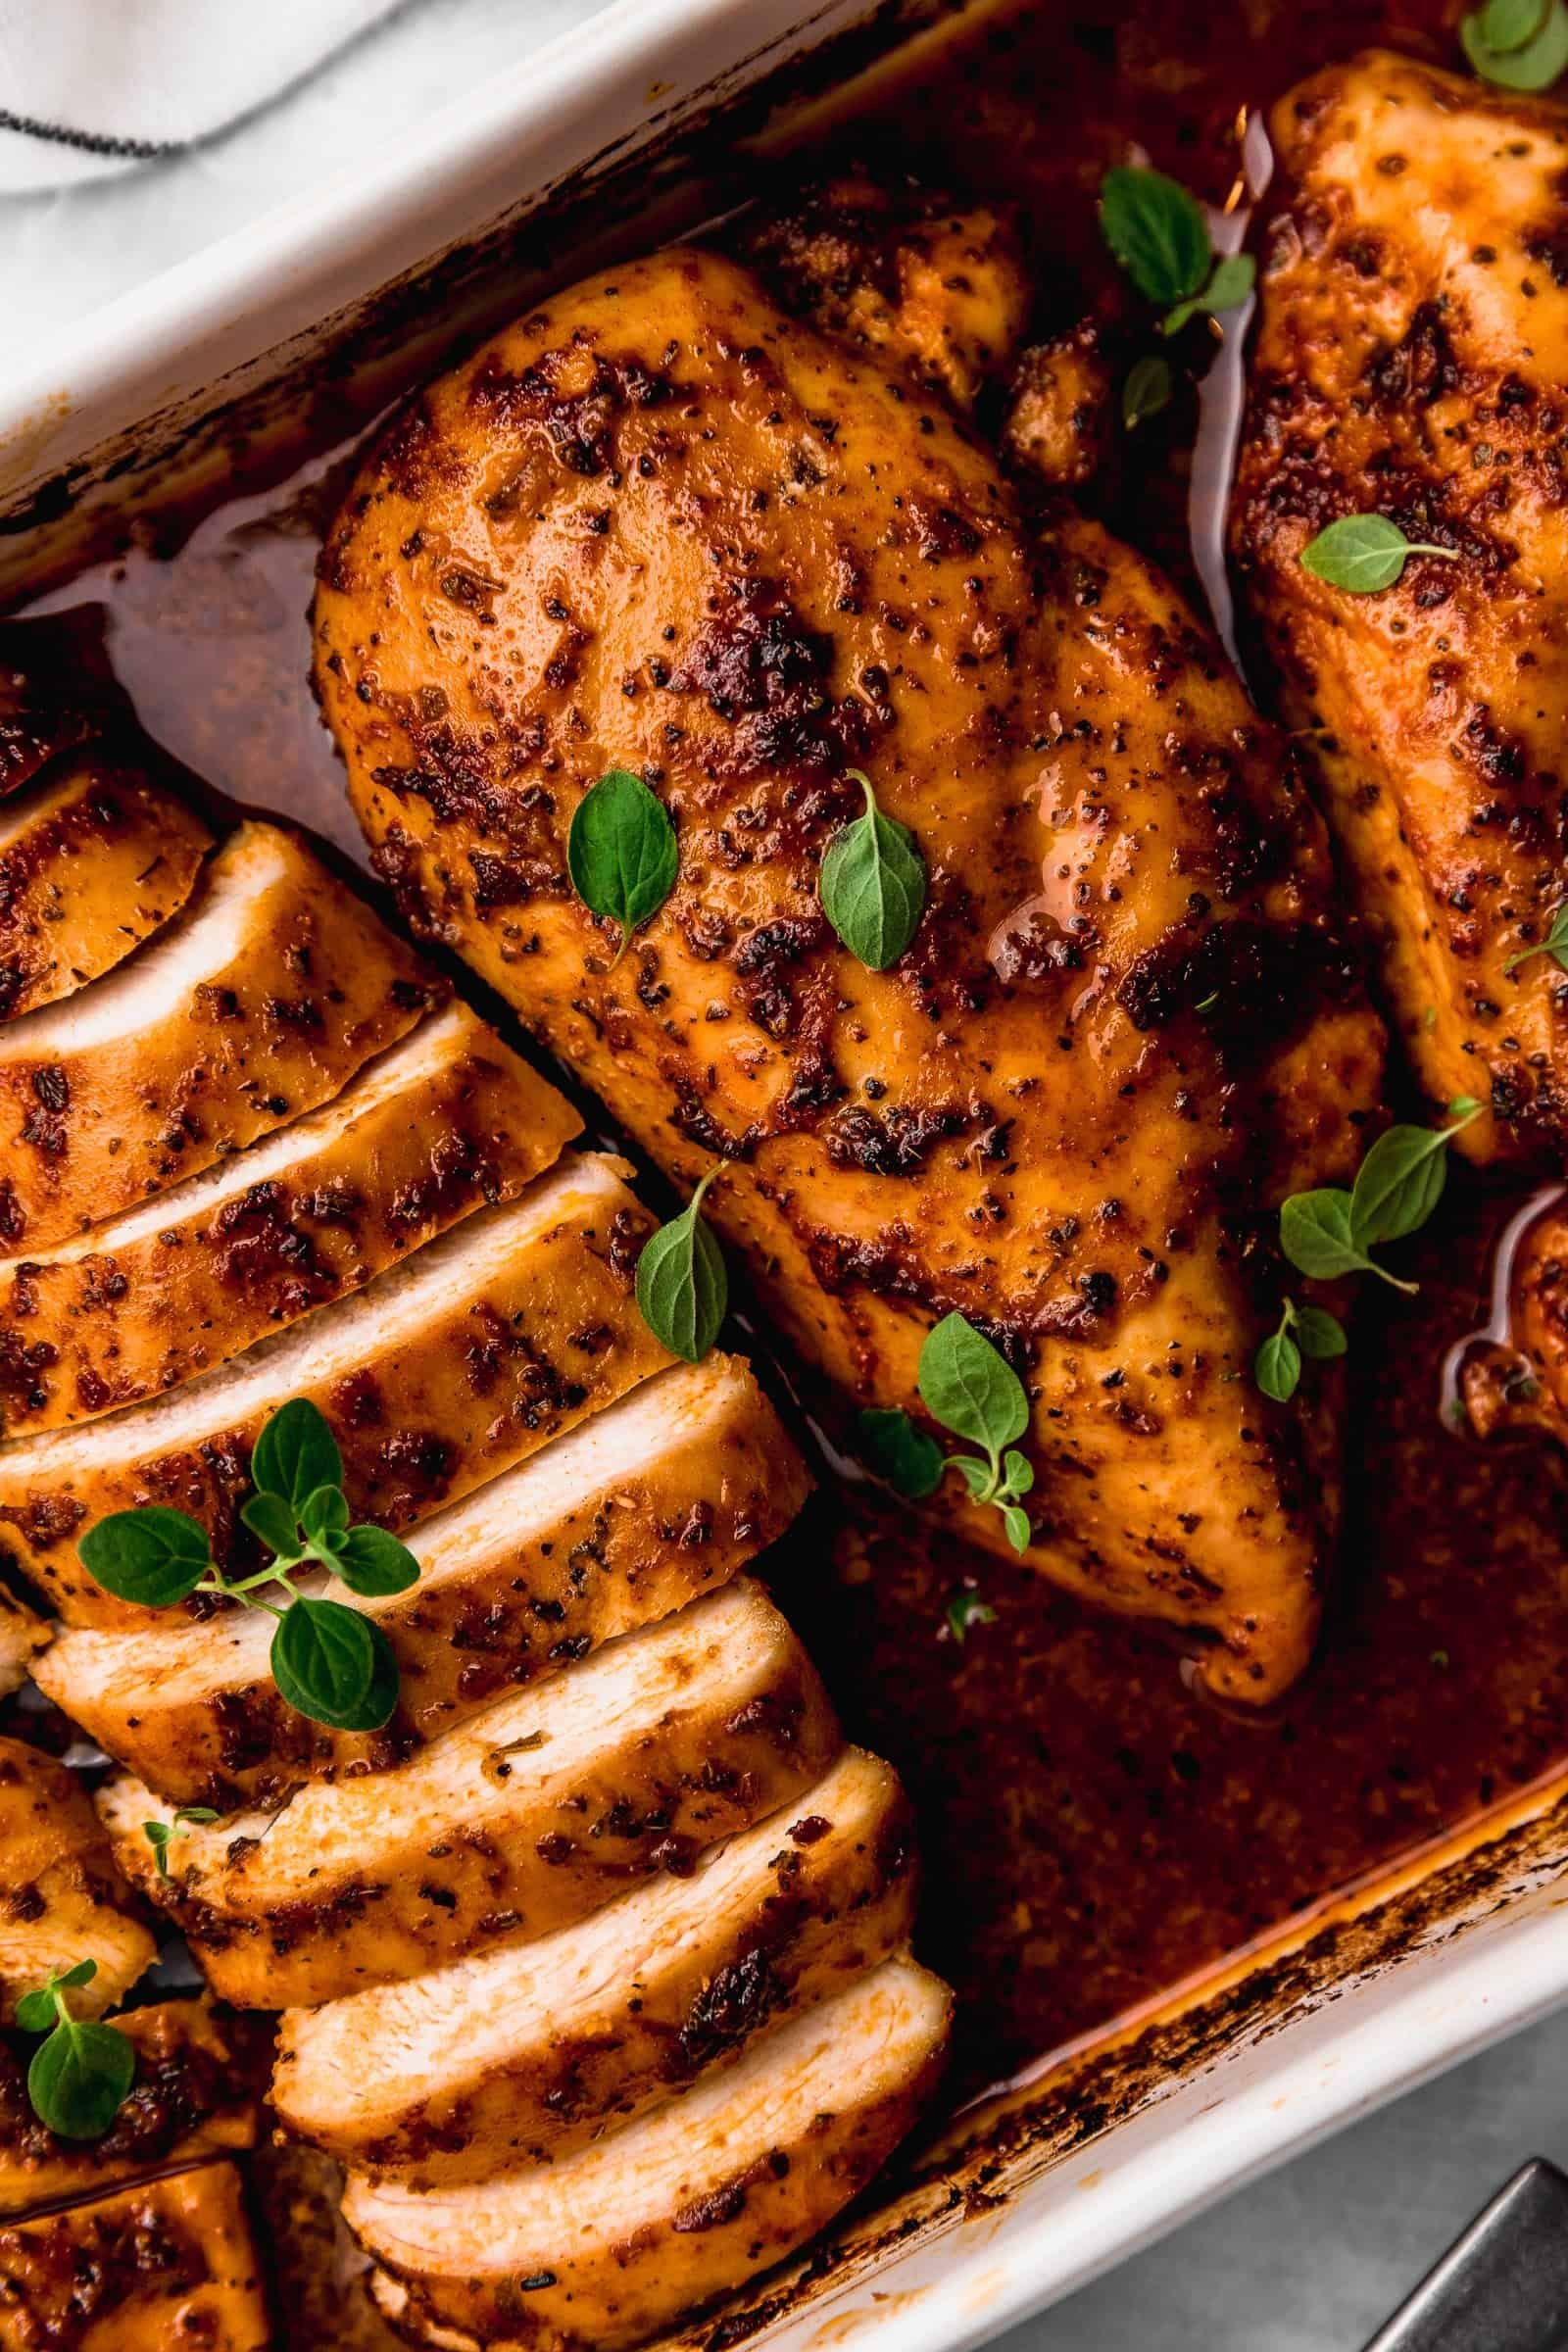
This page is for home cooks who have a whole chicken and want to move beyond basic roasting to get restaurant-quality crispy skin and tender meat. It assumes you own a reliable meat thermometer and an oven that can hold a steady temperature. If you’re looking for a recipe that uses a slow cooker or a pressure cooker, these instructions won’t help you, as those methods create a completely different texture and flavor profile.
You need to be comfortable using a knife to remove giblets and patting the bird dry with paper towels. If you’re a beginner, you might find the need for precise temperature control intimidating, but it’s the only way to ensure the meat is safe to eat without drying it out. This guide assumes you’re roasting a standard three-to-four-pound bird. If your chicken is larger, you must adjust the cooking time significantly to ensure the center reaches the required temperature. We don’t focus on complex glazes or brining here; we focus on the mechanics of heat and moisture control.
Factors that change the roasting result
The most important factor is the surface moisture of the skin. If the skin is wet when it goes into the oven, it will steam instead of crisping. You must pat the entire bird dry with paper towels inside and out, or leave it uncovered in the fridge for two hours to let the air dry the surface.
Oven calibration is another major factor. Most home ovens fluctuate by as much as 25 degrees. If your oven runs hot, you might burn the skin before the meat is cooked; if it runs cool, the skin will remain rubbery. Use an independent oven thermometer to verify the actual temperature inside your unit rather than trusting the dial.
The weight of the chicken dictates your timing. A four-pound chicken typically takes about 60 to 75 minutes at 425°F. If you go higher than four pounds, you should lower the temperature to 400°F after the first 20 minutes to prevent the outer layers from drying out before the bone-in meat is done.
Many people make the mistake of checking for doneness by piercing the skin to see if the juices run clear. This is unreliable and causes the meat to lose precious moisture. Always use a digital probe thermometer. According to FoodSafety.gov’s chart, you must cook all poultry to a minimum internal temperature of 165°F to ensure it’s safe to eat.
Roasting the perfect bird
- Remove the chicken from the refrigerator 30 minutes before cooking to take the chill off, which helps it cook more evenly.
- Pat the entire bird, including the cavity, thoroughly dry with paper towels.
- Preheat your oven to 425°F and place a roasting rack inside a heavy-duty pan to allow air to circulate under the bird.
- Rub the skin with two tablespoons of high-smoke-point oil or softened butter and season generously with salt and pepper.
- Tuck the wing tips under the body and tie the legs together with kitchen twine to keep the bird compact.
- Place the bird breast-side up in the rack and roast until the internal temperature reaches 165°F in the thickest part of the breast and thigh.
- Use a digital thermometer to confirm the temperature; if you aren’t at 165°F, return the bird to the oven and check again every five minutes.
- Remove the bird from the oven and let it rest on a cutting board for at least 15 minutes before carving.
The single most important decision is the resting phase. If you cut into the chicken immediately, the juices will run out onto the board instead of staying in the meat. Resting allows the internal temperature to stabilize and the fibers to reabsorb the juices, ensuring every bite is moist. If you’re using a convection setting, remember that it moves air faster; reduce the temperature by 25°F or check for doneness 10 minutes early.
Temperature and time breakdown
Different bird sizes require different heat management to ensure the skin is brown and the meat is safe.
| Bird Weight | Oven Temp | Estimated Time | What to watch for |
|---|---|---|---|
| 3 Pounds | 425°F | 50-60 minutes | Golden brown skin |
| 4 Pounds | 425°F | 65-75 minutes | Clear juices at joint |
| 5 Pounds | 400°F | 80-95 minutes | Thermometer hits 165°F |
| 6 Pounds | 400°F | 95-110 minutes | Skin pulls from bone |
The most common mistake is relying solely on the clock. A bird’s actual internal temperature depends heavily on whether it was pulled straight from the refrigerator or allowed to temper on the counter for thirty minutes. If the bird is cold, add ten minutes to the total cook time.
Always use the decision rule of the thickest part. Insert your digital probe into the deepest section of the breast, avoiding the bone. If you hit the bone, you’ll get a false high reading that leaves the center raw.
If you’re roasting a bird larger than six pounds, drop the heat to 375°F after the first hour. This prevents the exterior from burning before the deep muscle tissue reaches a safe 165°F.
Finally, remember the rest period. A bird needs to sit for at least fifteen minutes after leaving the oven. This allows the juices to redistribute throughout the muscle fibers. If you carve too early, you lose the moisture that makes the meat tender.
Achieving superior texture
Dry skin preparation
You must remove as much surface moisture as possible to get a crisp finish. If you have the time, salting the bird and leaving it uncovered in the refrigerator for four to six hours draws out moisture and tightens the skin. Never skip the drying step, as moisture is the enemy of a crisp crust.
Proper heat distribution
Position your roasting rack in the center of the oven to ensure even heat flow. If you notice one side of the bird browning faster than the other, rotate the pan 180 degrees halfway through the cooking process. Avoid overcrowding the pan with vegetables, as they release steam that will soften the skin you worked so hard to dry.
Common roasting issues
| What you notice | What it usually means | What to do first | How to stop it |
|---|---|---|---|
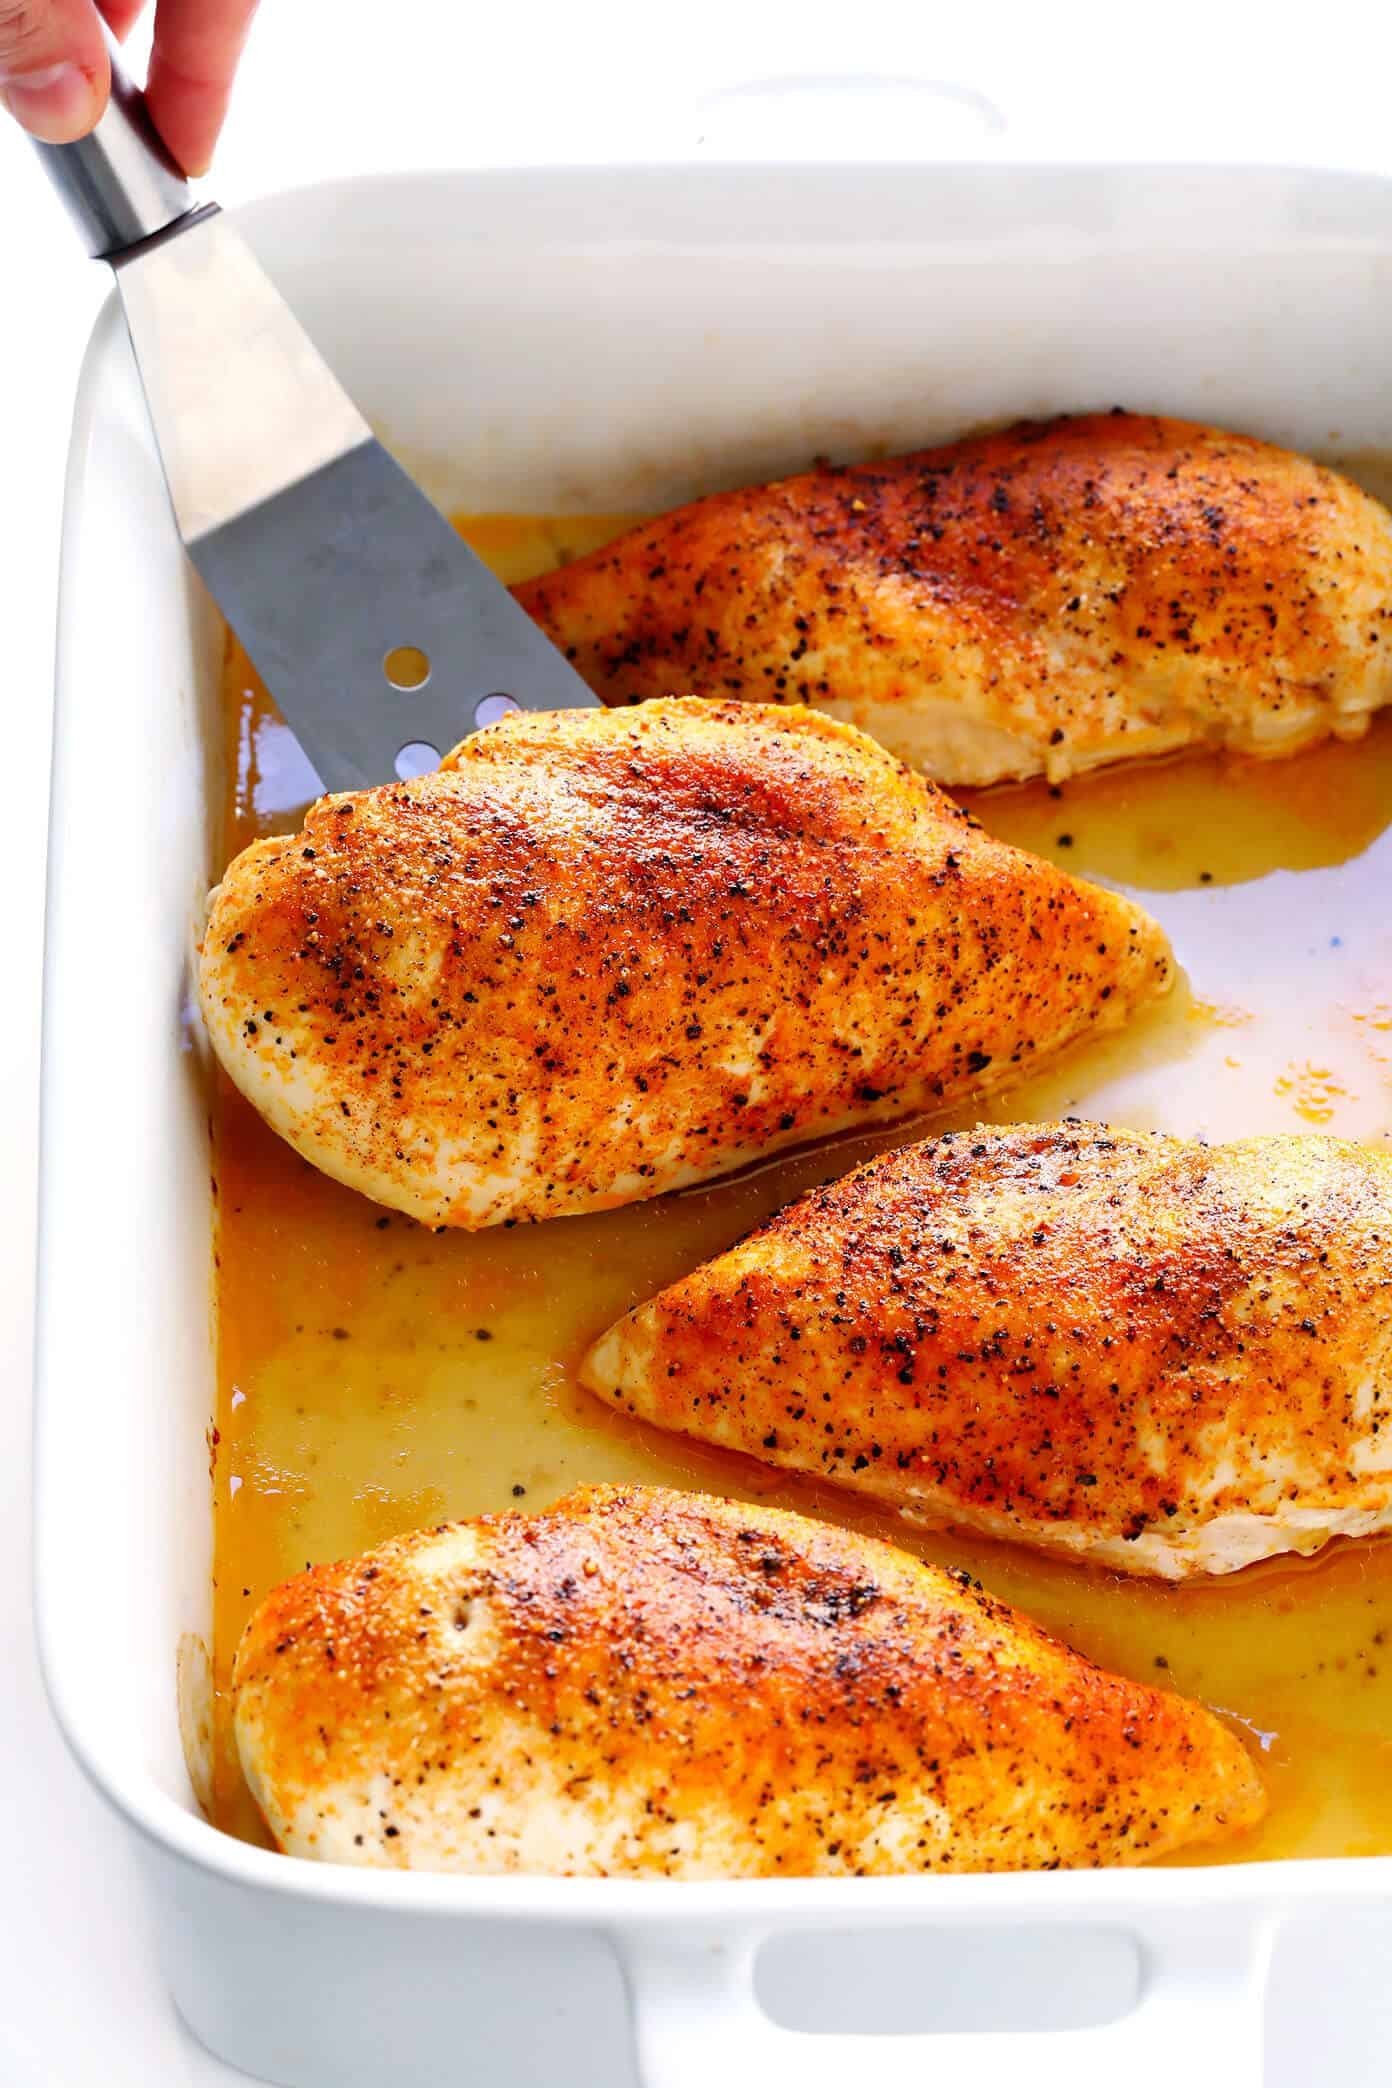
| Skin is soggy | Too much moisture | Increase oven temp | Dry bird longer |
| Breast is dry | Overcooked meat | Check internal temp | Pull at 165°F |
| Skin is burning | Rack too high | Move to lower rack | Use foil cover |
| Meat is pink | Underdone | Return to oven | Use thermometer |
| Uneven cooking | Poor air flow | Rotate the pan | Use a rack |
Soggy skin often stems from the bird being too cold when it enters the oven. Pat the bird dry with paper towels and let it sit at room temperature for 30 minutes before roasting.
Dry breasts are frequently the result of carry-over cooking. The internal temperature will rise by about 5 degrees after you remove the bird from the oven. If you wait until the thermometer hits 165°F inside the oven, you have already overshot the mark. Pull the bird when the thickest part of the breast reaches 165°F.
Burning skin is a common mistake when using convection settings. The fan circulates heat aggressively, which can char the exterior before the center finishes. If your skin darkens too quickly, tent the breast loosely with foil. This shields the delicate skin while allowing the heat to continue penetrating the thicker parts of the meat.
Finally, uneven cooking usually happens because the pan is too large for the oven. If the pan touches the oven walls, it blocks the airflow necessary for consistent heat distribution. Always ensure at least two inches of space between the pan and the oven sides. If you lack space, use a smaller, heavy-duty roasting pan to improve circulation.
Standards for safe poultry
The United States Department of Agriculture (USDA) sets the standard for safe poultry consumption at 165°F. This temperature ensures that harmful bacteria, such as Salmonella, are destroyed. If you’re cooking in a commercial environment or following specific local health codes, always verify your local requirements, as they may occasionally differ for specific preparation methods. Never rely on the color of the meat or the juices as a gauge for safety; color isn’t a reliable indicator of whether bacteria have been killed. A calibrated digital thermometer is the only tool that provides the accuracy required for food safety. If you don’t have one, you shouldn’t attempt to roast a whole chicken, as you can’t safely judge doneness by sight.
The cost of roasting
The primary cost of this process is the chicken itself, but the hidden costs involve the energy used to maintain high oven temperatures for over an hour. You can lower your energy usage by avoiding frequent oven door openings, which causes the internal temperature to drop by 20 to 50 degrees each time. If you’re on a budget, look for whole chickens on sale; they’re almost always cheaper per pound than pre-cut pieces. The equipment required is minimal: a roasting pan and a rack. You don’t need expensive non-stick pans, as a stainless steel or enameled cast iron pan works perfectly well. The time investment is mostly passive, but the 15-minute resting period is a mandatory step that you must build into your meal planning to ensure the final quality of the meat.
Keeping it right
Once your chicken is roasted, you must carve it within an hour of resting. Waiting longer risks the meat drying out as it loses residual heat. If you have leftovers, remove the meat from the bones and store it in an airtight container in the refrigerator immediately.
According to FoodSafety.gov, cooked poultry is safe to consume for three to four days when stored at or below 40°F. If you notice the meat has become slimy or has an off-smell, discard it immediately. Discard any meat that shows signs of spoilage, as some bacterial toxins are heat-stable and can’t be destroyed by cooking.
To reheat, aim for an internal temperature of 165°F. The decision rule for equipment depends on your priority: if you value speed, use the microwave. If you value texture, use an oven or air fryer. Microwaves heat food unevenly and don’t provide the dry heat necessary to crisp skin.
For the best results in an oven, place the meat in a shallow dish with a tablespoon of chicken stock. Cover it loosely with foil to trap steam, preventing the edges from turning into jerky. If the meat is already dry, add a splash of fat or broth before heating. This prevents the proteins from tightening further, ensuring your second meal is as succulent as the first.
When to avoid this method
Don’t use this high-heat method if your oven isn’t clean. A dirty oven with built-in grease will smoke significantly at 425°F, which can set off your smoke alarm and affect the flavor of the meat. If your oven is heavily soiled, clean it thoroughly before attempting this method or roast at a lower temperature of 350°F, which will take longer but produce less smoke.
Check your oven floor for carbonized drippings before you preheat. If you see dark, baked-on spots larger than a quarter, the risk of acrid smoke is high. A common mistake is assuming a quick wipe with a damp cloth is enough. It’s not. You need a degreaser to strip the surface; otherwise, the residual oil will vaporize and ruin your meal.
Additionally, if your chicken has been frozen, ensure it’s completely thawed in the refrigerator before roasting. Attempting to roast a partially frozen bird leads to uneven cooking where the exterior is overcooked and the interior remains unsafe.
Use the “flex test” to confirm safety. If the joints don’t move freely or the cavity still feels icy to the touch, don’t proceed. Roasting a bird with a frozen center adds roughly 45 minutes to the total cook time. By the time the core reaches 165°F, the breast meat will be dry and stringy. If you’re in a rush, switch to a spatchcocked preparation or choose a different recipe entirely.
Frequently asked questions
Can I roast a chicken without a rack?
Yes, you can place the chicken on a bed of thick-cut root vegetables like onions, carrots, and potatoes. These vegetables act as a natural rack, allowing air to circulate while absorbing the chicken juices. Just ensure the vegetables are cut into one-inch chunks so the bird sits high enough for the bottom to crisp.
Why is my chicken skin rubbery?
The skin is rubbery because there was too much moisture on the surface when it went into the oven. You must pat the chicken completely dry with paper towels or let it air-dry in the fridge for two hours before roasting. High heat is necessary to render the fat and crisp the skin.
Should I cover the chicken with foil?
No, you shouldn’t cover the chicken with foil while roasting, as this traps steam and prevents the skin from crisping. Only use foil if the breast starts to brown too quickly before the rest of the bird is cooked. In that case, tent the breast loosely with a small piece of foil.
Is it safe to stuff the chicken?
It’s risky to stuff a whole chicken because the stuffing may not reach the safe temperature of 165°F before the breast meat dries out. For the best result and safety, roast aromatics like lemon, garlic, and herbs inside the cavity instead. Cook your stuffing separately in a baking dish to ensure it’s safe.
How long does it take to thaw a frozen chicken?
A whole chicken takes approximately 24 hours to thaw in the refrigerator for every 5 pounds of weight. Never thaw a whole chicken on the kitchen counter, as this allows the exterior to reach the “danger zone” where bacteria grow rapidly. Always plan your thaw time at least one day in advance.
Does it matter if I use butter or oil?
It matters for the flavor and the smoke point of your roasting process. Butter adds a rich flavor but can burn at 425°F if the milk solids aren’t handled carefully, while oil like avocado or canola has a higher smoke point and is safer for high-heat roasting. Many cooks use a mix of both.
Oven chicken, in short
Place your chicken on the rack, set your oven, and use your thermometer to track the progress. You’ll know the job is done when the internal temperature hits 165°F across the breast and thigh. If the temperature stalls, keep the oven closed and check again in five minutes, but get professional help if your oven fails to reach or maintain the set temperature.