
If you’ve ever seen the “Raypak Hi Limit 1 Fault” error, you know it can bring your pool heater to a sudden stop. This fault isn’t just a random glitch—it’s your heater’s way of telling you something needs attention.
Ignoring it could mean longer downtime or costly repairs. But don’t worry, you’re not alone. You’ll discover what causes this fault and how you can fix it quickly. Keep reading, and you’ll learn how to get your Raypak heater back to work safely and smoothly.

Credit: www.reddit.com
What Causes Raypak Hi Limit 1 Fault
The Raypak Hi Limit 1 fault signals a problem with the water heater’s temperature control. This fault happens when the water temperature gets too high or when the system detects an unsafe condition. Understanding what causes this fault helps fix it quickly and keeps the water heater running safely.
Common Triggers
One common cause is a blocked or dirty heat exchanger. This stops heat from moving away properly. Another trigger is low water flow. Water not moving well causes the heater to get too hot. Sometimes, faulty wiring or a bad control board leads to this error. These triggers force the system to shut down to avoid damage.
Signs Of Overheating
Overheating shows as very hot water or steam near the unit. You might hear strange noises like popping or hissing. The heater may stop working suddenly or not reach the right temperature. These signs warn that the Hi Limit 1 fault might soon appear or is already active.
Sensor Malfunctions
The temperature sensor is key to safe heating. If the sensor fails or sends wrong data, the system may think the water is too hot. This causes the Hi Limit 1 fault to trigger falsely. Sensors can fail due to dirt, age, or electrical problems. Testing and replacing sensors often solves this issue.
How To Reset The Hi Limit 1 Fault
Resetting the Hi Limit 1 fault on a Raypak heater helps restore normal operation quickly. This fault signals an overheating issue that needs attention. Resetting clears the error and allows the system to restart safely. Follow simple steps to reset the fault either manually or through the control panel. Always ensure the heater has cooled down before resetting to avoid further problems.
Manual Reset Procedures
Locate the Hi Limit reset button on the heater’s control box. This button is usually red or black and slightly recessed. Press the button firmly until you feel a click. Release the button after the click. Wait a few minutes for the system to stabilize. Turn the heater’s power back on if it was off. Check if the fault light is off and the heater runs normally.
Using The Control Panel
Find the control panel on your Raypak heater. Look for a reset or fault clear option in the menu. Use the arrow buttons to navigate through the settings. Select the reset option and confirm your choice. The control panel will clear the Hi Limit 1 fault. Watch for normal operating lights to return. If the fault persists, repeat the process or check the heater for other issues.
Quick Fixes To Prevent Hi Limit 1 Fault
Preventing the Raypak Hi Limit 1 fault saves time and stress. Quick fixes keep your heater working smoothly. These simple steps help avoid costly repairs and downtime.
Cleaning And Maintenance Tips
Regular cleaning stops dirt buildup. Dirt clogs parts and causes overheating. Clean the heat exchanger gently with a soft brush. Remove debris from vents and filters. Check the burner area for dust or soot. Clean water sensors to ensure accurate readings.
Checking Water Flow
Proper water flow prevents the Hi Limit 1 fault. Low flow causes the heater to overheat. Inspect pipes and valves for blockages. Clear any debris or buildup inside the pipes. Make sure the pump runs smoothly without noise. Test water pressure to confirm it meets the heater’s needs.
Inspecting Wiring And Connections
Loose wiring can trigger the fault. Turn off power before inspection. Check all electrical connections for tightness. Look for frayed or damaged wires. Replace any worn wires immediately. Secure connectors firmly to avoid shorts. Regular checks keep the system safe and reliable.
When To Replace Parts
Knowing when to replace parts on your Raypak heater is key to avoiding faults. Parts wear out over time and cause errors like the Hi Limit 1 fault. Timely replacement keeps your system safe and working well.
Watch for signs of damage or repeated errors. Replace parts at the right time to save money and prevent bigger problems. Some parts you can replace yourself. Others need a professional touch.
Thermostat Replacement
The thermostat controls water temperature. If it fails, the heater may overheat or not heat enough. Signs include uneven temperature or sudden shutoffs. Replace the thermostat if it no longer responds or causes errors. A faulty thermostat often triggers the Hi Limit 1 fault.
Sensor And Limit Switch Repair
Sensors and limit switches monitor heat and safety limits. Damage or dirt can cause false readings. Clean sensors first. Replace them if problems continue. A broken limit switch can stop the heater from running. Fix or replace these parts to clear faults and keep safety features active.
Professional Help Indicators
Some problems need expert diagnosis. Frequent fault codes or no power to parts suggest complex issues. Strange noises or burning smells also mean stop and call a pro. Professionals have tools and skills to replace parts safely and fix hidden faults. Choose help early to protect your system.
Preventing Future Hi Limit 1 Faults
Preventing future Hi Limit 1 faults on your Raypak heater is essential. These faults can cause your heater to stop working or even damage the system. Taking steps to avoid this issue keeps your heater running smoothly and safely. Simple actions can make a big difference in preventing faults. Focus on regular checks, upgrades, and careful monitoring.
Regular Maintenance Schedule
Set up a regular maintenance plan for your heater. Check the Hi Limit switch and other parts often. Clean dust and debris from the system. Replace worn parts before they cause faults. A well-maintained heater runs more reliably. This routine lowers the chance of a Hi Limit 1 fault. Call a professional for yearly inspections.
Upgrading System Components
Older parts can fail and trigger faults. Consider upgrading to newer, more reliable components. New switches and sensors work better under heat stress. Upgrades help avoid frequent faults and improve safety. Choose parts that match your Raypak model. Proper parts keep your system stable and efficient.
Monitoring Heater Performance
Keep an eye on how your heater works daily. Notice any strange sounds or smells. Watch for unusual temperature spikes or shutdowns. Early signs can warn you of a possible Hi Limit fault. Use simple tools like thermometers or smart controllers. Quick action can stop bigger problems and save money.
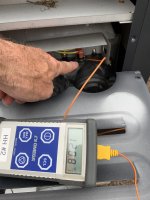
Credit: www.troublefreepool.com
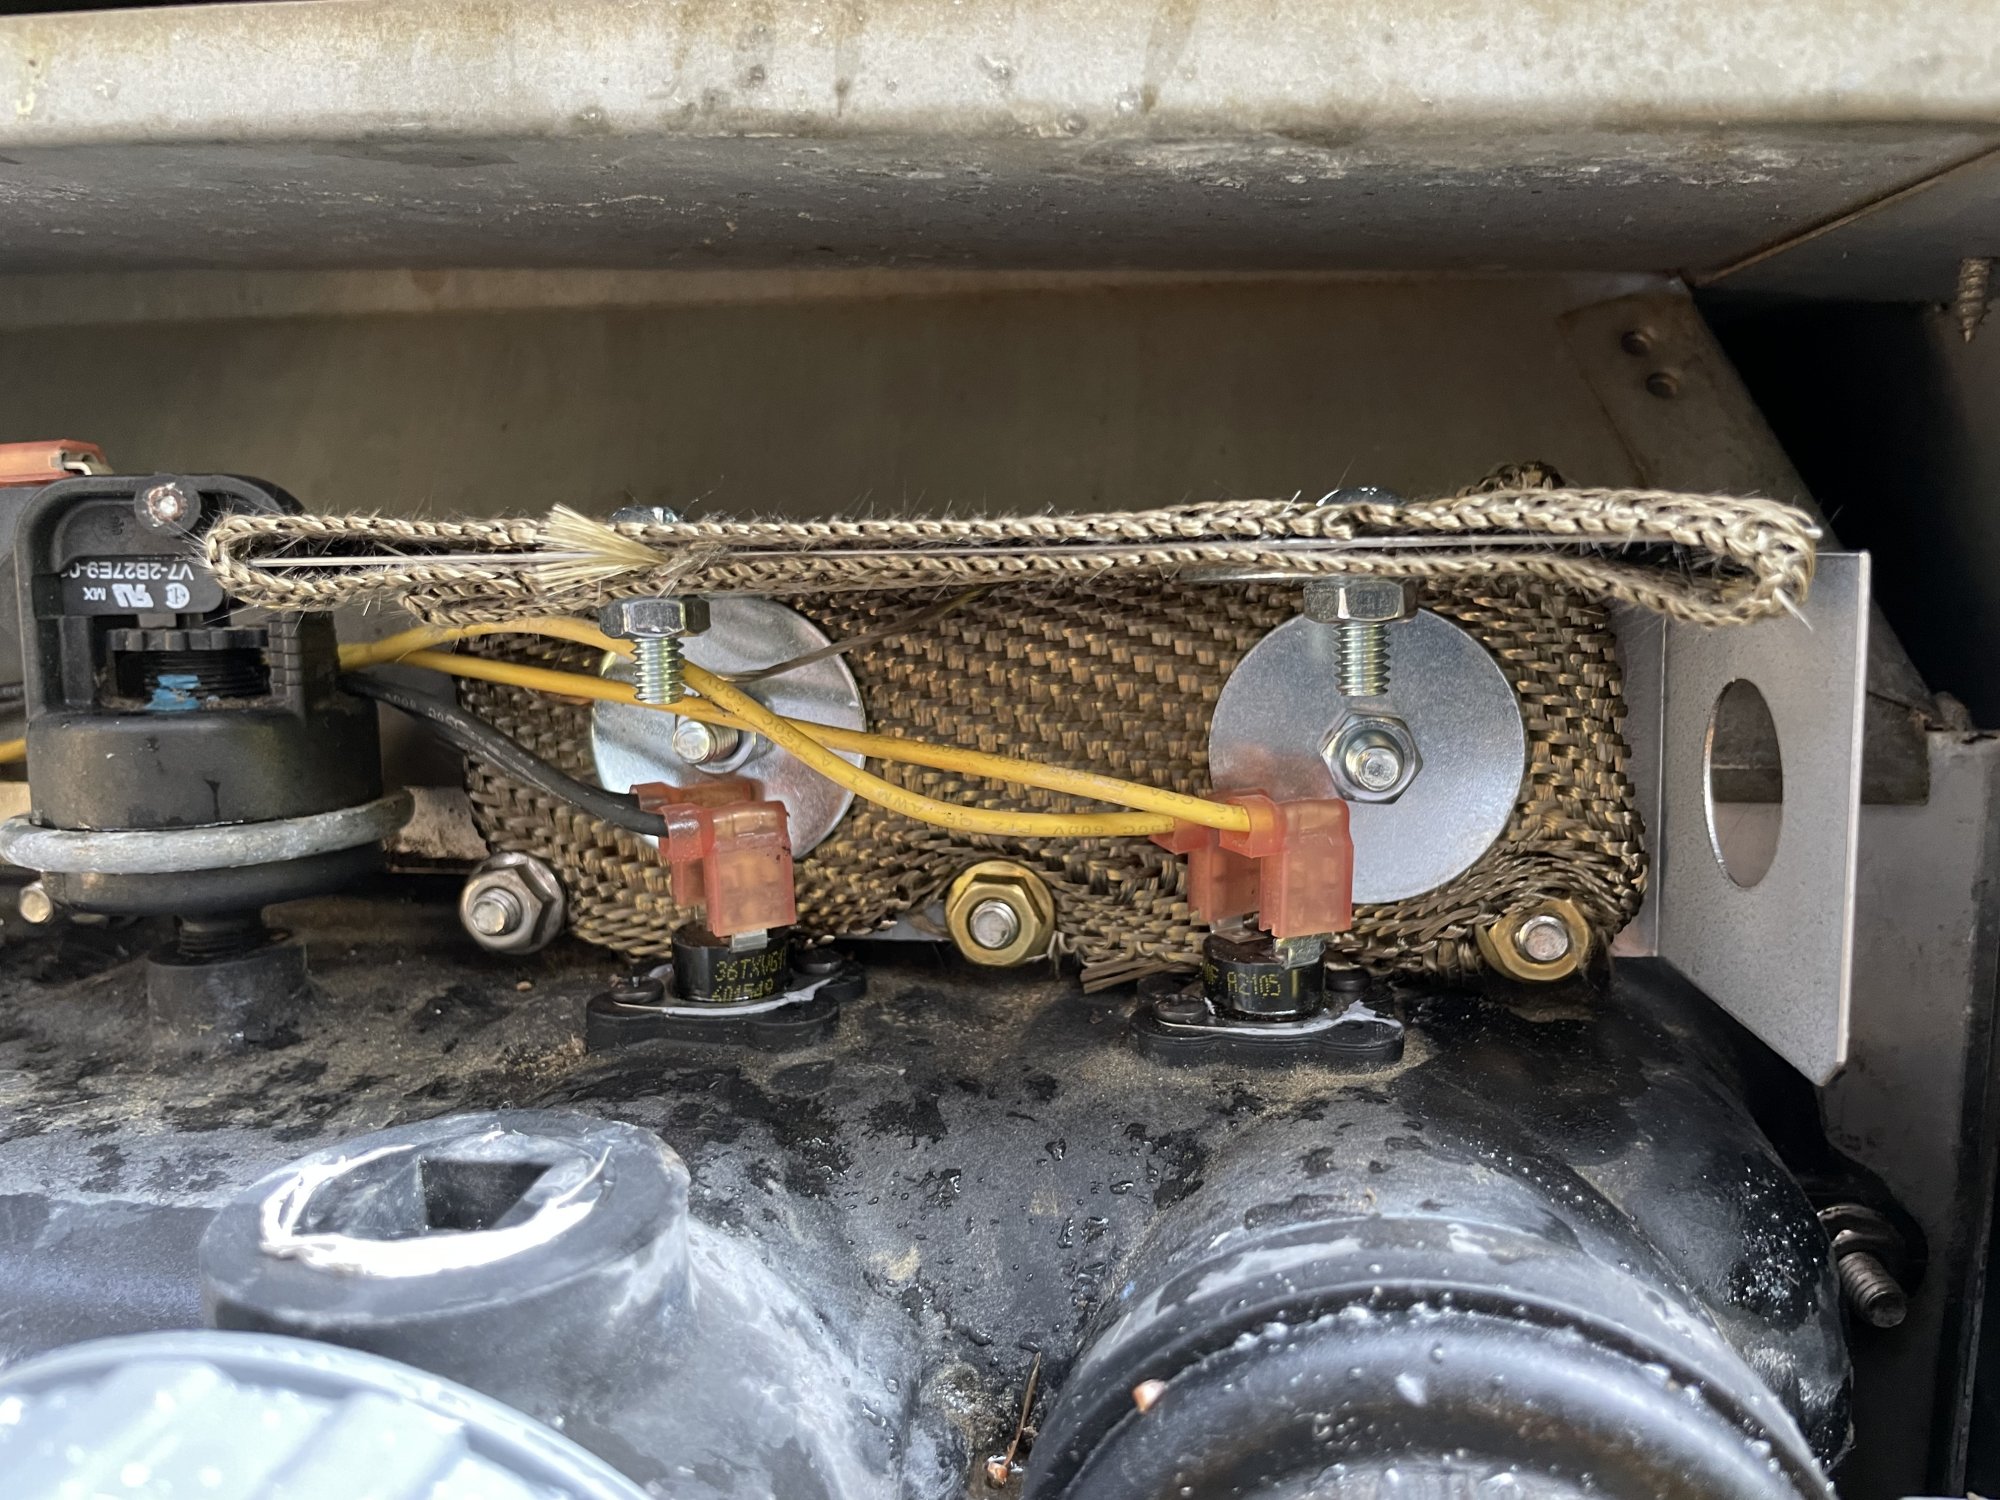
Credit: www.troublefreepool.com
Frequently Asked Questions
What Does Raypak Hi Limit 1 Fault Mean?
It means the safety switch has tripped due to high temperature. This stops the heater to prevent damage or fire.
Why Does The Hi Limit 1 Fault Occur?
This fault happens when the water temperature gets too hot. It can be caused by poor water flow or a faulty sensor.
How Can I Reset The Raypak Hi Limit 1 Fault?
Turn off the heater and wait for it to cool down. Then, reset the switch or power cycle the unit.
Can A Dirty Filter Cause Hi Limit 1 Fault?
Yes, a dirty filter reduces water flow, causing overheating. Cleaning or replacing the filter can often fix this issue.
Should I Call A Professional For Hi Limit 1 Fault?
If basic resets don’t work, calling a technician is best. They can safely check sensors, wiring, and other parts.
Does Low Water Pressure Trigger The Hi Limit 1 Fault?
Low water pressure limits heat removal, causing the heater to overheat. Check and fix water pressure to avoid the fault.
Is It Safe To Ignore The Hi Limit 1 Fault?
Ignoring this fault risks damage or fire. Always address it quickly to keep your heater safe and working well.
Conclusion
Raypak Hi Limit 1 fault can stop your heater from working. Check the high limit switch for dirt or damage. Cleaning or replacing it often fixes the problem. Always turn off power before you start any repair. Regular maintenance helps avoid this fault in the future.
Stay safe and keep your heater running smoothly. This small step saves time and money. Don’t ignore warning signs from your heater. Simple care makes a big difference.