
Is your kitchen sink strainer clogged or damaged? Knowing how to remove it quickly and easily can save you time and frustration.
Whether you want to clean it thoroughly or replace it altogether, this guide will walk you through every step. By the end, you’ll feel confident handling your sink strainer like a pro—no expensive plumber needed. Ready to get started? Let’s dive in!
Tools Needed
Removing a kitchen sink strainer is easier with the right tools. Having the proper tools saves time and avoids damage. Prepare these tools before starting the job.
Adjustable Wrench
An adjustable wrench helps loosen or tighten nuts under the sink. It fits different sizes of nuts and bolts. This tool gives you good grip and control.
Slip-joint Pliers
Slip-joint pliers work well to hold and turn parts. They can open wide to grip various shapes. Use them to remove stubborn parts with ease.
Bucket Or Container
A bucket catches water and debris when removing the strainer. Place it under the sink to keep the area clean. It prevents water from spilling on the floor.
Putty Knife
A putty knife helps to loosen plumber’s putty around the strainer. Slide it gently between the strainer and sink surface. It makes strainer removal smoother without damage.
Flashlight
A flashlight brightens dark areas under the sink. It helps you see small parts clearly. This tool makes the task easier in low light conditions.
Prepare The Sink Area
Clear the area around the sink to have enough space to work. Gather tools like a wrench and a bucket to catch any water. Turn off the water supply to avoid leaks during the removal process.
Remove all dishes, food scraps, and cleaning tools from the sink. A clear area helps you work easily and safely. It also prevents any items from falling into the drain during the process.
Gather Your Tools
Collect the tools you will need to remove the strainer. Common tools include a wrench, pliers, and a bucket. Having everything ready saves time and avoids interruptions.
Place A Bucket Under The Sink
Put a bucket beneath the sink drain. This step catches any water or debris that may spill. It keeps the area clean and prevents water damage to cabinets.
Turn Off The Water Supply
Locate the shutoff valves under the sink and turn off the water. This step stops water flow while you work. Avoids leaks and unexpected spills during removal.
Wear Protective Gloves
Put on gloves to protect your hands from sharp edges and dirt. Gloves also provide a better grip on tools and parts. Keeps your hands clean and safe throughout the task.
Turn Off Water Supply
Turning off the water supply is the first step to remove a kitchen sink strainer safely. It stops water from flowing while you work. This prevents leaks and water damage under your sink. It also makes the task easier and cleaner.
Knowing where and how to turn off the water supply saves time. It avoids unexpected water spills that can cause a mess. Before starting, check the water valves under your sink or the main shut-off valve in your home.
Locate The Water Shut-off Valves
Look under your sink for two small valves. One controls hot water, the other cold. They usually sit near the pipes connected to the faucet. If you cannot find them, check the main water valve in your basement or utility room.
Turn Off The Valves
Grip the valve handle firmly. Turn it clockwise until it stops. This shuts off the water flow to the sink. Turn both hot and cold valves off for safety. If using the main valve, turn it off slowly to avoid pressure damage.
Test The Water Supply
Turn on the kitchen faucet after closing the valves. Water should stop flowing or come out very weakly. This confirms the supply is off. If water still flows, check the valves again or try the main shut-off valve.
Clear Out The Sink
Removing a kitchen sink strainer is simple with the right tools. Start by loosening the locknut under the sink and lifting the strainer out carefully. This helps clear clogs and keeps your sink working well.
Remove Dishes And Items
Start by clearing out all dishes and items from the sink. Empty the sink completely to give yourself space to work. This prevents accidents and makes the process easier. A clear sink helps you see the strainer and tools clearly.
Clear Food Debris
Remove any food scraps or debris from the drain area. Use paper towels or a small brush to wipe away crumbs. Keeping the area clean helps avoid clogging and ensures smooth removal of the strainer. A clean workspace reduces mess during the task.
Dry The Sink Surface
Dry the sink surface with a cloth or towel. A dry surface improves your grip on tools and the strainer. It also prevents slipping, making the process safer. Drying the area prepares you for the next steps in removal.
Loosen The Strainer Nut
Loosening the strainer nut is the key step to remove a kitchen sink strainer. The strainer nut holds the strainer firmly under the sink. It keeps the strainer from moving or falling out. You must loosen this nut to take out the strainer.
Before loosening, clear the area under the sink. Place a bucket or towel to catch any water drips. This makes the task cleaner and easier.
Identify The Strainer Nut
Look under the sink to find the strainer nut. It is usually a large, round nut attached to the strainer’s threaded body. This nut connects the strainer to the drain pipe. It may be metal or plastic depending on your sink model.
Use The Right Tool
Grab a pair of adjustable pliers or a pipe wrench. These tools give you better grip on the nut. Avoid using your hands alone. The nut might be too tight or slippery to turn by hand.
Turn The Nut Counterclockwise
Grip the nut firmly with your tool. Turn it slowly in the opposite direction of the clock. This action loosens the nut. Keep turning until the nut feels loose enough to move by hand.
Apply Penetrating Oil If Needed
If the nut is stuck, spray some penetrating oil. Let it sit for a few minutes. The oil helps break down rust or grime. This makes loosening the nut easier.
Check For Hidden Locking Mechanisms
Some strainers have extra clips or locking tabs. Look closely around the nut area. Remove any clips before turning the nut. This prevents damage to the strainer or pipes.
Remove The Strainer Basket
Start by loosening the locknut under the sink. Then, lift the strainer basket straight up to remove it easily. This clears the way for cleaning or replacement.
Loosen The Strainer Basket
Start by clearing the sink area. Remove any standing water or debris from the strainer basket. Use a wrench or pliers to grip the locknut under the sink. Turn it counterclockwise to loosen the strainer basket. Be careful not to damage the sink or pipes.
Lift The Strainer Basket Out
Once loose, gently lift the strainer basket from the sink drain. It may need a slight wiggle to free it completely. Check for any remaining sealant or putty holding it in place. Remove these carefully to avoid scratches or damage to the sink surface.
Clean The Strainer Basket
After removal, clean the strainer basket with warm soapy water. Remove any food particles or grime stuck inside. This step keeps your sink fresh and prevents clogs. Dry the basket before reinstalling or replacing it.
Clean The Sink Drain
Cleaning the sink drain is an important step after removing the kitchen sink strainer. Dirt and debris often build up inside the drain pipe. This can cause bad smells and slow drainage. A clean drain helps keep your kitchen fresh and running smoothly.
Removing any leftover grime is simple and does not need special tools. Follow these easy steps to clean your sink drain properly.
Remove Loose Debris
Start by taking out any loose pieces of food or gunk inside the drain opening. Use a paper towel or a small brush. This prevents clogs and makes deeper cleaning easier.
Use A Baking Soda And Vinegar Mix
Pour half a cup of baking soda into the drain. Then add half a cup of white vinegar. Let it sit for 10 to 15 minutes. This mixture breaks down grease and clears minor blockages.
Flush With Hot Water
Boil a kettle of water. Carefully pour the hot water down the drain. This washes away the loosened debris and baking soda mixture. Hot water helps keep the drain clear and fresh.
Check For Remaining Blockages
Look inside the drain with a flashlight. Remove any stuck particles with a wire hanger or a drain brush. Make sure the water flows freely before finishing.
Replace Or Repair The Strainer
Replacing or repairing a kitchen sink strainer keeps your sink working well. It stops leaks and prevents clogs. Knowing when to fix or replace saves time and money.
Some strainers can be cleaned and reused. Others need new parts or a full swap. Check the strainer’s condition before starting.
Signs You Need To Replace The Strainer
Look for cracks or rust on the strainer body. Broken parts mean water can leak under the sink. If cleaning does not help, replace the strainer. Old strainers may not fit new sinks well.
How To Repair Minor Strainer Problems
Remove debris and buildup from the strainer basket. Tighten loose screws or nuts carefully. Replace worn-out rubber gaskets or washers. Use plumber’s putty to seal small leaks around the strainer.
Choosing The Right Replacement Strainer
Measure the sink drain size before buying. Pick a strainer that matches your sink type. Stainless steel strainers last longer and resist rust. Check if the strainer comes with all needed parts.
Steps To Install A New Kitchen Sink Strainer
Turn off the water supply. Remove the old strainer and clean the drain opening. Apply plumber’s putty around the new strainer flange. Insert the strainer and tighten the locknut underneath. Reconnect the drain pipes and check for leaks.
Reassemble The Sink Components
After removing the kitchen sink strainer, putting everything back is key. Reassembling the sink parts ensures your sink works well and avoids leaks. The process is simple if you follow the right steps. Take your time and check each part carefully.
Clean And Inspect The Parts
Start by cleaning all parts with a soft cloth. Remove old putty or debris from the sink surface. Check the strainer and flange for damage or wear. Replace any broken pieces before reassembly. Clean parts fit better and prevent leaks.
Apply Plumber’s Putty
Roll a small amount of plumber’s putty into a rope. Place the putty under the flange’s edge. This seals the gap between the sink and strainer. Press the flange firmly into the sink drain hole. Excess putty will squeeze out; wipe it away with a cloth.
Attach The Strainer Body
Insert the strainer body from below the sink. Align it with the flange above. Thread the locknut onto the strainer body by hand. Tighten the locknut with a wrench, but do not overtighten. Ensure the strainer stays centered and sealed.
Reconnect The Drain Pipes
Reattach the drain pipes to the strainer tailpiece. Tighten all slip nuts by hand first. Use a wrench for a snug fit, avoiding overtightening. Check that all connections are secure and aligned. This prevents leaks and keeps water flowing smoothly.
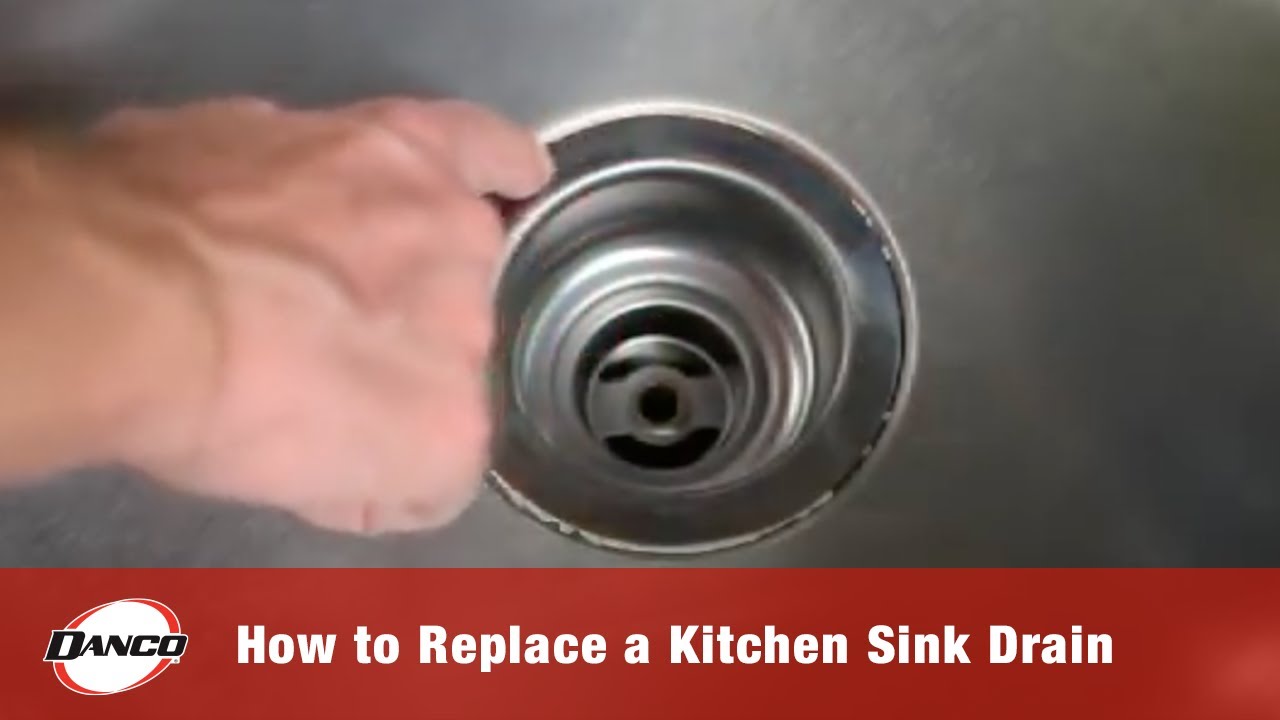
Credit: www.youtube.com
Test For Leaks
Testing for leaks is a key step after removing a kitchen sink strainer. It helps ensure no water escapes from the drain area. Catching leaks early saves you from water damage and costly repairs.
Once you reinstall or replace the strainer, the test confirms a tight seal. A leak test is simple and quick but very effective.
Clear the sink and dry the area around the strainer. Use a clean towel to remove any water or debris. This helps spot leaks easily during the test.
Run Water Slowly
Turn on the faucet and let water flow into the sink slowly. Watch the area under the sink closely. Look for any signs of dripping or moisture around the strainer.
Check Underneath The Sink
Use a flashlight to inspect the pipes and connections below. Look for any wet spots or puddles. Even a small drip can mean the seal is not tight.
Wipe And Repeat
If you see water, dry the area again. Tighten the strainer or connections slightly. Run water again and check for leaks. Repeat until no water appears.
Use Paper Towel Test
Place a dry paper towel around the strainer base. Run water for a few minutes. Check the paper towel for wet spots. This simple trick shows hidden leaks well.
Tips To Prevent Future Issues
Keeping your kitchen sink strainer in good shape saves time and money. Small habits help stop clogs and damage. Use simple tips to keep the strainer working well for years.
Regular Cleaning Of The Strainer
Clean the strainer every few days. Remove food bits and rinse with hot water. This stops buildup that blocks water flow. Use a soft brush to scrub away grease and dirt.
Avoid Pouring Grease Down The Drain
Never pour cooking oil or grease into the sink. Grease hardens and causes clogs. Pour grease into a container and throw it in the trash instead. This keeps pipes clear and smooth.
Use A Drain Cover
Place a drain cover over the strainer. It catches small food scraps and prevents them from entering pipes. Clean the cover regularly to keep water flowing freely.
Flush With Hot Water Weekly
Run hot water down the drain once a week. Hot water melts grease and washes away buildup. This simple step helps maintain clear pipes and a fresh-smelling sink.
Check And Tighten Strainer Parts
Inspect the strainer parts every few months. Tighten any loose screws or fittings. Loose parts can cause leaks or let debris enter the drain. Keeping parts snug extends strainer life.

Credit: www.wikihow.com

Credit: www.reddit.com
Frequently Asked Questions
How Do I Remove A Kitchen Sink Strainer?
To remove a kitchen sink strainer, first disconnect the drain pipe. Then, loosen the locknut under the sink using a wrench. Finally, lift the strainer out from the sink basin carefully.
What Tools Are Needed To Remove A Sink Strainer?
You need a wrench, pliers, a bucket, and possibly plumber’s putty. These tools help loosen the locknut and catch any water spills during removal.
Can I Remove A Sink Strainer Without Professional Help?
Yes, removing a sink strainer is a simple DIY task. With basic tools and careful steps, most homeowners can do it safely and effectively.
How Long Does It Take To Remove A Kitchen Sink Strainer?
Removing a kitchen sink strainer typically takes 15 to 30 minutes. The time depends on your experience and the sink’s condition.
Conclusion
Removing a kitchen sink strainer is easier than it seems. With the right tools and steps, you can do it yourself. Take your time and follow the instructions carefully. This saves money and avoids unnecessary calls to plumbers. Keep your kitchen sink clean and functioning well by checking the strainer regularly.
A little effort goes a long way in home maintenance. Now, you are ready to handle this simple task confidently.