
Removing the front wheel of a scooter takes about 15 to 25 minutes using basic hand tools, costs nothing if you already own wrenches, and rates as an easy repair. You only need a stable box or stand to elevate the deck before loosening any hardware.
Tools to remove your scooter wheel
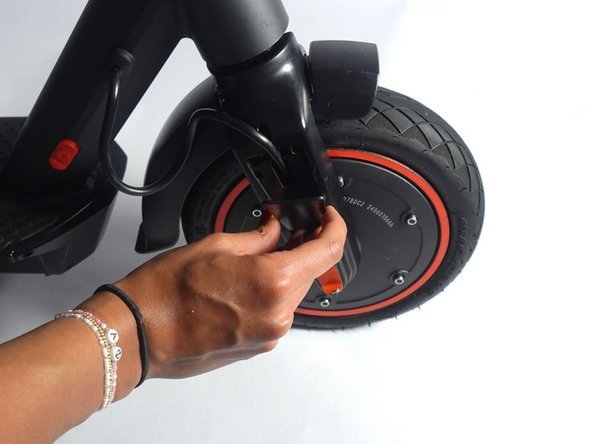
| Item | How much | Why it’s needed | A substitute |
|---|---|---|---|
| Allen wrench | 2 keys, 4mm to 6mm | Holds and turns the axle screws | Hex sockets on a ratchet |
| Open-end wrench | 1 or 2, 17mm to 19mm | Loosens outer nuts on electric models | Adjustable crescent wrench |
| Clean rag | 1 dry cloth | Wipes away grease and road grit | Paper towels |
| Flat screwdriver | 1 small tool | Pries off protective plastic bolt covers | none — don’t swap this |
| Stable crate or box | 1 sturdy support | Keeps the front fork elevated safely | Heavy toolbox or dedicated stand |
Before you start
- Turn off the scooter completely and unplug the charging cable from the wall port.
- Place the scooter deck on a sturdy crate so the front wheel hangs 2 to 3 inches off the ground.
- Peel off any decorative stickers or snap-on plastic covers protecting the fork bolts.
- Check the hub for motor wiring; if X shows thick internal power cables, do A: disconnect the quick-release harness clip; if Y shows bare non-powered forks, do B: proceed directly to loosening the axle.
- Stop immediately if your motor cables lack an exterior plug and route directly through an internal, sealed frame entry; take the scooter to an authorized repair technician to avoid damaging the waterproof seals and voiding your warranty.
The Consumer Product Safety Commission micromobility safety guidance warns against modifying damaged electrical connections during repairs to prevent thermal hazards.
Step by step
- Place your box underneath the main deck so the front tire spins freely without touching the floor.
- Insert a flathead screwdriver tip beneath the plastic side caps on the fork and pry them off gently until the axle hardware shows.
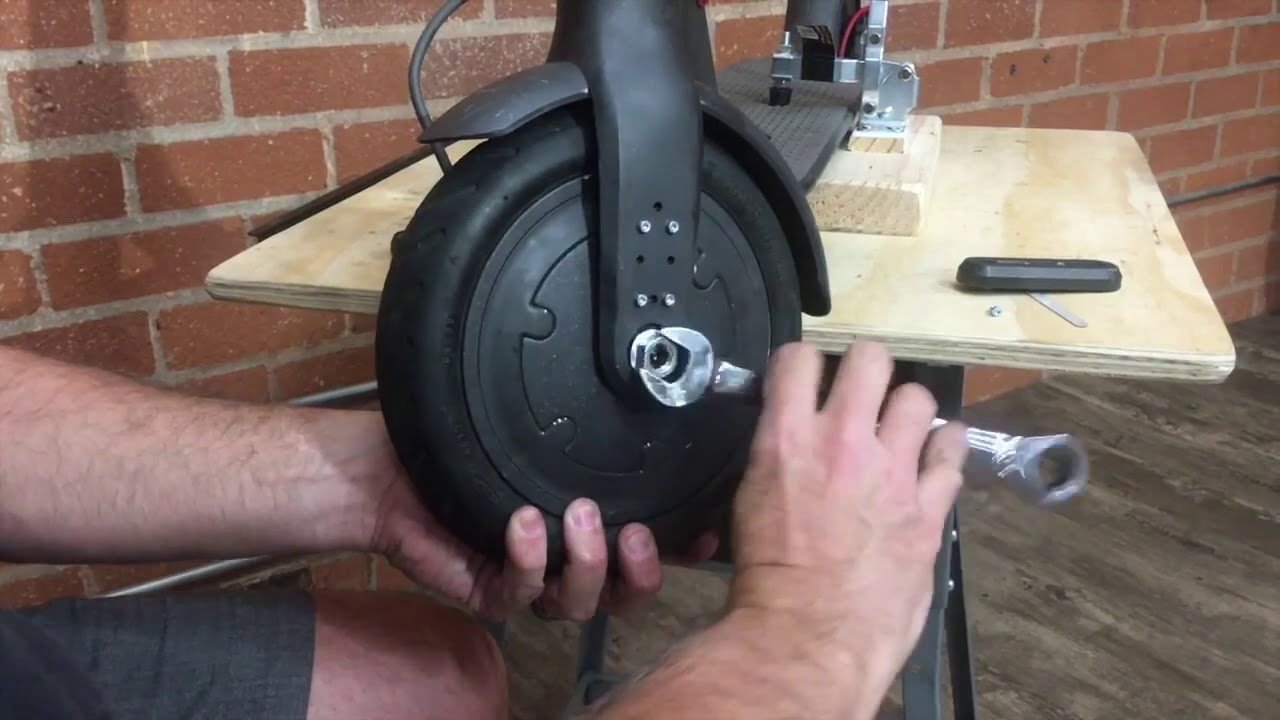
- Fit the proper size wrench onto the left axle bolt and your second wrench onto the right axle bolt to keep the axle shaft from spinning freely.
- Turn the axle bolt counterclockwise using your wrench until it unthreads from the fork or the opposing nut.
- Unscrew the outer nut completely by hand and slide it off along with the metal lock washer.
- Slide the long axle pin straight out from the opposite side of the fork dropouts using your fingers or a light tap from a rubber mallet.
- Note the orientation of the wheel spacers on both sides so you don’t install them backward later.
- Pull the wheel down and out from the fork dropouts while sliding the brake disc carefully away from the caliper pads.
How to know it worked
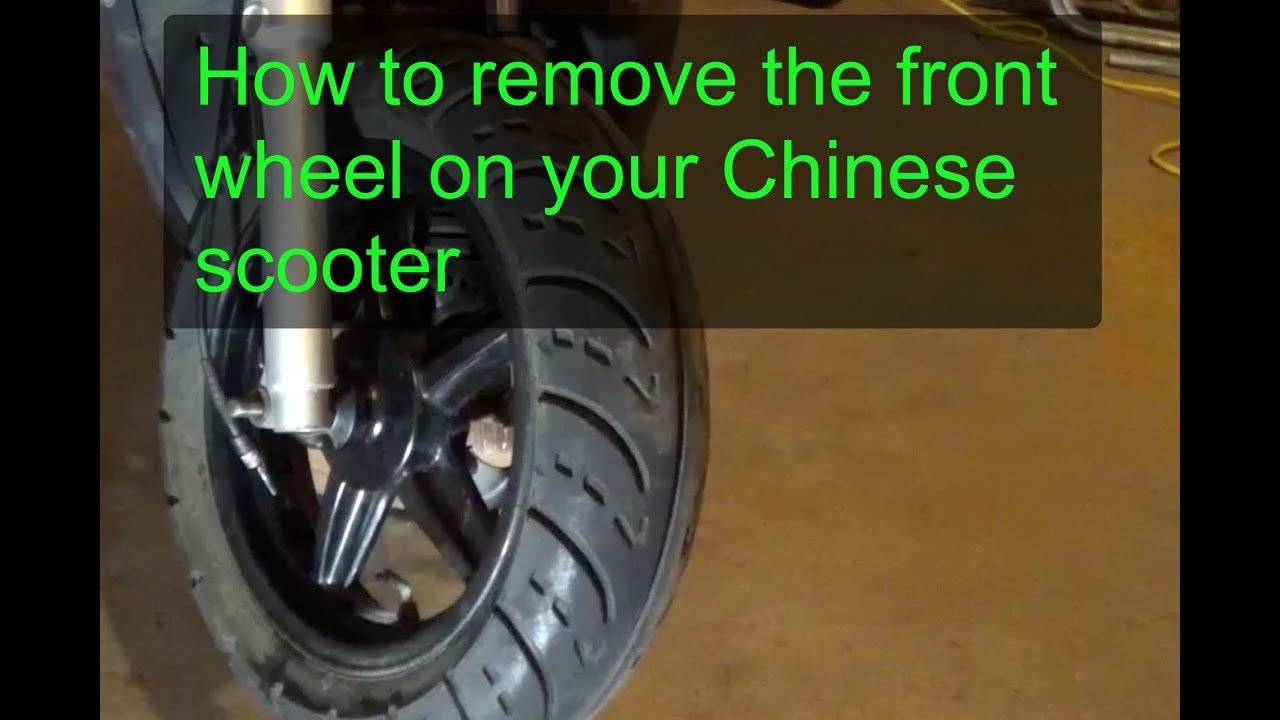
The wheel slides free from the metal dropouts without snagging on cables or brake parts. Both metal spacers and the main axle bolt should sit in a clean dish with zero stripped threads. When checking the empty fork, you’ll hear no clicking from loose bearings, and the fork arms will show no bent metal. If the axle binds halfway out, don’t force it; tapping too hard costs you a new fork assembly by bending the soft aluminum dropouts. A successful removal means the wheel separates with hand pressure alone.
This process trades off factory bolt tightness for easy servicing, so you’ll need to re-tighten bolts carefully during reassembly. This guide isn’t for riders with sealed hydraulic lines that can’t clear the fork without a system bleed.
If something goes wrong
| What happened | Why | What to do |
|---|---|---|
| Axle spins without loosening | Both sides are turning together | Hold the opposite side with a second wrench |
| Wheel stays stuck in fork | Brake pads grip the rotor disc | Loosen the caliper mounting bolts slightly |
| Hex bolt head strips out | Used a loose-fitting Allen key | Tap a slightly larger Torx bit inside |
| Spacer drops and rolls away | Spacers sit loosely against bearings | Check work area with a strong magnetic pickup |
| Cable pulls tight during drop | Wire harness clip wasn’t unbuckled | Support the wheel weight and unplug the harness |
How often to do this
Remove the front wheel every 600 to 1,000 miles for road commuter models, or every 300 to 500 miles if you ride off-road on dirt and gravel paths. Wet weather and road salt will force you to service the wheel sooner, as water washes out bearing grease and rusts the steel axle shaft. Frequent jumps or rough curb impacts also shorten this interval by shifting spacer alignment. This varies by model — check your owner’s manual for exact torque settings and servicing limits before starting maintenance.
Frequently asked questions
Can I remove the wheel without taking off the brake caliper?
Yes, you can leave the caliper in place if the brake rotor slides out cleanly. Pull the tire straight downward so the metal disc doesn’t clip the brake pads. If the disc catches, loosen the two caliper mounting bolts by two full turns to give it room.
Why won’t my scooter axle slide out of the fork?
Road grit, corrosion, or dried threadlocker binds the steel bolt to the aluminum fork hole. Spray penetrating lubricant onto both ends of the axle pin and wait 10 minutes. Tap the bolt head lightly with a rubber mallet while supporting the opposite fork leg with your hand.
How long does it take to change a front scooter tire?
About 30 minutes for a standard kick scooter, or up to 60 minutes for a hub-motor wheel with wiring. Working slowly prevents pinched inner tubes and stripped bolt heads. Using proper tire levers speeds up the process significantly compared to using household tools.
Is it safe to ride if an axle washer is missing?
No, riding without every factory washer allows the wheel to shift sideways inside the dropouts. Missing hardware causes severe speed wobbles and can bend the axle under heavy braking. Buy an exact replacement washer from the manufacturer before you ride the scooter again.
What happens if I overtighten the axle bolts?
Crushing the inner bearing races will cause the front wheel to drag and seize while riding. Tighten the bolts until snug against the fork arms, then test the spin by hand. The tire should rotate smoothly for several seconds without grinding sounds or sudden stops.
Does it matter which way the front tire faces when reinstalled?
Yes, most scooter tires feature directional tread patterns marked by an arrow on the rubber sidewall. The arrow must point in the direction the wheel turns when traveling forward. Installing a tire backward reduces wet grip and pushes water beneath the contact patch instead of clearing it.
Final Thoughts
Once the axle is tight and your wheel spins freely, give the scooter a quick test ride around your driveway. You’ll want to check that the brakes aren’t rubbing and everything feels secure. If it rolls smoothly, you’re ready to get back out there and enjoy the rest of your day.