
Are you struggling with your Raypak heater showing High Limit 1 Fault or 2 Fault errors? These faults can stop your system from working properly, leaving you frustrated and unsure of what to do next.
But don’t worry—you’re not alone, and fixing these issues might be easier than you think. You’ll discover simple, clear steps to diagnose and solve these common Raypak faults. By the end, you’ll feel confident in getting your heater back to running smoothly, saving you time and money on repairs.
Keep reading to unlock the easy fixes that can restore your comfort fast!
Raypak High Limit Faults Explained
Raypak heaters have safety features to protect the system. One common issue is the high limit fault. It stops the heater if it gets too hot. This prevents damage and keeps users safe.
Two main types of high limit faults occur: High Limit 1 and High Limit 2. Both signal overheating but have different causes. Understanding these faults helps with quick fixes and safe operation.
What Causes High Limit 1 Fault
High Limit 1 fault happens when the water temperature rises too fast. It triggers if the sensor detects a sudden spike. This fault can be caused by blocked water flow or a dirty filter. Sometimes, a faulty sensor gives a false reading. Check the pump and pipes for clogs. Clean the filters regularly to avoid this issue.
Reasons Behind High Limit 2 Fault
High Limit 2 fault occurs from prolonged overheating. It means the heater stayed too hot too long. This happens if the thermostat fails to control the heat. Another reason is a malfunctioning pump that does not circulate water well. Electrical problems can also cause this fault. Inspect the thermostat and pump for proper function. Replace damaged parts to fix this error.
Credit: www.troublefreepool.com
Safety Precautions Before Repair
Before fixing Raypak High Limit 1 Fault and 2 Fault, safety is key. Working with electrical and mechanical parts can be risky. Taking safety steps helps avoid accidents and damage. Always prepare properly before starting any repair. This guide covers crucial safety tips to follow.
Power Off And Isolation
Turn off the power supply to the Raypak unit. Use the main circuit breaker or disconnect switch. This stops electricity from flowing to the heater. Verify power is off using a voltage tester. Isolate the unit from other electrical sources. This prevents accidental electric shocks during repair.
Handling Electrical Components Safely
Wear insulated gloves when touching electrical parts. Avoid working in wet or damp conditions. Use tools with insulated handles for extra protection. Never touch wires or terminals with bare hands. Keep the work area clean and organized. Follow manufacturer instructions carefully to avoid damage or injury.
Tools Needed For Troubleshooting
Troubleshooting Raypak High Limit 1 Fault and 2 Fault requires the right tools. Using proper tools makes the process easier and safer. It helps identify the problem faster and avoids damage. Below are the tools needed for effective troubleshooting.
Basic Tools Checklist
- Screwdrivers (flathead and Phillips) for opening panels
- Multimeter to check electrical readings
- Wrench set for loosening and tightening bolts
- Flashlight for better visibility inside the unit
- Insulated gloves to protect against electrical shocks
- Voltage tester to confirm power status
Specialized Equipment
- Temperature sensor tester to verify sensor function
- Pressure gauge to measure water pressure accurately
- Thermostat calibration tool for adjusting temperature settings
- Diagnostic software or handheld device for advanced error codes
- Replacement high limit switches for quick swap if faulty

Credit: www.reddit.com
Resetting The High Limit Faults
Resetting the high limit faults on your Raypak heater is a simple step to solve common errors. These faults occur when the water temperature gets too high. Resetting clears the error and allows the heater to work normally again.
Always check the cause of the fault before resetting. This prevents repeated problems. Follow the steps below to reset the high limit faults safely and quickly.
Manual Reset Procedure
Locate the reset button on the heater’s control box. It is usually red and small. Press the button firmly. Hold it for about 5 seconds. Release the button and wait a moment. The system should reset, and the fault light will turn off.
Check the heater to see if it starts working again. If the fault returns, the heater may need service. Avoid pressing the reset button many times in a row.
Using The Control Panel
Turn on the control panel of your Raypak heater. Look for the menu option that shows error codes or faults. Select the high limit fault code. Press the reset or clear button on the panel. Confirm the reset if asked.
Observe the panel for any new error messages. The heater should now run without the high limit fault. This method is good for newer models with digital controls.
Inspecting And Cleaning Components
Inspecting and cleaning the components of your Raypak heater is key to fixing High Limit 1 and 2 faults. Dirt, dust, and corrosion often cause these errors. Regular checks keep your system safe and working well. This section guides you through basic steps to inspect and clean parts effectively.
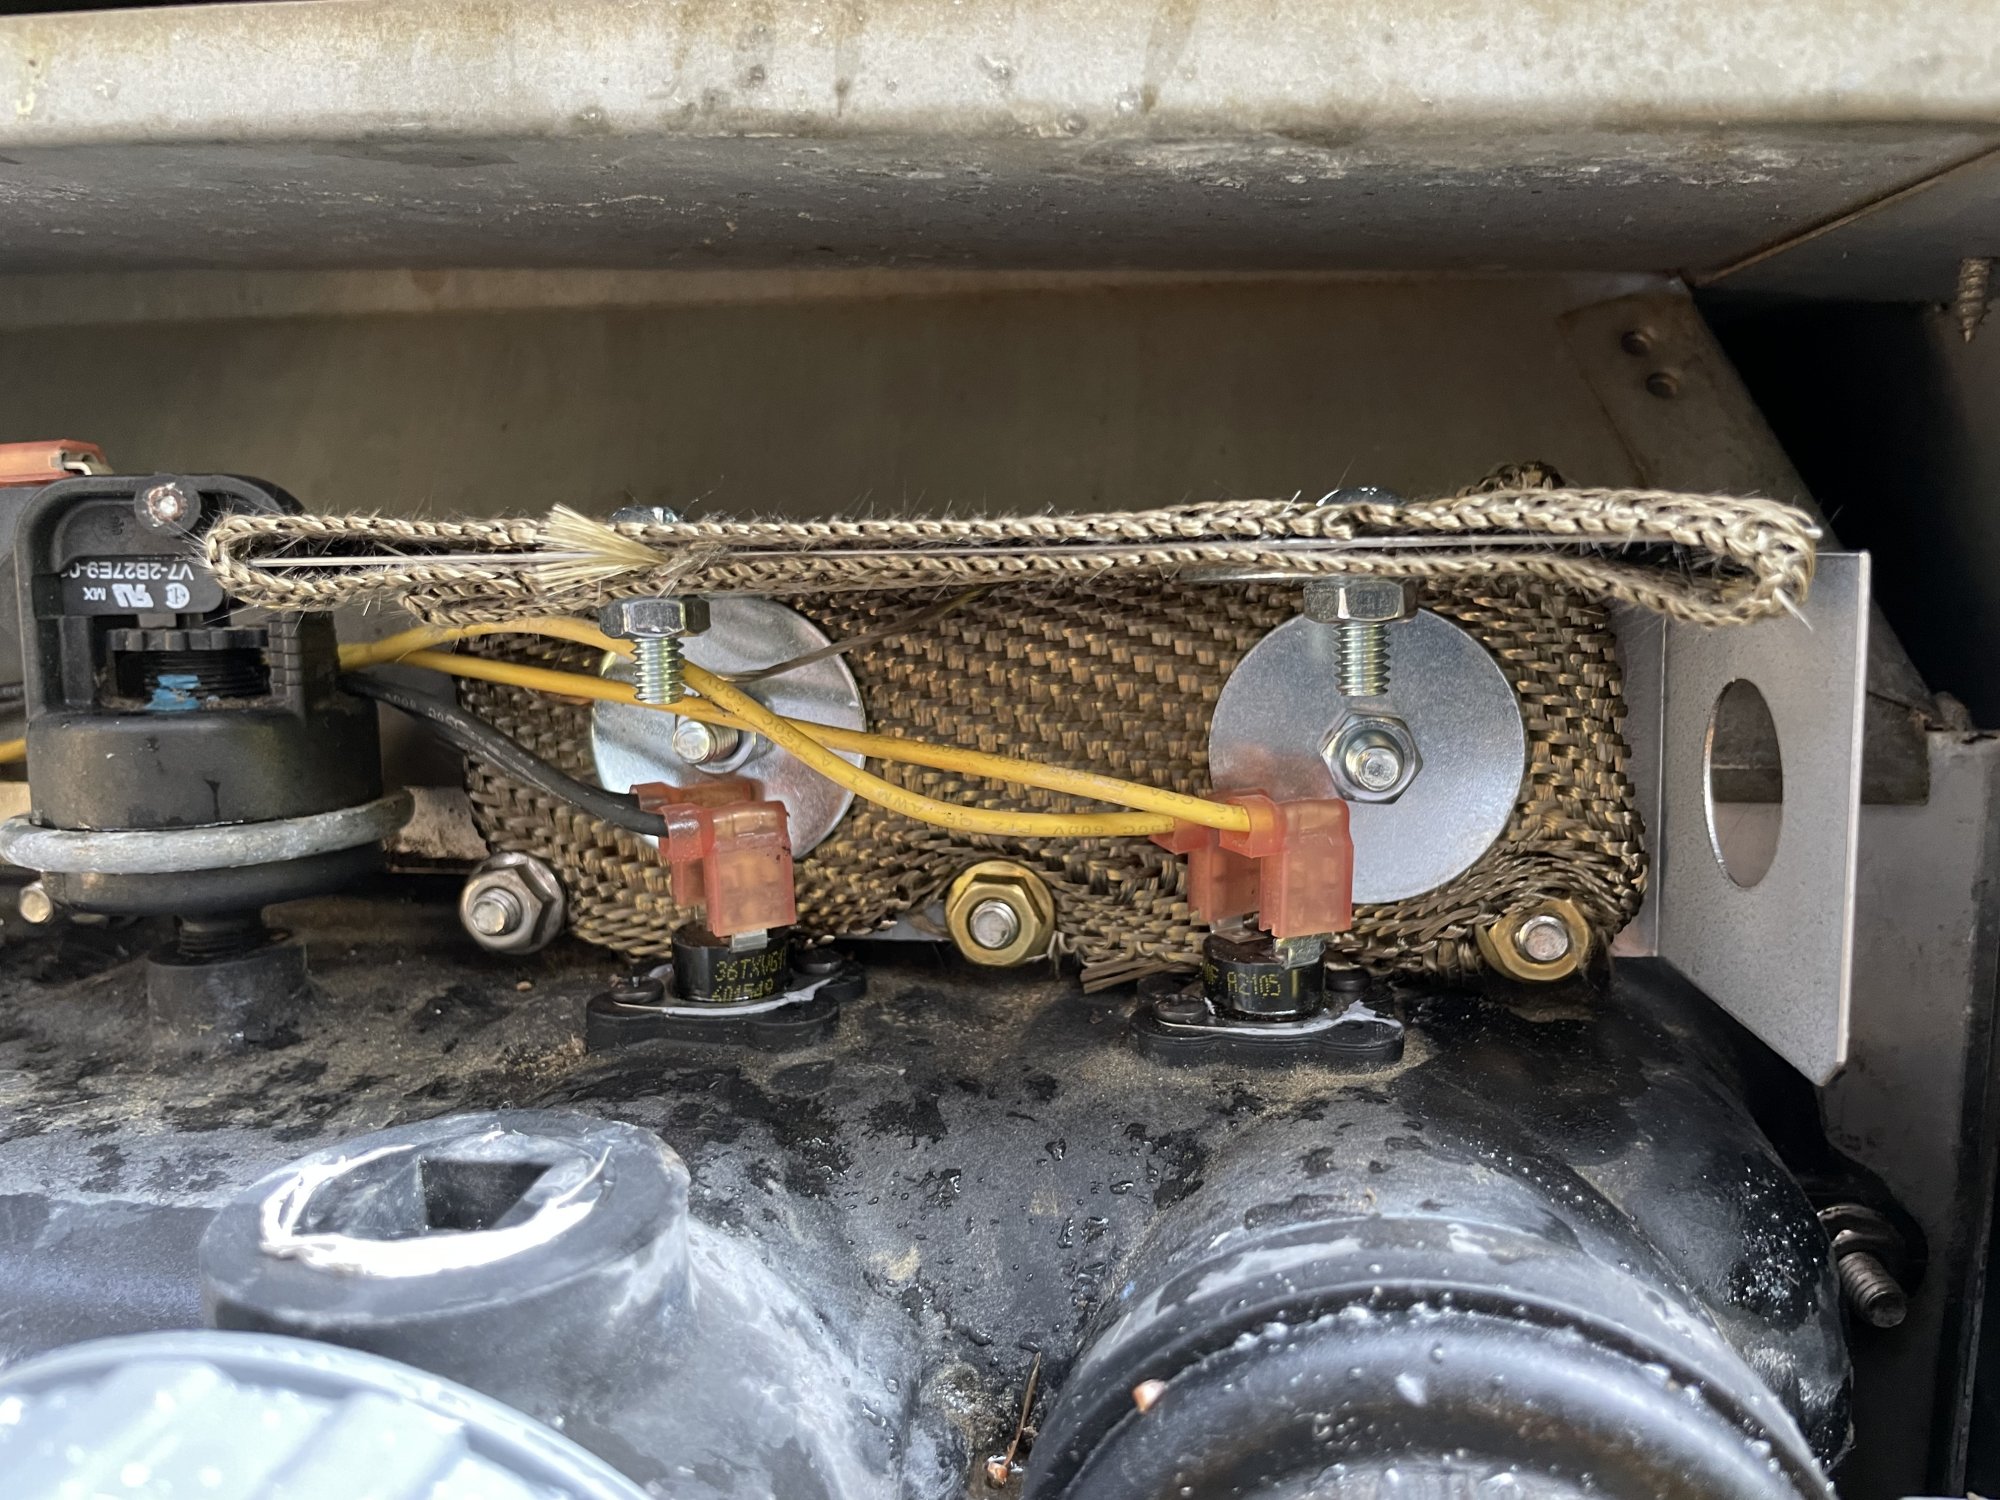
Checking The High Limit Switch
The high limit switch stops the heater if it gets too hot. Start by turning off power to your Raypak unit. Locate the high limit switch near the burner area. Look for signs of damage or corrosion on the switch. Test the switch with a multimeter for continuity. If it shows no continuity, replace the switch. Clean the switch gently to remove dust and debris. A clean, working switch prevents false faults and overheating.
Cleaning Sensors And Connections
Sensors send important signals to your heater’s control system. Dirt or loose wires cause wrong readings and faults. Turn off the heater and unplug it. Find all sensors related to temperature and pressure. Use a soft cloth or brush to clean sensor surfaces carefully. Check electrical connections for rust or looseness. Tighten loose wires and clean terminals with contact cleaner. Clean sensors and solid connections help your heater run smoothly without errors.
Testing The Thermostat And Sensors
Testing the thermostat and sensors is crucial for fixing Raypak High Limit 1 and 2 faults. These parts control the water heater’s temperature and safety features. Faulty sensors or thermostats can cause the system to shut down or show error codes. Proper testing helps identify if these components work correctly or need replacement.
Thermostat Functionality Check
First, turn off the power to the heater. Locate the thermostat on the Raypak unit. Use a multimeter to check for continuity. Set the multimeter to the lowest ohms setting. Place the probes on the thermostat terminals. A reading near zero means the thermostat works. No reading or infinite resistance means it is faulty.
Test the thermostat at room temperature and at higher temperatures. This ensures it activates and deactivates properly. Replace the thermostat if it fails these tests. A working thermostat maintains safe water temperatures and prevents faults.
Sensor Calibration Tips
Check the sensors for dirt or damage before testing. Clean sensors gently with a soft cloth if needed. Use a multimeter to measure sensor resistance. Compare readings with the manufacturer’s specifications. If readings are off, the sensor may need calibration or replacement.
Ensure sensors are firmly connected and placed correctly. Loose connections can cause false fault signals. Calibrate sensors by adjusting their position or using calibration tools if available. Proper sensor calibration helps avoid High Limit faults and keeps the system stable.
Replacing Faulty Parts
Replacing faulty parts is a key step in fixing Raypak High Limit 1 and 2 faults. These faults often happen because some parts stop working well. Fixing the problem means finding the broken parts and changing them. This keeps your heater safe and running smoothly. Repairing parts is often easier and cheaper than buying a new unit. It also helps avoid bigger problems later.
When To Replace High Limit Switch
The high limit switch stops the heater from getting too hot. It breaks if the heater turns off too soon or too late. Replace this switch if it looks worn or does not reset after a fault. Also, change it if the heater keeps shutting off without reason. A bad switch can cause safety risks. Testing the switch with a multimeter shows if it works or not.
Ordering Compatible Replacement Parts
Always use parts made for your Raypak model. Using the wrong parts can cause more faults. Check your heater’s manual or label for the correct part number. Buy parts from trusted sellers or the official Raypak website. Keep the original part number handy when ordering. This ensures the new part fits perfectly and works well. Quality parts last longer and keep your heater safe.

Credit: www.reddit.com
Preventive Maintenance Tips
Preventive maintenance helps avoid Raypak High Limit 1 and 2 faults. It keeps your heating system safe and working well. Small checks can stop big problems. Regular care saves time and money over time.
Regular Inspection Schedule
Check your Raypak system every month. Look for dirt, leaks, or damage. Clean the filter and clear debris around the unit. Test the high limit switches to ensure they work. Replace any worn or broken parts immediately. Write down your inspection dates and findings. This routine helps catch issues early and prevents faults.
Keeping The System Efficient
Keep your system running smoothly by cleaning parts often. Flush the system to remove buildup inside pipes. Check water pressure and temperature settings. Make sure vents and airways are clear. Lubricate moving parts to reduce wear. Use the right fuel and water quality. Efficient systems reduce stress on components and lower fault chances.
Frequently Asked Questions
What Causes Raypak High Limit 1 Fault Error?
The High Limit 1 fault happens when the water temperature goes too high. This can be due to a stuck high limit switch or poor water flow. Checking these parts helps find the cause quickly.
How To Reset Raypak High Limit 2 Fault?
To reset the High Limit 2 fault, turn off the power first. Wait a few minutes, then turn the power back on. This often clears the error and restarts the system.
Can Dirty Filters Cause Raypak High Limit Faults?
Yes, dirty filters reduce water flow, causing overheating and high limit faults. Cleaning or replacing filters regularly keeps the system running safely. Good water flow prevents these errors.
When Should I Replace The Raypak High Limit Switch?
Replace the switch if it is stuck or damaged and causes repeated faults. Testing with a multimeter shows if it works correctly. A new switch ensures proper system safety.
Is Professional Help Needed For Raypak High Limit Faults?
Simple resets and cleaning can be done at home. For frequent or unclear faults, a professional technician should inspect the system. They ensure safe and proper repairs.
Conclusion
Fixing Raypak High Limit 1 and 2 faults is easier than it seems. Start by checking the thermostat and wiring. Clean any dirt or debris around the heater. Replace faulty parts to keep your system safe. Regular maintenance helps avoid these errors in the future.
Follow these steps carefully for smooth operation. Your heater will run better and last longer. Stay patient and take one step at a time. Troubleshooting becomes simple with clear guidance and care.