
Thinking about giving your kitchen a fresh start? Knowing how to demo a kitchen the right way can save you time, money, and a lot of headaches.
Whether you’re planning a full remodel or just want to update a few key areas, understanding the steps before you pick up a hammer is crucial. In this guide, you’ll find simple, clear advice that helps you avoid common mistakes and makes the whole process smoother.
Ready to take control of your kitchen makeover? Keep reading, and you’ll learn exactly what to do to get started with confidence.

Credit: www.youtube.com
Planning Your Kitchen Demo
Planning your kitchen demo sets the foundation for a smooth renovation. A well-thought plan saves time, money, and stress. This stage helps you understand your space, costs, and legal needs.
Assessing Your Space
Start by examining your kitchen carefully. Note the size, layout, and existing fixtures. Identify any walls that support the structure. Check for plumbing and electrical lines. This step helps avoid surprises during demolition.
Setting A Budget
Decide how much money you can spend on your kitchen demo. Include costs for tools, labor, and waste disposal. Leave extra funds for unexpected expenses. A clear budget keeps your project on track.
Gathering Necessary Permits
Check local rules about kitchen demolition. Some areas require permits for plumbing, electrical, or structural changes. Contact your local building department for details. Getting permits avoids fines and delays.
Essential Tools And Safety Gear
Demolishing a kitchen takes careful planning and the right gear. Essential tools and safety equipment help you work faster and prevent injuries. Prepare well to protect yourself and your home.
Must-have Tools
Start with a sturdy crowbar for prying cabinets and walls apart. A sledgehammer breaks down tough surfaces like tiles and drywall. Use a reciprocating saw to cut pipes and wood. A drill helps remove screws quickly. Keep a hammer and utility knife nearby for small tasks. Have a heavy-duty trash bin for debris. These tools cover most demolition jobs safely and efficiently.
Protective Equipment
Safety gear saves lives during demolition. Wear a hard hat to protect your head from falling objects. Safety goggles shield your eyes from dust and flying debris. Use a dust mask or respirator to avoid inhaling harmful particles. Gloves protect your hands from sharp edges and splinters. Wear sturdy boots with steel toes to guard your feet. Long sleeves and pants prevent cuts and scratches. Dress for safety, not style.
Safety Precautions
Turn off electricity and water supplies before starting. Check for hidden wires or pipes behind walls. Work slowly to avoid accidents. Keep children and pets away from the site. Dispose of materials properly to avoid hazards. Take breaks to stay alert. Listen to your body and stop if you feel tired. Safety makes demolition easier and faster.
Step-by-step Demolition Process
Demolishing a kitchen requires a clear plan and careful steps. Following the right order helps keep the process safe and organized. Each part of the kitchen must come down in a specific way. This ensures no damage to your home and makes the next phase easier.
The step-by-step demolition process breaks down the work. It starts with shutting off utilities and ends with removing walls and floors. This guide shows how to do each part safely and efficiently.
Shutting Off Utilities
Turn off the water supply to avoid leaks or floods. Shut off the gas line to prevent dangerous leaks. Switch off the electricity at the main breaker to stop shocks. Double-check that all utilities are off before starting work. This step protects you and your home during demolition.
Removing Cabinets And Appliances
Take out all appliances like the refrigerator and stove first. Disconnect wires and pipes carefully to avoid damage. Unscrew and remove cabinets one by one. Keep screws and hardware for reuse if possible. This clears the space for easy access to countertops and walls.
Taking Down Countertops And Backsplashes
Use a pry bar to lift countertops gently from the cabinets. Remove any caulk or glue holding countertops in place. Take down the backsplash tiles or panels carefully to avoid wall damage. Clean the area after removal to prepare for the next step.
Demolishing Walls And Flooring
Start with any non-load-bearing walls first for easier removal. Use proper tools like hammers and crowbars to break down drywall. Remove flooring materials such as tiles or hardwood with care. Dispose of all debris safely to keep the worksite clean and safe.

Credit: abhservicesinc.com
Handling Debris And Waste
Handling debris and waste is a crucial step in kitchen demolition. Proper management keeps your workspace safe and clean. It also helps reduce environmental harm. Careful sorting and disposal save time and money later.
Sorting Materials For Disposal
Start by separating materials into groups. Wood, metal, drywall, and glass all go in different piles. Remove any hazardous items like old paint or chemicals carefully. Proper sorting helps recycling centers and waste facilities process waste correctly.
Recycling And Donating Options
Many materials from kitchen demolition can be recycled. Metal pipes, cabinets, and appliances often have high recycling value. Some items can be donated to charities or reused by others. This reduces landfill waste and supports community projects.
Hiring A Dumpster Or Hauling Service
Renting a dumpster simplifies waste removal. Choose a size based on your project needs. Hauling services can pick up debris and dispose of it properly. This saves effort and ensures waste follows local regulations.
Common Challenges And Solutions
Demolishing a kitchen can bring surprises. These surprises cause delays and extra costs. Knowing common challenges helps prepare for them. Solutions keep the project moving smoothly.
Dealing With Hidden Plumbing And Wiring
Old kitchens often hide pipes and wires behind walls. Cutting or damaging them stops work and can be unsafe. Use a stud finder with wire detection before starting.
Turn off water and power to the kitchen. Call a professional if unsure about plumbing or wiring. They can safely disconnect or reroute lines. This avoids accidents and extra repairs.
Managing Unexpected Structural Issues
Walls or floors may hide damage like rot or mold. Removing cabinets can reveal weak studs or beams. Inspect these areas carefully during demolition.
Fix any damage before rebuilding. Replace rotten wood and treat mold. A contractor can advise on structural repairs. This keeps the kitchen safe and long-lasting.
Staying On Schedule
Delays often happen due to hidden problems or slow work. Set realistic deadlines with extra time for surprises. Plan each step clearly and stick to it.
Communicate regularly with your team and suppliers. Quick decisions and clear plans speed up work. This keeps the kitchen demo on track and within budget.
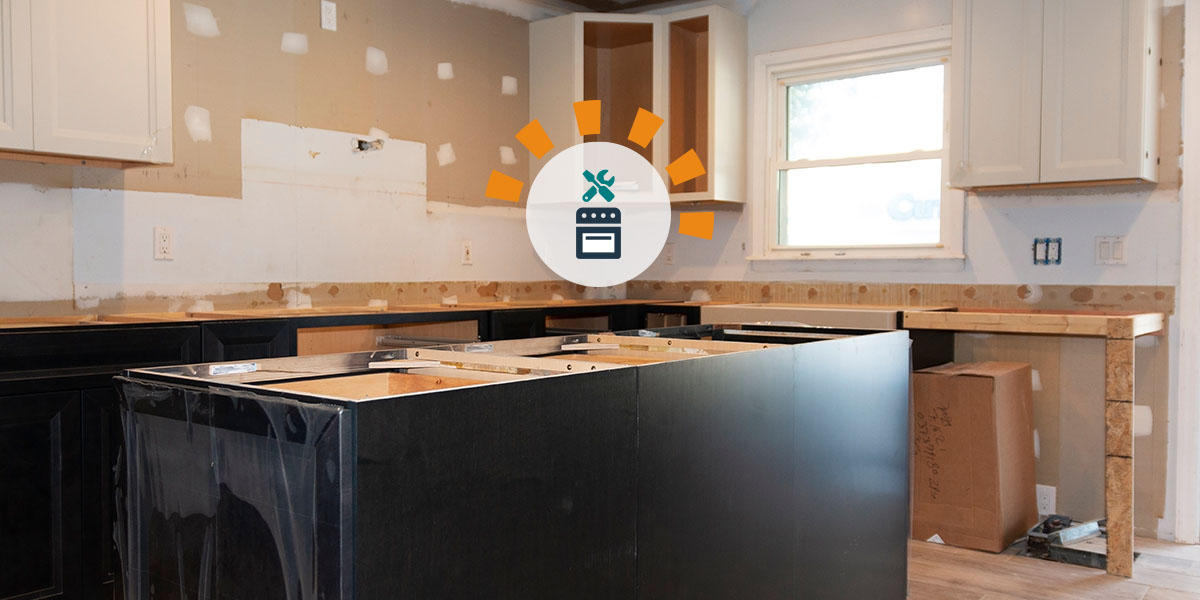
Credit: www.dumpsters.com
Preparing For Your New Kitchen
Preparing for your new kitchen starts with careful planning. A clean and organized space helps the work go smoothly. Taking time to check the area avoids surprises later. This stage sets the foundation for a successful kitchen demo and remodel.
Focus on three main steps: cleaning, inspecting, and planning. Each step makes the process easier and safer. Follow these simple tips to get ready for your kitchen project.
Cleaning The Space Thoroughly
Clear out all items from cabinets, counters, and floors. Remove appliances that can be unplugged and moved. Sweep and mop the floor to reduce dust and dirt. A clean area helps protect your belongings and workers. It also makes it easier to see the structure and surfaces.
Inspecting For Repairs
Look for water damage, mold, or cracks in walls and floors. Check plumbing and electrical systems for leaks or faults. Note any issues that need fixing before demolition. Repairing problems early prevents delays and extra costs. Use a flashlight to see hidden spots clearly.
Planning Layout And Design
Think about how you use your kitchen daily. Decide where to place cabinets, appliances, and counters. Measure the space carefully to avoid mistakes. Sketch a simple layout to guide the work. Planning now saves time and money during installation.
Frequently Asked Questions
What Tools Are Needed To Demo A Kitchen Safely?
Essential tools include a hammer, pry bar, utility knife, gloves, goggles, and a dust mask. These ensure safety and efficiency when removing cabinets, countertops, and appliances.
How Long Does It Take To Demo A Kitchen?
A typical kitchen demo takes one to three days, depending on size and complexity. Proper planning helps complete the process quickly and safely.
Should I Turn Off Utilities Before Kitchen Demolition?
Yes, always shut off water, gas, and electricity before starting. This prevents accidents and damage during the demolition process.
Can I Demo A Kitchen Without Professional Help?
Yes, with basic tools and safety precautions, homeowners can demo small kitchens. However, complex jobs may require professionals for safety and efficiency.
Conclusion
Demoing a kitchen takes careful planning and patience. Start by turning off the power and water to stay safe. Use the right tools to remove cabinets, countertops, and appliances step by step. Clean up debris often to keep the work area clear.
Take your time to avoid damage and extra work. With these tips, you can handle kitchen demolition with confidence. Ready to begin? Just follow these simple steps for a smooth demo process.