
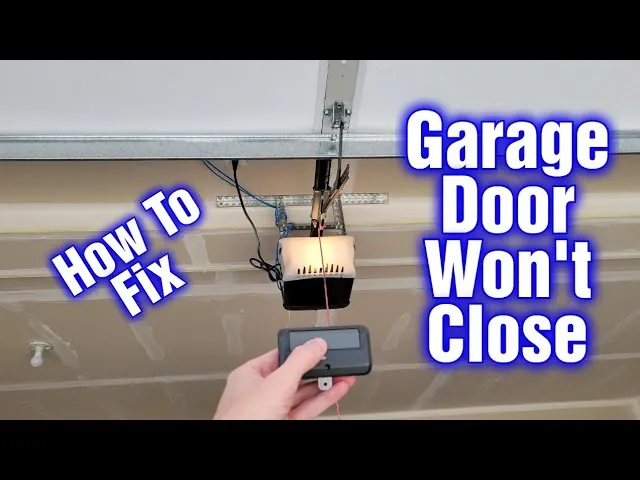
When you arrive home after a long day, the last thing you want to see is your garage door lights blinking instead of the door opening smoothly. This common issue is often a built-in diagnostic feature designed to alert you to a mechanical or electrical fault. If you’re wondering why your garage door lights are blinking, the answer typically lies in the safety sensors, the logic board, or a power fluctuation. Troubleshooting these systems is usually straightforward, and understanding the specific flash pattern of your opener can save you from unnecessary repair costs, which generally range from $150 to $450 for professional technician visits, though most DIY fixes cost between $0 and $50 for replacement parts like sensors or wiring.
Key Takeaways
- Blinking lights usually indicate a safety sensor misalignment or an obstruction in the path of the infrared beam.
- Count the number of flashes to identify specific error codes provided by your manufacturer’s manual.
- Ensure that the power source is stable and that no electrical surges have tripped the internal logic board.
- Cleaning the sensor lenses with a soft cloth often resolves connectivity issues caused by dust or debris.
- Consult the Chamberlain Group support portal for specific manufacturer-defined diagnostic flash sequences.
Why Are Your Lights Blinking?
Most modern garage door openers use light-emitting diodes (LEDs) as a communication tool. When the system detects an error, it interrupts the normal operation and signals the problem through a series of flashes. The logic board acts as the brain of the operation, constantly monitoring the status of the safety sensors, the motor, and the limit switches. If any component fails to report back correctly, the board cuts power to the travel mechanism and starts the blinking sequence.
Common Diagnostic Patterns
The frequency and duration of the flashes tell a story about what is wrong with your system. A rapid, continuous blink usually points toward a power or sensor issue, while a slow, rhythmic flash often indicates a specific mechanical fault.
| Flash Pattern | Likely Cause | Recommended Action |
|---|---|---|
| Rapid, constant blinking | Safety sensor obstruction | Remove items from sensor path |
| 2-3 slow flashes | Misaligned safety sensors | Realign the green/amber LEDs |
| 5 flashes | Motor overheating or limit issue | Allow motor to cool down |
| 10 flashes | Broken or frayed sensor wire | Inspect wiring for damage |
Troubleshooting Your Safety Sensors
The most common reason for blinking lights is a problem with the safety reversing sensors. These two small devices, located at the bottom of the garage door tracks, must face each other perfectly to maintain an invisible infrared beam. If that beam is broken, the opener will refuse to close the door and will signal the error by blinking the overhead lights.
Checking Sensor Alignment
If you suspect the sensors are the culprit, look for the small LED lights on the sensors themselves. One is usually amber, and the other is green. If the green light is off or flickering, the sensors are likely misaligned. Loosen the wing nut on the sensor bracket, adjust the angle until the light stays solid, and tighten the nut back down. Ensuring alignment is often all it takes to get the system back to normal operation.
Is It a Power Issue?
Sometimes, the blinking isn’t a mechanical failure but an electrical hiccup. If your home recently experienced a power surge or a brief outage, the logic board might be stuck in a confused state. A simple power cycle can often resolve this.
Unplug the garage door opener from the ceiling outlet, wait for at least sixty seconds to allow the capacitors to discharge, and then plug it back in. This reset can clear minor software glitches and stop the lights from flashing.
Inspecting the Wiring Connections
If the sensors are aligned and the power has been cycled, yet the lights continue to blink, you should inspect the low-voltage wiring. Over time, these thin wires can become brittle or be damaged by lawn equipment or pests. Trace the wires from the motor unit down to the sensors. Look for any cuts, exposed copper, or loose connections at the terminals on the back of the motor unit.
- Check for staples that might have pierced the insulation.
- Ensure the wire ends are securely pushed into the terminal blocks.
- Look for signs of corrosion or moisture damage at the sensor joints.
Understanding the Logic Board
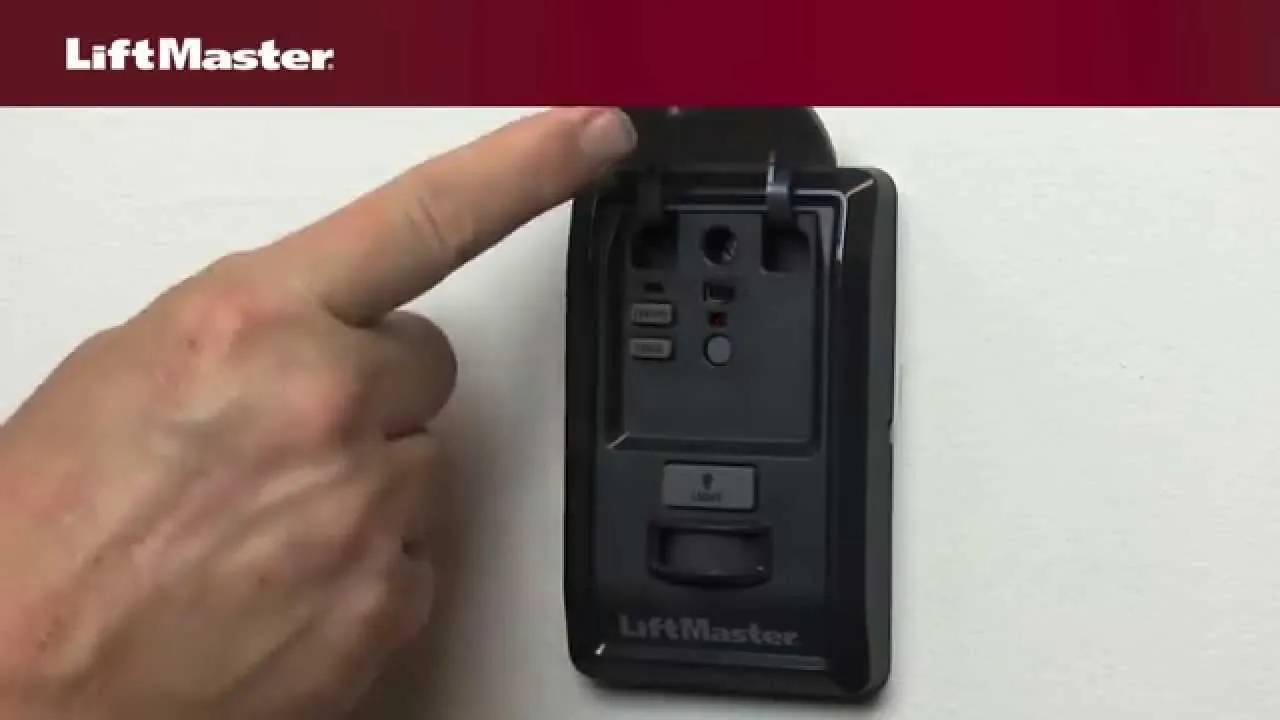
The logic board is the heart of your garage door system. If you have ruled out the sensors, the power, and the wiring, the board itself may be failing. A failing logic board can cause erratic behavior, including lights that blink without any apparent cause or a motor that fails to respond to remote commands. In these cases, you may need to replace the control board assembly.
Warning: Always disconnect the power supply to the garage door opener before touching any internal components or the logic board to avoid the risk of electrical shock.
How to Test the Sensors
To verify if your sensors are truly the problem, you can perform a simple test. With the door open, try to close it using the wall-mounted button. If the lights blink and the door moves only an inch before reversing, the system is detecting an obstruction.
Place a small object, like a box or a tool, in the path of the beam. If the behavior remains exactly the same with or without the object, the system is likely not receiving the signal from the sensors at all.
Dealing with Overheating Motors
If you have been using your garage door frequently—such as opening and closing it multiple times in a short window—the motor may have entered a thermal protection mode. Most manufacturers include a safety feature that prevents the motor from operating if it becomes too hot. This often results in a specific blink code (commonly five flashes). If this occurs, don’t force the door. Leave it alone for at least thirty minutes to allow the internal components to cool down naturally.
Maintenance to Prevent Blinking
Pro Tip: Regular maintenance is the best way to avoid unexpected errors. Once every six months, wipe the lenses of your safety sensors with a dry, clean microfiber cloth to remove dust and cobwebs. Additionally, spray a small amount of silicone-based lubricant on the door tracks and hinges to reduce the strain on your motor, which helps prevent the system from triggering load-sensing errors that can lead to blinking lights.
Identifying Your Opener Brand
The specific meaning of a blinking light can vary significantly between brands. While most share the “sensor obstruction” code, other alerts are unique. Familiarize yourself with these common manufacturers:
- Chamberlain: Known for their diagnostic LED codes on the side of the motor unit.
- LiftMaster: Uses similar technology to Chamberlain; focus on the green and amber indicator lights.
- Genie: Often uses a different flash sequence related to the “Safe-T-Beam” system.
- Craftsman: Frequently relies on the same diagnostic patterns as LiftMaster units.
Replacing Faulty Components

If you determine that a part is broken, don’t attempt to repair it with electrical tape or makeshift solutions. Sensors are precision-aligned devices. If a sensor is cracked or the internal circuitry is fried, you must replace the pair. Replacement kits are widely available and include the sensors, mounting brackets, and wire. Replacing these yourself is a standard task that requires only basic hand tools, though if you’re uncomfortable working with electrical circuits, call a professional.
Frequently Asked Questions
Why does my garage door light blink 10 times?
Ten flashes typically indicate a problem with the safety sensor wiring. This means the logic board is unable to communicate with the sensors, usually due to a broken wire, a loose connection at the motor terminals, or a faulty sensor unit. Inspect the entire length of the wire for physical damage and ensure the connections at the motor head are tight and free of corrosion.
Can I bypass the safety sensors?
You should never attempt to permanently bypass safety sensors. They’re a critical safety feature required by law to prevent the door from closing on people, pets, or vehicles. Bypassing them removes the primary protection against accidents. If your sensors are malfunctioning, the only safe and responsible course of action is to troubleshoot the alignment, repair the wiring, or replace the faulty units entirely.
Will a power surge cause blinking?
Yes, a power surge can cause the logic board to enter an error state, resulting in blinking lights. If your home experienced a lightning strike or a grid fluctuation, the sensitive electronics inside the opener may have glitched. Unplugging the unit from the power source for several minutes often resets the microprocessor and clears the error code, returning the system to normal operation.
How do I know if my logic board is bad?
If you have verified that the sensors are aligned, the wiring is intact, and the power is stable, but the lights continue to blink or the door remains unresponsive, the logic board may be defective. Other signs include intermittent remote control failure, clicking sounds from the motor without movement, or the opener activating on its own. Replacing the board is often necessary in these instances.
How long should my garage door opener last?
Most garage door openers are designed to last between ten and fifteen years with regular maintenance. Factors such as the frequency of use, the weight of the door, and the environment (such as high humidity or temperature extremes) can impact the lifespan of the motor and internal components. Keeping the tracks lubricated and the sensors clean can help you reach the higher end of that range.
Conclusion
If you have completed the basic troubleshooting steps above and the lights continue to blink, check your specific owner’s manual for the exact flash count sequence for your model. If the error persists after resetting the system and checking the sensor alignment, reach out to a local garage door repair service to inspect the motor unit for internal logic board failures.
