
The most effective way to clear grit and sand from your plumbing is by installing the best whole house sediment pre filters well water systems can support, typically those rated at 5-20 microns depending on your pump’s flow rate. These devices sit at the start of your main water line to protect downstream appliances and finer filters from premature clogging. This guide covers how to choose the right micron rating for your flow needs, the steps for a secure installation, and how to maintain consistent water pressure in your home.
How Whole House Sediment Filters Work
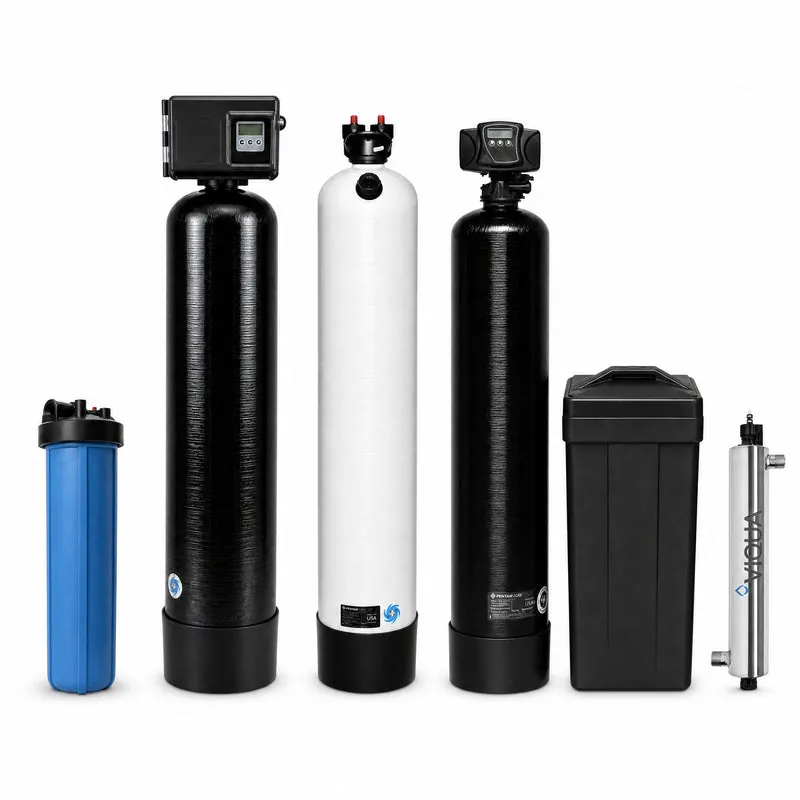
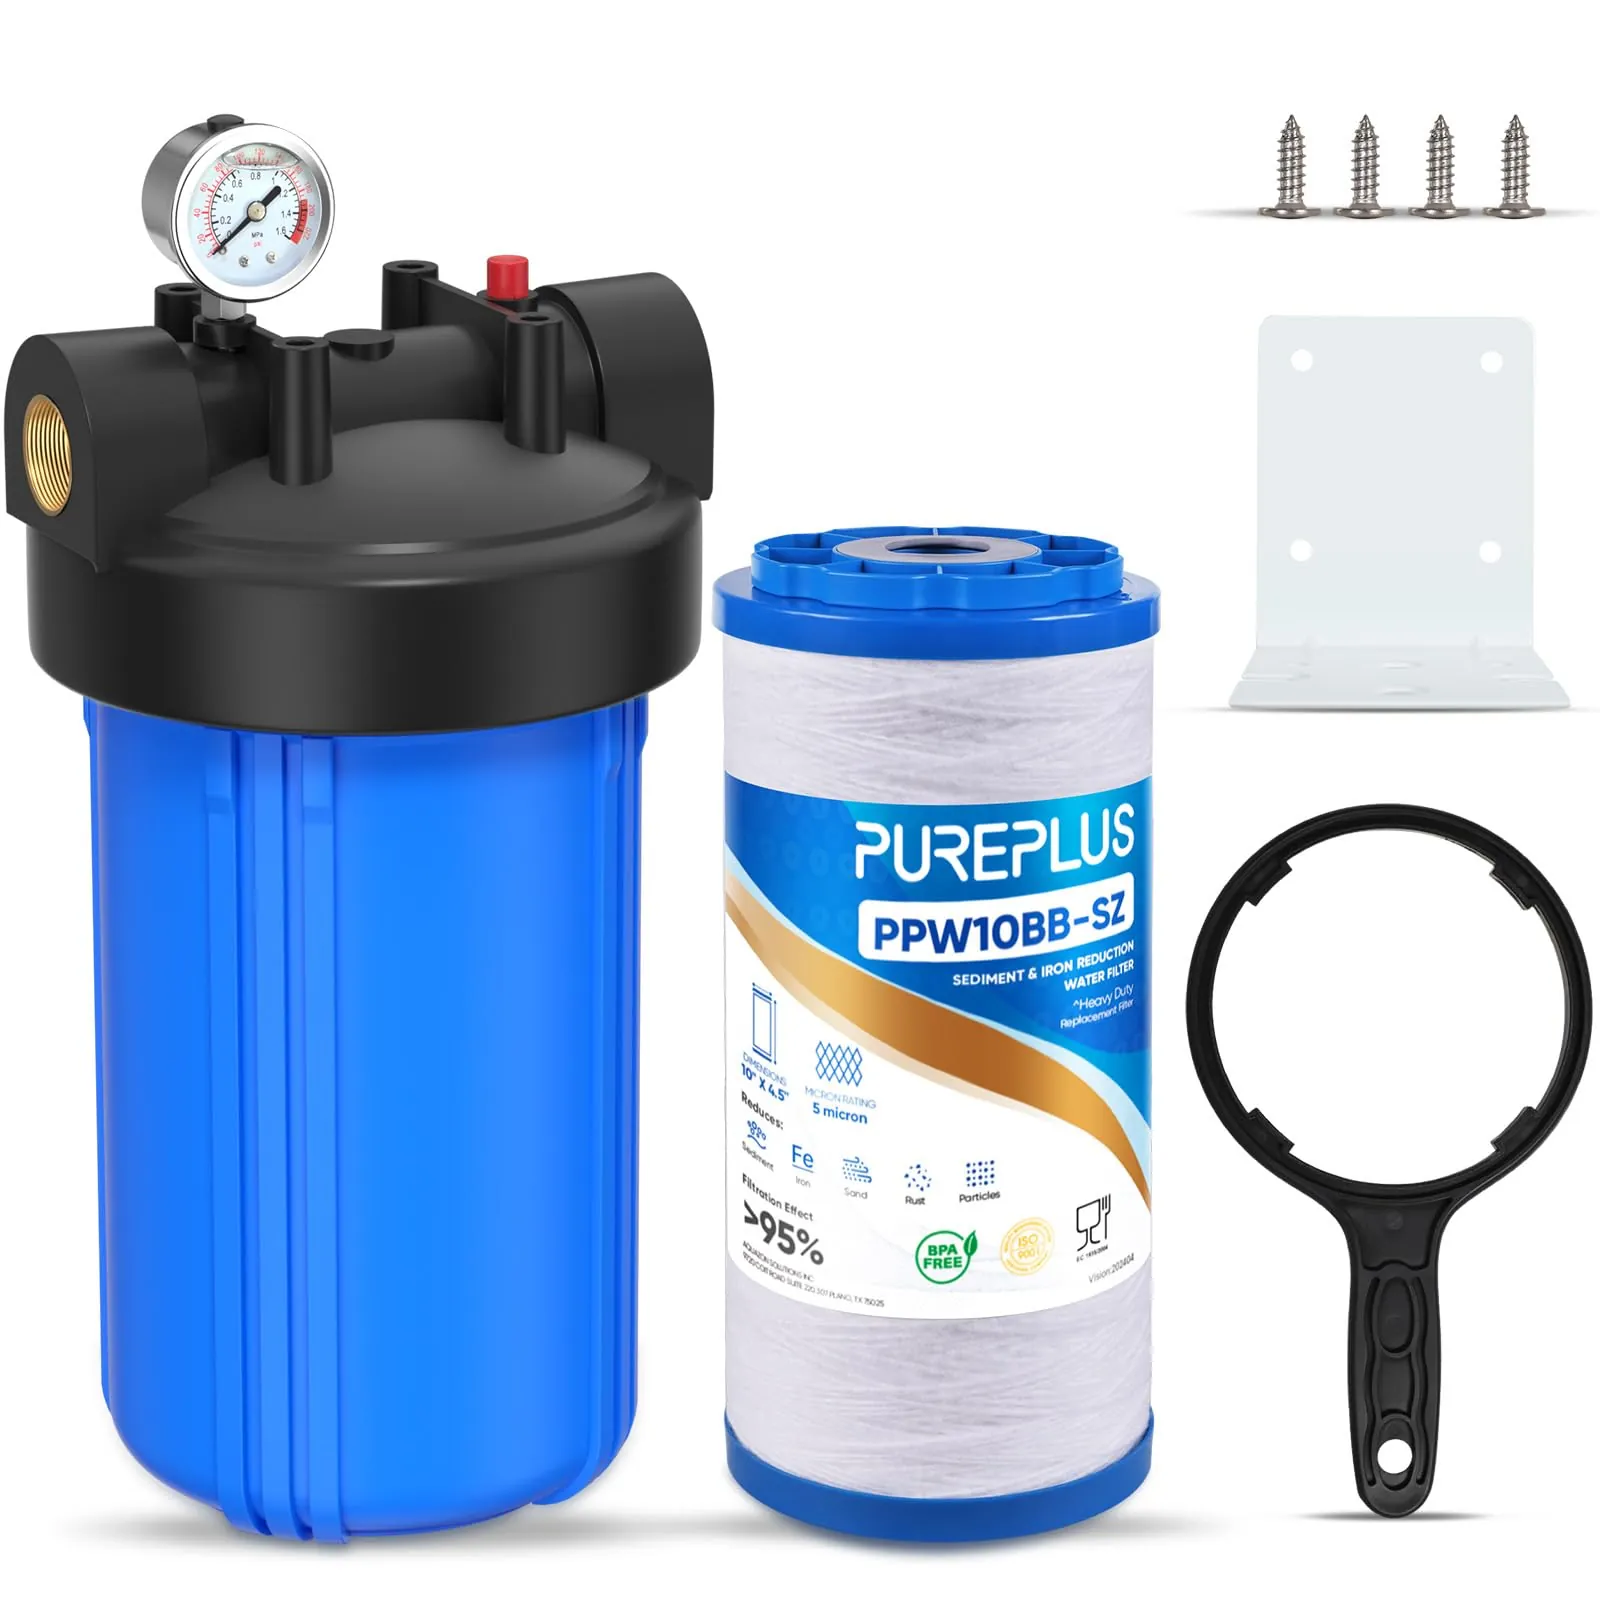
A sediment pre-filter acts as a physical barrier that traps suspended particles like sand, silt, and clay before they reach your water softener or finer carbon filters. These systems use a housing that holds a replaceable cartridge, which is usually made of spun polypropylene or pleated polyester. The primary goal is to stop large debris from damaging your pipes or causing your expensive downstream equipment to fail early.
The most common mistake people make is choosing a filter that’s too fine for their household’s water usage. If you install a 1-micron filter where a 20-micron filter is needed, the cartridge will clog almost immediately, causing a massive drop in water pressure throughout your home. This happens because the surface area of the filter is too small to handle the volume of water moving through the pipes.
For most well systems, the NSF International standard for water treatment provides the framework for how these units are tested for material safety and structural integrity. It’s important to remember that these filters only remove physical particles. They don’t remove bacteria, viruses, or chemical contaminants like lead or pesticides. If your water has a strange smell or color, a simple sediment filter won’t be enough to fix the issue.
Installing Your Water Filter
Before starting, ensure you have the correct tools: a pipe cutter, Teflon tape, a basin wrench, and two shut-off valves. If you aren’t comfortable working with pressurized plumbing, contact a licensed plumber to avoid leaks or pipe damage.
- Turn off your main water supply and open the lowest faucet in the house to drain any remaining pressure.
- Cut into the main water line after the well pressure tank but before any other treatment equipment.
- Install a shut-off valve on both sides of the filter housing to allow for easy cartridge changes in the future.
- Mount the filter housing bracket to the wall, ensuring the unit is level and the “In” and “Out” ports match the direction of your water flow.
- Use Teflon tape on all threaded pipe fittings to prevent slow leaks.
- Insert the filter cartridge into the housing and tighten the canister by hand, then use a housing wrench to give it an extra quarter-turn.
- Slowly open the inlet valve, check for leaks, then open the outlet valve to restore full flow to the house.
If you hear air sputtering from your faucets, keep a nearby sink open for 2-3 minutes until the water runs clear and steady. This step is crucial to prevent air bubbles from damaging your water heater or causing pressure surges in your pipes.
Choosing the Best Whole House Well Water Sediment Pre-Filters
Choosing the right filter depends on the size of the particles in your well water and your home’s total water demand.
| Particle Size | Filter Rating | Best Application | When to Replace |
|---|---|---|---|
| Large Sand/Grit | 50-100 microns | Heavy sediment zones | Every 6 months |
| Fine Silt/Dirt | 20-30 microns | General well usage | Every 4 months |
| Cloudiness/Fine Sand | 5-10 microns | Protecting softeners | Every 3 months |
| Very Fine Particles | 1-5 microns | Final polishing | Every 2 months |
Always check your specific pump’s GPM (gallons per minute) rating. If your home uses 10 GPM but you install a filter rated for only 5 GPM, you’ll experience a significant loss in water pressure during peak usage hours.
Most homeowners fail by choosing a micron rating that’s too fine for their sediment load. If you pick a 1-micron filter for water heavy in large grit, the filter will clog in days rather than months. Use a 50-micron pre-filter to catch the bulk of the debris before the water reaches your primary system.
If your water appears clear but leaves a gritty residue in the sink, start with a 20-micron rating. If the water remains cloudy after that, step down to a 5-micron filter. Never jump straight to the finest rating, as this forces your pump to work against unnecessary resistance.
When calculating your demand, count every bathroom and appliance that might run simultaneously. If you have four bathrooms and a high-flow irrigation system, ensure your filter housing can handle at least 15 GPM. Undersized housings restrict flow even if the filter cartridge itself is clean.
Achieving Optimal Filtration Results
Experience matters when setting up a pre-filtration system. Professionals always prioritize the flow rate over the filtration level. If you have high sediment levels, it’s often better to use a two-stage system rather than one very fine filter. You start with a 50-micron filter to catch the large debris, followed by a 5-micron filter to catch the fine silt. This setup prevents the finer filter from clogging too quickly.
Most homeowners make the mistake of choosing a single, ultra-fine filter to save space. This creates a bottleneck that starves your plumbing of pressure within weeks. If your water source comes from a private well, always lead with a 50-micron pleated cartridge to handle high-volume sand.
Another detail often overlooked is the placement of the pressure gauge. Experienced installers always place a gauge before and after the filter housing. This allows you to see the pressure drop across the filter. If the difference between the two gauges is more than 5-8 PSI, it’s time to change the cartridge. Without these gauges, you’re guessing when the filter is full, which often leads to restricted water flow throughout the entire house.
Never overtighten the filter housing. While you want a tight seal, using a wrench to force the housing too far can crack the plastic threads. If you find the housing is leaking, check the O-ring for cracks or debris before applying more force. A clean O-ring, lightly lubricated with silicone grease, is usually enough to stop a leak without damaging the canister.
If you notice a sudden drop in pressure after a filter change, check for an airlock. Open a nearby faucet until the stream runs steady to purge trapped air. If the pressure remains low, the filter is likely seated incorrectly, causing it to bypass the internal seal.
Troubleshooting Common Issues
| What you notice | What it means | What to do first |
|---|---|---|
| Low water pressure | Clogged filter | Replace the cartridge |
| Leaking at housing | Damaged O-ring | Clean and reseat O-ring |
| Water has smell | Bacterial growth | Test water for bacteria |
| Discolored water | Sediment bypass | Check filter seating |
If you notice a sudden drop in pressure, the most likely cause is a buildup of fine silt. If replacing the filter doesn’t fix the pressure issue, the blockage might be in your main pipe or a downstream valve.
Most users fail to lubricate the O-ring during replacement. Apply a thin layer of food-grade silicone grease to the ring before seating it. This prevents the rubber from pinching, which is the primary cause of persistent, slow drips.
If the water remains discolored even after a new filter, it’s time to have your well inspected for structural issues or high iron content. If the discoloration appears only after the system has been idle for several hours, you likely have iron bacteria. In this case, shocking the well with chlorine is required rather than just changing the filter.
Distinguish between a filter failure and a pipe issue by checking pressure at an outdoor spigot located before the filtration system. If the spigot pressure is also low, the fault lies with your pump or the well itself. If the spigot pressure is strong, the restriction is strictly within your filter housing. Always shut off the main water supply before opening the housing to prevent flooding your utility area.
Regulatory Standards and Compliance
When selecting your system, look for products that meet the NSF/ANSI 42 standard for material safety. This certification ensures that the housing and filter materials don’t leach harmful chemicals into your drinking water. Always verify the seal on the packaging; genuine NSF-certified products will be listed in the NSF online database.
In many jurisdictions, local building codes require a bypass valve to be installed with any water treatment system. This ensures that you can still access water in the event of a filter failure or while you’re performing maintenance. Skipping this installation is a common mistake that forces a total home water shutoff during even the most minor repairs. If your system lacks a bypass, you’ll have to drain your entire plumbing line just to swap a filter.
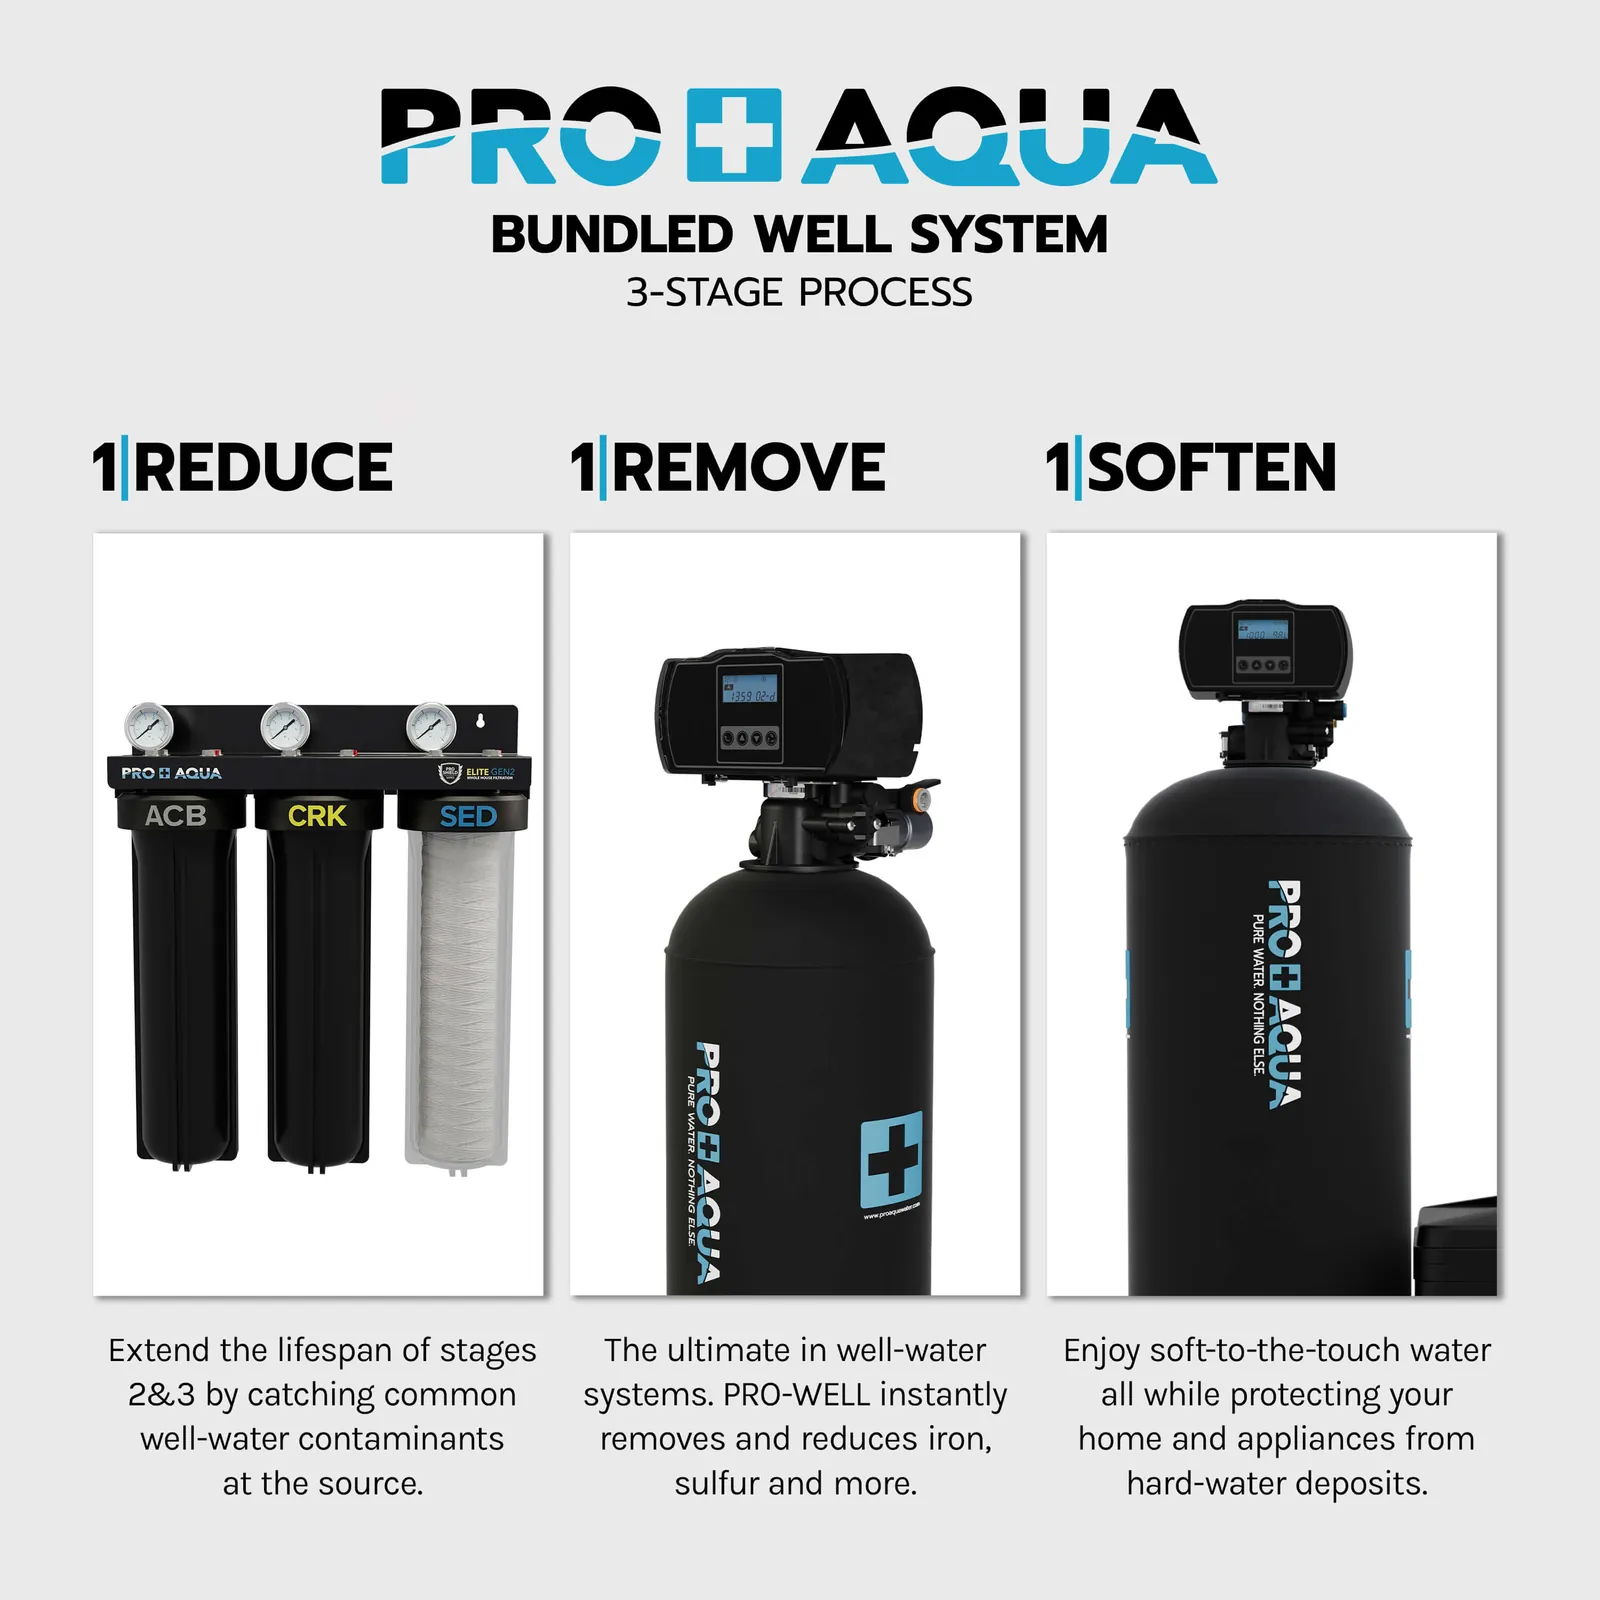
If you live in an area with high iron or manganese, you may need more than a standard sediment filter. These minerals oxidize and create a slime that clogs standard filters much faster than sand or grit. If your water turns orange or leaves metallic stains on porcelain, you need a specialized backwashing iron filter rather than a simple cartridge pre-filter.
Consult your local water quality report to see if these minerals are present in your well. If your report shows high iron levels, a standard 5-micron filter will fail quickly. If you’re unsure about your water quality, contact your local health department for a list of certified testing laboratories. A professional lab test is inexpensive relative to the cost of installing the wrong filtration technology for your mineral profile.
Maintaining Your System
Regular maintenance is the secret to a long-lasting water system. Even if your water looks clear, the frequency of checking your filter cartridge depends on your specific usage, and the owner’s manual is the authority on when to replace it.
A reliable rule is to change the filter when you notice a pressure drop or when the color of the cartridge shifts from white to a dark brown or gray. If the water flow slows to a trickle before your three-month check, your filter is likely clogged with sediment. Ignoring this causes the pump to work harder, which can lead to premature motor failure.
To store spare filters, keep them in a cool, dry place away from direct sunlight. Ultraviolet rays degrade plastic packaging and can compromise the integrity of the filter media.
When you change the filter, always turn off the water supply and use your housing wrench to release the pressure before you attempt to unscrew the canister. If you struggle to unscrew the housing, ensure you have fully released the pressure by opening a faucet downstream.
If the canister remains stuck, don’t use pliers or heavy tools, as these often crack the plastic threads. Instead, apply a thin layer of food-grade silicone grease to the O-ring during reassembly to ensure a smooth seal and easier removal next time.
Never use harsh chemicals to clean the inside of the housing. These cleaners can leave chemical residues that leach into your drinking water. Warm water and a soft cloth are sufficient to remove any sediment buildup. Always inspect the O-ring for cracks before tightening the housing back into place.
Deciding When to Change Methods
While sediment pre-filters are excellent for sand and grit, they aren’t a solution for all water quality issues. If your water is consistently cloudy despite using a 1-micron filter, you likely have colloidal clay, which is too small for standard cartridge filters to catch. In this situation, you should look into a coagulant injection system or a larger sediment tank that allows particles to settle out of the water before it reaches your pipes.
Additionally, if your water tests positive for iron bacteria, a standard filter will clog within days. Iron bacteria create a thick, jelly-like substance that coats filter surfaces and is very difficult to remove. This is a sign that you need a chemical oxidation system or a specialized backwashing filter to manage the growth.
If you’re unsure whether your sediment issue is caused by physical debris or biological growth, a professional water test is the only way to know for sure. Don’t try to solve biological issues with physical filters alone, as they can become breeding grounds for bacteria if not maintained perfectly.
Related guides
Frequently Asked Questions
Can I install a pre-filter myself?
Yes, you can install a pre-filter yourself if you have basic plumbing skills and the right tools. The process involves shutting off the main water line and connecting the housing to your pipes. If you aren’t confident in your ability to create a watertight seal, it’s safer to hire a professional.
How do I know which micron rating to choose?
You choose a micron rating based on the type of sediment you have and your home’s total water flow. A 20-micron filter is a great starting point for most well systems because it catches large particles without restricting flow. If you still see grit, try moving to a finer filter.
Is it safe to drink water after a sediment filter?
No, a sediment filter isn’t designed to make water safe to drink. Its only job is to remove physical particles like sand, silt, and rust. It doesn’t remove bacteria, viruses, or harmful chemicals, so you must have your water analyzed by a certified laboratory before consumption.
What happens if I forget to change the filter?
If you forget to change your filter, the material will eventually become so clogged that water can’t pass through it effectively. This leads to a noticeable drop in water pressure throughout your home, which puts extra strain on your well pump. In extreme cases, the filter can collapse under the pressure.
How long does a sediment filter last?
A sediment filter lasts until it becomes clogged, which depends on your water quality and usage volume. The best way to track this is to check the filter visually or monitor the pressure drop across the unit. Don’t rely on a set calendar date, as conditions change.
Why does my water pressure drop after installing a filter?
Your water pressure drops because the filter is creating resistance that your pump must overcome. This usually happens because the filter is too fine for your water volume or is becoming clogged with sediment. Try switching to a filter with a higher micron rating to allow water to pass through more easily.
Conclusion
Keeping your plumbing clear doesn’t have to be a constant struggle. Once you’ve got your system running, you’ll notice a real difference in your water’s clarity and the longevity of your appliances. Check your filter housing every few months to see if it’s time for a change; you’ll be glad you did.