
A standard garden hose is the most effective tool for flushing a water heater, using gravity and household pressure to remove sediment. These systems maintain heater efficiency and prevent noise caused by trapped steam bubbles. Since every home has different water quality, the frequency of flushing depends on your specific usage and the owner’s manual.
Water heater flushing equipment at a glance
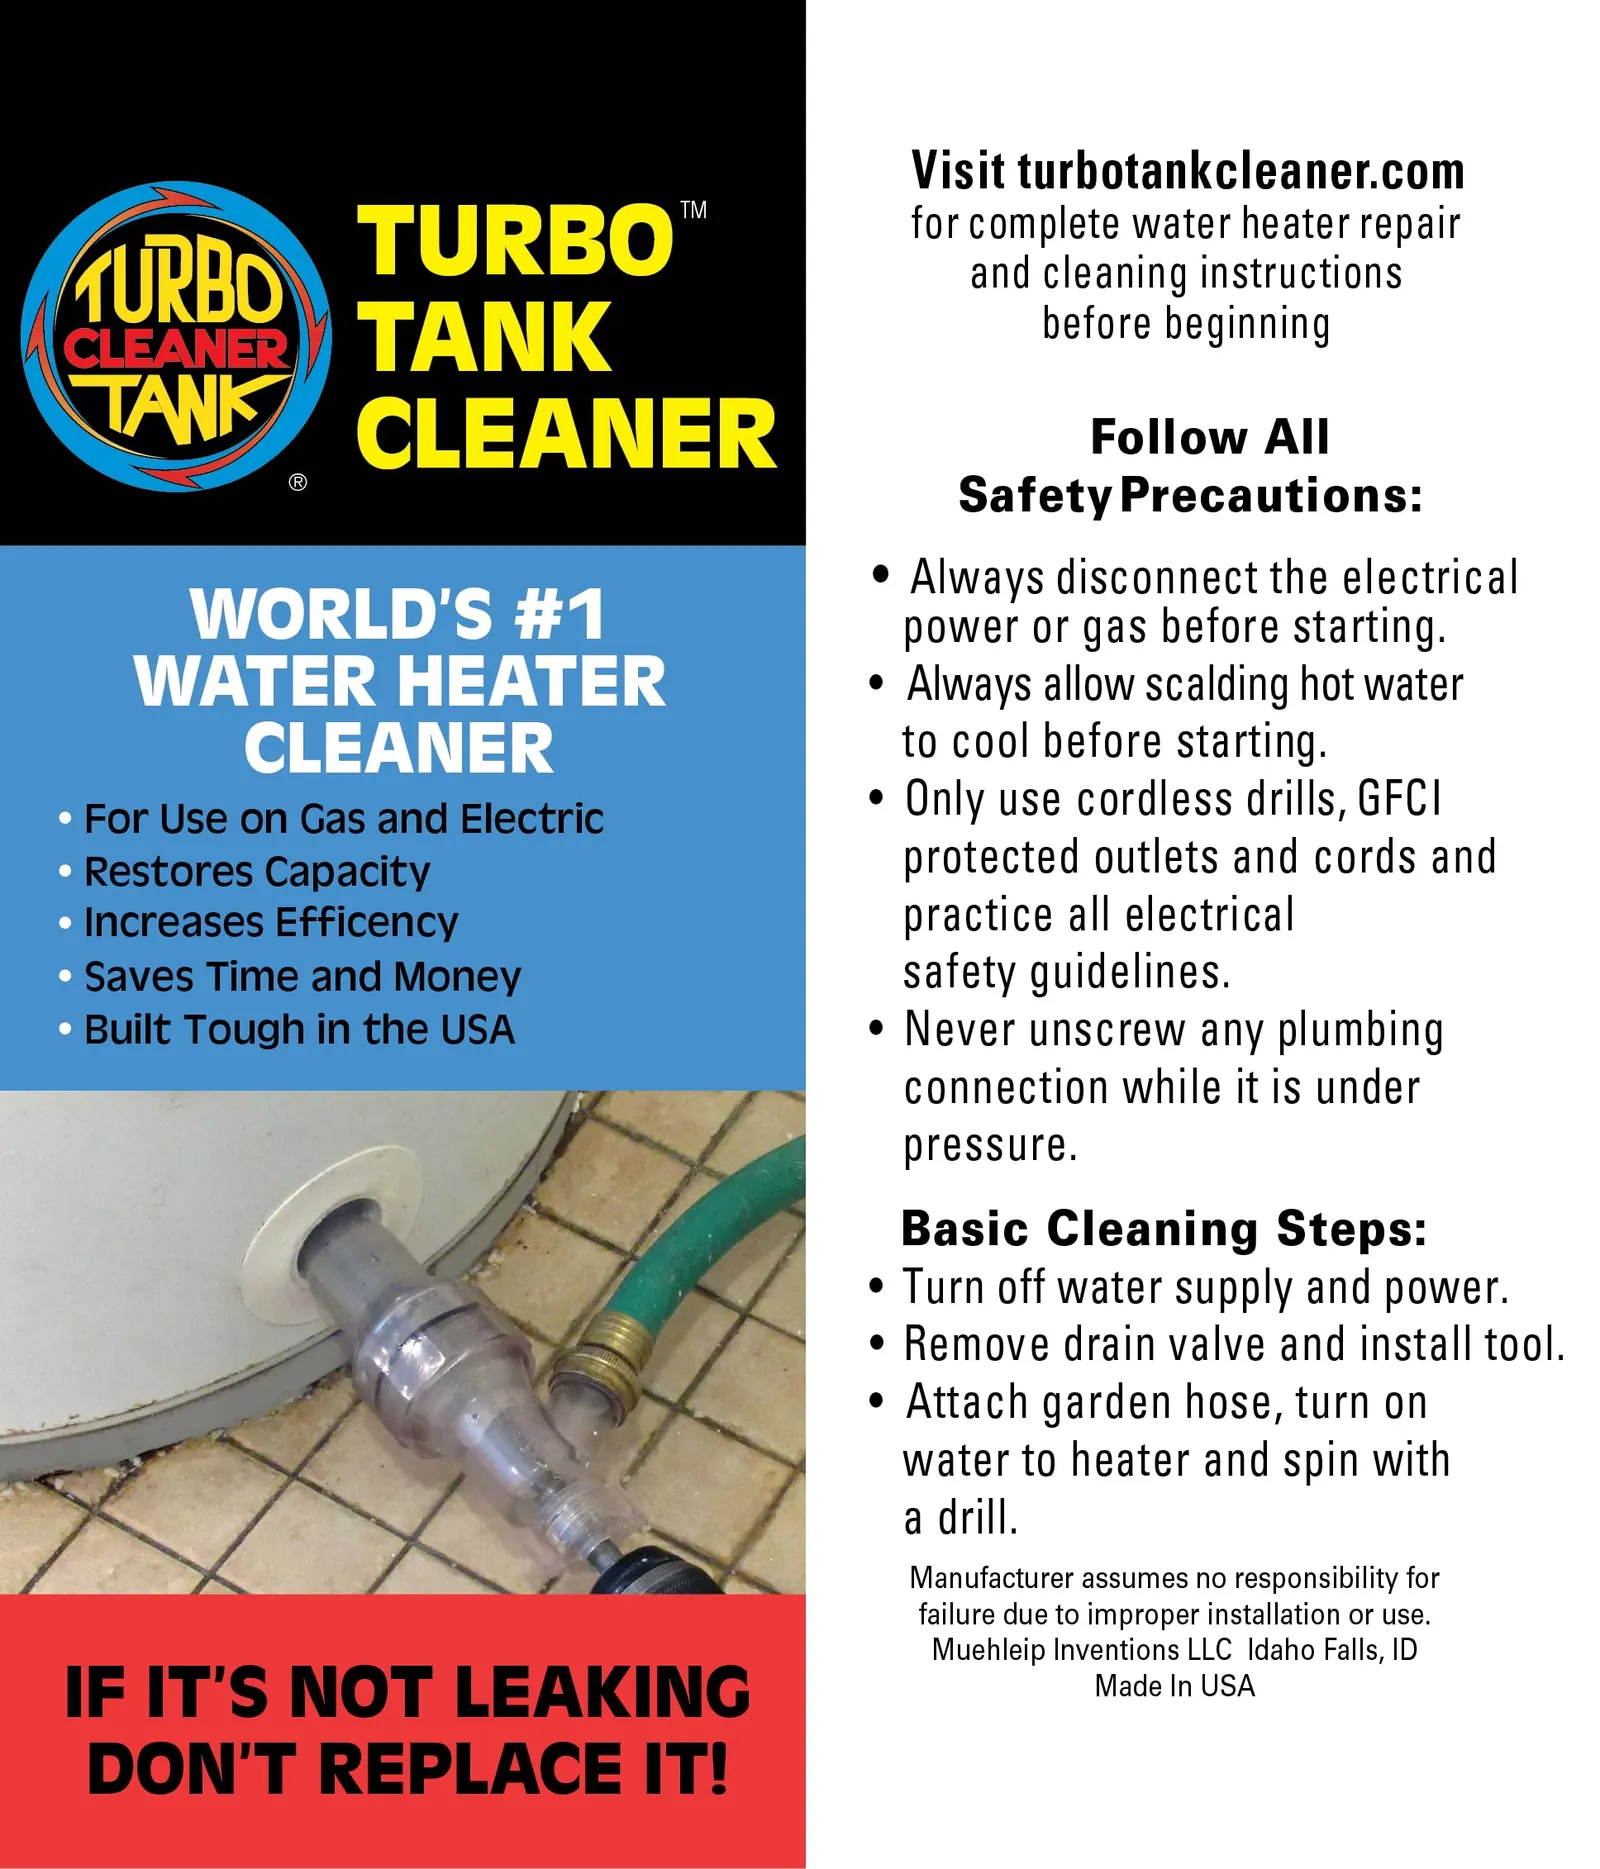
You can choose from several methods to clear your water heater, ranging from basic gravity drainage to active pumping. The following table outlines the equipment options available for this maintenance task.
| Tool Name | Best For | Concrete Example |
|---|---|---|
| Standard Garden Hose | Gravity draining | Heavy-duty rubber hose |
| Transfer Pump | Faster sediment removal | Portable electric utility pump |
| Sediment Flush Wand | Agitating loose debris | Flexible plastic dip tube |
| Shut-off Valve | Controlling flow | Brass ball valve |
Gravity drainage works only if your tank sits higher than the floor drain. If your heater is in a basement with no nearby drain, gravity will fail, and you must use a transfer pump. Choose a pump rated for at least 300 gallons per hour to ensure you move the sediment before it settles back into the tank.
Many homeowners make the mistake of using a standard plastic hose nozzle to clear debris. This restricts flow and traps sediment inside the tank. Always use a full-port brass ball valve instead. It allows large chunks of calcium to pass through without clogging the line.
If you hear popping or crackling sounds, the sediment has already hardened into a scale layer. A simple flush won’t remove this. In this case, you must use a sediment flush wand. Insert the wand through the drain valve and move it in a circular motion to break the crust.
If the water runs clear within five minutes, your tank is clean. If the water remains murky after ten minutes of agitation, stop the process and consult a professional to avoid damaging the internal dip tube.
Standard Garden Hose
A heavy-duty garden hose is the most common tool used to direct water from the tank drain valve to a safe outdoor location. It suits homeowners who have a floor drain or a convenient path to the exterior of the house. Because it uses the existing water pressure in your home, you don’t need any extra power sources or complex machinery to perform the task.
- Directs water away from the foundation to prevent flooding or property damage.
- Allows for a slow, steady release of water which helps keep sediment moving.
- Connects easily to the standard 3/4-inch male thread found on most residential drain valves.
If your drain valve sits very close to the floor, you might need a short “whip” hose or a 90-degree elbow fitting to attach the main hose without kinking it. Always ensure the hose is rated for hot water if you plan to flush while the tank is warm, as standard vinyl hoses may soften and collapse under high heat. A 10-foot length is usually sufficient to reach a nearby drain.
Portable Transfer Pump
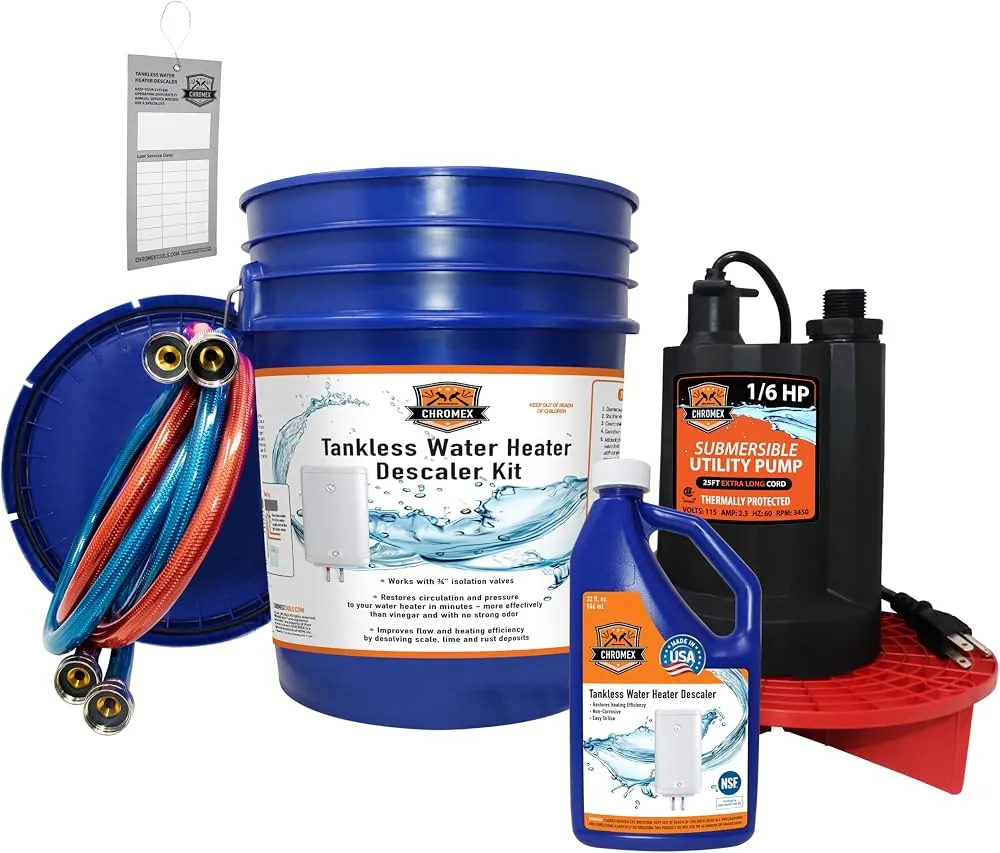
A portable electric transfer pump is a tool designed to pull water out of the tank when gravity alone isn’t enough to move stubborn sediment. It suits people who have a water heater located in a basement or a crawl space where the drain valve sits lower than the outdoor exit point. This tool forces water through the hose, which can help dislodge larger chunks of lime scale.
If your drain valve is at the same level as the floor, you can’t rely on gravity to clear the tank. You must use a pump to lift the water over the threshold of your basement stairs or up to a window well. Without this mechanical assist, you’ll leave behind several inches of mineral-rich water and sludge that accelerate future tank corrosion.
Choose a pump based on the vertical lift required for your specific home layout. A standard 1/6 horsepower utility pump can move 5 to 10 gallons per minute, provided the vertical lift remains under 10 feet. If your discharge hose must climb more than 15 feet to reach a drain, the flow rate will drop by half or stall entirely.
Always verify that your pump is rated for water transfer rather than chemical handling. Using a pump designed for harsh pool chemicals can degrade the internal seals, leading to leaks that damage your flooring. Before turning the power on, prime the pump by filling the intake hose with water to prevent the motor from running dry and burning out its impeller.
Keep the intake hose clear of the tank’s internal heating elements to avoid melting the plastic casing. If you hear a high-pitched whine or a sudden change in vibration, shut the unit off immediately. This indicates the intake is clogged with a large calcium deposit or has suctioned against the tank wall.
Position the pump on a stable, dry surface near an outlet. Even a small amount of standing water near the motor housing can cause a ground fault trip. If you’re working in a damp crawl space, use a heavy-duty extension cord with a built-in GFCI breaker to protect against electrical shock.
Sediment Flush Wand
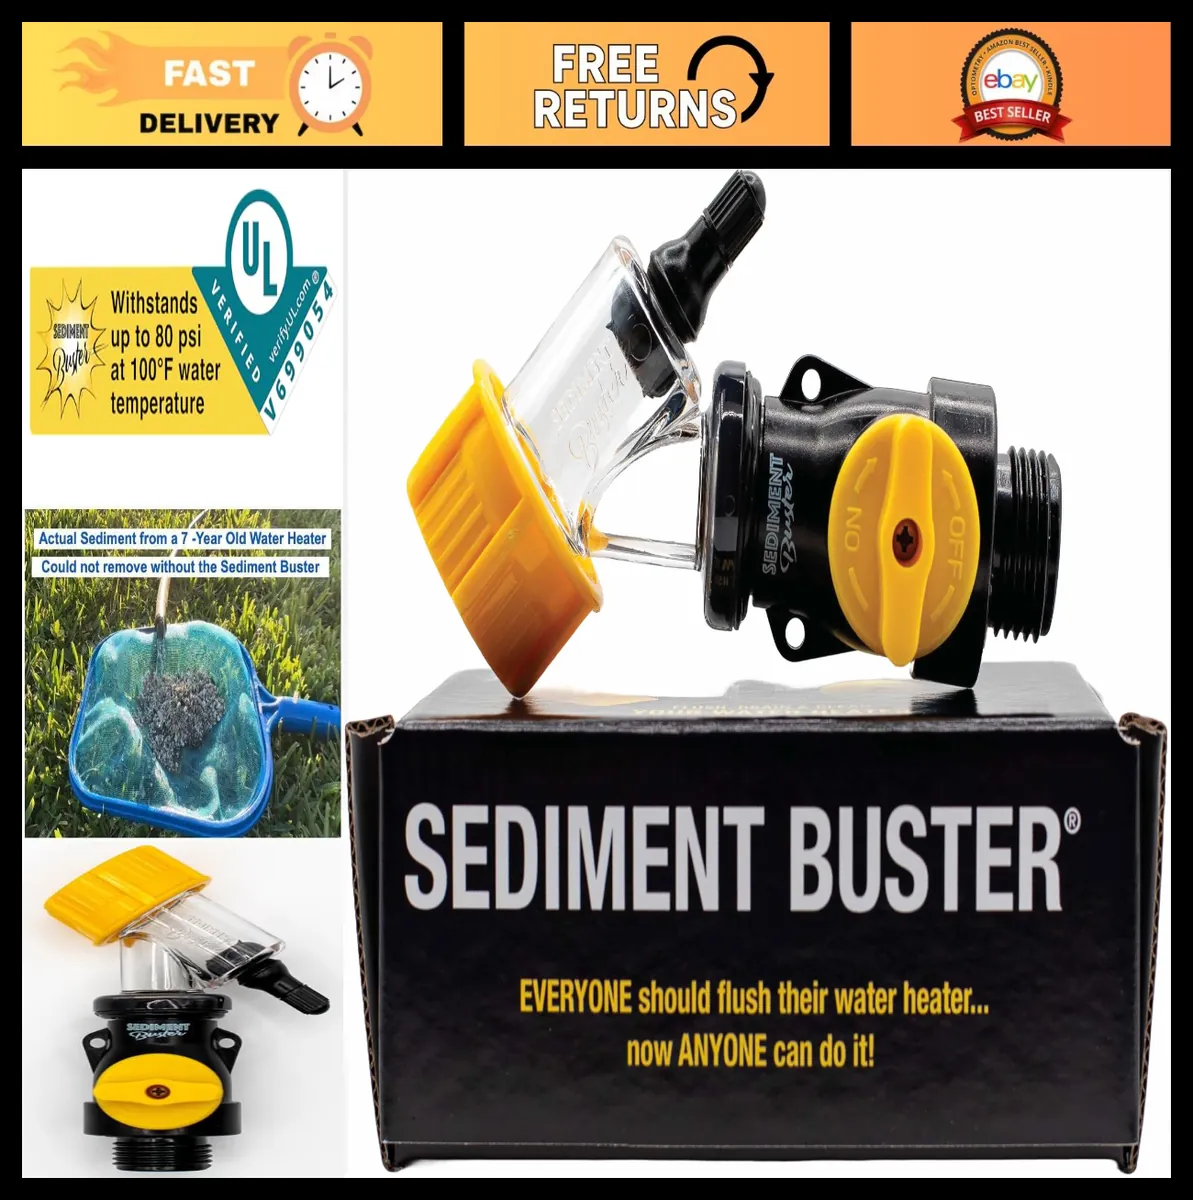
A sediment flush wand is a flexible, narrow tube that you insert into the tank through the drain valve opening to physically break up hardened mineral deposits. It suits those who have ignored their water heater for several years and now face significant sediment buildup that blocks the valve. This tool allows you to reach deep into the tank corners where water flow alone can’t reach.
- Agitates solidified scale that has hardened into a crust on the bottom.
- Fits through the small opening of a standard drain valve.
- Helps clear blockages that prevent water from flowing out during a standard flush.
Using this tool requires patience and a gentle touch to avoid scratching the glass lining of the tank. If you feel resistance, stop immediately and pull back to avoid damaging the tank wall. You should only use this if the drain valve is fully open and the tank is empty of pressure. This is a manual tool and requires no power, but it does require the ability to manipulate the wand inside the tank.
Brass Ball Valve
A brass ball valve is a critical upgrade to the standard plastic drain valve pre-installed on most residential water heaters. It suits homeowners who find their factory-installed valves prone to clogging or leaking after a routine flush. While the Department of Energy recommends regular maintenance to extend unit life, plastic valves often fail during these procedures.
A full-port brass valve features an internal diameter equal to the pipe size. This design allows large sediment chunks to pass through without catching. Plastic valves often feature a restricted opening that traps debris, eventually causing the valve to seize or leak.
If your current valve feels brittle or resists turning, don’t force it. A snapped plastic stem will cause an immediate, high-pressure flood that you can’t easily shut off. If you see white mineral crusting around the valve handle, assume the plastic has become compromised and replace it immediately.
Choose a lead-free brass valve rated for at least 150 PSI to ensure it handles your home’s water pressure safely. You must use PTFE thread-seal tape on the threads to prevent slow drips that lead to rust on the tank jacket. If you aren’t comfortable working with pipe wrenches or sealing threads, hire a licensed plumber. A botched installation can lead to a slow leak that ruins your floor before you notice it.
Once installed, the ball valve makes flushing your system a 20-minute task. To determine if your system needs this upgrade, open the valve fully. If the flow is a trickle despite a full tank, your plastic valve is likely clogged with sediment. A brass valve will provide a powerful, consistent stream that clears the tank floor effectively. Replacing the valve once ensures you never have to worry about a stuck or broken drain mechanism during your annual maintenance cycle.
Remaining flushing tools
Pipe Thread Seal Tape: Apply two to three wraps around the threads of the drain valve in a clockwise direction. If you wrap it counter-clockwise, the tape will unravel as you screw the hose on, creating a path for leaks. This simple step prevents the slow, pressurized drips that often ruin the flooring around your water heater.
Adjustable Wrench: Use a ten-inch wrench to provide enough leverage for stubborn valves. If the valve feels seized, don’t force it with a sudden jerk, as this can snap the plastic threads or crack the tank’s fitting. Instead, apply steady, increasing pressure. If it remains stuck, spray a small amount of penetrating oil on the threads and wait ten minutes before trying again.
Bucket and Strainer: Use a five-gallon bucket to catch the initial discharge. Place a fine-mesh kitchen strainer over the rim to capture the sediment. If the water runs clear after the first two gallons, your tank is in good condition. If the water remains cloudy or contains large flakes of calcium, you should flush the system for an additional ten minutes.
The most common mistake is failing to verify that the drain valve is fully closed after the process. Even a tiny, invisible leak can lead to significant water damage or tank corrosion over time. After removing the hose, dry the valve area thoroughly with a paper towel. If the paper towel comes away damp after five minutes, tighten the valve slightly or replace the washer immediately.
Choosing your flushing equipment
Deciding which tool to use depends primarily on the location of your water heater and the severity of the sediment buildup. If your heater is on the main floor and you flush it annually, a standard garden hose is all you need to maintain the system.
If your heater sits in a basement or hasn’t been flushed in over three years, choose a transfer pump. Gravity alone can’t overcome the friction of a long, upward hose run when heavy sediment clogs the line. A pump ensures you move the water and loose debris effectively rather than letting sludge settle back into the tank.
Your physical setup dictates the mechanical requirements. If you have a floor drain, gravity is your friend, and a simple hose will suffice. If you must pump water up and out of a window or door, you must use a transfer pump rated for at least 300 gallons per hour.
Many homeowners make the mistake of using a standard utility pump without a pre-filter. This allows large chunks of scale to jam the impeller, which can burn out the motor in minutes. Always place a fine-mesh screen over the intake hose to protect your equipment.
If the tank has been neglected for five years or more, the sediment likely hardened into a solid crust. In this case, use a dedicated drain wand to break up the scale before attaching the pump.
If you see clear water flowing after the first few gallons, gravity is sufficient. If the water remains murky or stops flowing entirely, switch to the pump immediately to prevent a total blockage. Picking the right tool means knowing your tank’s history and your home’s layout.
Frequently asked questions
How long does it take to flush a water heater?
Flushing a water heater typically takes 30 to 60 minutes, depending on tank volume and sediment levels. This process removes mineral deposits that accumulate at the bottom of the tank. If the water remains cloudy after an hour, continue flushing until it runs clear.
Is it safe to flush a water heater while it’s on?
No, it isn’t safe to flush a water heater while the power or gas is turned on. You must turn off the heat source at least one hour before starting to allow the water to cool. If you flush a hot tank, you risk burning yourself with pressurized, boiling water. Always turn the breaker off or set the gas valve to ‘off’ before you open the drain valve to ensure safety.
What happens if I don’t flush my water heater?
Failing to flush your water heater causes sediment buildup that insulates the burner, forcing the unit to work harder. This inefficiency increases your energy bills and can eventually lead to tank failure. Note that excessive sediment may also reduce your total hot water capacity.
How do I know if my water heater needs flushing?
You know your water heater needs a flush if you hear popping or rumbling noises while the burner is active. These sounds occur when water trapped under a layer of sediment boils and bursts through the crust. Another sign is a noticeable decrease in the amount of hot water available compared to when the unit was new. If you notice these symptoms, perform a flush immediately to clear the debris.
Can I use a pump to flush my water heater?
Yes, you can use a portable utility pump to flush your water heater if the tank sits below your home’s exterior exit points. The pump attaches to your hose to force water out of the tank. Ensure the pump is rated for the water temperature before starting.
Does it matter if my water is hard?
Yes, the hardness of your water directly determines how often you need to flush your tank. Hard water contains high levels of minerals that turn into solid scale much faster than soft water. The frequency of flushing depends on your specific water quality, so consult your owner’s manual for guidance.
What is the best way to handle a clogged drain valve?
If your drain valve is clogged, try clearing the blockage with a small wire or sediment flush wand. If these tools fail to clear the obstruction, the sediment is likely too packed for manual removal. In this case, contact a professional plumber to replace the valve.
Conclusion
Before you begin, turn off the power or gas supply to your heater and let the water cool for at least one hour. Connect your hose to the drain valve, open a hot water faucet somewhere in the house to release the vacuum, and then slowly open the drain valve.