
Stainless steel braided hoses are the best washing machine supply line kits because they resist bursting and prevent leaks better than rubber alternatives. For most homes, a 6-foot length is standard, but you should measure from your wall valves to the machine inlets before buying. This guide explains how to select the right material, install your lines safely, and avoid common pressure-related failures that lead to water damage.
Selecting reliable washing machine supply lines
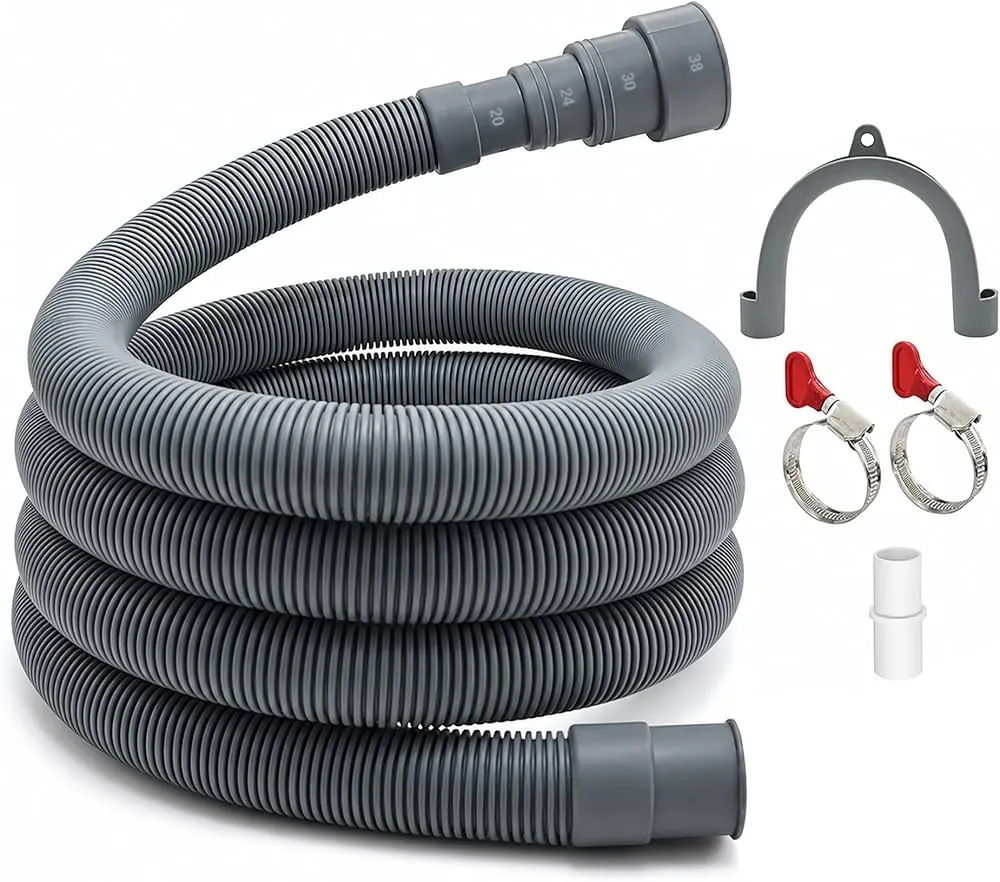
When you look for hoses, you’ll find rubber, reinforced rubber, and braided stainless steel. Stainless steel is the industry standard for durability because it includes an inner core of rubber protected by a metal jacket. This jacket stops the rubber from expanding and popping under constant water pressure. People often think the metal is just for looks, but it’s actually the main safety feature that keeps your floor dry.
If you have a machine with high-pressure cycles, you must use braided steel. Rubber hoses can dry out, crack, and fail without warning after a few years of use. If you have an older machine or a tight space, you might feel tempted to use thinner, unreinforced plastic tubing. Never do this, as those lines aren’t designed to handle the constant, high-pressure flow required by modern laundry equipment.
Inspect the crimp where the hose meets the metal fitting. A high-quality connection features a long, smooth sleeve that covers at least one inch of the hose. If the crimp looks short, jagged, or shows exposed rubber, the hose will likely leak at the connection point within two years.
Check the date stamp printed on the hose jacket. Most manufacturers provide a five-year warranty, but the material integrity typically degrades significantly after seven years. If your current hoses are older than this, replace them immediately regardless of their visual condition. Internal mineral buildup often creates microscopic fissures that are invisible to the naked eye.
When installing, never twist the hose to tighten the fitting. This creates internal tension that weakens the bond between the rubber core and the metal collar. Instead, rotate the nut while keeping the hose body perfectly straight. If the hose kinks during installation, it will create a localized pressure spike that can cause a catastrophic rupture during the next rinse cycle.
If you live in an area with high water pressure, specifically exceeding 80 psi, install a pressure-reducing valve at the main line. Even the best braided steel hoses have a breaking point. Reducing the pressure protects your hoses and extends the lifespan of your appliance’s internal seals.
Installing your new hoses
Installing new lines is a task you can do with basic tools like pliers or an adjustable wrench. Follow these steps to ensure a tight, leak-free connection.
- Turn off the hot and cold water valves completely. You should rotate them clockwise until they stop.
- Place a small bucket or towel under the connections to catch the water that will drip out when you disconnect the old hoses.
- Loosen the connections at the wall first, then at the back of the washing machine.
- Check the rubber washers inside your new hose ends. Ensure they’re seated flat and aren’t pinched or twisted.
- Screw the new hoses onto the wall valves by hand until they’re snug.
- Attach the other ends to the machine inlets, tightening them about a quarter-turn more with your wrench after they’re hand-tight.
- Turn the water on slowly and look for any beads of water forming at the connections.
If you notice a leak after turning the water on, don’t keep tightening the nut. This is a common mistake that can strip the threads or crack the plastic inlet on your machine. Instead, turn off the water, unscrew the hose, and check that the rubber washer is still in place and clean of debris.
Key metrics for your laundry setup
The following table helps you match your equipment to the right hose specifications. Always check your machine’s manual, as some high-end models require specific flow rates or diameters.
| Situation | What to use | How long | What to watch for |
|---|---|---|---|
| Standard setup | Braided stainless steel | 4 to 6 feet | Kinks or sharp bends |
| Tight spaces | 90-degree elbow hoses | 3 to 4 feet | Clearance behind unit |
| High-rise building | Burst-proof braided steel | 5 to 6 feet | Excessive water pressure |
| Older homes | Braided steel with new washers | 6 feet | Corroded wall valve threads |
For homes with very high water pressure, look for hoses that meet the Insurance Institute for Business and Home Safety standards for burst resistance. If your home pressure exceeds 80 PSI, you should consider installing a pressure-reducing valve to protect your entire plumbing system.
Achieving a secure and leak-free fit
The secret to a good result is never over-tightening the connections. A metal hose nut only needs to be tight enough to compress the rubber washer inside. If you use too much force, you can damage the seal or the threads on the valve. Experienced installers always start the thread by hand to ensure it isn’t cross-threaded before using a tool.
If you feel resistance within the first half-turn, stop immediately. Back the nut off completely and inspect the threads for debris or metal shavings. Forcing a cross-threaded connection will ruin the valve housing, turning a simple DIY task into a costly plumbing repair that requires cutting into your wall.
Once the nut is hand-tight, use a wrench to turn it only an additional quarter-turn. This is the sweet spot for a watertight seal. Going beyond this point often deforms the rubber gasket, causing it to bulge or tear, which creates a slow drip that may not appear for several days.
Consider the bend radius of the hose. If you push your machine too close to the wall, you might pinch the hose or cause it to kink. A kink creates a weak point in the metal braid and restricts water flow. If you have limited depth, use a hose with a factory-installed 90-degree elbow. This allows the hose to exit the back of the machine without bending sharply, which keeps the flow consistent and the hose material safe from stress.
Check the hose path after the machine is in its final position. If the hose is pulled taut like a guitar string, it’s too short. You need at least three inches of slack to allow for the machine’s natural vibration during a cycle.
Without this buffer, the constant micro-movements will eventually vibrate the nut loose or cause the hose fitting to fatigue and snap. If the hose is under tension, replace it with a longer length before turning on the water.
Troubleshooting connection issues
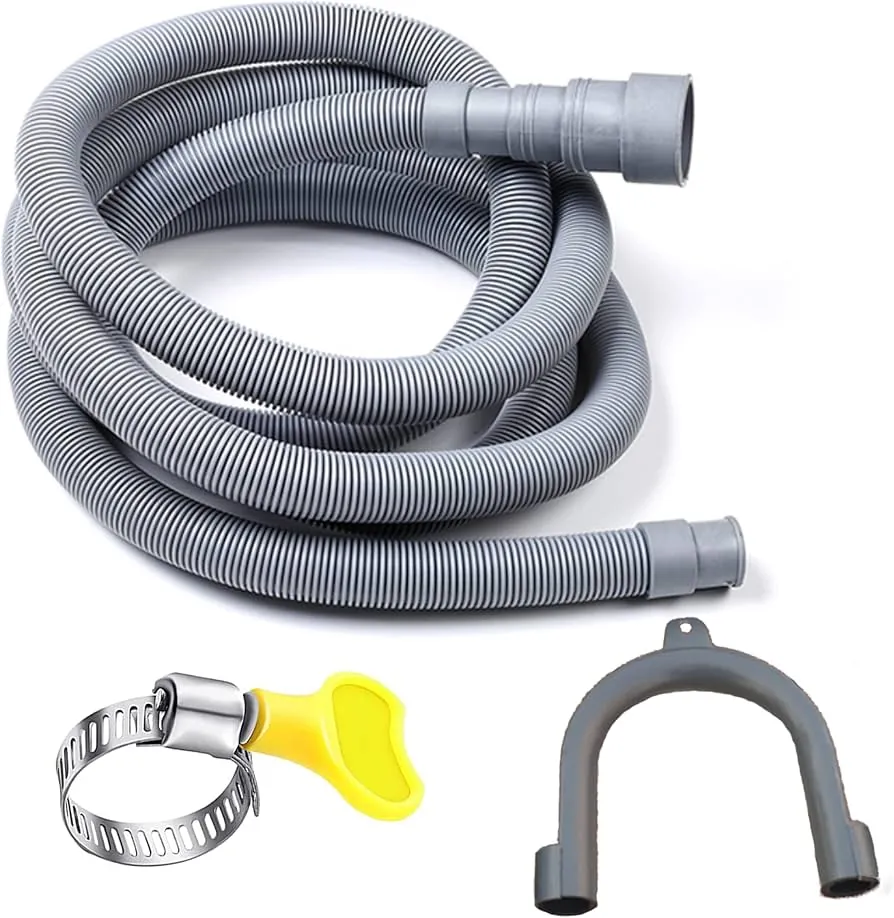
If you encounter problems during or after the installation, use this table to identify the issue quickly.
| What you notice | What it usually means | What to do first |
|---|---|---|
| Water dripping at the nut | Missing or damaged washer | Remove and inspect seal |
| Water spraying out | Cross-threaded connection | Unscrew and realign carefully |
| Low water flow | Kinked or pinched hose | Straighten the path |
| Hissing sound | Air in the line | Run a short rinse cycle |
If the valve itself is leaking from the handle area, this is a plumbing repair that requires shutting off the main water supply to the house. In such cases, contact a licensed plumber to replace the wall valve. Never attempt to force a corroded valve, as it can snap off inside the wall.
Rules for safe water connections
Always follow local plumbing codes regarding supply lines, as some jurisdictions require specific materials for washing machines. These codes are managed by your local building department, which adopts rules from national organizations like the International Association of Plumbing and Mechanical Officials. If you live in an apartment or condo, check your building’s bylaws, as they may require you to use professional installers to prevent water damage to units below you.
Before you begin, turn off the water supply at the main shutoff valve. Open a faucet at the lowest point in the house to drain the remaining pressure from the lines. If you see water still trickling after the shutoff, you have a faulty main valve that needs repair before you can safely touch the machine.
Any time you work with water lines, ensure the electricity to the washing machine is disconnected. A leak near a power outlet or the motor can create a shock hazard. If you aren’t comfortable working with water valves or if the valves are seized, don’t force them. A professional plumber has the right tools to remove stuck valves without breaking the pipes inside your wall.
When installing new hoses, choose stainless steel braided lines over rubber ones. Rubber hoses often fail after a period of constant pressure, leading to catastrophic flooding. If your hose shows any signs of bulging, cracking, or rust on the coupling, replace it immediately regardless of age.
If you notice a slight drip at the connection point, resist the urge to overtighten the nut. Overtightening often cracks the plastic threads of the valve or the machine inlet. Instead, unscrew the connection, inspect the rubber gasket for debris, and seat it properly before hand-tightening.
If the leak persists, the gasket has likely lost its elasticity and requires a simple replacement rather than more torque. Always keep a bucket and a stack of towels directly beneath the work area to catch the inevitable spill.
Maintaining your laundry lines
Check your connections every six months for signs of corrosion or moisture. You can do this by running a dry paper towel around the connections; if the towel comes away damp, you have a slow leak that needs immediate attention. Even the best hoses eventually reach the end of their life, especially in areas with hard water that can wear down rubber seals.
Mineral buildup from hard water acts like sandpaper on internal gaskets. If your local water hardness exceeds 120 parts per million, replace your hoses every five years rather than waiting for the ten-year mark. You can check your city’s water quality report online to confirm your specific mineral levels.
Manufacturers suggest replacing washing machine supply hoses every 5 to 10 years, regardless of appearance. If you notice the stainless steel braid starting to rust or the rubber near the crimp points looking brittle, replace the hoses immediately. A burst hose can release a significant volume of water, potentially causing catastrophic flooding before you can reach the shutoff valve.
Always keep the area behind your machine clear of clutter so you can easily reach the valves in an emergency. If you need to move your machine for cleaning, be careful not to pull on the hoses, as this can loosen the connections. A common mistake is using the hoses as a handle to slide the unit forward. This tension often creates micro-fractures in the internal lining that remain invisible until the hose ruptures under pressure.
If you’re moving the machine, disconnect the supply lines first. If you choose to keep them attached, ensure you have at least six inches of slack to prevent strain on the fittings. When installing new lines, choose braided stainless steel over rubber. These provide a secondary layer of protection against accidental punctures.
If you see a bulge or a bubble forming on the hose surface, replace it that same day. This indicates the inner tube has failed and the outer braid is the only thing holding back the water. Never try to patch a leak with tape or sealant. These are temporary fixes that will fail under the constant vibration of a spin cycle.
Situations requiring professional help
You should skip the do-it-yourself approach if your wall valves are old gate valves that don’t turn smoothly. These older valves often fail when you try to close them, leading to a major leak behind the wall. In this case, have a plumber replace them with modern quarter-turn ball valves. These are much more reliable and easier to shut off in an emergency.
If you find a valve that feels stiff or gritty, don’t force it. Applying extra torque to a corroded stem often snaps the internal gate, leaving the water stuck in the “on” position. If you can’t turn the valve by hand, stop immediately. A professional plumber will use specialized tools to stabilize the pipe from behind the wall before attempting the swap.
Avoid installing these kits yourself if your home has a complex water pressure regulation system or if your local code requires a specific type of anti-siphon connection. If you’re uncertain about the requirements in your area, a quick call to your local building inspector will clarify what is needed for your specific home.
You can identify a pressure regulation issue by checking your home’s main water line. If you see a bell-shaped device attached to the pipe near the shut-off, you have a pressure regulator. Modifying fixtures downstream from this device without checking the pressure balance can cause “water hammer,” which eventually bursts pipe joints.
If you live in a multi-story building or a home built before 1970, assume your pipes are made of galvanized steel rather than copper or PEX. Galvanized steel is prone to internal rust that fuses fittings together. Attempting to unscrew a valve on these pipes often causes the entire pipe segment to twist and crack inside the wall.
Investing in a professional for these tasks prevents costly water damage that insurance companies might not cover if the work wasn’t done to code. If the repair requires soldering near wooden studs or behind finished drywall, the risk of a fire or hidden leak is rarely worth the savings of a service call.
Frequently asked questions
Can I reuse old washing machine hoses?
No, you should never reuse old hoses because the rubber seals inside become brittle and compressed over time. Once you remove a hose, the seal will likely not seat correctly a second time, which leads to leaks. Hoses are inexpensive safety items, so it’s always better to install a fresh kit whenever you disconnect or move your washing machine.
How long do braided stainless steel hoses last?
Braided stainless steel hoses typically last for a duration that depends on your water quality and pressure. You should inspect them based on your usage and consult the owner’s manual for the recommended service frequency for signs of rust on the braid or dampness at the fittings. If you notice any corrosion, replace them immediately to prevent a burst, as a failed hose can release hundreds of gallons of water in a very short time.
Is it safe to install these hoses myself?
Yes, it’s safe to install them yourself if you have access to the valves and they turn easily. Ensure you have a bucket ready to catch residual water and always tighten the fittings by hand before using a wrench. If you find the valves are stuck or corroded, stop immediately and call a plumber to avoid breaking the pipe inside your wall.
How do I know if my water pressure is too high?
You can measure your home’s water pressure using a gauge that attaches to an outdoor hose bib. If the reading is consistently above 80 PSI, your pressure is too high and can damage your washing machine hoses and internal valves. If you see this result, consider installing a pressure-reducing valve to protect your appliances and plumbing system from excessive strain.
What happens if I overtighten the hose connection?
Overtightening can crack the plastic threads on your washing machine’s inlet or damage the rubber washer inside the hose. Once the washer is deformed or the threads are stripped, the connection will leak even if you tighten it further. Always tighten the nut by hand until it’s snug, then use a wrench to turn it only an additional quarter-turn to create a proper seal.
Conclusion
Replacing your old hoses is a simple way to protect your home from sudden flooding. Once you’ve finished the installation, check the connections for any slow drips over the next few days. You’ll sleep better knowing your laundry room is secure and that you’ve prevented a major mess before it starts.