
How to seal a table top with epoxy: start by applying a thin seal coat of mixed resin at 75°F to lock the grain before adding a thick flood coat. The whole process takes about 72 hours from first pour to full handling cure. This method suits anyone finishing raw wood slabs or restoring flat wooden desks.
What you’ll need
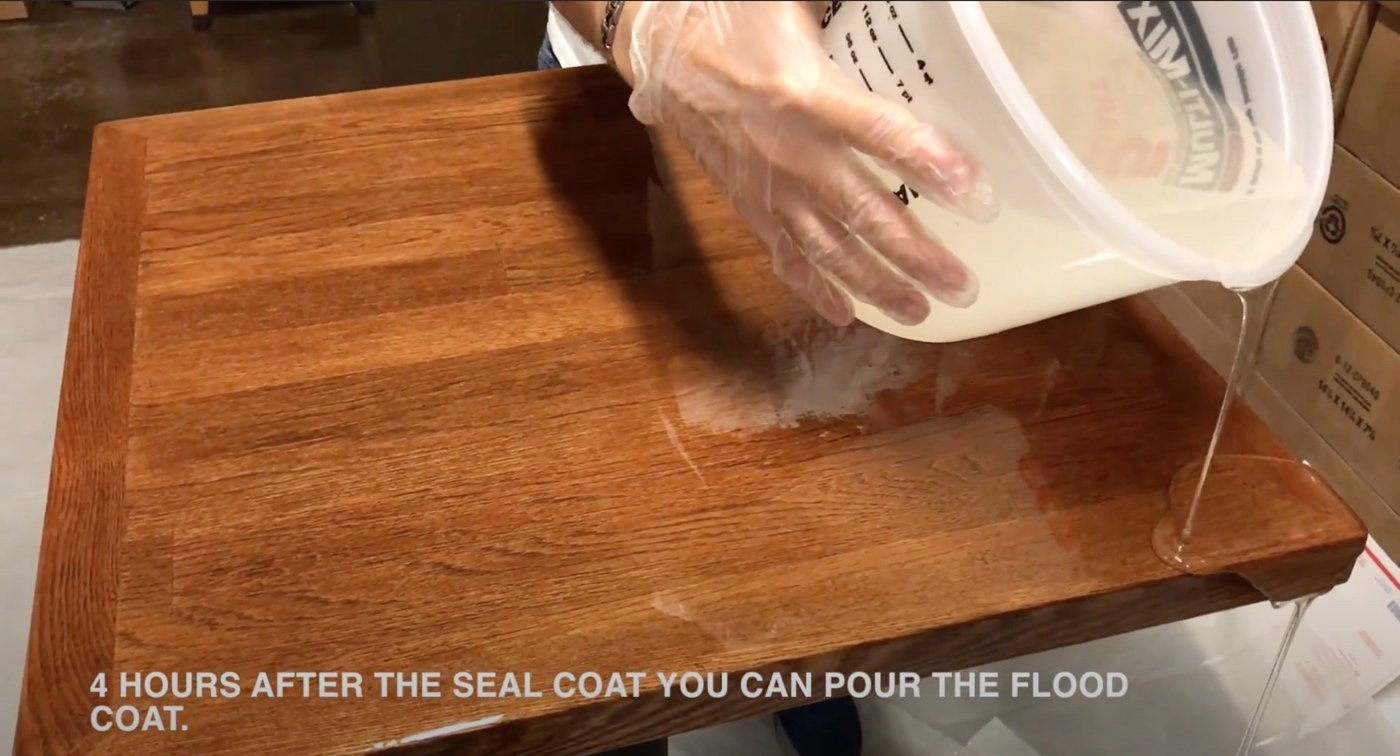 Photo: help.bestbartopepoxy.com on Google
- Tabletop epoxy resin kit: buy a 1:1 by volume two-part formulation, not polyester fiberglass resin.
- Graduated mixing containers: use two clean plastic buckets marked in ounces or milliliters.
- Flat wooden stir sticks: choose sticks with square edges to scrape the container walls properly.
- Propane torch or heat gun: needed to burst bubbles rising to the wet surface.
- Foam brushes: buy dense two-inch foam brushes to spread the initial thin seal coat.
- Plastic notched spreader: an eighth-inch notched trowel distributes the thick flood coat evenly.
- Nitrile gloves and safety glasses: essential skin and eye protection against chemical contact.
A clean plastic squeegee works if you don’t have a notched trowel, but a standard paint roller won’t work because it traps thousands of micro-bubbles in the resin. Working with large commercial timber slabs that have structural rot needs professional timber stabilization; a local sawmill or joinery shop handles that safely.
Step-by-step
- Sand the wood surface completely flat using 120-grit sandpaper, then vacuum every trace of dust away.
- Level the table perfectly in all directions by adjusting shims under the legs, because liquid epoxy self-levels and runs toward low spots.
- Mix exactly one fluid ounce of resin and one fluid ounce of hardener per square foot of surface area in a clean bucket for three minutes. Careful: Scraping unmixed resin from the sides into your final pour causes permanent sticky spots that never cure.
- Paint this mixture across the entire wooden surface in a thin layer using your two-inch foam brush to seal the wood pores. Tip: If you see active bubbles emerging from deep grain within ten minutes, brush a tiny bit more mixed resin over those dry patches immediately.
- Wait four to six hours until the seal coat turns tacky like tape, which lets the next coat bond chemically without sanding.
- Mix three fluid ounces of resin and three fluid ounces of hardener per square foot of table area for three full minutes, pour into a second bucket, and stir for another two minutes.
- Pour the mixed batch down the center of the table immediately, spreading it toward the edges with your eighth-inch notched trowel.
- Sweep a propane torch flame six inches above the wet surface in steady passes fifteen minutes after pouring to pop all surface bubbles. Careful: Holding the flame in one spot for more than two seconds will scorch the resin and leave yellow burns.
- Cover the table with a clean cardboard tent elevated four inches above the surface, then leave it untouched for 72 hours at 75°F.
Adjusting for Wood Species and Space
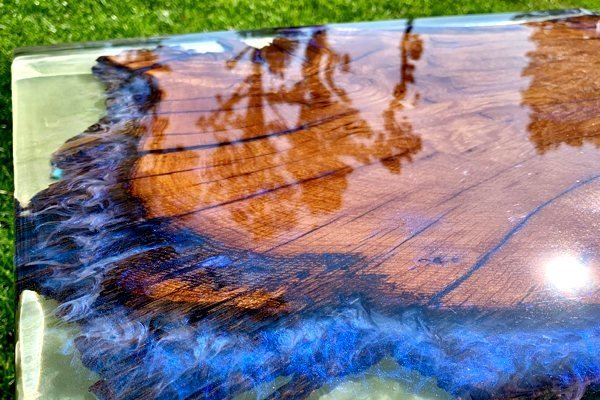 Photo: www.bestbartopepoxy.com on Google
The amount of resin, cure time, and labor depend heavily on the wood species and the surrounding room.
| Project Situation | Cost in Time and Material | Working Difference | What to Monitor |
|---|---|---|---|
| Porous open-grain wood (Oak, Ash) | Adds 6 hours; uses 30% more seal coat | Deep pores soak up resin rapidly | Watch for dry wood spots and rising air |
| Dense closed-grain wood (Maple, Cherry) | Standard 72 hours; baseline resin usage | Resin stays on top with minimal soak | Watch for surface crawling or pooling |
| Cool workspace (65°F to 70°F) | Doubles cure time; thickens liquid | Resin flows sluggishly and holds bubbles | Watch for cloudiness and slow leveling |
| Warm workspace (80°F to 85°F) | Cuts working time in half | Pot life drops under 15 minutes | Watch for container smoking and flash curing |
It’s much safer to apply a modest seal coat and add a second thin layer if the grain drinks it up than to pour a heavy flood coat over raw wood on your first attempt.
How to tell you did it right
A correct epoxy seal looks like a flat sheet of polished glass with uniform reflection across the whole board. In contrast, a failed pour shows cloudy patches, crater-like dimples, or sticky zones that indent under a fingernail. The most frequent quality defect is a field of tiny trapped air pockets known as champagne bubbles. This happens because wood grain naturally holds air that expands as the chemical reaction warms the slab. You prevent this defect by applying an airtight seal coat first, keeping the room at a constant 75°F, and running a torch over the liquid within twenty minutes of the pour.
Safe handling and surface care
Epoxy components release vapors and create contact risks before curing. OSHA guidelines outline specific workplace exposure limits and handling hazards for these curing compounds. Scrape leftover wet resin into disposable cardboard, let it cure solid outdoors away from flammables, and dispose of it as solid household waste. Wipe empty tools with denatured alcohol before the liquid sets. Once fully cured, the tabletop lasts for decades indoors, though you’ll need to buff the clear coat regularly if heavy daily use causes fine micro-scratches.
Alternative coating methods
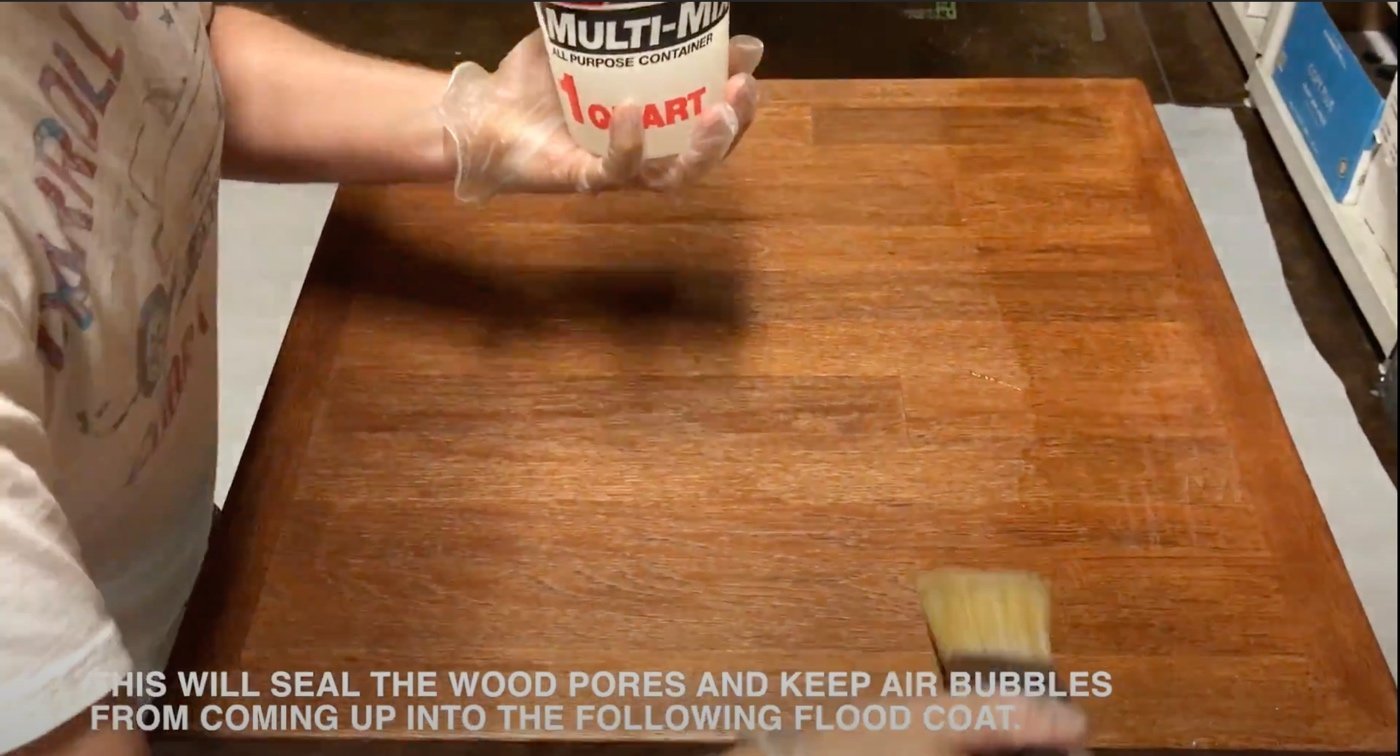 Photo: help.bestbartopepoxy.com on Google
Polyurethane finish
Wipe or brush three to four coats of oil-based polyurethane onto the sanded wood. This cuts material expense significantly and applies easily, but it yields a much thinner protective layer that lacks epoxy’s deep, glass-like build.
Hardwax oil treatment
Buff two coats of hardwax oil into the bare timber using an abrasive pad. This approach preserves the natural texture of the wood grain and speeds up drying time, though it requires fresh oil applications regularly.
Pre-catalyzed lacquer spray
Spray two wet coats of clear lacquer using professional pneumatic spray equipment. This creates a fast-drying commercial furniture finish within an afternoon, but requires an explosion-proof spray booth and specialized protective gear that general workshops lack.
Frequently asked questions
Can you pour epoxy over stained wood?
Yes, but the stain must dry completely for at least 72 hours. Oil-based stains release solvents as they dry. If trapped under fresh resin, these escaping fumes break the chemical bond, creating milky white haze and peeling.
How long does epoxy take to cure completely?
Epoxy cures to light handling strength in 72 hours at 75°F. Full chemical hardness takes seven days. If the workspace stays around 65°F, allow ten days before placing heavy objects or hot mugs on the surface.
Is an epoxy table food safe?
Yes, fully cured epoxy resin is non-toxic and safe for clean food contact. However, don’t use the table as a cutting board. Knife blades easily slice micro-grooves into the plastic surface, which harbor bacteria and ruin the clear gloss.
Why is my epoxy coat sticky after days?
Sticky epoxy happens when the mix ratio is wrong or the liquids weren’t stirred thoroughly. If you leave sticky spots, scrape the soft goo off with a putty knife, clean the area with isopropyl alcohol, and pour a fresh layer.
What happens if you pour epoxy too thick?
Pouring standard tabletop epoxy thicker than one-quarter inch per layer triggers an uncontrolled thermal reaction. The liquid overheats, smokes, shrinks rapidly, and hardens with deep fractures and yellow discoloration throughout the interior.
Can you put hot pans on an epoxy table?
No, placing cookware straight from a stove burner will melt the surface. Most tabletop resins soften at temperatures above 135°F, leaving dull ring impressions. Always place heat-resistant silicone trivets underneath warm pots or serving platters.
Related guides