
You can easily replace a dead unit battery by sliding the cover off the wall console and swapping the old coin cell for a new one. Changing the battery in a LiftMaster wall control is a quick process, and you only need a flathead screwdriver for the task. This process works for most modern LiftMaster smart wall stations, but you should check your specific model manual if you have an older or non-standard control panel.
Items needed to change your LiftMaster battery
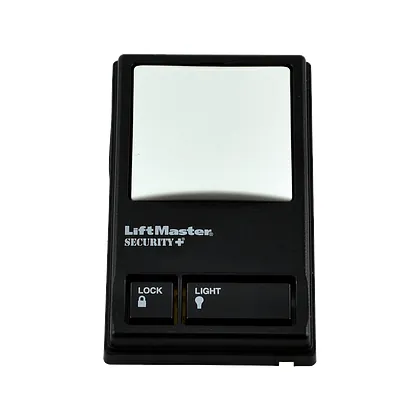
To complete this task, you’ll need a few simple items likely already in your home. Having the right tools prevents damage to the plastic casing of the wall console.
Replacement battery: Most LiftMaster wall controls use a CR2032 or a CR2450 coin cell. Check the back of your old battery or the markings inside the tray to ensure you buy the correct voltage. If the battery tray is unmarked, look for the model number on the back of the console casing and cross-reference it with the manufacturer’s database.
Small flathead screwdriver: Use this to gently pry the cover open. If the plastic feels brittle or cold to the touch, warm it with a hair dryer for thirty seconds first. This prevents the small retaining clips from snapping under pressure.
Step stool or ladder: Use this if your control is mounted above eye level. Never stand on a rolling chair or a stack of boxes. A stable, non-slip base ensures you can apply steady, even pressure rather than jerking the casing, which often causes the clips to shear off.
Soft cloth: Use this to wipe away dust or debris from the terminals before inserting the new unit. If you see a white, powdery residue, the previous battery has leaked. Use a dry cotton swab or a specialized electronics contact cleaner to remove any residue before installing the new cell.
If you’re unsure about the battery type, consult the manufacturer’s compatibility guides. Never use a battery that shows signs of corrosion, as this permanently damages the sensitive internal electronics. If the console remains unresponsive after a fresh battery installation, the internal circuit board may have failed. At that stage, don’t attempt to bypass the wiring. Contact a certified garage door technician to inspect the wall station for electrical shorts.
Steps to replace the battery
Follow these steps carefully to ensure you don’t break the plastic clips holding the cover in place.
- Locate the small notch on the bottom or side of the wall console cover.
- Insert the tip of your flathead screwdriver into the notch and gently twist it to pop the cover off.
- Slide the battery tray out or gently pry the old coin cell from its metal clip using the screwdriver.
- Note the orientation of the battery, as the positive (+) side must face the same way as the original.
- Clean the metal contact points with a dry cloth to remove any dust that might block the connection.
- Slide the new battery into the holder, ensuring it clicks firmly into place under the metal prongs.
- Align the cover with the base and press it firmly until you hear the plastic tabs snap back together.
- Test the wall control by pressing the main button to see if the garage door opener responds correctly.
Tip: If the unit doesn’t respond, ensure the battery is seated flat against the contacts. Careful: Don’t force the cover if it resists, as the plastic tabs can snap easily; check that you have removed any hidden screws if your specific model uses them.
Situations affecting the process
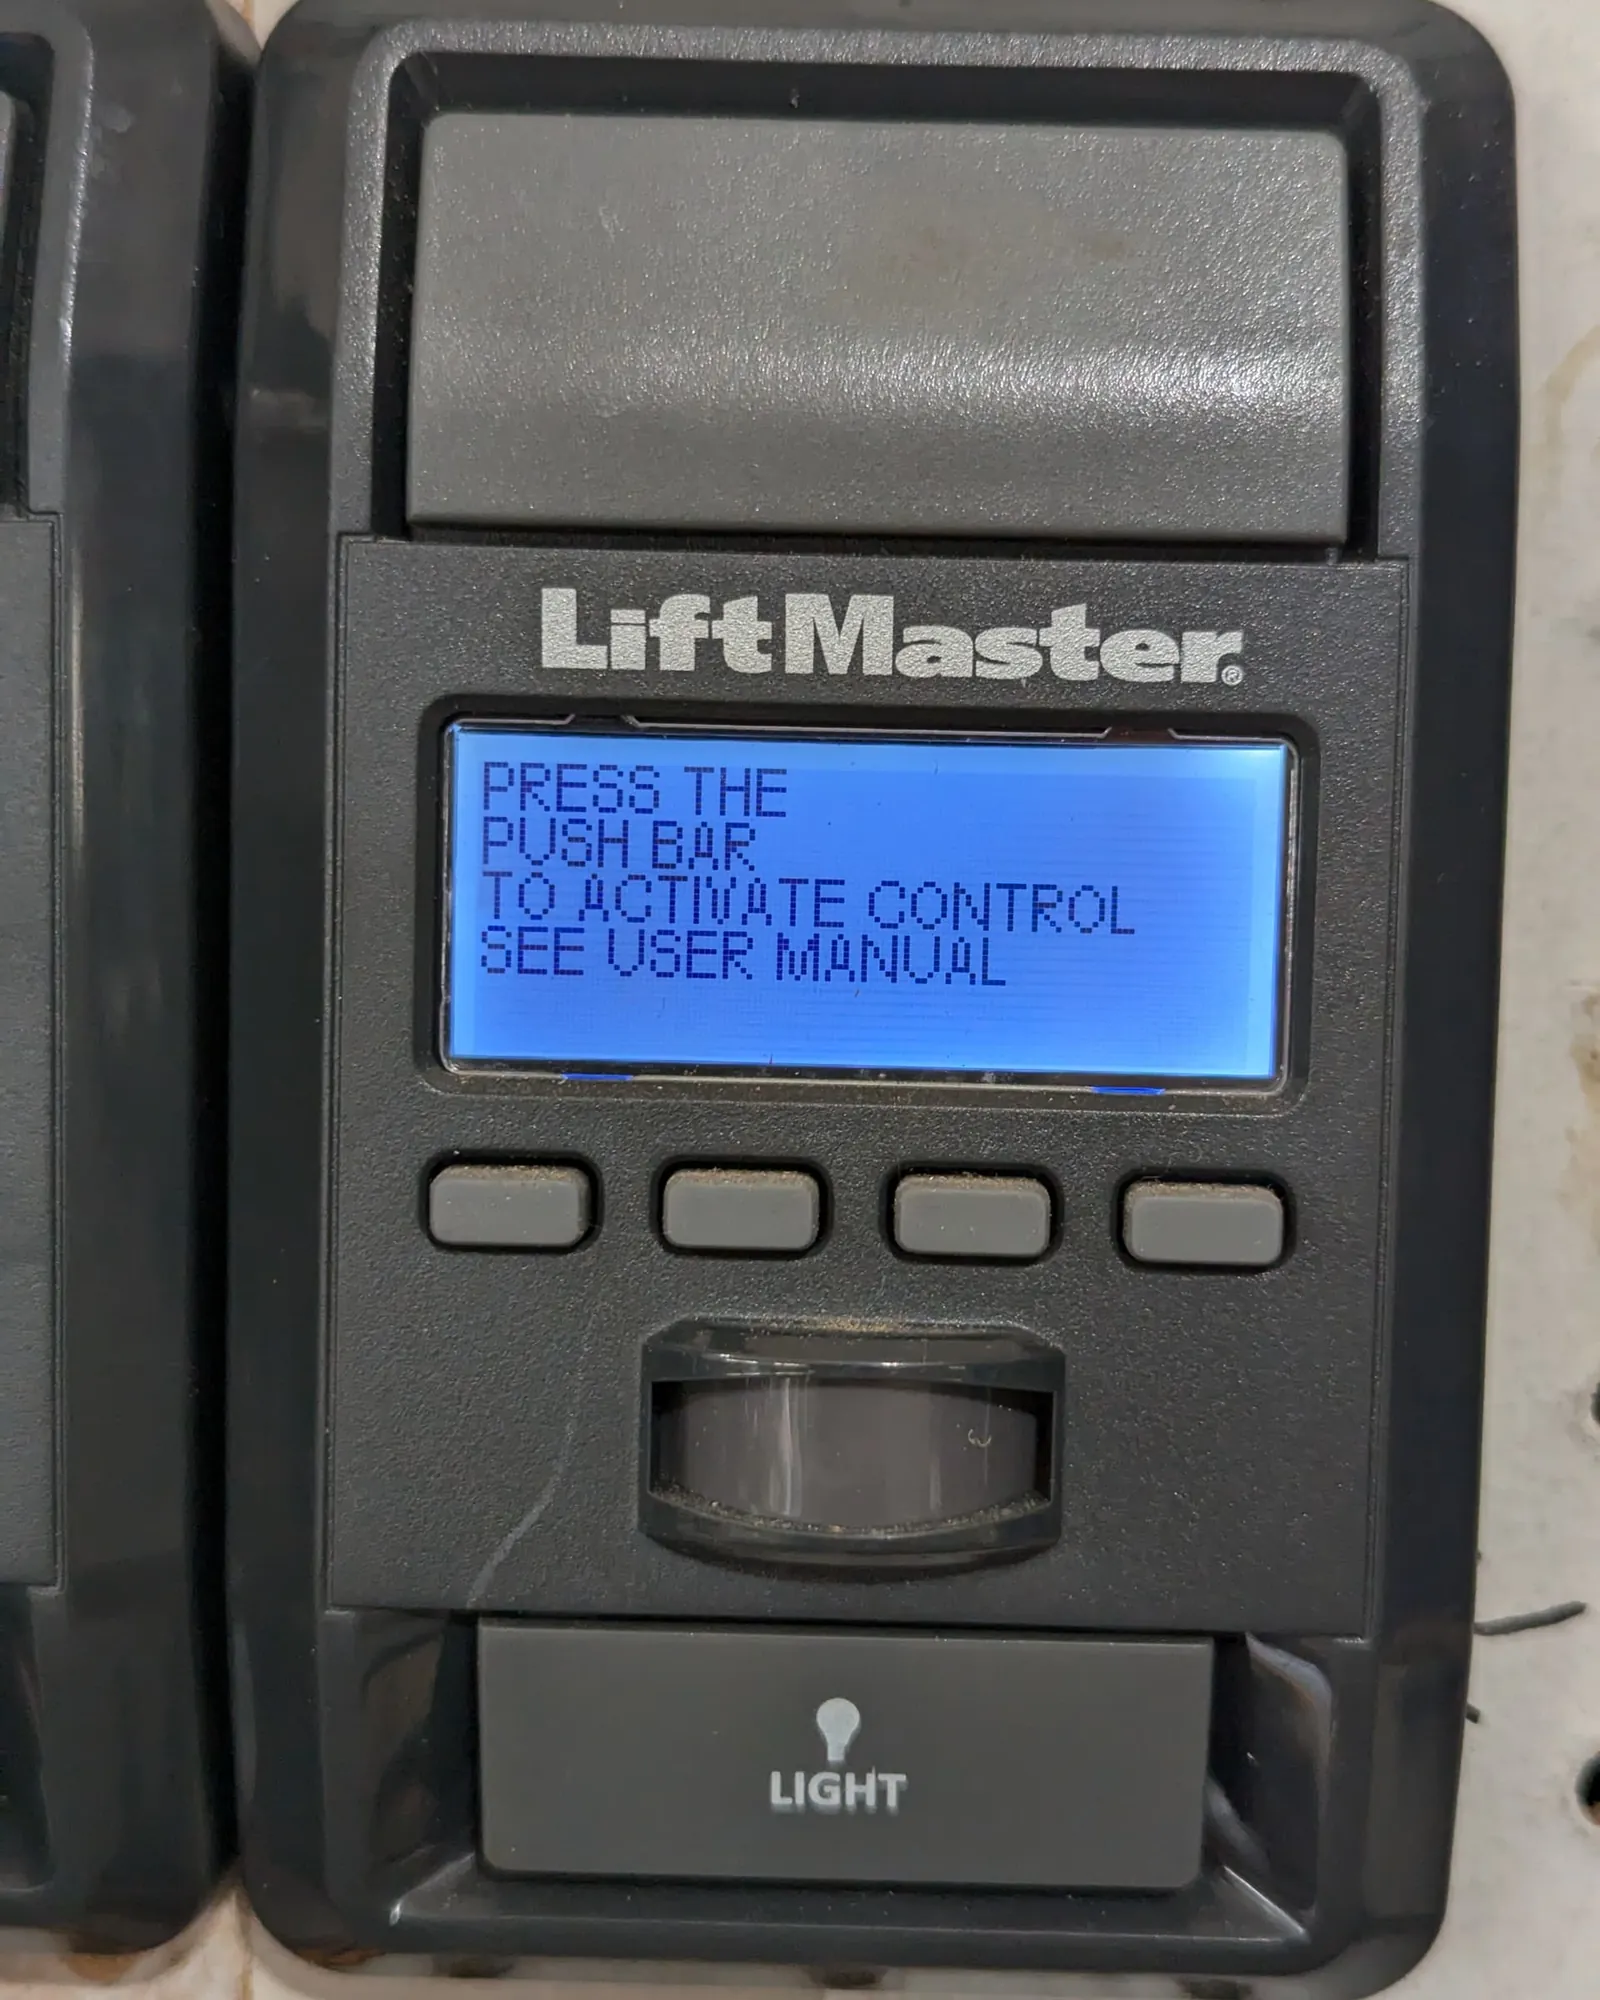
The time and effort required to change your battery depend on the mounting location and the age of your unit.
| Situation | Time Required | Effort Level | What to Watch |
|---|---|---|---|
| Standard wall mount | 2-3 minutes | Low | Ensuring tabs align |
| High-reach location | 5-7 minutes | Moderate | Ladder stability |
| Corroded terminals | 10+ minutes | High | Removing white residue |
| Integrated keypad | 5 minutes | Low | Weather seal fit |
Always check for a simple battery swap before assuming the wall control has failed. If the unit remains unresponsive after a fresh battery, inspect the battery contacts for a thin layer of oxidation. If you see a blue-green or white crust, use a dry cotton swab to gently buff the metal. Don’t use liquid cleaners, as moisture trapped behind the seal will cause internal circuit corrosion within weeks.
If your unit is mounted in a high-reach location, never attempt the swap while standing on a chair or stool. Use a stable A-frame ladder positioned on level ground to avoid a fall. If you feel the plastic cover resisting, stop immediately. Applying force to a stuck cover often snaps the internal retention clips, rendering the housing unable to snap shut again.
If you encounter a stuck cover, slide a thin plastic putty knife into the seam to release the tension rather than prying with a screwdriver. If the clips have already snapped, use a small piece of electrical tape to secure the cover. This keeps the unit functional while preventing debris from clogging the sensor optics.
Judging your results
A successful replacement results in the wall control working immediately upon the first press. You should see the indicator light on the console flash or turn solid, depending on your specific model’s design. If the light remains dark, check the battery orientation first. A common mistake is assuming the negative end goes against the spring, but many modern units require the positive terminal to face the back plate.
Poor results often involve a loose cover that falls off or a battery that doesn’t make a solid connection. This usually happens because the metal prongs were bent during the removal of the old battery. To prevent this, always lift the battery gently and avoid bending the metal clips out of shape. If you accidentally nudge a prong, use a pair of needle-nose pliers to nudge it back toward the center of the bay.
If the unit remains unresponsive after a fresh install, replace the battery with another new one to rule out a defective cell. If the power level is sufficient, the internal circuit board has likely reached the end of its life. At this stage, the cost of professional repair almost always exceeds the price of a complete replacement unit.
Standards and maintenance
LiftMaster wall controls generally follow the standard battery life expectations set by the Chamberlain Group. Most lithium coin cells in these devices last for a period that varies depending on how often you use the wall station. After you finish the replacement, dispose of the old battery at a local recycling center, as lithium batteries shouldn’t be thrown in regular household trash.
If you find that your batteries are dying frequently, check the wall station for stuck buttons or debris that might be keeping the circuit active. A simple way to test for a parasitic draw is to remove the battery and clean the contact points with a dry cotton swab. If the battery drain persists after this cleaning, the internal logic board likely has a short; consult your owner’s manual for troubleshooting or replacement options.
Should you encounter issues with the wiring behind the wall plate, don’t attempt to repair the electrical connections yourself. Consult a licensed electrician or a garage door professional who has the proper tools to handle low-voltage wiring safely.
Distinguish between a dead battery and a signal loss by checking the LED indicator on the wall station. If the light remains dark after a fresh battery install, the unit may have lost its pairing with the garage door opener head. Follow the manufacturer’s manual to re-sync the device before assuming the hardware is faulty. Replacing a functional unit is inexpensive relative to the alternative, so confirm the signal status first to avoid unnecessary spending.
Alternative methods
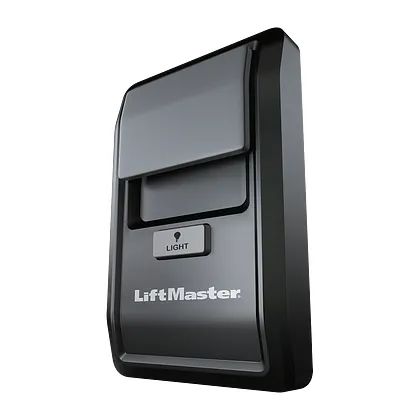
Remote control swap
If your wall control is difficult to reach or the case is cracked, you can use a standard handheld remote. This bypasses the wall unit entirely, though it doesn’t provide the same integrated light or lock features.
Wired power bypass
Some advanced models allow for a direct power connection to the garage door opener. This removes the need for batteries, but it requires running new low-voltage wire through your walls, which is a significant project.
Smart hub integration
You can connect your garage door to a smart home hub. This allows you to control the door via a phone app, which is helpful if your wall console has become unreliable or obsolete.
Related guides
Frequently asked questions
Can I use a different brand of battery?
Yes, you can use any brand of battery as long as the size and voltage, such as CR2032, match the requirements listed on the back of your old battery or in your manual. Ensure the new battery is fresh and not expired, as older stock may have a shorter life or lower voltage output.
Why does my wall control light keep flashing?
A flashing light on many LiftMaster wall controls indicates a low battery or a loss of communication with the garage door opener. Replace the battery first to rule out a power issue, as this solves the problem in most cases. If the light continues to flash after replacing the battery, you may need to clear and reprogram the wall station.
Is it safe to change the battery myself?
Yes, it’s safe to change the battery yourself because the wall control operates on low-voltage power. You don’t need to turn off the main power at the breaker, but you should avoid touching the internal wiring or the circuit board components to prevent accidental damage.
How long does a wall control battery last?
A standard battery in a wall control typically lasts for a duration that varies. The exact length of time depends on how frequently you press the button and the temperature of your garage, as cold weather can temporarily reduce the effective capacity of lithium coin cells.
What happens if I put the battery in backward?
If you insert the battery backward, the wall control will simply not power on. You won’t damage the device, but you’ll need to remove the battery and flip it to the correct positive (+) side to restore function.
How do I know if the battery is dead?
The most common sign of a dead battery is a completely unresponsive wall control that doesn’t light up when pressed. If you press the button and the garage door doesn’t move, check the battery level immediately, as this is the most likely cause of failure.
Conclusion
Once you’ve snapped the cover back into place, your wall station should be fully operational again. If the light doesn’t turn on or your opener remains unresponsive, it’s worth checking the wire connections behind the unit. You shouldn’t have any more trouble, but keep a spare battery handy just in case.
