
The choice between the dji mini 3 vs dji mini 4 pro depends on your need for advanced collision avoidance, as the Pro model offers omnidirectional sensing while the standard version only features downward and backward sensors. If you’re a beginner who prioritizes ease of flight and safety, the Pro model is the better investment. However, if you’re a casual pilot who mostly flies in open, clear spaces, the standard Mini 3 provides almost identical image quality at a much lower cost.
Mini 3 and Mini 4 Pro specs compared
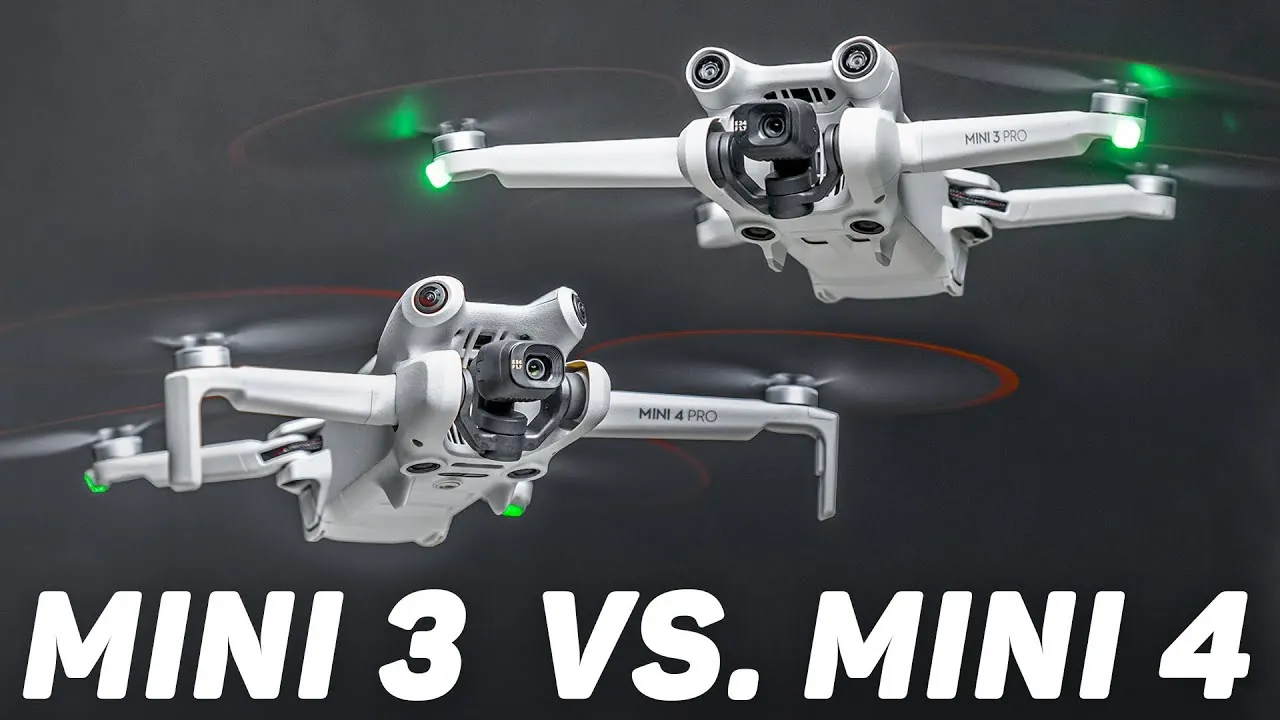
Choosing the right drone requires looking at how these two models handle stability, tracking, and image capture. While both drones weigh under 249 grams—a weight threshold that avoids registration in many regions—their internal hardware differs significantly in terms of processing power and safety features.
The Mini 4 Pro includes omnidirectional obstacle sensing, while the Mini 3 relies solely on downward and backward sensors. If you fly in dense environments like forests or urban areas, the 4 Pro’s ability to detect lateral hazards will save you from a costly crash. In contrast, the Mini 3 is better suited for open fields where the risk of side-impact collisions is negligible.
The camera sensors also dictate your workflow. The Mini 4 Pro shoots 10-bit D-Log M, which is essential if you color grade your footage. If you prefer a “ready-to-post” look without editing, the Mini 3’s standard color profile produces more vibrant results straight out of the camera.
| Method | How long | Effort | Cost | Best for |
|---|---|---|---|---|
| DJI Mini 3 | 38 mins | Low | Low | Casual hobbyists |
| DJI Mini 4 Pro | 34 mins | Medium | High | Serious creators |
Choose the Mini 3 if your primary goal is long-duration, stress-free recreational flight. Opt for the Mini 4 Pro only if you require active tracking or professional-grade color depth for post-production. Buying the Pro for casual use often leads to frustration, as the complex interface and high-end features may feel like overkill for simple weekend photography.
Mastering the basic flight experience
The DJI Mini 3 is designed for simplicity. It allows you to get into the air quickly without managing complex settings.
-
Insert a microSD card into the slot on the side of the drone body. Always push until you hear a distinct click; a loose card will cause the drone to record only low-resolution cache files to your phone.
-
Unfold the front arms first, then the rear arms, to ensure the propellers don’t overlap. Always unfold the front arms first, then the rear arms, to ensure the propellers clear the drone body.
-
Power on the controller and then the drone by pressing the power button once, then holding it for two seconds.
-
Wait for the GPS signal to lock, which typically takes 30 to 60 seconds in an open area. Don’t launch until the app confirms a “Home Point Updated” status. Launching prematurely forces the drone to rely on visual positioning, which fails over water or tall grass.
-
Use the auto-takeoff button on the screen to lift the drone to a hover height of 1.2 meters.
This model is excellent for people who want a reliable camera in the sky without a steep learning curve. Its primary weakness is the lack of side-facing sensors. It won’t stop automatically if you fly sideways into a tree or wall. If you’re flying in a narrow corridor or near dense foliage, rely strictly on your visual line of sight rather than the screen. The drone’s internal collision avoidance only activates for forward and backward obstacles, leaving the sides entirely vulnerable to pilot error.
Utilizing advanced Pro features
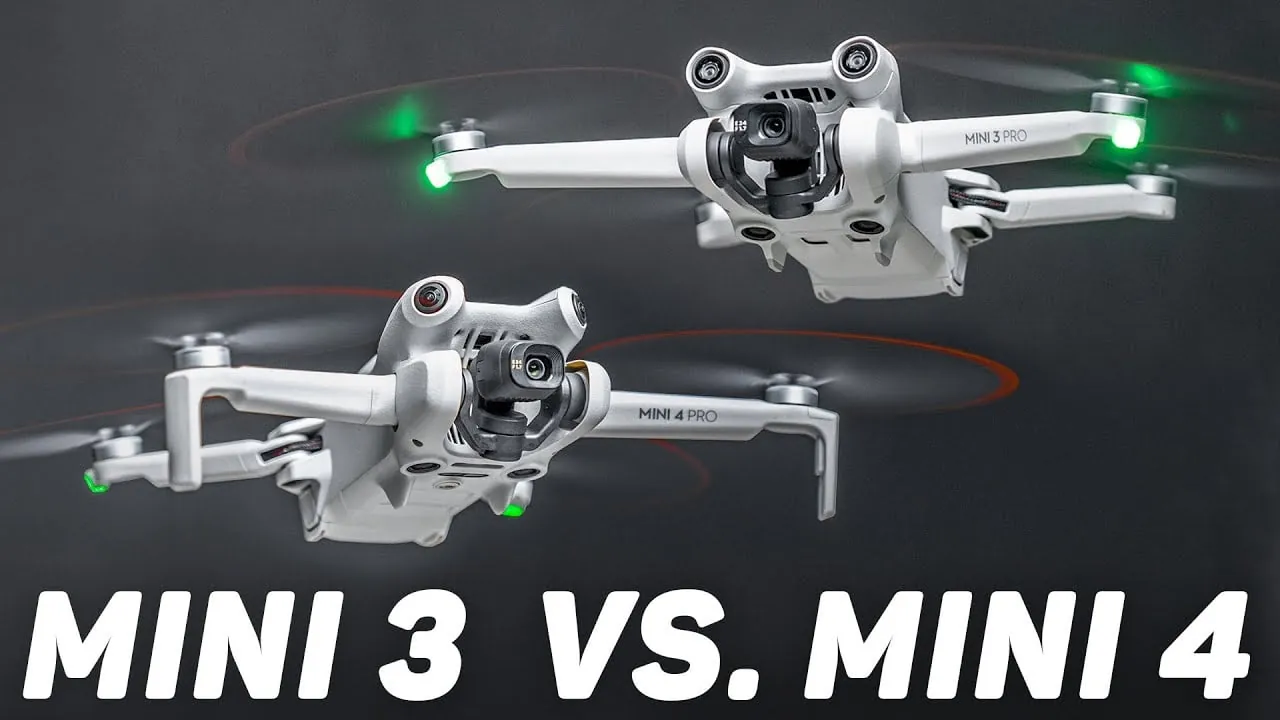
The DJI Mini 4 Pro includes hardware that helps you capture professional shots with less risk of accidents.
Calibrate the compass through the settings menu if you have moved more than 50 kilometers from your last flight location. Failing to do this often results in “toilet bowling,” where the drone drifts in wide, uncontrollable circles.
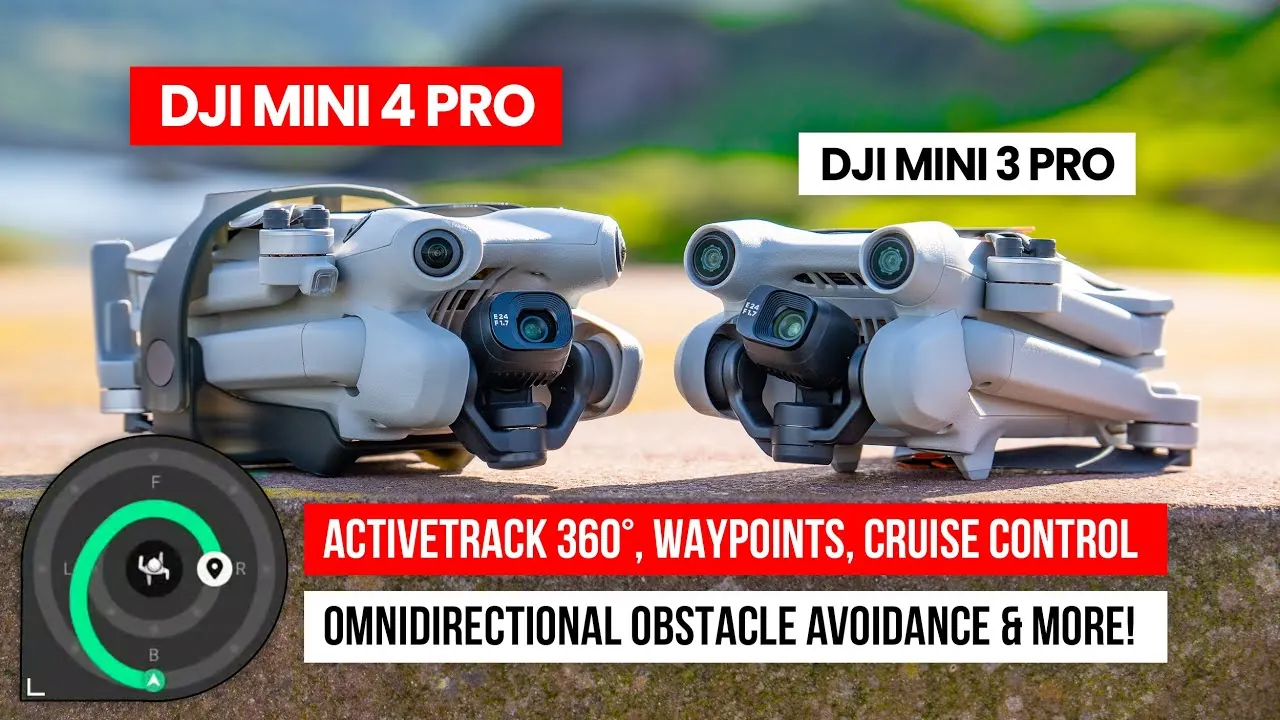
Ensure the omnidirectional obstacle sensing is enabled in the safety tab of the DJI Fly app. Note that “Bypass” mode is superior for complex environments, while “Brake” mode is safer for high-speed tracking.
Select your subject on the screen to activate ActiveTrack 360. This follows the target while avoiding obstacles in real-time. If the tracking box turns red, the drone has lost its lock; tap the subject again immediately to prevent a crash.
Use the waypoint flight mode to program a specific path. This allows the drone to fly the exact same route multiple times for consistent time-lapse footage. If you’re shooting at dusk, increase your overlap settings to 80% to ensure smooth transitions between frames.
Monitor the signal strength bars on the controller. If they drop below two, initiate the return-to-home function immediately. Waiting for a single bar often leads to a total loss of telemetry.
This drone is perfect for those who film moving subjects, like athletes or vehicles. A trade-off exists: the extra sensors and more powerful processor drain the battery faster than the standard model. Expect roughly 28 minutes of actual flight time rather than the advertised 34. If your mission requires more than 20 minutes of continuous tracking, carry at least two spare batteries to account for the increased power draw of the obstacle avoidance suite.
Choosing the right model for your needs
When deciding which drone fits your lifestyle, consider your primary use case. If you’re in a hurry to capture a quick memory, the Mini 3 is faster to set up and get airborne. If you’re doing this for the first time, the Mini 4 Pro provides a safety net that can save your investment from a costly collision. If you want the best possible result, the Pro model wins due to its D-Log M color profile, which allows for deeper editing control in post-production.
The main difference is the sensor suite. If you fly in dense forests or near architecture, the Pro is necessary. If you stick to beaches, parks, or open fields, the standard model is more than enough for great video. This isn’t for users who need long-range industrial mapping, as both drones are limited by their transmission protocols and battery capacity.
Use this decision rule: if you fly in environments with more than three obstacles per hundred feet, the Pro’s omnidirectional sensing is mandatory. Without it, you risk a total loss within your first ten flights. Beginners often mistake the standard model’s stability for obstacle avoidance, which leads to expensive gimbal repairs.
If you plan to color grade your footage in software like DaVinci Resolve, the Pro’s 10-bit color depth is the deciding factor. The standard model captures 8-bit footage, which breaks apart if you try to push shadows or highlights. If you only post directly to social media, the extra cost for the Pro’s sensor is unnecessary. Stick to the Mini 3 to save money for extra batteries.
Essential rules for every flight
Regardless of which model you choose, you must follow basic aviation safety. Always keep your drone within your line of sight, which is a legal requirement in many jurisdictions to prevent collisions with manned aircraft.
Before every flight, check your propellers for small cracks or chips. Even minor damage causes high-frequency vibrations that ruin your footage and strain the motor bearings. If you find a nick, replace the prop immediately; flying with a compromised blade risks a mid-air failure that can drop your drone from the sky.
If you’re flying in cold weather, keep your batteries warm until you’re ready to take off. Lithium-ion batteries lose capacity rapidly below 32 degrees Fahrenheit, which can cause an unexpected voltage drop mid-flight.
Always update your firmware when prompted by the app. This ensures your drone has the latest safety patches and restricted zone maps. A common mistake is ignoring these updates to save time, but outdated software often causes GPS drift or sudden disconnects.
If you ever lose connection, don’t panic and don’t move the controller wildly. The drone is programmed to hover or return to home automatically once the signal is lost. Moving the sticks while the drone is in “Return to Home” mode can cancel the command and leave the aircraft drifting.
Operating a drone near airports or government buildings carries heavy legal risks. Always consult local airspace maps before you fly. If you see a manned aircraft, you’re legally required to yield the right of way by descending or landing immediately.
Frequently asked questions
Can I use the same batteries for both drones?
Yes, the batteries are interchangeable between the Mini 3 and Mini 4 Pro. The Mini 4 Pro uses a different battery design that supports its higher power requirements and advanced sensor processing. Always ensure you’re purchasing the specific battery model recommended for your exact drone version.
How long does it take to charge a battery?
The charging time is approximately 60 to 90 minutes using a 30W USB-C charger. This assumes you’re charging from 0% to 100% at room temperature. If the battery is hot from a recent flight, the charger will delay the start of the process until the battery cools down, which can add another 20 minutes to the total time.
Is it safe to fly in light rain?
No, neither of these drones is waterproof or weather-sealed. Flying in rain or heavy mist will cause water to enter the internal electronics, leading to short circuits and permanent hardware failure. If you’re caught in unexpected weather, land the drone immediately, dry it off with a soft cloth, and place it in a dry area with silica gel packets for 24 hours.
What happens if I fly out of range?
The drone will automatically trigger a “Return to Home” sequence if the signal is lost for a sustained period. It will climb to the altitude you previously set in the app and fly back to the takeoff point. To avoid this, always set your “Return to Home” altitude at least 10 meters higher than the tallest obstacle in your flight area.
How high can these drones fly?
The maximum altitude is usually limited to 120 meters above ground level by the software, depending on local aviation laws. While the hardware can physically climb much higher, the flight controller will restrict the drone to follow regional regulations. You can check the specific altitude limits for your flight zone using the map features built directly into the official drone controller app.
Conclusion
Ultimately, your decision comes down to how much peace of mind you need while exploring the skies. If you’re ready to start capturing stunning aerial footage, head over to the DJI website to compare their current bundles. You’ll find the perfect companion for your next outdoor adventure in no time.
Related guides