
Most Pentair Globrite problems top 10 issues and complaints stem from aging gaskets, cracked lenses, or water leaking into the bulb socket. These failures usually happen after years of sun exposure or chemical imbalance in the pool water. This guide covers the specific signs of each failure, the exact steps to fix them yourself, and when you must call a professional to avoid electrical shock or further damage to your pool system.
What Pentair Globrite Problems and Issues to Expect
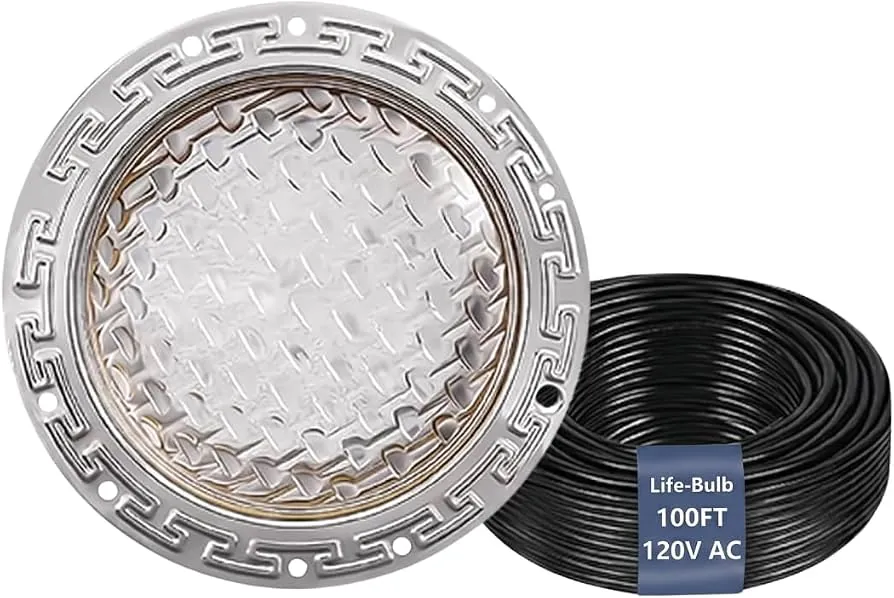
The Pentair Globrite is a classic underwater pool light that uses a halogen bulb inside a glass lens held by a rubber gasket. It sits in a niche on the pool wall and connects to a junction box via a long cord. Homeowners use these lights to illuminate their pools at night for safety and aesthetics.
The one misconception people bring to this topic is that a dark light always means a burnt-out bulb. In reality, the issue is often a broken seal that lets water touch the electrical parts, causing a short circuit before the bulb ever fails.
Water pressure and sunlight are the main enemies of this unit. Over time, the heat from the bulb expands the glass and metal, while UV rays harden the rubber gasket. When the gasket loses its flexibility, it can no longer hold a tight seal against the water. This allows moisture to enter the housing, which corrodes the internal wiring and eventually trips the circuit breaker.
The National Electrical Code (NEC) requires these lights to be bonded to the pool’s equipotential grid to prevent shock hazards from stray voltage. You can find the specific grounding requirements for pool lights in the National Fire Protection Association’s NFPA 70 guidelines.
Many owners think they can just swap the bulb and ignore the old gasket. This is a mistake because the old rubber has likely set into the shape of the old lens. If you reuse it, the old gasket may not compress evenly, allowing water to seep in around the edges.
The glass lens itself can also develop micro-cracks from thermal shock if the water temperature changes too quickly. These cracks let water seep in even if the gasket looks fine. Knowing how the seal works helps you see why simple fixes often fail without replacing the sealing components.
Step-by-Step Repair Guide
- Turn off the power to the pool light at the circuit breaker and verify it’s dead with a voltage tester before touching anything.
- Remove the light fixture from the pool niche by pulling it out about three feet of slack cord, then place it on a dry surface near the pool deck.
- Unscrew the four stainless steel screws holding the lens ring, then gently pry the glass lens away from the housing using a flathead screwdriver wrapped in tape.
- Inspect the rubber gasket for cracks or flattening; if it feels hard or brittle, throw it away and install a brand new replacement gasket immediately.
- Clean the glass lens and the housing rim with mild soap and water, then dry both surfaces completely before placing the new gasket in the groove.
- Insert a new halogen bulb without touching the glass part with your bare fingers, as oils from skin can cause hot spots and premature burnout.
- Reassemble the lens ring and tighten the four screws in a crisscross pattern to ensure even pressure, then test the light before putting it back in the water.
The single judgement call that separates a good result from a bad one is deciding whether the housing itself is cracked. If you see any hairline fractures in the plastic body or deep rust on the metal bracket, don’t attempt to reseal it.
A cracked housing can’t maintain a watertight seal against hydrostatic pressure, and water will leak in immediately. In this case, you must replace the entire light assembly rather than just the gasket and bulb. If you’re unsure about the structural integrity of the unit, stop working and consult a licensed pool electrician to assess the risk.
Key Numbers and Settings at a Glance
| Situation | What to use | How long | What to watch for |
|---|---|---|---|
| Standard 300W Bulb | Halogen R7s base | 1,000 hours | Don’t touch glass with bare hands; skin oils create hot spots that shatter the quartz envelope within weeks. |
| Gasket Replacement | Silicone rubber ring | 3-5 years | Check for hardening or cracking; if the ring resists bending when pinched, replace it immediately to prevent leaks. |
| Lens Screw Torque | Hand-tight plus quarter turn | N/A | Don’t overtighten to avoid cracks; plastic threads strip easily, leaving you unable to seal the lens later. |
| Voltage Check | 120V or 240V AC | Immediate | Verify breaker is off before testing; a multimeter reading above zero means power remains live and dangerous. |
| Cord Length Slack | 3 feet minimum | Permanent | Never pull taut during removal; tension transfers directly to internal wire connections, causing intermittent failures over time. |
| Water Temp Limit | Standard Pool Range | Continuous | Ensure water temperature remains within the manufacturer’s specified operating range to prevent premature gasket aging. |
| Chemical Balance | pH 7.2 – 7.6 | Ongoing | Acidic water eats the metal parts; readings below 7.0 will corrode brass fittings within months, requiring full fixture replacement. |
Details That Separate Good Results from Bad Ones
Experienced technicians always check the condition of the cord before they even open the light housing. They look for cuts, fraying, or discoloration along the last six feet of the cable where it bends most often.
If the insulation is damaged, water can travel down the wires and reach the junction box, causing a trip even if the light itself is sealed perfectly. Beginners often skip this step and blame the bulb or gasket, only to have the problem return a week later. The cord must be flexible and free of any hard spots that indicate internal wire damage.
Another critical detail is the order in which you tighten the lens screws. You must follow a star pattern, tightening one screw, then the one opposite it, and repeating until all are snug. If you tighten them in a circle around the ring, you’ll warp the glass and create an uneven seal that leaks under pressure.
This simple mistake costs homeowners hundreds of dollars in repeated service calls. Also, never force the lens onto the housing if it doesn’t sit flush. Forcing it means something is wrong with the gasket alignment or the housing rim is bent.
Finally, experienced workers always test the seal before returning the light to the pool. They submerge the reassembled unit in a bucket of water and watch for bubbles rising from the seam. If bubbles appear, the seal isn’t tight, and you need to disassemble and try again.
Skipping this test means you might put a leaking light back into the pool, risking electrical shock or a blown fuse. This small extra step saves time and money in the long run by ensuring the repair actually works the first time.
Common Problems and Quick Fixes
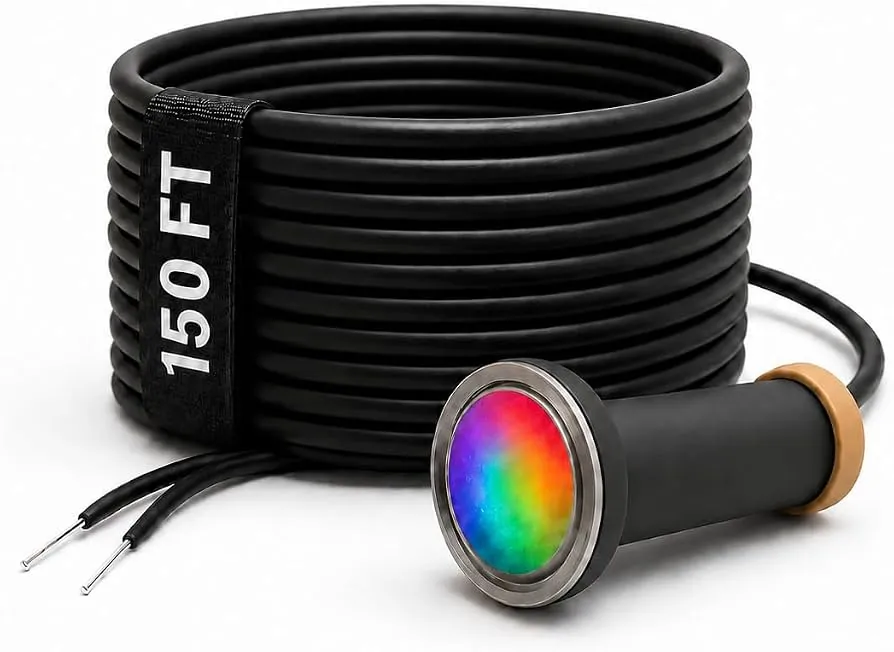
If the light flickers before dying, moisture has likely entered the socket. Dry the area thoroughly with a compressed air blower rather than a cloth, which can push water deeper into the wiring. If the circuit breaker trips the moment you switch it on, water is inside the housing itself. This demands immediate power shutdown; replace the gasket and inspect the lens for hairline cracks that let water seep in during backwash cycles.
Cloudy glass often stems from chemical etching, not just surface scratches. Polishing works only if the haze is superficial; deep etching requires full lens replacement to restore proper light output. When bulbs burn out faster than expected, check the seal immediately. A poor seal traps heat, shortening bulb life by half or more.
If metal rings show significant rust or pitting, replace the entire fixture or the specific metal component, as coatings can’t reliably seal against hydrostatic pressure. If the unit stays dark, test voltage at the transformer before buying a new bulb. A failed transformer costs far more than a simple bulb swap, so verify power delivery first.
The Rules That Apply
Electrical codes require that all pool lights be connected to a Ground Fault Circuit Interrupter (GFCI) to protect swimmers from shock. This rule applies to every installation, regardless of the age of the pool or the type of light used.
If your system doesn’t have a GFCI breaker, you must upgrade it before operating the light. The National Electrical Code also mandates that the light fixture be bonded to the pool’s equipotential grid to prevent voltage gradients in the water. Failure to bond the light correctly can lead to dangerous electrical shocks, especially in saltwater pools.
A common mistake involves assuming a standard outlet tester proves safety for underwater fixtures. These devices often miss high-impedance faults that only appear under wet conditions. You need a dedicated GFCI rated specifically for pool environments, which trips within 4 milliseconds of detecting a current leak as small as 5 milliamps.
Test this device monthly by pressing the built-in button; if the power doesn’t cut instantly, replace the unit immediately. Don’t bypass the test mechanism even if the light seems to work fine, as the internal sensor may have degraded without visible signs.
Local building departments may require a permit for any work involving pool lighting, including simple bulb replacements in some jurisdictions. Always check with your local authority before starting work to ensure you’re compliant with regional safety laws.
If the light housing is more than ten years old, many experts recommend full replacement rather than repair due to the difficulty of finding matching parts. Using non-OEM gaskets can void warranties and may not fit correctly, leading to leaks. Only use parts specifically designed for the Pentair Globrite model to ensure safety and performance.
Inspect the lens seal for cloudiness or hairline cracks before reassembly. Even a microscopic gap allows moisture to reach the socket, causing corrosion that eventually shorts the circuit. If the original silicone sealant has turned brittle or crumbly, don’t attempt to patch it with generic caulk. Remove the entire gasket assembly and install a fresh, manufacturer-approved ring. This step takes minutes but prevents costly water damage inside the fixture housing later.
Keeping It Working Afterwards
Once the light is repaired, you should monitor the pool chemistry weekly to prevent future corrosion. Keep the pH between 7.2 and 7.6 and the total alkalinity balanced to protect the metal and rubber parts. If you have a saltwater pool, rinse the light area with fresh water after heavy use to remove salt residue.
Check the light once a year for early signs of wear, such as a slightly loose lens or a discolored gasket. Catching these issues early prevents water from entering the housing and damaging the internal wiring.
If the light sits unused for long periods, such as during winter, cover the niche with a waterproof plug to keep debris out. This simple step stops leaves and dirt from clogging the drainage weep holes, which can cause pressure buildup.
When you turn the light back on in spring, inspect the cord and housing before powering up. Regular maintenance extends the life of the fixture significantly, saving you money on replacements. Remember that even a perfect seal will fail if the water chemistry is consistently out of balance.
When to Use a Different Approach
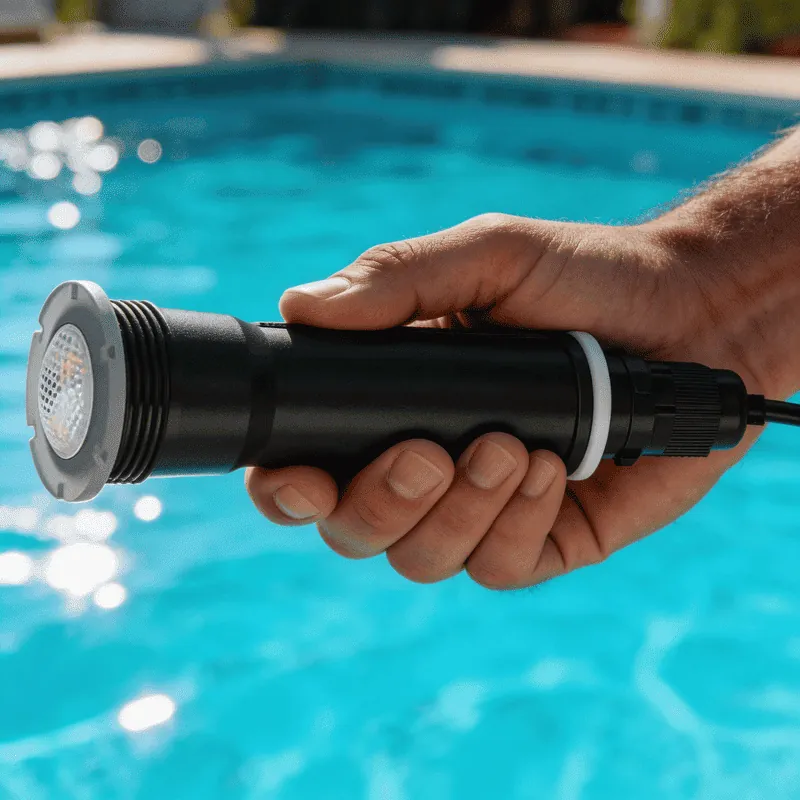
This repair method is the wrong choice if the light housing is made of older brass that has developed deep pitting or cracks. In this case, the metal is too weak to hold a new gasket, and water will leak through the pores of the metal itself.
You should replace the entire fixture with a modern LED model instead, which runs cooler and lasts much longer. Another situation where repair fails is when the internal wiring has melted or the transformer is damaged. Trying to fix a melted socket is dangerous and often more expensive than buying a new unit.
If the pool has been converted to a different lighting system, such as fiber optics or remote LED units, the old Globrite niche may no longer be needed. In this scenario, filling the niche with a proper patch kit is a better option than trying to keep the old light working.
Finally, if you live in an area with frequent lightning storms, the risk of surge damage to older halogen lights is high. Upgrading to a surge-protected LED system is a smarter long-term investment than repeatedly repairing vulnerable halogen units.
Frequently asked questions
Can I use a regular bulb in my Pentair Globrite?
No, you can’t use a standard household bulb in a Pentair Globrite light. The fixture requires a specific R7s base halogen bulb rated for high temperatures and water immersion. Using the wrong bulb can cause overheating, melting of the housing, or electrical failure. Always check the label on your old bulb or the manual for the correct wattage and base type before purchasing a replacement.
Why does my pool light breaker keep tripping?
Your breaker keeps tripping because water has likely entered the light housing, creating a short circuit. This happens when the gasket fails or the lens cracks, allowing moisture to touch the electrical contacts. The GFCI breaker detects this ground fault and cuts power immediately to prevent shock. You must find and fix the leak source, usually by replacing the gasket and lens, before the breaker will stay on.
How long does a Globrite gasket last?
A Globrite gasket typically lasts several years, though harsh chemicals and sun exposure can shorten its life significantly.
Is it safe to touch the glass lens with bare hands?
Yes, it’s safe to touch the glass lens of the Globrite light with your bare hands, but you should avoid touching the bulb itself. Oils from your skin can stick to the hot halogen bulb, creating hot spots that cause the glass to crack or the bulb to burn out quickly. Always handle the bulb by its ceramic base or use gloves when installing it to ensure longevity.
What happens if I leave the light out of the water?
Leaving the light out of the water for extended periods can cause the rubber gasket to dry out and lose its shape. Without the cooling effect of the water, the bulb generates intense heat that can warp the plastic housing or crack the glass lens. If you remove the light for repair, work quickly and return it to the water as soon as possible to maintain the seal integrity.
Can I convert my Globrite to LED?
Yes, you can convert a Pentair Globrite to LED by replacing the entire bulb assembly with a compatible LED retrofit kit. These kits fit into the existing housing and use the same mounting points, but they run much cooler and use less electricity. Ensure the kit is rated for your specific voltage and that the housing is in good condition before installing the new LED unit.
Why is my light dimmer than before?
Your light is dimmer because the bulb is aging or the lens is dirty. Clean the lens with a soft cloth and mild cleaner, or replace the bulb if cleaning fails.
When dealing with Pentair Globrite problems, patience and attention to detail make the difference between a quick fix and a recurring nightmare. Most issues boil down to a failed seal or a simple electrical fault that can be resolved with the right tools and parts. If you follow the steps carefully and respect the safety rules, you can keep your pool lit and safe for years to come. Don’t rush the process, and always prioritize safety over speed when working with electricity and water.
Conclusion
Don’t wait for a total blackout to act. Schedule your next bulb check during routine pool maintenance, and keep spare gaskets handy for quick swaps. If the wiring looks frayed or you feel unsure, call a pro immediately. Staying proactive keeps your pool glowing safely all summer long without costly surprises.