
Replacing your AC compressor can feel like a big job, especially if you don’t have all the usual tools like a vacuum pump. But what if you could do it without one?
Imagine saving time, money, and frustration by handling this repair yourself. You’ll discover simple, step-by-step instructions to replace your AC compressor without needing a vacuum. By the end, you’ll have the confidence and know-how to get your AC running smoothly again.
Keep reading to unlock the secrets that pros don’t always share!
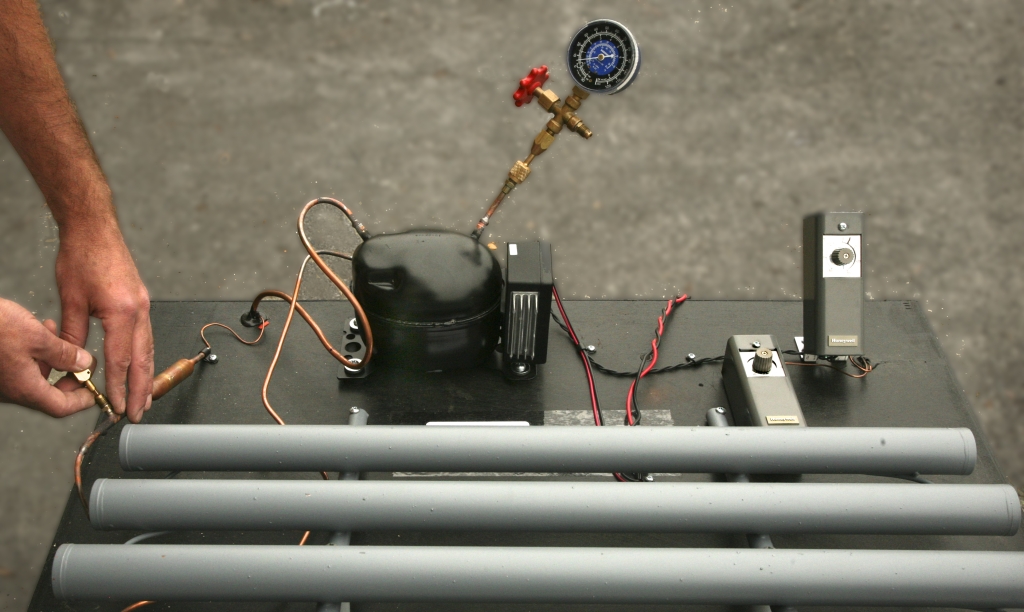
Credit: www.sunfrost.com
Tools And Materials Needed
Replacing an AC compressor without vacuum needs the right tools and materials. Preparing these items before starting saves time and avoids mistakes. This section lists everything required for a smooth repair process.
Essential Tools For The Job
Gather basic hand tools like wrenches, screwdrivers, and pliers. A socket set helps remove bolts and screws easily. Use a multimeter to check electrical connections. A refrigerant recovery machine is important to handle the refrigerant safely. Have a torque wrench to tighten bolts to exact specifications. Keep rags and a drip pan handy for spills.
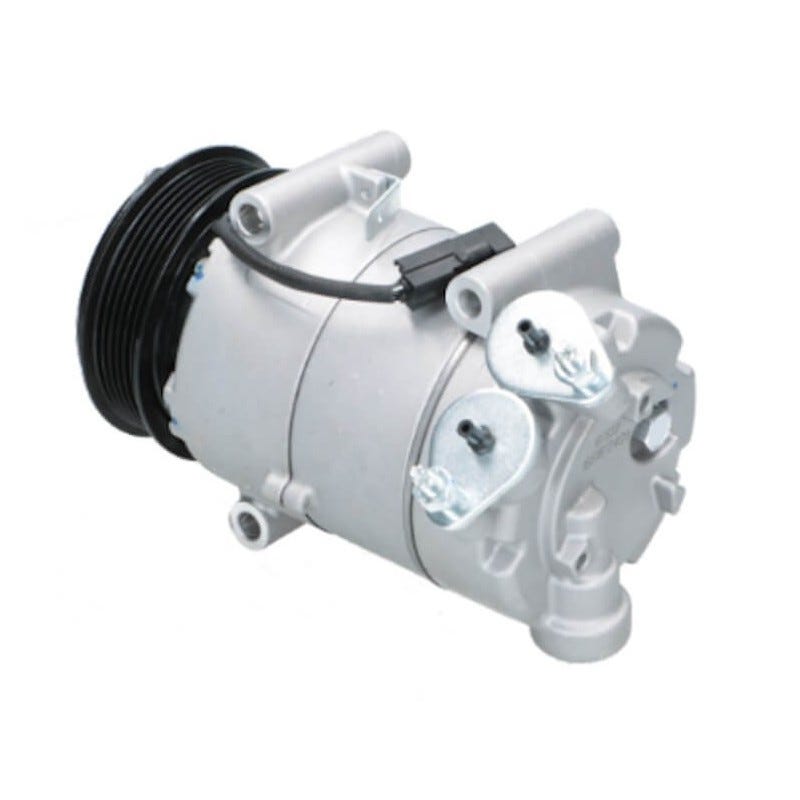
Selecting The Right Ac Compressor
Choose a compressor that matches your vehicle’s make and model. Check the part number to ensure compatibility. Decide between new, rebuilt, or remanufactured compressors based on budget. Confirm the compressor type fits your system, such as rotary or scroll. Verify the voltage and pressure ratings are correct.
Safety Gear To Use
Wear safety goggles to protect your eyes from debris. Use gloves to avoid cuts and chemical burns. Wear long sleeves to protect your skin from refrigerant exposure. Use a mask if working in a poorly ventilated area. Have a fire extinguisher nearby for emergencies.
Preparing Your Vehicle
Preparing your vehicle is the first step to replace the AC compressor without vacuum. This stage helps ensure safety and smooth work. You need to find the compressor, disconnect power, and clear parts blocking access. Follow each step carefully to avoid damage and save time.
Understanding your vehicle’s layout makes the job easier. Take your time and prepare your tools before starting.
Locating The Ac Compressor
The AC compressor usually sits at the front of the engine. Look near the serpentine belt or drive belt. It is a metal part with hoses connected to it. Check your car manual for the exact location. Knowing where it is saves effort during removal.
Disconnecting The Battery
Always disconnect the battery before working on your car. This stops electrical shocks and short circuits. Use a wrench to remove the negative terminal first. Then, remove the positive terminal. Secure the cables away from the battery to prevent accidental contact.
Removing Engine Components For Access
Some parts may block your way to the compressor. These can include the air intake, belts, or engine covers. Remove these carefully using the right tools. Keep track of screws and bolts so you can reinstall them later. Clearing space helps you reach the compressor safely and easily.
Removing The Old Compressor
Removing the old AC compressor is the first step in replacing it without using a vacuum. This process requires care and attention to avoid damage and ensure safety. The compressor holds refrigerant and electrical parts. Proper removal prepares the car for the new compressor installation.
Releasing Refrigerant Safely
Releasing refrigerant must be done with care. Refrigerant is harmful to the environment and your health. Use a recovery machine to capture the gas. Do not release it into the air. Wear gloves and goggles for protection. Check local laws on refrigerant handling. Proper release keeps you and the environment safe.
Disconnecting Electrical Connectors
Locate the electrical connectors attached to the compressor. Turn off the car battery before disconnecting. This prevents electric shocks and short circuits. Gently unplug each connector without pulling wires. Inspect connectors for damage or corrosion. Clean or replace damaged connectors before reuse.
Unbolting The Compressor
Find the bolts securing the compressor to the engine. Use the correct size socket or wrench. Loosen bolts in a star pattern to avoid strain. Keep bolts in a safe place for reuse. Carefully remove the compressor from its mount. Avoid dropping or damaging the unit during removal.
Credit: medium.com
Installing The New Compressor
Installing the new AC compressor is a critical step in your repair process. This part cools the air inside your car, so proper setup is important. Follow each step carefully to ensure everything fits and works well. Take your time and check each connection.
Positioning And Securing The Compressor
Place the new compressor carefully in its mounting spot. Align it exactly with the mounting holes. Use the bolts removed earlier to secure the compressor. Tighten them firmly but do not over-tighten. The compressor must be stable and not move.
Reconnecting Electrical And Mechanical Parts
Reconnect the electrical connectors to the compressor. These parts control the compressor’s operation. Attach any hoses or pipes connected to it. Make sure all connections are tight to avoid leaks. Double-check each connection for a secure fit.
Replacing The Drive Belt
Put the drive belt back on the compressor pulley. Follow the belt path exactly as before. Use a wrench to adjust the belt tension if needed. The belt should be tight but not too tight. Proper tension helps the compressor run smoothly.
Charging The System Without A Vacuum
Charging the air conditioning system without a vacuum pump is possible but requires care. Removing air and moisture is important to avoid damage. This section explains how to charge the system safely without a vacuum.
Understanding the role of a vacuum pump helps to see why alternative methods are needed. This guide covers simple steps anyone can follow.
Why Vacuum Is Normally Used
A vacuum pump removes air and moisture from the AC system. Air stops refrigerant from flowing smoothly. Moisture can cause corrosion inside the system. Both reduce cooling efficiency and can damage parts.
Vacuum creates a low-pressure space inside the system. This pulls out unwanted air and water. Without vacuum, these remain inside, causing problems later.
Alternative Methods To Remove Air
One way to remove air is by using refrigerant itself. Slowly adding refrigerant pushes air out through service valves. This method requires patience and careful monitoring.
Another method is “purging” by letting refrigerant flow gently to force air out. This is less effective than vacuum but helps reduce trapped air.
Checking for leaks before charging is critical. Leaks allow air to enter again and reduce system life.
Using Refrigerant Canister For Charging
Use a refrigerant canister with a pressure gauge for safe charging. Connect the canister to the low-pressure port. Open the valve slowly to let refrigerant flow in.
Watch the pressure gauge carefully. Stop adding refrigerant once the recommended pressure is reached. Avoid overcharging, which harms the compressor.
Charging without a vacuum takes longer. Work in a well-ventilated area and wear safety glasses. Follow all safety instructions on the refrigerant canister.
Testing The Ac System
Testing the AC system after replacing the compressor without vacuum is important. It helps check if the repair works well. You can spot issues early and avoid bigger problems later. Follow simple steps to test the system safely and correctly.
Starting The Engine And Monitoring
Start the engine and turn on the AC to the coldest setting. Watch the dashboard for any warning lights. Listen for strange noises from the compressor area. Keep the engine running for a few minutes. This step shows if the compressor engages correctly and the system powers up.
Checking For Leaks
Look under the hood and near AC lines for any fluid drops. Use a leak detector spray or soapy water on connections. Bubbles mean there is a leak. Leaks cause poor cooling and damage the system. Fix any leaks before moving to the next step.
Measuring Cooling Performance
Place a thermometer inside the car near the dashboard vents. The air should feel cold within a few minutes. Check the temperature reading to confirm cooling strength. Weak cooling means the system needs more work. Good cooling means the compressor replacement was successful.
Troubleshooting Common Issues
Troubleshooting is key when replacing an AC compressor without vacuum. Problems can arise during or after the installation. Knowing how to spot and fix common issues saves time and money. Below are some typical problems and easy ways to address them.
No Cold Air
No cold air means the AC is not cooling properly. This issue often points to low refrigerant levels. Check for leaks in hoses and connections. A dirty air filter can also block airflow. Replace or clean the filter if needed. Make sure the compressor clutch is engaging. Without it, the compressor won’t pump refrigerant.
Unusual Noises
Strange sounds from the compressor may signal trouble. Grinding or squealing can mean worn bearings or loose parts. Rattling may come from debris inside the compressor. Tighten any loose bolts or screws. If noise persists, the compressor might be damaged. It may require replacement or professional repair.
Pressure Irregularities
Pressure issues affect AC performance and safety. Use a pressure gauge to check system pressure. High pressure might indicate a blocked condenser or fan failure. Low pressure suggests a leak or insufficient refrigerant. Ensure all valves and connections are secure. Addressing pressure problems helps prevent further damage.

Credit: www.youtube.com
Frequently Asked Questions
Can I Replace An Ac Compressor Without Using A Vacuum?
Yes, but it is not recommended. Vacuuming removes moisture and air, which can damage the system.
What Happens If I Skip Vacuuming During Ac Compressor Replacement?
Air and moisture remain in the system, causing poor cooling and possible compressor failure.
Are There Alternatives To Vacuuming An Ac System?
Using nitrogen to purge the system is one alternative, but it requires special equipment.
How Do I Avoid Moisture Without Vacuuming The Ac System?
Keep the system sealed tightly and replace the receiver/drier or accumulator to absorb moisture.
Can I Recharge Ac Refrigerant Without Vacuuming?
Recharging without vacuuming can cause contamination and reduce AC performance over time.
Is Vacuuming Necessary For All Types Of Ac Compressors?
Yes, vacuuming is essential for all AC compressors to maintain system health and efficiency.
What Tools Do I Need To Replace An Ac Compressor Correctly?
You need a vacuum pump, manifold gauge set, wrenches, and proper safety gear for best results.
Conclusion
Replacing an AC compressor without a vacuum takes care and patience. Follow each step slowly and carefully. Check for leaks and make sure all connections are tight. Use proper tools to avoid damage. Test the system before finishing the job.
This way, your AC will work well again. Taking your time helps prevent problems later. You can save money by doing it yourself. Just stay safe and double-check your work. The right approach leads to a cool and comfortable ride.