
Are your kitchen appliances looking tired or outdated? You don’t have to replace them to give your kitchen a fresh new look.
Painting your appliances can be a simple and cost-effective way to transform your space. Imagine turning that old fridge or stove into a stylish centerpiece that matches your kitchen perfectly. In this guide, you’ll discover easy steps and expert tips to help you paint your kitchen appliances like a pro.
Ready to make your kitchen shine without breaking the bank? Keep reading to learn how!
Choosing The Right Paint
Choosing the right paint is key to a successful kitchen appliance makeover. The paint must stick well and handle heat and moisture. Picking the wrong type can lead to peeling or fading. This section helps you find the best paint for your appliances.
Types Of Appliance Paint
Appliance paint comes in special formulas. Spray paints made for metal work best. They dry fast and give smooth finishes. High-heat paint resists heat from ovens and stoves. Rust-resistant paint stops metal from corroding. Choose paint labeled for appliances to get lasting results.
Color Selection Tips
Pick colors that match your kitchen style. Neutral tones like white, black, or gray fit many designs. Bright colors add a fun, fresh look. Test small paint spots on the appliance first. Check how the color looks in different lighting. Avoid dark colors on old appliances; they show flaws easily.
Where To Buy Supplies
Home improvement stores carry appliance paint and tools. Hardware stores often stock spray paint and primers. Online shops offer a wider color range and brands. Buy paint with good reviews for appliances. Don’t forget to get sandpaper, primer, and clear coat for best results.
Preparing Appliances For Painting
Preparing your kitchen appliances for painting is a key step. It ensures the paint sticks well and lasts longer. Taking time to prepare makes the final result look neat and smooth.
This process involves cleaning, removing parts, and sanding. Each step helps create a perfect surface for painting. Follow these steps carefully for the best outcome.
Cleaning And Degreasing
Start by cleaning the appliance thoroughly. Use a mild detergent and warm water. Remove all dirt, grease, and food stains. Grease can stop the paint from sticking properly.
After washing, use a degreaser for stubborn oily spots. Wipe the surface with a clean cloth. Let the appliance dry completely before moving on.
Removing Hardware And Parts
Take off any removable parts like handles, knobs, and covers. Removing these parts makes painting easier. It also prevents paint from getting on unwanted areas.
Keep screws and small parts in a safe place. Labeling them helps during reassembly. This step saves time and avoids mistakes later.
Sanding Surfaces
Lightly sand the appliance surface with fine-grit sandpaper. Sanding removes the shiny finish and roughens the surface. This helps the paint to grip better.
Focus on areas with scratches or old paint chips. After sanding, wipe away dust with a damp cloth. Ensure the surface is clean and dry before painting.
Setting Up Your Workspace
Setting up your workspace is the first step to painting kitchen appliances. A good workspace helps you work safely and get better results. It keeps your area clean and protects your home from paint damage.
Choosing A Well-ventilated Area
Pick a place with fresh air. Open windows and doors to allow air flow. Paint fumes can be strong and harmful. Good ventilation keeps the air clear and safe to breathe. Avoid small, closed rooms where fumes can build up.
Protecting Surroundings
Cover floors and nearby objects with drop cloths or plastic sheets. Use painter’s tape on edges to avoid stray paint marks. Remove or cover items that might get dirty. Protecting your space stops stains and saves cleaning time.
Gathering Tools And Materials
Get all your supplies before starting. You will need sandpaper, primer, paint, brushes, or spray cans. Have cleaning rags and gloves ready for spills. Organizing tools saves time and helps you work faster. Check everything works well before you begin.

Credit: www.youtube.com
Applying Primer
Applying primer is a key step in painting kitchen appliances. It helps paint stick better and lasts longer. Without primer, paint can peel or chip quickly. Primer also covers old colors and stains, giving a fresh base. This makes the final paint look smooth and even.
Selecting The Right Primer
Choose a primer made for metal or plastic surfaces. Kitchen appliances usually have these materials. Some primers are designed for high heat or moisture. Pick one that suits your appliance type and kitchen conditions. Look for a primer that blocks rust if your appliance has metal parts. Using the correct primer prevents peeling and rust problems.
Techniques For Even Coverage
Apply primer in thin, even coats. Use a brush or spray for best results. Avoid thick layers that drip or run. Start from the top and move down. Keep your strokes smooth and steady. Let each coat dry before applying the next. This builds a strong, even surface for paint.
Drying Time And Tips
Allow the primer to dry fully before painting. Drying time varies by brand and temperature. Usually, it takes one to two hours. Check the label for exact time. Avoid touching the surface while drying. A dry primer surface feels smooth and not sticky. Proper drying ensures the paint sticks well and lasts.
Painting The Appliances
Painting kitchen appliances is a great way to refresh your space without buying new items. It takes patience and the right technique to get a smooth, long-lasting finish. Preparing the appliance is key before you start painting.
Remove any dirt, grease, or stickers. Sand the surface lightly to help the paint stick. Use painter’s tape to cover areas you do not want to paint.
Spray Vs. Brush Painting
Spray painting offers a smooth, even finish. It is faster but needs a well-ventilated area. Hold the can 6 to 12 inches from the surface. Move your hand in steady, even strokes to avoid drips.
Brush painting gives more control. Use a high-quality brush for best results. It works well for small areas or touch-ups. Brush strokes might be visible but can add texture.
Applying Multiple Coats
Apply thin, even coats of paint. Thick coats can cause runs and uneven drying. Let each coat dry completely before applying the next one. Usually, two or three coats give full coverage.
Lightly sand between coats with fine-grit sandpaper. This helps the paint adhere better and smooths out any imperfections. Clean the surface of dust before the next coat.
Avoiding Drips And Streaks
Keep your paint thin and even. Thick paint often drips and creates streaks. Use steady, gentle strokes whether spraying or brushing.
Start painting from the top and move downward. This helps catch drips before they dry. Check your work often and smooth out any runs immediately.
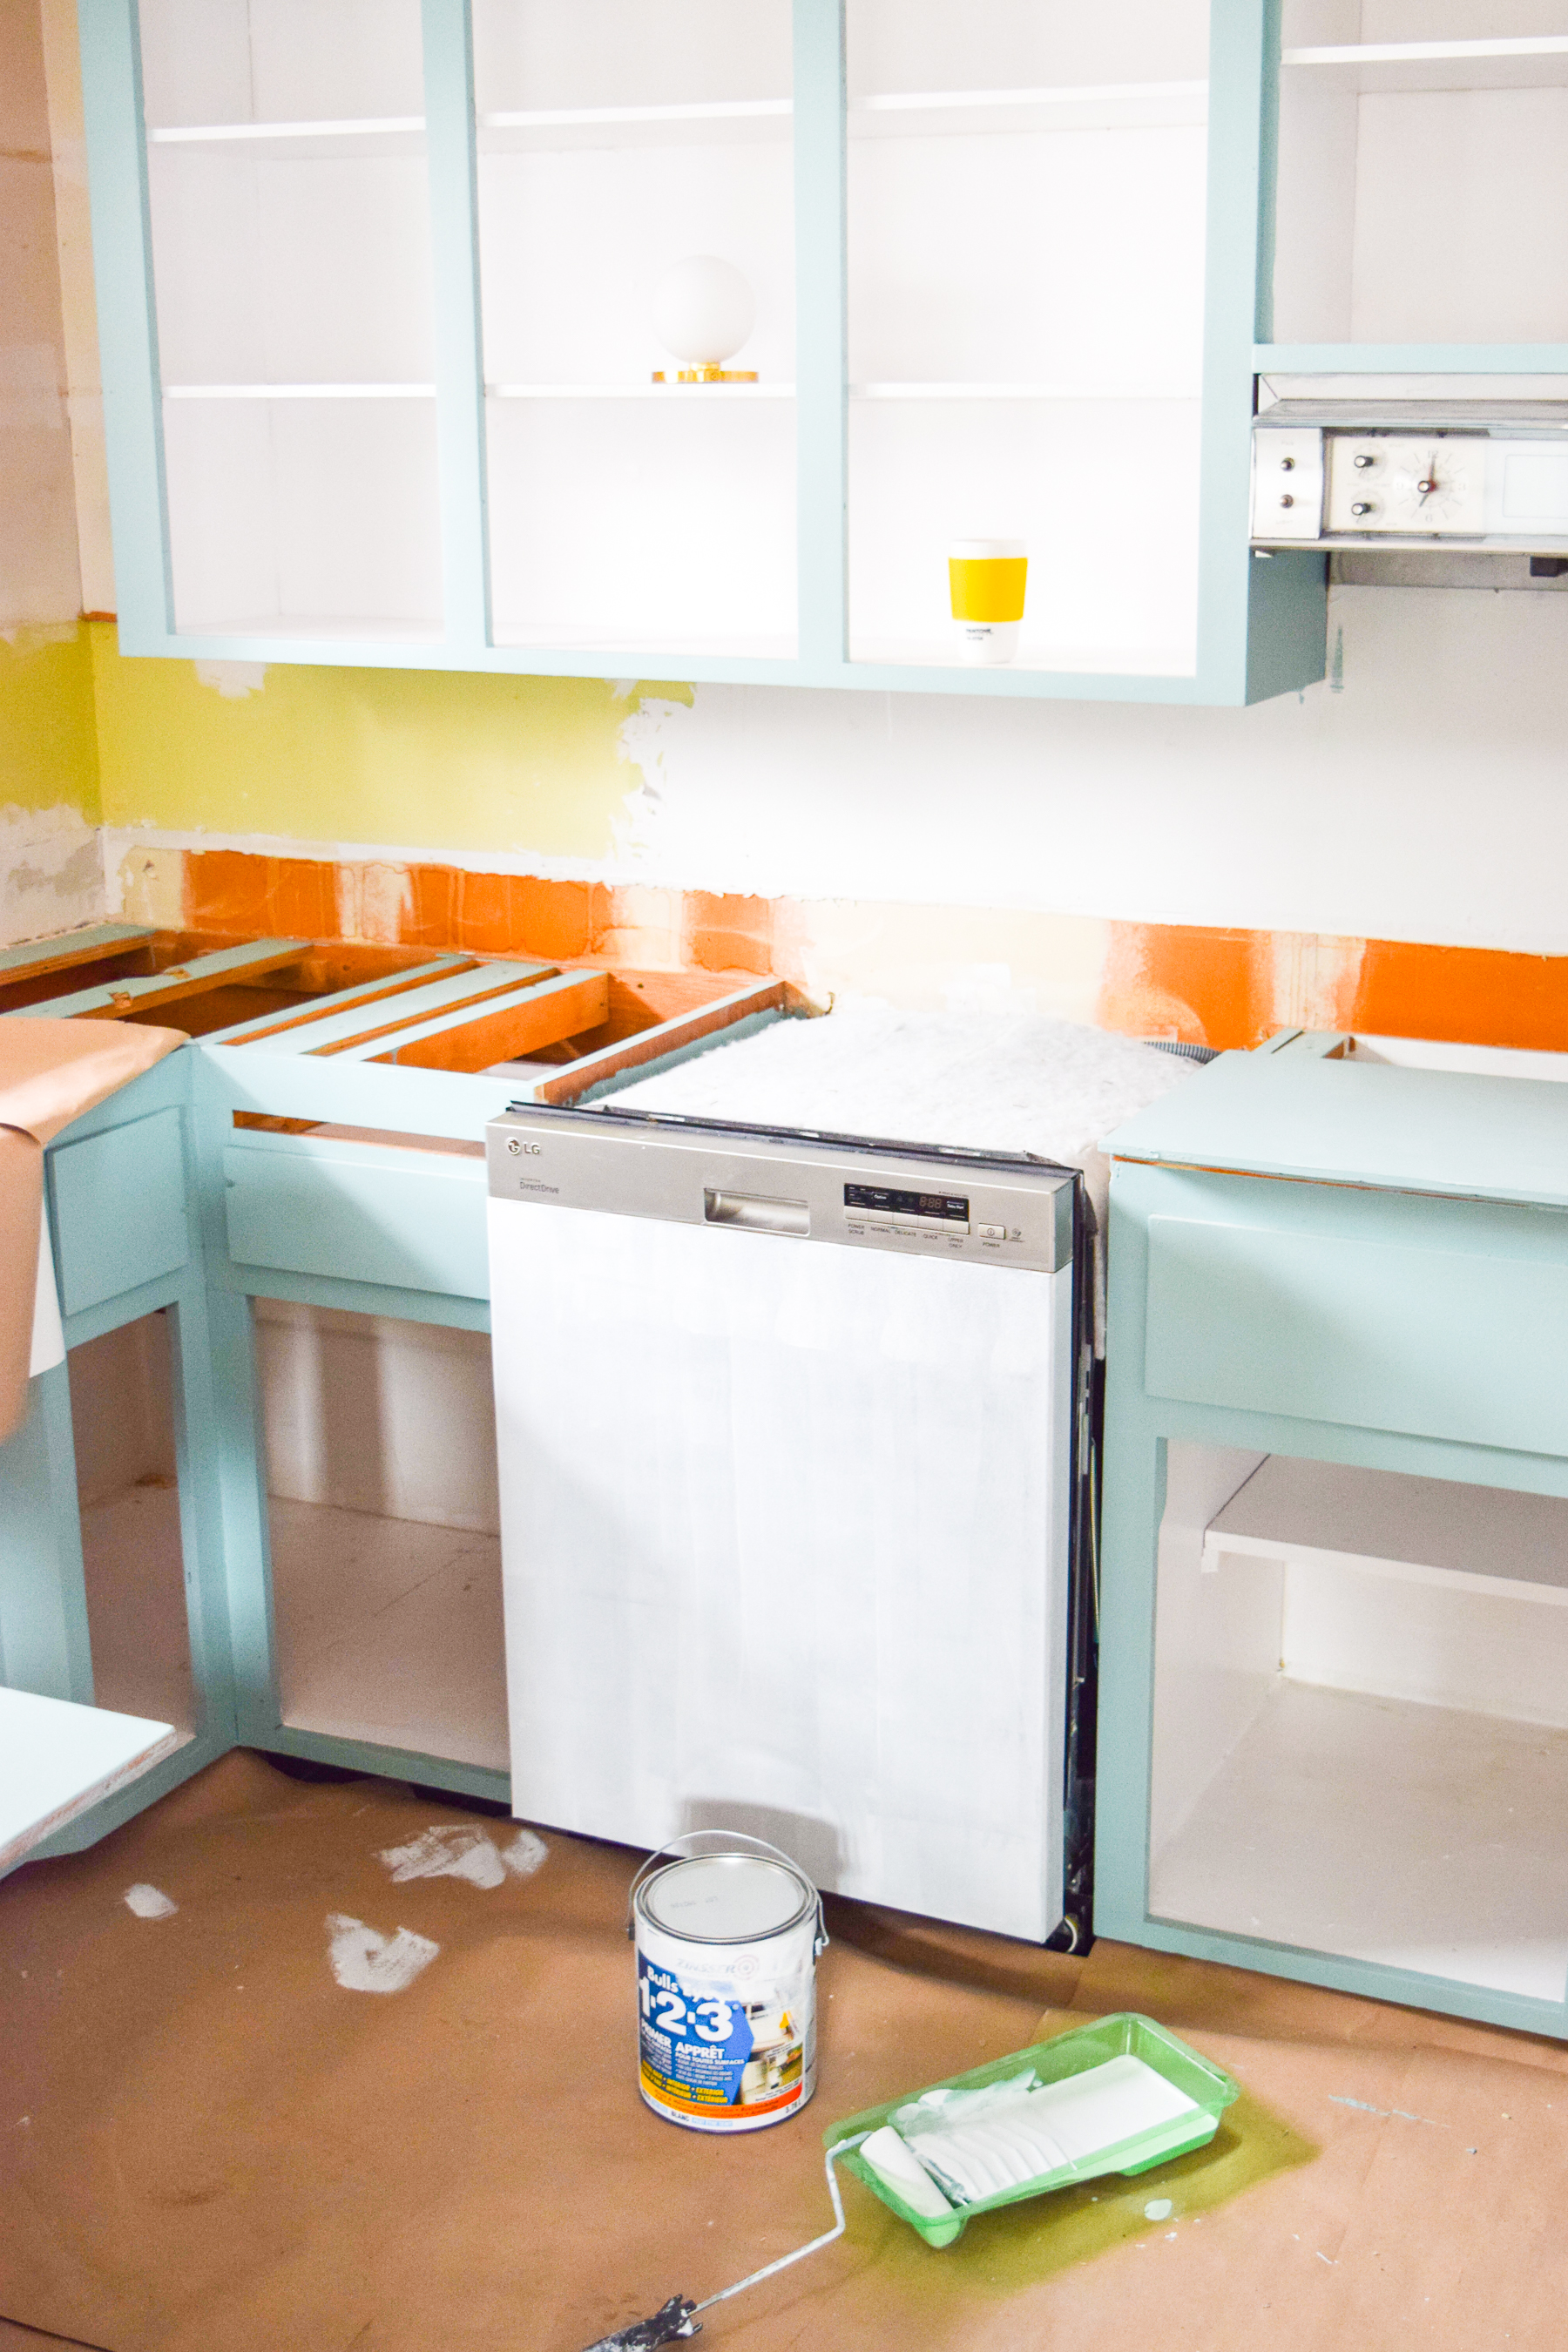
Credit: www.pmqfortwo.com
Finishing Touches
Finishing touches make your painted kitchen appliances look complete and last longer. These steps protect your work and prepare the appliance for use. Take your time with these final details for the best results.
Applying A Clear Sealer
A clear sealer protects the paint from scratches and stains. Choose a sealer made for appliances or metal surfaces. Use a spray or brush-on sealer. Apply thin, even coats and let each dry fully before the next. This layer adds shine and durability to the paint.
Reattaching Hardware
Wait until the paint and sealer are dry before reattaching knobs and handles. Tighten screws gently to avoid chipping the paint. Clean hardware before putting it back. This step helps your appliance look neat and ready to use.
Curing Time Before Use
Allow the paint to cure for several days. This means the paint fully hardens and sticks well. Avoid heavy use or cleaning during this time. Following this wait ensures your paint stays smooth and strong for a long time.
Maintenance Tips
Painting kitchen appliances can freshen up your space and save money. Proper care keeps the paint looking new and vibrant. Small efforts help protect your work and keep appliances clean. Follow these tips to maintain your painted appliances for years.
Cleaning Painted Surfaces
Use a soft cloth or sponge to clean painted areas. Avoid harsh scrubbing that can damage the paint. Mild soap mixed with warm water works best. Wipe gently and dry with a clean towel. Avoid abrasive cleaners or steel wool that can scratch the paint.
Touching Up Chips And Scratches
Check painted surfaces regularly for chips or scratches. Lightly sand the damaged spot with fine-grit sandpaper. Apply matching paint with a small brush for a smooth finish. Let the paint dry completely before use. Touch-ups keep the paint looking fresh and prevent rust.
Extending Paint Longevity
Keep appliances away from direct heat sources. Avoid using sharp objects near painted surfaces. Use protective pads or covers when possible. Clean spills quickly to prevent stains or damage. Regular care helps the paint last longer and stay bright.
Common Mistakes To Avoid
Painting kitchen appliances can refresh your space without a big budget. Avoid common mistakes to get a smooth, lasting finish. These errors can ruin your hard work and cost extra time and money.
Focus on proper steps to ensure your project looks professional and lasts for years.
Skipping Surface Prep
Surface preparation is key for paint to stick well. Clean the appliance thoroughly to remove grease and dirt. Sand the surface lightly to create a rough texture. This helps the paint grip better. Skipping this step leads to peeling and chipping paint.
Using Wrong Paint Types
Choose paint made for appliances or metal surfaces. Regular wall paint won’t hold up to heat and moisture. Appliance paint is designed to resist stains and scratches. Using the wrong paint can cause bubbling and fading quickly.
Rushing Drying Times
Patience is important for drying between coats. Paint needs time to harden for durability. Rushing drying causes uneven texture and smudges. Follow the paint’s instructions for drying time carefully. Waiting longer ensures a smooth, strong finish.
:max_bytes(150000):strip_icc()/kitchen-color-palette-TealGold-1023-877a03d461d04205aa0bc90e6f3786d8.jpg)
Credit: www.marthastewart.com
Frequently Asked Questions
How Do I Prepare Appliances For Painting?
Clean the surface thoroughly with soap and water. Remove grease and dirt. Sand the appliance lightly to help paint adhere better. Use painter’s tape to protect areas you don’t want painted.
What Type Of Paint Works Best On Kitchen Appliances?
Use appliance epoxy spray paint or high-heat enamel paint. These paints are durable and resistant to heat and moisture. They provide a smooth, long-lasting finish ideal for kitchen appliances.
Can I Paint Stainless Steel Kitchen Appliances?
Yes, you can paint stainless steel appliances. Proper preparation is essential, including cleaning and sanding. Use a primer designed for metal before applying appliance paint to ensure good adhesion.
How Long Does It Take For Appliance Paint To Dry?
Typically, appliance paint dries within 24 hours. Full curing might take up to 72 hours. Avoid using the appliance during this time to prevent damage to the finish.
Conclusion
Painting kitchen appliances can refresh your space without big costs. Choose the right paint and prepare surfaces well. Take your time to avoid mistakes and ensure smooth results. Small details, like masking tape, make a big difference. Enjoy the process and see your kitchen look new again.
A little effort brings a fresh, updated feel to your home. Ready to try? Your kitchen can look great with a simple paint job.