
Learning how to clean toilet seat cover surfaces effectively involves using a mild dish soap and warm water mix, followed by a light disinfectant wipe. If the cover is plastic, gentle soap suffices; for wood or padded versions, avoid harsh chemicals that damage the finish. Your specific material determines if you can soak the item or must wipe it quickly to prevent warping.
Who needs to clean their seat cover
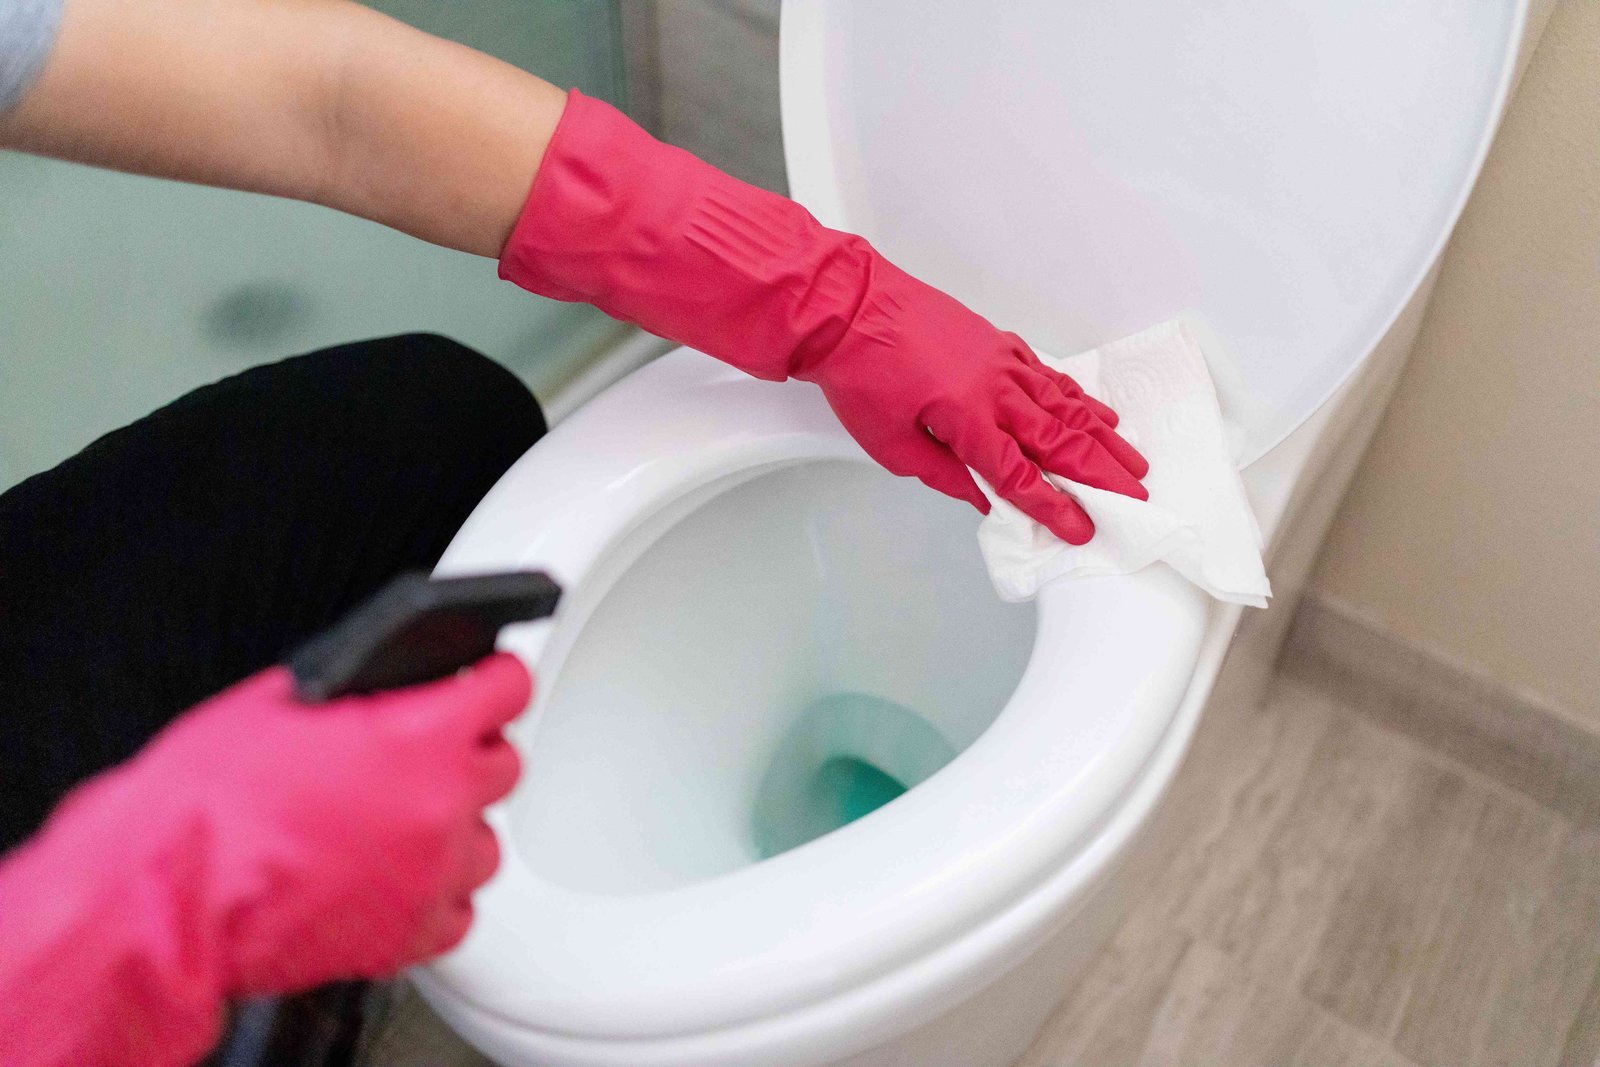
This guide serves homeowners and renters who need to sanitize their bathroom hardware without ruining the finish or the hinges. It assumes you’re cleaning a standard residential seat cover made of plastic, enameled wood, or vinyl. If you have a high-end smart toilet with built-in sensors or complex electronic components, this guide isn’t for you; those units require specific care steps found only in your manufacturer’s service manual.
The reader here is likely dealing with everyday grime, light stains, or a need for general bathroom hygiene. You might be a tenant moving into a new place, or simply someone keeping up with weekly chores. This page isn’t for those looking to strip paint or refinish a vintage wooden seat, as those tasks require chemical solvents that go beyond simple cleaning. We assume your seat is currently in one piece and that you have basic household tools like a soft cloth and a spray bottle. If your hardware is rusted, broken, or has deep cracks that trap bacteria, no amount of cleaning will fix it, and you should consider a replacement instead.
Factors that change the result
The material of your seat cover dictates which cleaners are safe to use. Plastic seats handle mild bleach solutions, while wooden seats will swell and crack if exposed to too much moisture or abrasive scrubbers. Check the bottom of the seat for a manufacturer stamp; if it says “wood composition,” stick to mild soap.
The hinges represent the most common point of failure for cleanliness. Dirt and hair collect in the gap between the cover and the mounting bolts. If you don’t remove the seat from the bowl, you’ll never reach these hidden areas. You can check if your model has a “quick-release” button by looking at the base of the hinges; if it does, you can pop it off in seconds.
Hard water buildup changes your cleaning strategy significantly. If you see white or brown crusty rings around the base or hinges, soap won’t touch them. In this case, you need a mild acid like white vinegar to break down the minerals. If you use a heavy-duty toilet bowl cleaner on a plastic seat, you risk damaging the finish or causing yellowing.
The type of disinfectant you choose impacts the safety of the surface. Many people make the mistake of using undiluted bleach, which can discolor plastic or degrade the protective coating on wood. If you wipe it off immediately, the product can’t do its job.
Step by step
- Press the quick-release button on your hinge covers to detach the seat from the bowl. If your model doesn’t have this, use a flat-head screwdriver to unscrew the plastic caps and remove the bolts.
- Rinse the cover with warm water in your bathtub or a large sink to remove loose dust and debris. Don’t use scalding water, as it can warp plastic.
- Mix one tablespoon of mild dish soap into two cups of warm water in a spray bottle. Shake it gently to combine.
- Spray the entire surface of the cover, including the underside and the hinges. Let the soap sit for three minutes to loosen dried grime.
- Scrub the surface with a soft microfiber cloth. For the hinges, use an old, soft-bristled toothbrush to reach into the tight crevices where hair and soap scum hide.
- Wipe the cover clean with a damp cloth to remove all soap residue. If you leave soap behind, it will attract new dust and make the cover sticky.
- Apply a surface-safe disinfectant spray to a fresh cloth and wipe the entire cover. Don’t spray the disinfectant directly onto the hinges, as it can cause corrosion over time.
- Allow the cover to air dry completely before reattaching it to the bowl.
- Reattach the seat by lining up the hinges with the holes in the bowl. Press down firmly until you hear a click or tighten the bolts until they’re snug.
A job done properly means the hinges are completely dry and the mounting bolts are tight. If the seat wobbles after you finish, the bolts aren’t secure; re-tighten them, but be careful not to overtighten, as plastic bolts snap easily.
Cleaning variations at a glance
| Situation | What to do | What it takes | Watch for |
|---|---|---|---|
| Plastic seat | Mild soap and water | Five minutes | Yellowing from bleach |
Avoid using abrasive scouring pads on plastic finishes. These pads create microscopic grooves that trap bacteria, making future cleaning cycles significantly harder. If the surface feels tacky after wiping, you have likely used too much soap.
For wooden seats, never allow water to pool near the hinges. Moisture trapped in these crevices causes the wood to swell and the finish to flake within months. If you see white rings, the protective sealant has already failed.
When dealing with hard water, use a 50/50 vinegar-to-water ratio. If the mineral buildup remains stubborn, soak a paper towel in the solution and drape it over the area for ten minutes. This prevents the liquid from running off before the acid can dissolve the calcium deposits. Always rinse thoroughly afterward to prevent lingering odors.
Maintaining the finish
Preparation and technique
Experienced cleaners always start by clearing the area around the toilet. If you leave towels or rugs nearby, they will get splashed with cleaning solution. Use a dedicated cloth for the seat cover and never use that same cloth on the rest of the toilet bowl. This prevents cross-contamination. If you notice the finish is becoming dull, don’t use wax; wax makes the surface slippery and dangerous. Instead, ensure you’re wiping the seat dry after every cleaning to prevent mineral deposits from settling into the pores of the material.
What to leave alone
Never use scouring pads or steel wool on any toilet seat. These tools create microscopic scratches that you can’t see at first. Over time, these scratches become deep grooves that trap bacteria and make the seat impossible to sanitize. If you have deep stains, don’t keep scrubbing harder. Use a paste of baking soda and water, let it sit for ten minutes, and wipe it away. If the stain remains, it’s likely inside the material and won’t come out with surface cleaning. Don’t use heavy-duty bathroom cleaners on the hinges, as they often contain acids that strip the chrome or plastic plating.
What goes wrong, and what to do
| What you notice | What it usually means | What to do first | How to stop it happening again |
|---|---|---|---|
| Sticky surface | Soap residue left behind | Wipe with damp cloth | Rinse thoroughly |
| Wobbling seat | Loose mounting bolts | Tighten by hand | Check monthly |
| White crust | Hard water deposits | Apply white vinegar | Wipe dry daily |
| Yellow stains | Chemical reaction | Replace seat | Avoid harsh bleach |
| Mildew smell | Trapped moisture | Deep clean hinges | Dry after cleaning |
Proper care standards
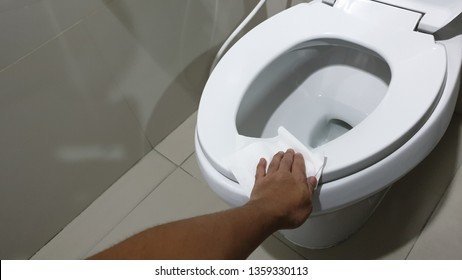
The primary safety rule for cleaning bathroom hardware is to avoid mixing cleaning products. Combining bleach with ammonia or acidic cleaners creates toxic gases that are dangerous to breathe. Always check the label on your cleaning bottle; if it says “don’t mix with other products,” follow that instruction strictly.
If you’re using a commercial cleaner, look for the manufacturer’s care guide. Most major brands provide a PDF manual on their official website that lists exactly which chemicals are safe for their specific plastic or wood coating. If you can’t find the manual, stick to warm water and mild soap, as this is the industry standard for all bathroom fixtures. Never use steam cleaners on a toilet seat cover. The high heat can warp the internal structure of the seat and melt the adhesive used on padded models. If you have a seat that requires a deep clean beyond what you can do at home, contact the manufacturer’s customer service line for their recommended professional cleaning method.
Managing the effort
Cleaning a toilet seat cover requires very little money but a steady amount of effort. You only need a basic dish soap and a clean cloth, costing almost nothing if you already have these in your kitchen. The real cost is your time. If you wait until grime builds up, you’ll spend twenty minutes scrubbing. If you do a quick wipe-down regularly, the task takes less than two minutes.
The risk here isn’t monetary but mechanical. If you force a hinge to open or use too much pressure on a plastic bolt, you’ll break the part. A replacement seat can range from a cheap part for a basic plastic model to a higher price for high-end soft-close versions. To keep costs low, treat your hardware gently. This simple step prevents the hinge from breaking, saving you the cost of a full replacement. Compare the price of a new seat against the cost of a specialized cleaner before buying; often, the basic soap method is the safest and cheapest choice.
Routine upkeep
After you finish cleaning, the goal is to keep the seat dry. Moisture is the enemy of all toilet seat materials, whether plastic, wood, or vinyl. After every deep cleaning, take a dry towel and buff the entire surface. This removes any leftover water and leaves a streak-free finish.
If you notice the seat cover starting to look dull, it’s likely a sign of soap buildup or mineral accumulation. You don’t need to start a deep cleaning cycle every time this happens. Simply dampen a cloth with plain water and wipe it down. If you see the seat isn’t closing smoothly, check the soft-close mechanism if you have one. Often, a bit of dust gets inside the hinge and slows it down. If the seat starts to feel loose, just reach under the bowl and tighten the wing nuts by hand. This should be a part of your monthly bathroom check to ensure everything stays secure and clean.
When this is the wrong approach
If your toilet seat cover has deep cracks or the finish has completely worn away, cleaning won’t make it sanitary. In this case, bacteria have moved inside the material, and the only safe option is to buy a new seat. Attempting to glue or paint over a cracked seat is a short-term fix that will lead to more bacteria growth.
If you’re dealing with a seat that has integrated electrical components like a bidet, don’t spray water on the hinges or the controls. Water inside the electrical housing causes short circuits. For these units, you must use only a slightly damp cloth to wipe the exterior, and you must never submerge the unit in water or use a hose. If the electrical unit is malfunctioning, don’t open the casing yourself. This voids your warranty and poses a significant risk of electric shock. Contact the manufacturer or a professional electrician to handle repairs safely.
Frequently asked questions
Can I use bleach to clean my toilet seat cover?
You should avoid using bleach unless the manufacturer specifically approves it for your model. Bleach can cause plastic to become brittle or yellow, and it will permanently damage the finish on wooden or vinyl-covered seats. Use a mild soap and water solution instead to ensure the material stays intact.
How long should I leave the cleaner on?
You should follow the contact time listed on your specific disinfectant label, which is usually between three and ten minutes. If you’re using simple soap, you only need to let it sit for two or three minutes to loosen the dirt before you begin scrubbing.
Is it safe to remove the seat cover for cleaning?
Yes, it’s the safest way to ensure the entire surface is clean. Most modern seats have a quick-release button that makes this easy, but even those with bolts are simple to remove with a screwdriver. Removing it prevents you from missing the hidden grime around the hinges.
What happens if I use a scrub brush on the seat?
You’ll likely create fine scratches on the surface of the plastic or wood. These scratches are invisible at first but eventually act as homes for bacteria, making the seat harder to keep clean. Always use a soft microfiber cloth or a soft-bristled toothbrush for the hinges.
Why does my seat cover stay sticky after cleaning?
The sticky feeling usually means you have left behind a layer of soap residue. You must wipe the surface again with a clean, damp cloth until no soap is left. If the seat remains sticky, you might be using a cleaning product that’s too heavy for the material.
Does it matter if I use hot or cold water?
You should use warm water for the best results, but never use boiling or very hot water. High heat can warp plastic seats or cause the finish on wooden seats to peel. Warm water is sufficient to dissolve soap and remove standard bathroom grime effectively.
What to do next
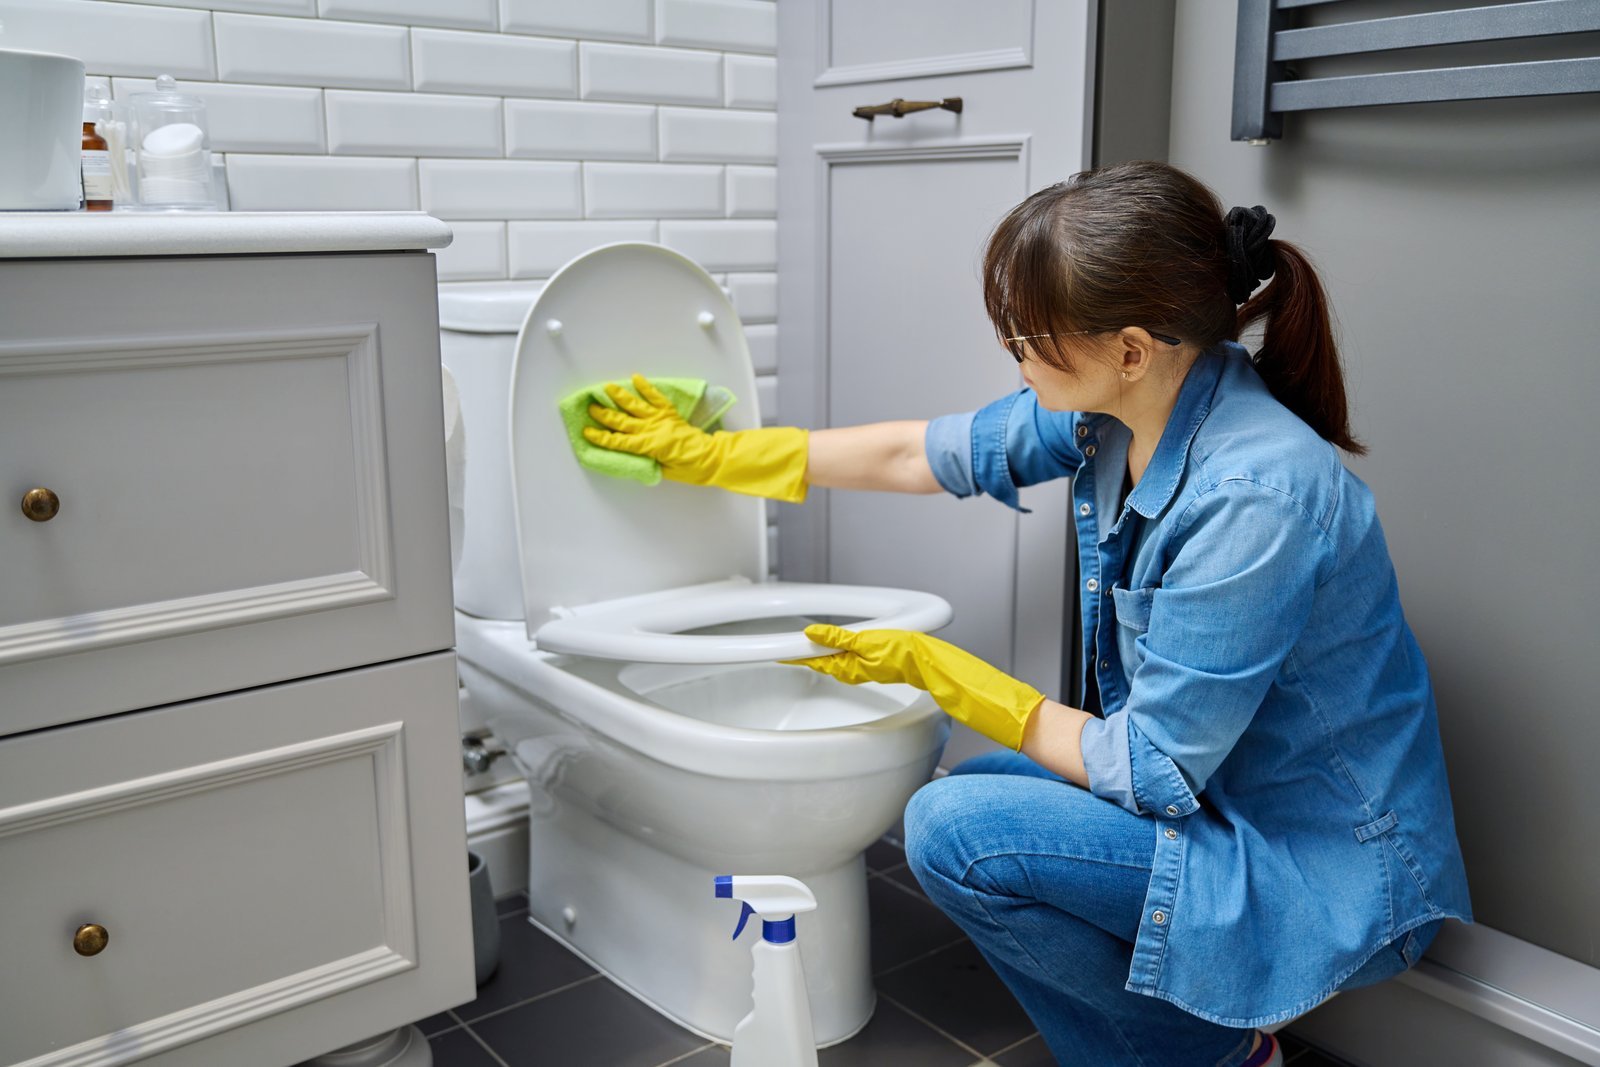
Start by checking your seat for a quick-release button at the base of the hinges. If you find one, press it to remove the cover and begin your cleaning with a mild soap solution. You should expect the seat to look bright and feel smooth once you finish the final dry wipe.
If you encounter any stuck hinges or broken parts, stop immediately and contact the manufacturer for replacement hardware. Don’t force the hinges with pliers, as applying excessive torque often snaps the internal plastic mounting bolts. This mistake forces a full replacement of the entire unit rather than a simple hinge swap, costing you a cheap part in unnecessary expenses.
If your seat lacks a button, you must reach behind the bowl to unscrew the mounting nuts by hand. If these are corroded, apply a penetrating oil and wait ten minutes before attempting to turn them.
Final Thoughts
Once everything is dry, you’ll find that a quick shine with a soft microfiber cloth keeps the surface looking brand new. It’s a simple habit that makes your bathroom feel fresh every single day. You shouldn’t forget to check the hinges for loose screws while you’re at it, too.
Related guides