
Are you tired of staring at your dull kitchen cabinets every day? Changing the color of your kitchen cabinets can completely transform the look and feel of your space without breaking the bank.
Whether you want a fresh, modern vibe or a cozy, classic style, updating your cabinets is one of the easiest ways to breathe new life into your kitchen. In this guide, you’ll discover simple, step-by-step tips to help you choose the perfect color and get a professional-looking finish.
Keep reading—you’re just a few moves away from a kitchen you’ll love.
Choosing The Right Color
Choosing the right color for your kitchen cabinets is a key step. It sets the mood and style of your entire kitchen. The color affects how the space feels—bright and lively or calm and cozy. Think about what you want your kitchen to say.
Consider your personal taste and how the color will blend with other parts of your kitchen. The right shade can make your kitchen look bigger or warmer. Choosing wisely can also add value to your home.
Popular Color Trends
Soft whites and creams remain popular for a clean, classic look. Gray tones are also in demand, offering a modern and neutral base. Navy blue and forest green bring a rich, bold feel to the space. Light pastels like mint or pale blue create a fresh, inviting vibe. Dark colors, such as black or charcoal, make a strong statement in larger kitchens.
Matching Your Kitchen Style
Match the cabinet color to your kitchen’s overall style. Traditional kitchens work well with warm tones like beige or soft brown. Modern kitchens suit cool colors, including grays and blues. Rustic kitchens look great with earthy colors like olive green or deep red. Choose colors that blend smoothly with flooring and countertops.
Considering Lighting And Space
Natural and artificial light changes how colors appear. Dark cabinets can make small kitchens feel smaller. Light colors reflect light and open up the space. Bright kitchens can handle bold colors without feeling cramped. Test paint samples in your kitchen at different times of day.

Credit: www.classickitchendesigns.ca
Preparing Your Cabinets
Preparing your kitchen cabinets is the first step to a fresh new look. This stage sets the base for a smooth, lasting finish. It involves cleaning, sanding, and fixing any damage. Each task helps the paint or stain stick better and look nicer.
Cleaning And Removing Hardware
Start by cleaning the cabinets with warm, soapy water. Remove all grease and dirt. Dry the surfaces well with a clean cloth. Take off all knobs, handles, and hinges. This makes it easier to paint evenly. Keep the hardware in a safe place for later.
Sanding For A Smooth Surface
Sand the cabinet surfaces lightly using fine-grit sandpaper. This step removes old paint or gloss. It also helps the new color stick better. Sand in the direction of the wood grain. After sanding, wipe away dust with a damp cloth. Let the cabinets dry completely before the next step.
Repairing Damages
Check for scratches, dents, or holes on your cabinets. Use wood filler to fix these spots. Apply the filler with a putty knife and smooth it out. Let it dry fully, then sand the area gently. This creates a flat, even surface ready for painting.
Selecting Paint And Tools
Choosing the right paint and tools is key to changing your kitchen cabinet color. The paint type affects the finish and durability. Using proper brushes and rollers helps achieve a smooth, even coat. Primer improves paint adhesion and makes the color last longer. This section covers the basics for a successful cabinet makeover.
Types Of Paint For Cabinets
Use paint made for cabinets or furniture. These paints are thicker and hold up well. Acrylic latex paint is popular. It dries fast and cleans up easily. Oil-based paint gives a hard, smooth finish. It resists stains but takes longer to dry. Satin or semi-gloss finishes work best. They are easy to wipe clean and shine nicely.
Choosing Brushes And Rollers
Pick brushes with synthetic bristles for latex paint. They leave fewer brush marks. Use a high-quality angled brush for edges and corners. For flat surfaces, choose a small foam roller. It helps spread paint evenly without bubbles. Avoid cheap brushes or rollers. They may shed bristles or cause streaks.
Using Primer For Better Adhesion
Primer makes paint stick better on old cabinets. It also covers stains and dark colors. Use a bonding primer for slick surfaces like laminate. Apply one or two thin coats. Let each coat dry completely. This step ensures a smooth and lasting finish.
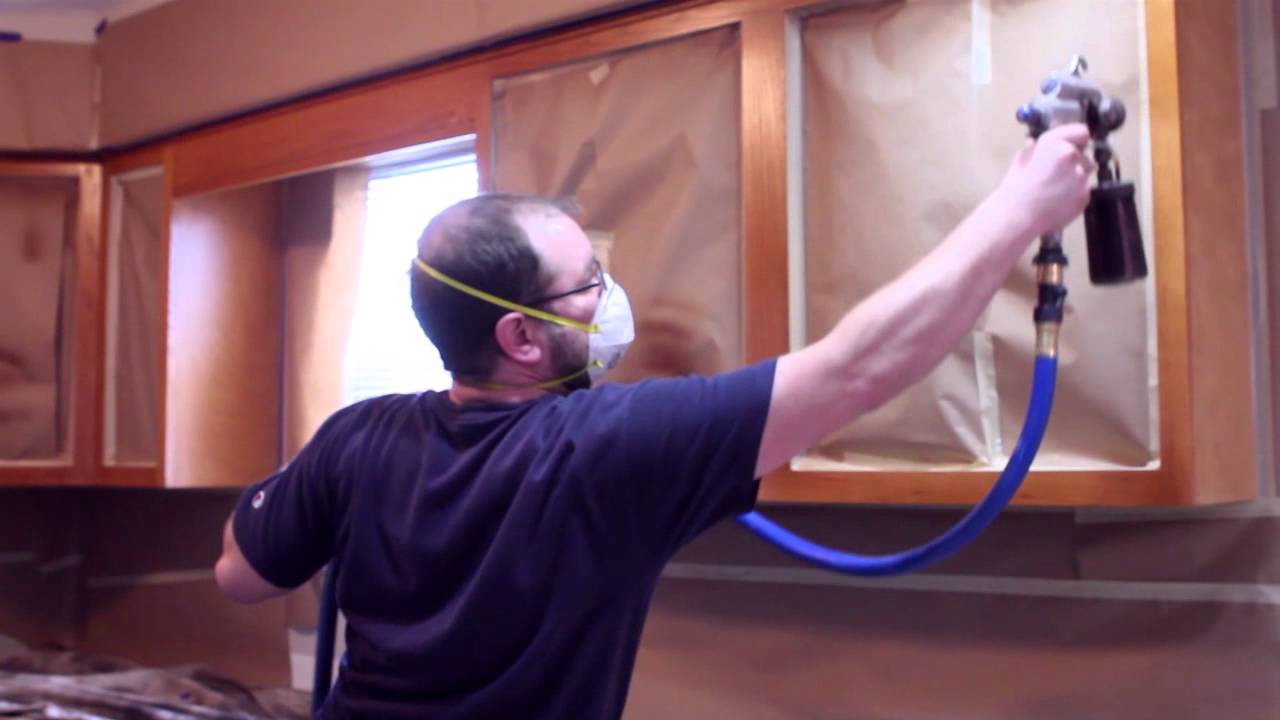
Credit: www.youtube.com
Painting Techniques
Painting kitchen cabinets changes the room’s look quickly and affordably. Good painting techniques make the color last longer and look smoother. Follow these steps to achieve a professional finish.
Applying Primer
Primer helps paint stick better to cabinet surfaces. It covers stains and old colors well. Use a brush or spray for even coverage. Allow the primer to dry fully before painting. This step prevents peeling and uneven color.
Coating With Paint
Choose a paint designed for cabinets or woodwork. Use a high-quality brush or foam roller for smooth coats. Apply paint in thin, even layers. Let each layer dry completely before adding the next. Two or three coats create a rich, durable finish.
Avoiding Drips And Streaks
Work slowly to control paint flow. Avoid overloading the brush or roller with paint. Use long, smooth strokes along the grain of the wood. Check your work often under bright light to catch drips early. Sand lightly between coats to remove streaks.
Drying And Curing Time
Let paint dry in a dust-free area. Drying time varies by paint type and temperature. Wait at least 24 hours before touching the cabinets. Full curing may take up to a week. Avoid heavy use until paint hardens completely.
Reassembling And Finishing Touches
After painting your kitchen cabinets, the next step is reassembling and adding finishing touches. This part brings your project to life. It ensures your cabinets look great and work well.
Take your time. Careful reassembly helps avoid damage. Finishing touches protect your work and keep it looking fresh for years.
Reattaching Hardware
Start by putting back all the hardware. Handles, knobs, and hinges need to be screwed in tightly. Use the original screws or new ones if needed.
Make sure each piece fits well. Check if doors open and close smoothly. Adjust hinges if the doors are uneven or misaligned.
Adding Protective Finish
Apply a clear protective finish to your cabinets. It guards the paint from scratches and stains. Choose a finish that suits your paint type.
Use a brush or spray for even coverage. Let it dry completely before using the cabinets. This step extends the life of your paint job.
Cleaning Up
Clean the work area to remove dust and paint chips. Wipe cabinet surfaces gently with a soft cloth. Avoid harsh chemicals that can damage the finish.
Dispose of leftover paint and materials safely. A tidy space helps keep your kitchen looking its best.
Maintaining Your New Cabinets
Changing the color of your kitchen cabinets gives your space a fresh new look. Maintaining this new finish keeps your kitchen looking great for years. Simple care steps help protect your cabinets and keep the color vibrant. Small habits make a big difference in how long your cabinets stay beautiful.
Cleaning Tips
Use a soft cloth and mild soap to clean your cabinets. Avoid harsh chemicals that can damage the paint. Wipe spills quickly to stop stains from setting. Clean cabinets regularly to prevent dirt build-up. Dry the surface after cleaning to avoid water damage.
Handling Wear And Tear
Cabinets face daily use, which can cause scratches or chips. Use gentle tools to open and close doors. Avoid slamming cabinet doors to protect the paint. Place felt pads under heavy objects that touch cabinets. Fix small scratches with touch-up paint to keep cabinets fresh.
When To Repaint
Repaint cabinets when the color fades or peels. Watch for cracks or bubbling paint on surfaces. A fresh coat brings back the cabinet’s original beauty. Choose a paint designed for kitchen use to ensure durability. Plan repainting every few years for the best look.

Credit: www.nhance.com
Frequently Asked Questions
How Do I Prepare Kitchen Cabinets For Painting?
Start by removing all cabinet doors and hardware. Clean surfaces thoroughly to remove grease. Sand the cabinets lightly for better paint adhesion. Use a primer before applying the paint for a smooth, durable finish.
What Type Of Paint Is Best For Kitchen Cabinets?
Use high-quality, semi-gloss or satin enamel paint for durability. These finishes resist moisture and stains well. Choose paints designed for wood or laminate surfaces to ensure long-lasting results.
Can I Change Cabinet Color Without Sanding?
Yes, use a bonding primer designed for glossy surfaces. Clean cabinets thoroughly before applying. This method saves time but sanding improves paint adhesion and durability.
How Long Does It Take To Repaint Kitchen Cabinets?
Typically, it takes 3 to 5 days including drying time. Each coat requires several hours to dry properly. Allow extra time for sanding and priming between coats.
Conclusion
Changing your kitchen cabinet color can refresh your space quickly. Choose a color that matches your style and lighting. Prepare surfaces well for smooth and lasting results. Use the right tools and take your time during painting. Small steps can make a big difference in your kitchen’s look.
Enjoy the process and the new feel of your kitchen. A fresh cabinet color brings new energy to your home.