
Are you tired of your old Intermatic timer not working the way you want? Replacing it with a digital timer can make your life easier and your schedule more precise.
Imagine having full control over your lights or appliances with just a few taps, saving energy and money without any hassle. You’ll discover simple steps to swap out your Intermatic timer for a digital one, even if you’re not a tech expert.
Ready to upgrade your setup and enjoy smarter control? Keep reading, and you’ll see how quick and easy this change can be.
Why Upgrade To A Digital Timer
Upgrading to a digital timer offers many advantages over old mechanical models. Digital timers provide more control and accuracy. They help save energy and reduce electric bills. Many users find digital timers easier to program. This section explains why switching to a digital timer is a smart choice.
Benefits Of Digital Timers
Digital timers deliver precise timing for your devices. They allow multiple on/off settings per day. This flexibility helps meet various scheduling needs. Digital models often include backup batteries. This feature keeps settings during power outages. Many digital timers have clear displays. You can easily check and adjust settings anytime. They use less electricity than mechanical timers. This lowers your overall power consumption.
Comparing Mechanical And Digital Models
Mechanical timers use gears and dials to set time. Their accuracy depends on manual adjustments. They may drift over time and need resetting. Digital timers use electronic circuits for precise control. They provide consistent and reliable timing. Mechanical timers usually offer fewer programming options. Digital models support complex schedules and repeat cycles. Mechanical versions lack backup power. Digital timers keep working during blackouts. Overall, digital timers offer better performance and convenience.
Tools And Materials Needed
Replacing an Intermatic timer with a digital one needs the right tools and materials. Being prepared helps the process go smoothly. Gather everything before starting the replacement.
Having the correct items also ensures safety. It prevents damage to the timer or your wiring.
Essential Tools For Replacement
You will need a screwdriver, usually a flathead or Phillips. A voltage tester is important to check power before touching wires. Wire strippers help remove insulation safely. Needle-nose pliers assist in bending and holding wires. Electrical tape protects exposed wires after connecting them. A drill may be needed if new holes are required for mounting.
Choosing The Right Digital Timer
Select a digital timer that fits your electrical needs. Check the voltage and amperage ratings. Pick one that matches or exceeds your current timer’s specifications. Look for a model with easy programming options. Consider timers with backup batteries to keep settings during power loss. Confirm the timer has all the features you want, like multiple on/off settings or manual override.
Safety Precautions
Replacing an Intermatic timer with a digital one needs care and attention. Safety precautions protect you from shocks and damage. Follow these steps closely for a safe upgrade.
Power Off And Verification
Always turn off power at the circuit breaker before starting work. Use a voltage tester to check wires for electricity. Never trust the switch alone to cut power. Confirm all wires are dead before touching them.
Handling Electrical Components Safely
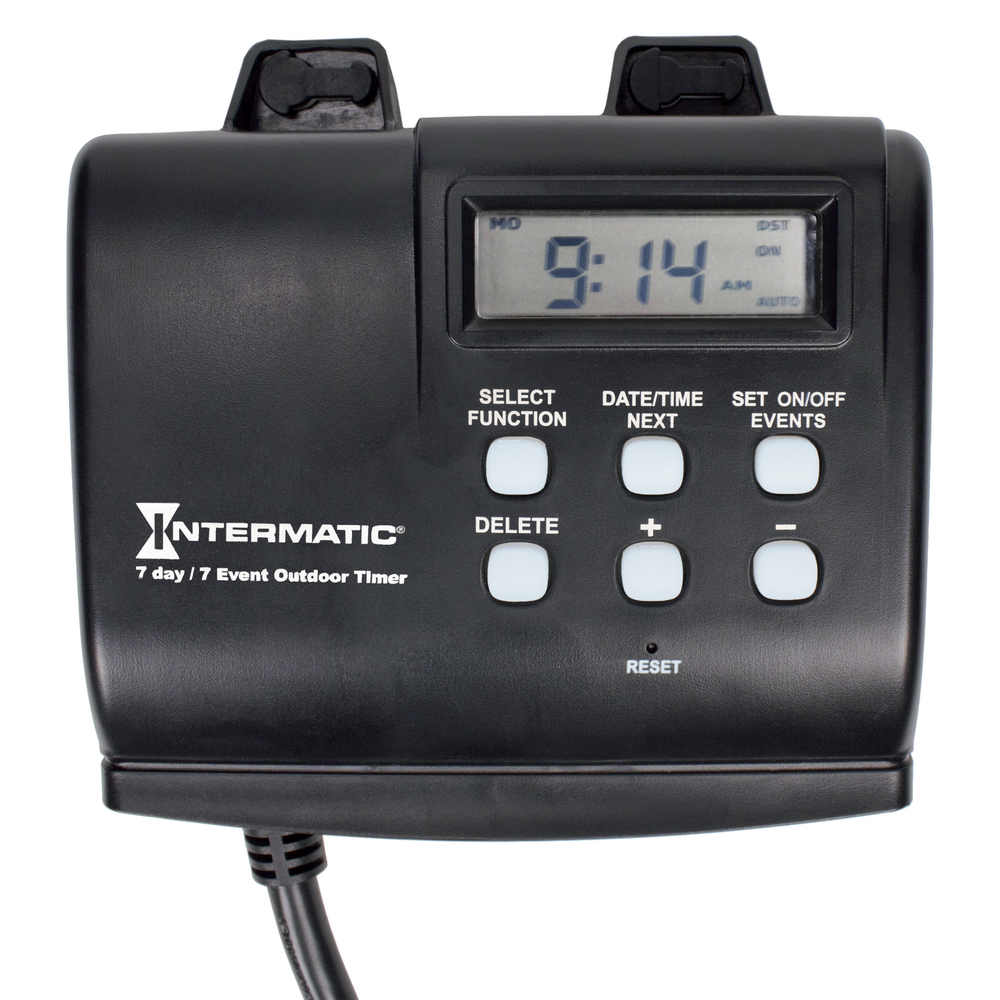
Use insulated tools to avoid electric shocks. Keep your hands dry and work in a dry area. Avoid touching metal parts with bare hands. Handle wires gently to prevent damage or shorts. Wear safety gloves to add extra protection.
Credit: www.intermatic.com
Removing The Old Intermatic Timer
Removing the old Intermatic timer is the first step in upgrading to a digital timer. This process requires care to avoid damage and ensure safety. Taking your time during removal helps set up the new timer correctly and efficiently.
Locating And Accessing The Timer
Find the timer on the wall or near the electrical panel. It usually sits inside a small metal or plastic box. Open the box cover carefully to see the timer and wiring inside. Use a flashlight if the area is dark. Make sure the power is off before you touch anything.
Disconnecting Wires Properly
Turn off power at the circuit breaker to avoid shocks. Use a voltage tester to confirm no current flows to the timer. Note or label each wire’s position to remember later. Unscrew the wire connectors or terminals gently. Pull wires out slowly without damaging them.
Installing The Digital Timer
Installing a digital timer to replace an Intermatic timer is straightforward. A digital timer offers better accuracy and easier programming. This guide helps you install it safely and correctly.
Mounting The New Timer
Start by turning off the power at the breaker. Remove the old Intermatic timer from the wall. Check the mounting location to ensure it fits the new digital timer. Use screws and anchors to secure the digital timer in place. Make sure the timer is level and stable before moving to wiring.
Connecting Wires Correctly
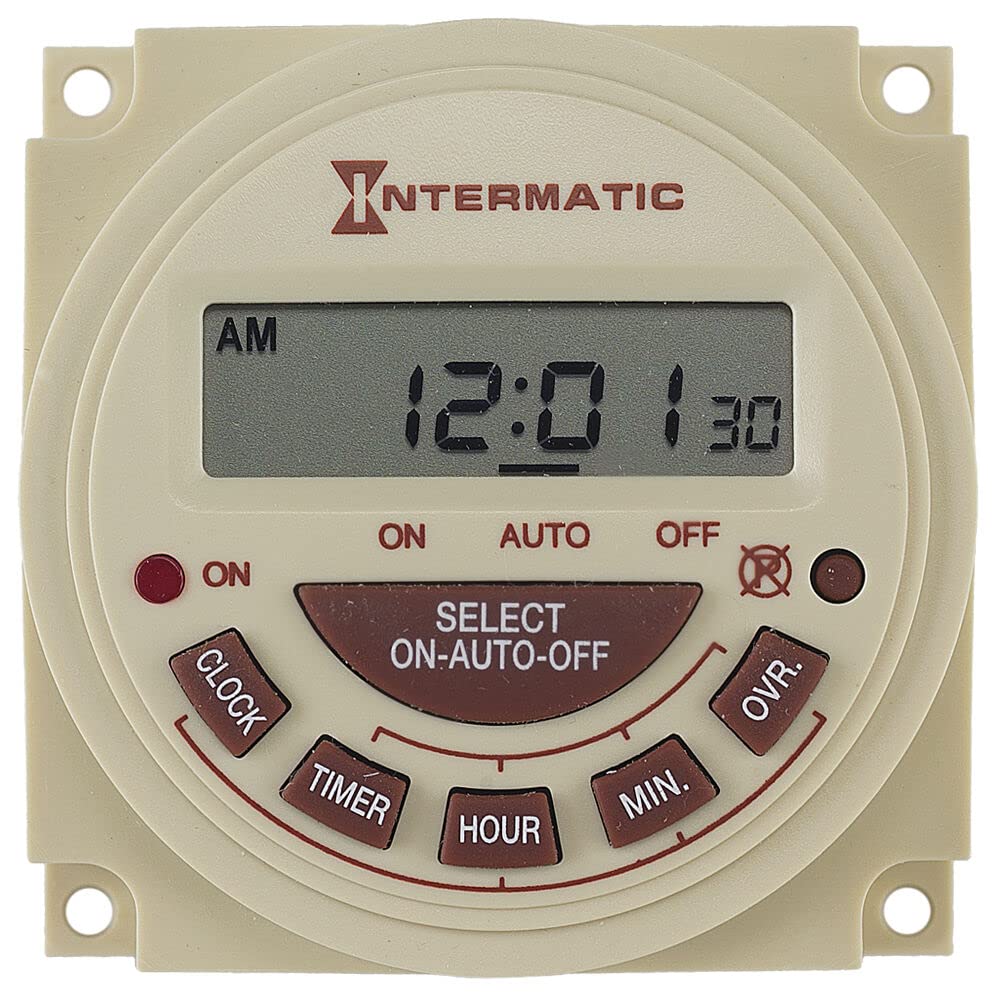
Identify each wire from the old timer and match them to the new one. Typically, wires include line, load, neutral, and ground. Use the digital timer’s manual to verify wire connections. Strip the wires if needed, then twist and secure them with wire nuts. Double-check all connections for tightness and safety. Restore power and test the digital timer to ensure it works properly.
Credit: www.amazon.com
Programming The Digital Timer
Programming the digital timer is simple and quick. It lets you control your devices with ease and precision. Setting the correct time and date is the first step. Then, you can schedule when your devices turn on and off.
Setting Current Time And Date
Start by pressing the “Clock” or “Time” button on the timer. Use the arrow buttons to adjust the hour and minutes. Make sure to set AM or PM correctly. After the time, set the current date. Use the same arrow buttons to choose the day, month, and year. Confirm your settings by pressing “OK” or “Set.”
Scheduling On And Off Times
Press the “Program” or “Timer” button to start scheduling. Choose the first on-time by setting the hour and minute. Next, set the off-time using the same method. You can add multiple programs for different times of the day. Some timers allow separate settings for each day of the week. Save each program with the “OK” button. Check your schedule to make sure all times are correct.
Testing And Troubleshooting
Testing and troubleshooting your new digital timer is important after replacing an Intermatic timer. It helps ensure the timer works correctly and controls your devices as planned. Simple checks can prevent future problems and save time.
Testing involves checking the timer’s settings and its effect on connected equipment. Troubleshooting helps find and fix common issues. Both steps keep your system running smoothly and safely.
Verifying Timer Operation
Start by setting the digital timer to the desired on and off times. Watch if the connected device turns on and off at the right moments. Use a manual override switch to test the timer’s response quickly.
Check the display screen for any error messages or unusual symbols. Ensure the timer’s clock is set to the correct current time and day. Confirm that all wiring connections are tight and secure.
Common Issues And Fixes
If the timer does not turn on or off as expected, first check the power source. Replace batteries if the timer uses them. Reset the timer to factory settings and reprogram the schedule.
Loose wiring can cause malfunction. Tighten all connections and inspect for damaged wires. If the timer’s screen is blank, verify the power supply or replace the unit if needed.
Interference from other devices can affect timer operation. Keep the timer away from strong electrical sources. Consult the manual for any error codes and their meanings.
Maintenance Tips For Digital Timers
Digital timers offer precise control and convenience. Proper maintenance keeps them working well and lasting longer. Regular care helps avoid malfunctions and saves money on repairs.
Regular Cleaning
Dust and dirt can build up on digital timers. Clean the timer face and buttons gently with a soft, dry cloth. Avoid using water or harsh chemicals. Keep the timer free from moisture to prevent damage. Clean the surrounding area to stop dust from settling again.
Battery Replacement And Updates
Check the battery regularly. Replace batteries before they run out to keep the timer running smoothly. Use the type of battery recommended by the manufacturer. Some timers may need firmware updates. Follow the instructions to update the timer for better performance and new features.
Credit: www.intermatic.com
Frequently Asked Questions
What Tools Are Needed To Replace An Intermatic Timer With Digital?
Basic tools like a screwdriver, wire stripper, and voltage tester are needed. A ladder may help reach the timer.
How Do I Safely Turn Off Power Before Replacing The Timer?
Turn off the circuit breaker that controls the timer’s power. Use a voltage tester to confirm no power is present.
Can I Replace An Intermatic Timer Myself Or Hire A Pro?
Replacing a timer is doable for most DIYers with basic electrical knowledge. Hiring a pro is safer if unsure.
How Do I Wire A Digital Timer To Replace The Old One?
Match the wires from the digital timer to the existing wiring by color or label. Follow the timer’s wiring instructions.
What Benefits Come With Using A Digital Timer Over Intermatic?
Digital timers offer more precise scheduling, easier programming, and better energy savings than mechanical Intermatic timers.
How Do I Program A New Digital Timer After Installation?
Follow the timer’s manual to set current time and schedule. Most digital timers have buttons for easy programming.
What Common Problems Occur When Replacing An Intermatic Timer?
Issues include incorrect wiring, forgetting to turn off power, or misprogramming the timer. Double-check steps before finishing.
Conclusion
Replacing your Intermatic timer with a digital one brings clear benefits. Digital timers offer better accuracy and easy programming. They save energy by controlling devices precisely. Installation is straightforward with basic tools. You can enjoy more control over your lighting or appliances.
Digital timers also last longer and need less upkeep. Choosing a digital timer improves convenience and efficiency in your home. Start today and experience the difference yourself. Simple steps lead to smarter living.