
If your Kohler toilet isn’t flushing like it used to, replacing the canister flush valve with a flapper might be the simple fix you need. You don’t have to call a plumber or spend a fortune.
With just a few tools and easy steps, you can improve your toilet’s performance and stop wasting water. Keep reading, and you’ll discover exactly how to make this switch quickly and confidently—saving you time, money, and frustration.
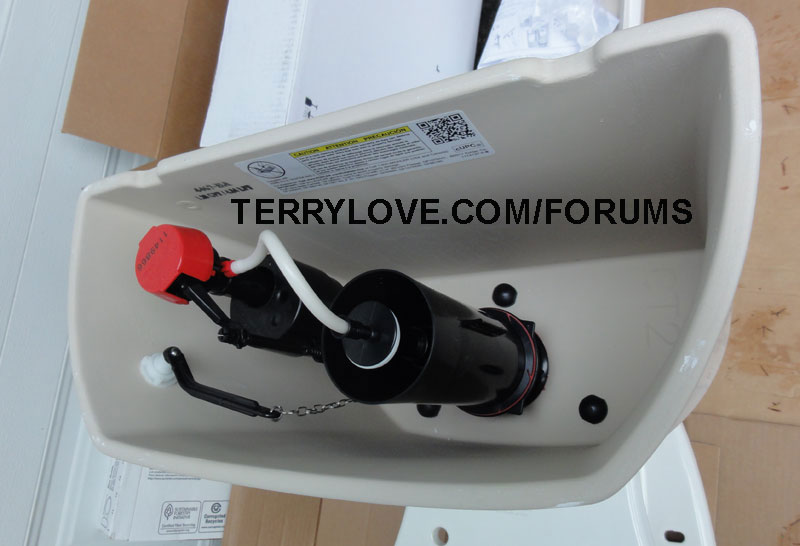
Credit: terrylove.com
Tools And Materials Needed
Replacing a Kohler canister flush valve with a flapper requires the right tools and materials. This helps the job go smoothly and saves time. Having everything ready before starting makes the process easier and safer.
Gathering the correct tools and picking the proper flapper are key steps. Safety should also be a priority to avoid accidents or damage. Below are the important tools and tips for choosing the right parts and staying safe.
Essential Tools
You will need a few basic tools for this project. A flathead screwdriver helps remove the flush valve and flapper. Pliers are useful for gripping and loosening parts. A pair of gloves protects your hands from dirt and sharp edges.
Having a bucket and sponge nearby helps catch any water spills. A flashlight may be needed if your toilet tank is dark. Finally, keep a towel handy to dry any wet surfaces.
Choosing The Right Flapper
Pick a flapper designed for Kohler toilets. The size and shape must match your flush valve opening. Using the wrong flapper can cause leaks or poor flushing. Look for a durable material like rubber or silicone for long life.
Check product reviews to find reliable flappers. Some flappers come with adjustable settings to control water flow. This can help save water and improve flushing performance.
Safety Precautions
Turn off the water supply before starting the replacement. Flush the toilet to empty the tank. Use gloves to protect your hands from bacteria and sharp parts. Avoid using excessive force to prevent damage.
Work in a well-lit area to see all parts clearly. Keep small tools and parts away from children and pets. Clean the workspace after finishing the job to prevent slips and falls.
Preparing The Toilet
Preparing the toilet is the first step to replace a Kohler canister flush valve with a flapper. This step ensures safety and prevents water spills. Proper preparation makes the job easier and cleaner.
Start by turning off the water supply. Then, empty the tank to avoid mess and water damage. These tasks are simple but important for a smooth replacement process.
Turning Off The Water Supply
Locate the shut-off valve near the base of the toilet. Turn the valve clockwise to stop the water flow. Check the tank to see if water stops filling after a flush. This prevents water from refilling while you work.
Emptying The Tank
Flush the toilet to drain most of the water from the tank. Use a sponge or towel to soak up any leftover water. Dry the inside to avoid slipping or damage to parts. This step prepares the tank for removing the old flush valve safely.
Removing The Kohler Canister Flush Valve
Removing the Kohler canister flush valve is the first step in replacing it with a flapper. This process requires careful handling to avoid damaging the toilet tank parts. Follow each step carefully to ensure a smooth removal and prepare the tank for the new flush valve installation.
Disconnecting The Water Line
Turn off the water supply to the toilet. Locate the shutoff valve near the base of the toilet and twist it clockwise until tight. Flush the toilet to drain most of the water from the tank. Use a towel or sponge to soak up any remaining water inside the tank. Next, disconnect the water supply line from the bottom of the tank. Use an adjustable wrench to loosen the nut. Set the water line aside carefully.
Unscrewing The Flush Valve
Remove the tank lid and place it somewhere safe. Look inside the tank to find the flush valve assembly. Unscrew the large plastic nut holding the flush valve to the tank bottom. Turn the nut counterclockwise by hand or use pliers if it is tight. Once loose, lift the canister flush valve straight up and out of the tank. Be gentle to avoid breaking any plastic parts.
Cleaning The Tank
Empty any leftover water in the tank with a sponge. Use a cloth and mild cleaner to wipe the tank walls and floor. Remove any dirt, mineral buildup, or debris around the flush valve seat. A clean tank helps the new flush valve seal properly. Allow the tank to dry before installing the replacement flapper valve.
Installing The Flapper Flush Valve
Installing the flapper flush valve is a key step in replacing your Kohler canister flush valve. This part controls the water flow from the tank to the bowl. Proper installation ensures your toilet flushes correctly and stops leaks. Follow these simple steps to position, attach, and test the flapper flush valve.
Positioning The Flapper
First, place the flapper over the flush valve opening. Make sure it fits snugly. The flapper should cover the hole completely. Check that the rubber seal touches the valve seat evenly. This prevents water from leaking when the tank refills.
Attaching The Chain
Next, connect the chain from the flapper to the flush handle lever. Adjust the chain length for proper lift. The chain should have a little slack. Too tight or too loose will affect flushing. The flapper must open fully when you press the handle.
Testing The Seal
Press the flush handle to test the flapper. Watch if it lifts and drops back smoothly. Check for any water leaking from the tank. A good seal means no dripping sounds or slow filling. Repeat the test a few times to be sure it works well.
Reassembling And Testing
After replacing the Kohler canister flush valve with a flapper, reassembling and testing the toilet is essential. This step ensures the new parts work well and stop any leaks. Take your time to follow each step carefully for a smooth finish.
Turning On The Water Supply
Slowly open the water valve located near the toilet. Listen for water filling the tank. Watch the water level rise until it stops. This step helps the tank refill properly after your repair.
Checking For Leaks
Look around the base of the tank and connections. Use a dry towel to spot any water drops. Flush the toilet a few times. Check again for leaks during and after flushing. Fix any leaks before moving on.
Adjusting The Chain Length
Ensure the chain between the flush handle and flapper is not too tight or loose. The flapper should lift fully when you flush. Adjust the chain length for smooth movement. Proper chain length helps the toilet flush correctly every time.
Troubleshooting Common Issues
Troubleshooting common issues with your Kohler canister flush valve replacement is key. It helps maintain toilet function and saves water. Understanding these problems makes fixing them easier and faster. Here are some frequent issues and how to solve them.
Flapper Not Sealing Properly
A flapper that does not seal can cause leaks. Check for dirt or debris on the flapper or the valve seat. Clean both parts gently with a cloth. Also, inspect the flapper for cracks or warping. Replace it if you see damage. Ensure the chain is not too tight or too loose. This allows the flapper to close fully after flushing.
Water Running Continuously
Continuous running water usually means the flapper is stuck open. Make sure the flapper moves freely and closes correctly. Adjust the chain length if it pulls the flapper up. Check the flush valve for any damage or buildup. Clean or replace parts as needed. This stops water waste and lowers your bill.
Weak Flush Performance
Weak flushing can result from a partially blocked flush valve. Remove any mineral deposits or debris inside the valve. Check the flapper to ensure it opens wide enough. Replace the flapper if it does not lift fully. Also, verify the water level in the tank. It should be at the marked fill line for a strong flush.
Maintenance Tips For Longevity
Proper care extends the life of your Kohler canister flush valve and flapper. Simple maintenance keeps them working well. Regular attention avoids leaks and costly repairs.
Regular Cleaning
Remove mineral buildup from the flush valve and flapper. Use a soft cloth and mild cleaner. Avoid harsh chemicals that damage rubber parts. Clean at least once every three months. This prevents clogging and poor flushing performance.
Replacing Worn Parts
Check the flapper and flush valve for cracks or wear. Replace parts showing signs of damage. Worn parts cause leaks and water waste. Keep spare parts handy for quick fixes. Changing parts early saves water and money.
When To Call A Professional
Contact a plumber if leaks continue after cleaning and part replacement. Complex issues may need expert repair. Professionals ensure proper installation and avoid future problems. Do not delay if water runs constantly or the toilet won’t flush fully.
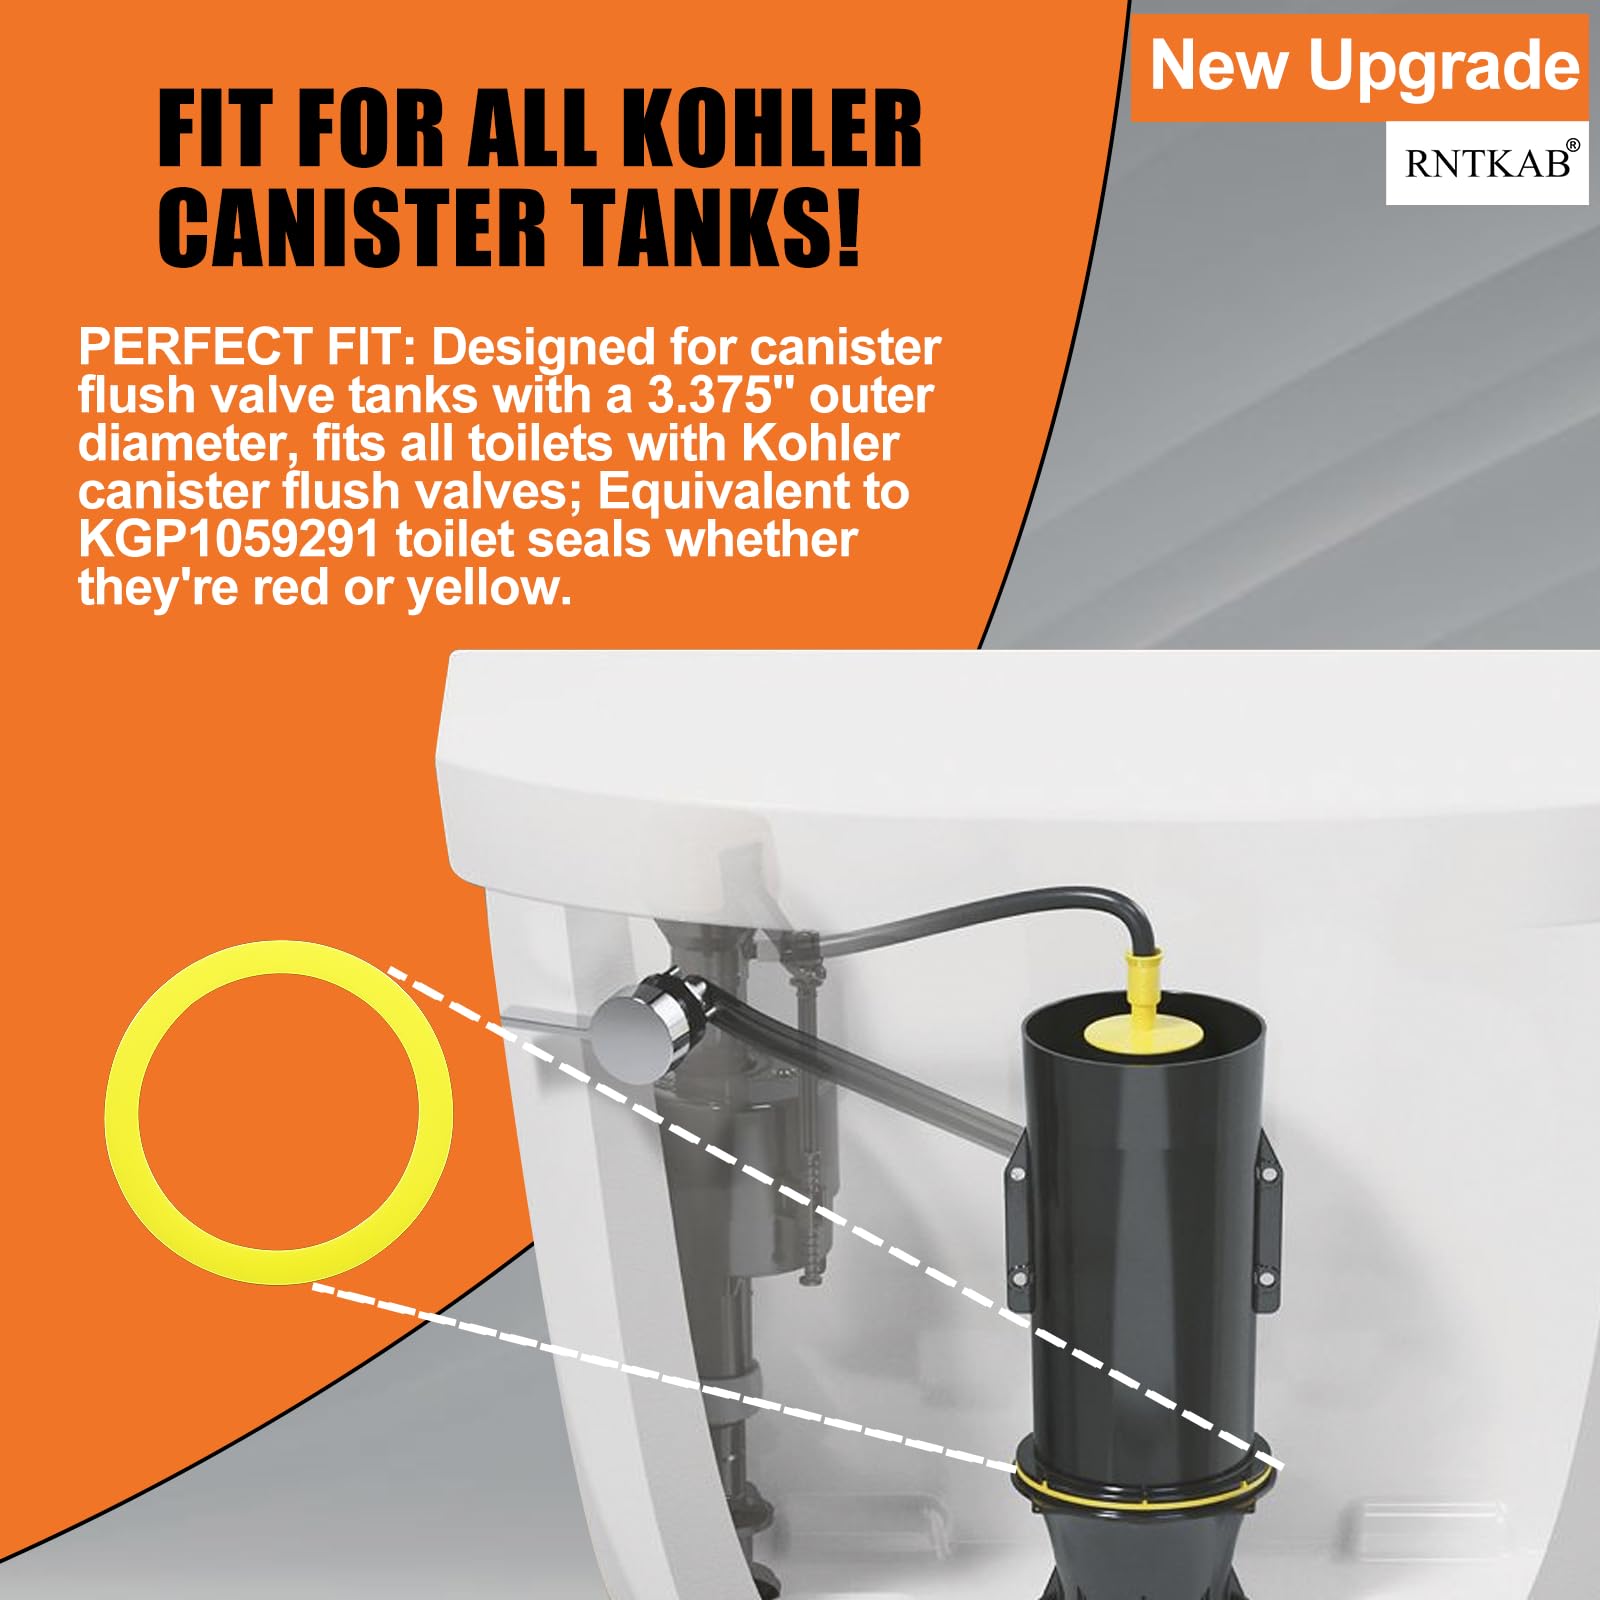
Credit: www.graemesmithconsulting.com
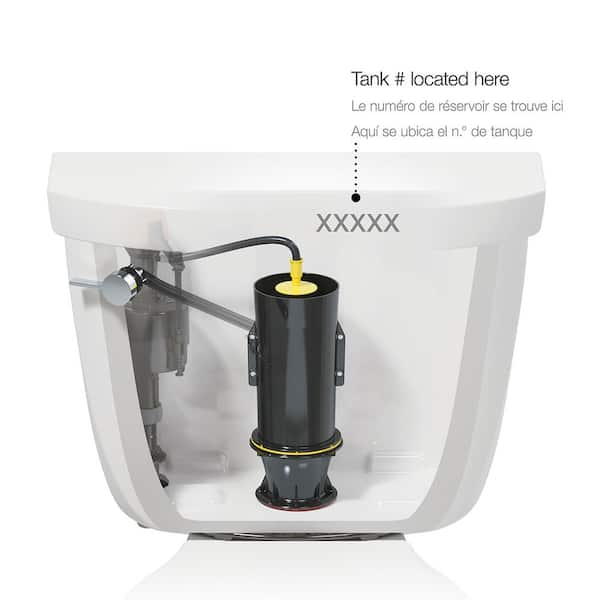
Credit: www.homedepot.com
Frequently Asked Questions
What Tools Do I Need To Replace A Kohler Canister Flush Valve?
You will need a wrench, screwdriver, pliers, and a new flapper valve. Having a bucket and towel helps with water cleanup.
How Do I Turn Off Water Before Replacing The Flush Valve?
Locate the shutoff valve near the toilet’s base and turn it clockwise. Flush the toilet to empty the tank.
Can I Use Any Flapper To Replace A Kohler Canister Valve?
No, choose a flapper compatible with Kohler toilets for a proper fit. Check the product details before buying.
How Long Does It Take To Replace A Canister Flush Valve?
The process usually takes 20 to 30 minutes for most people. It depends on your experience and tools available.
Will Replacing The Flush Valve Fix A Running Toilet?
Yes, a worn or damaged valve often causes running toilets. Replacing it can stop leaks and save water.
How Do I Remove The Old Canister Flush Valve Safely?
Turn off water, flush the toilet, and disconnect the water supply line. Unscrew the lock nut holding the valve and lift it out.
What Steps Ensure The New Flapper Valve Seals Properly?
Clean the valve seat before installing the flapper. Make sure the chain has slight slack for smooth operation.
Conclusion
Replacing a Kohler canister flush valve with a flapper is a smart choice. It saves money and makes fixing easier. The steps are simple and clear to follow. You can do the job without calling a plumber. A flapper works well to stop leaks and improve flushes.
This small change helps your toilet run smoothly every day. Take your time and enjoy the benefits of this upgrade. Your toilet will thank you for it.